I told you guys I was in a bit of a building kick…
It’s addicting.
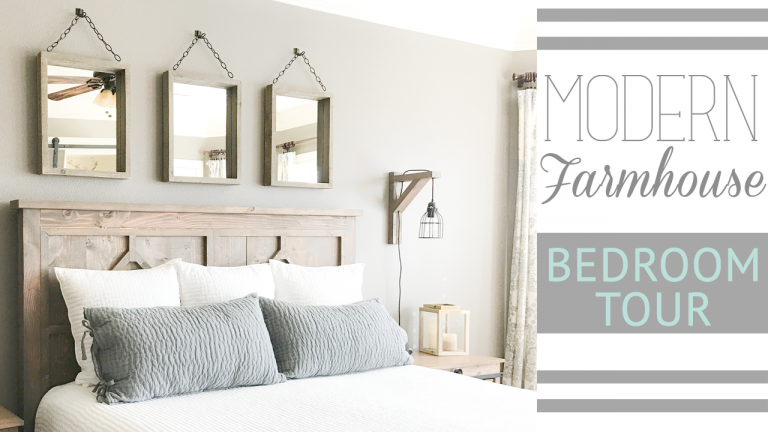
I have wanted beds for my oldest girls’ room now for years but never could bring myself to buy any. I have made my own headboards in the past but I was really wanting something more permanent.
Then I saw this plan on Ana White.
I loved the lines on that headboard! I knew that it would be perfect for the girls.
I took Ana’s wonderful plan and “shantied” it up a bit 🙂
Today I am showing you the headboard. It is so super easy and cheap.
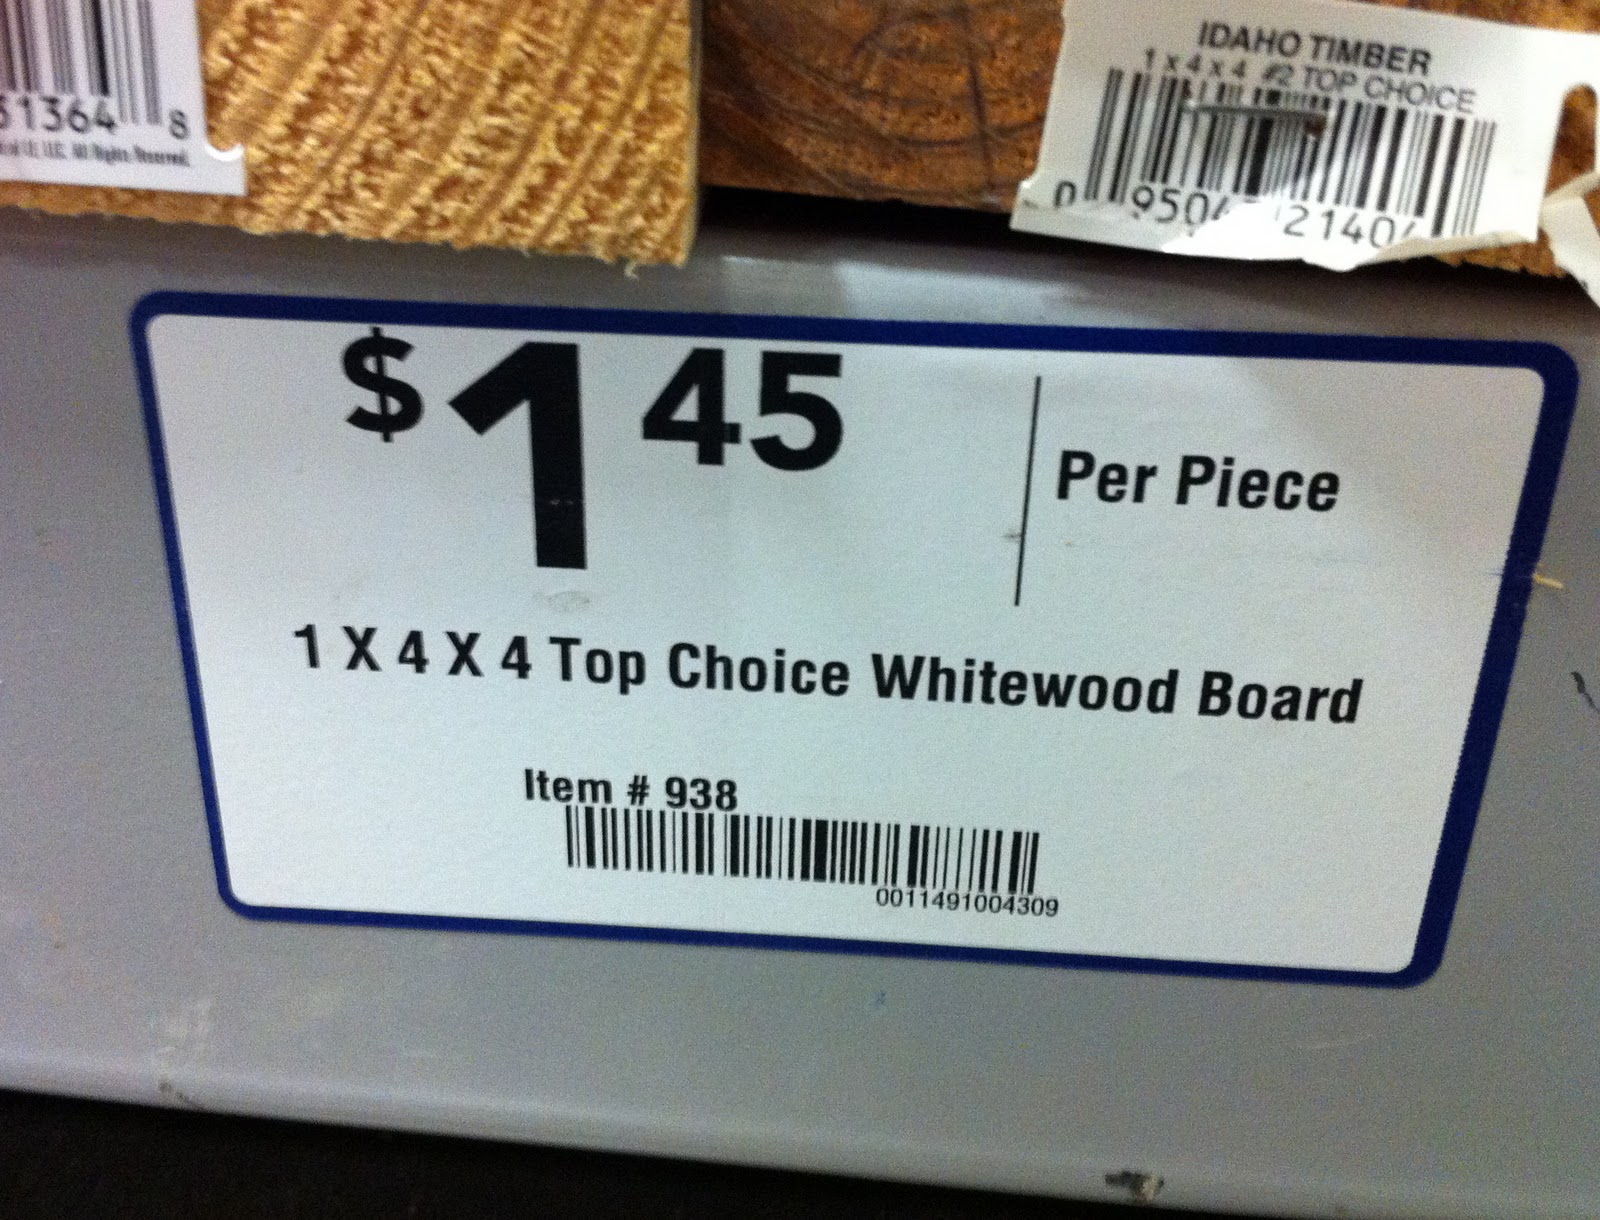
I went to Lowe’s to get my wood.
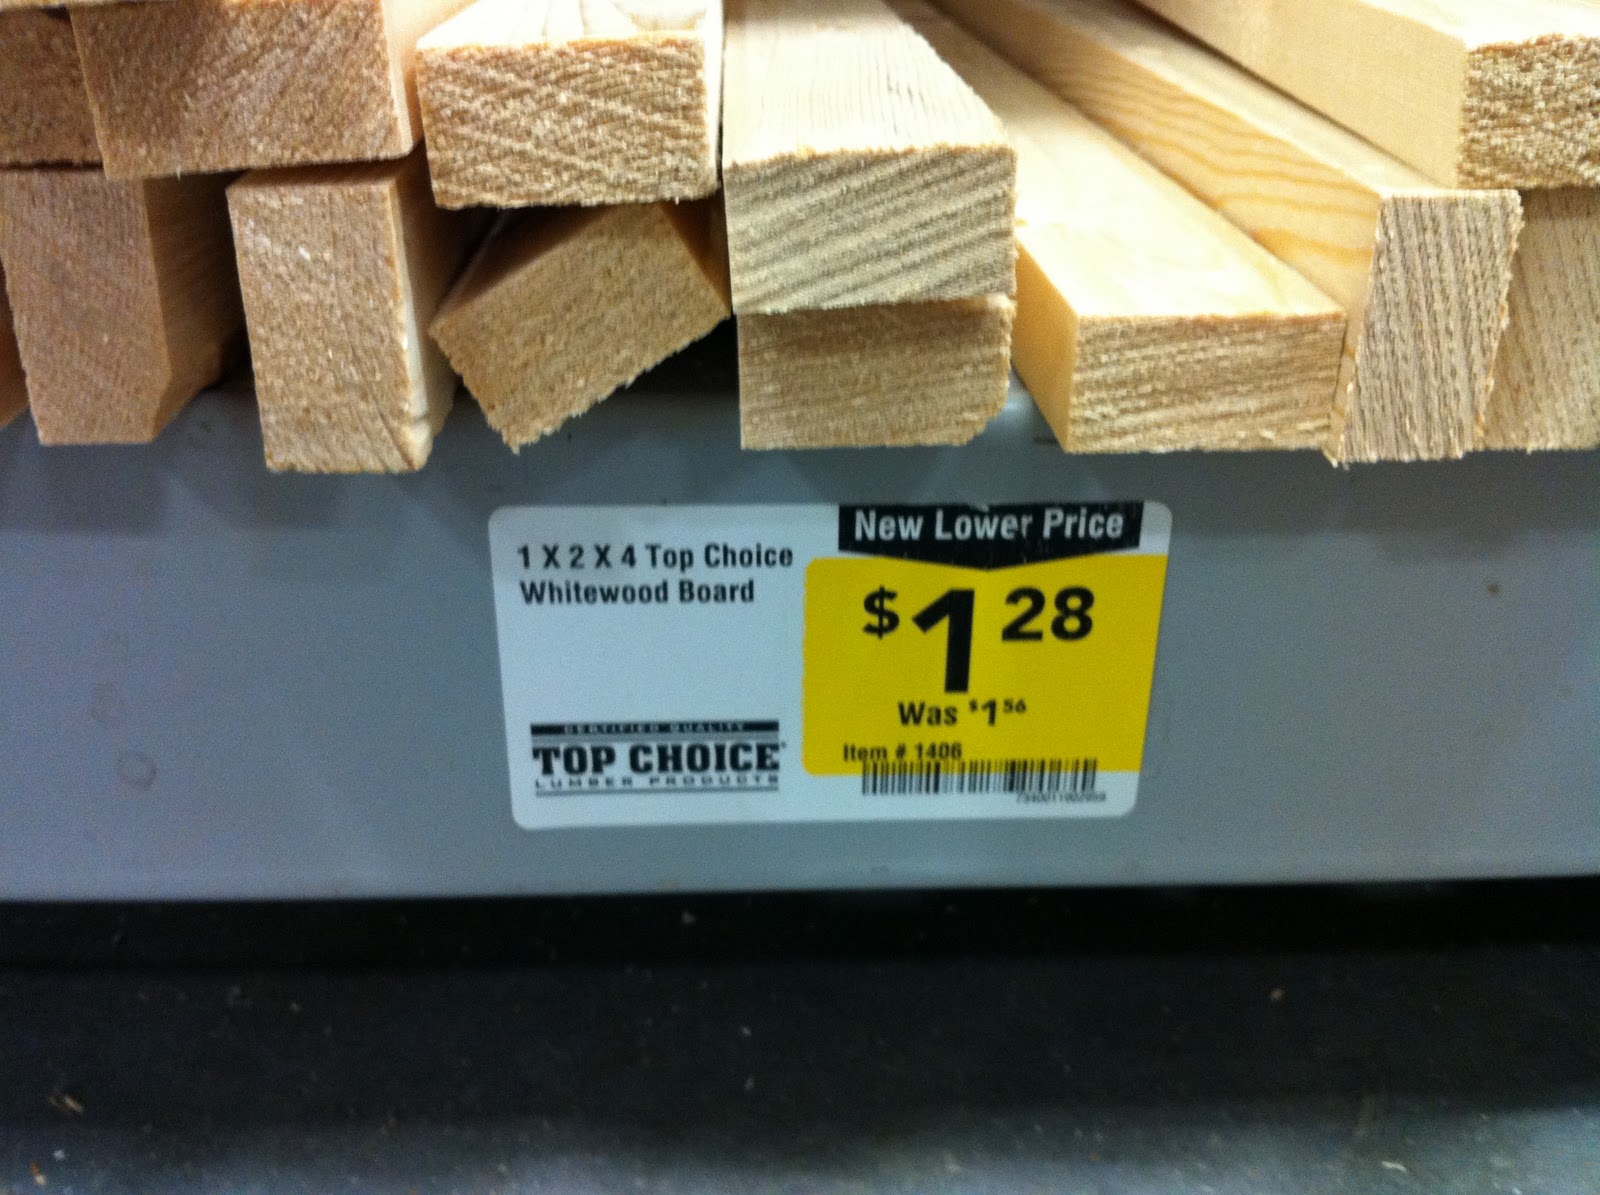
Here is what I got…
12- 1x4x4
4- 1x2x4
This was so simple. It may not be the most professional way to do it… But it worked perfect for me!
I laid my boards out on the ground. Because I bought 4 footers I didn’t even have to cut any of them. My middle 10 boards are lined up 8″ higher than my two sides.
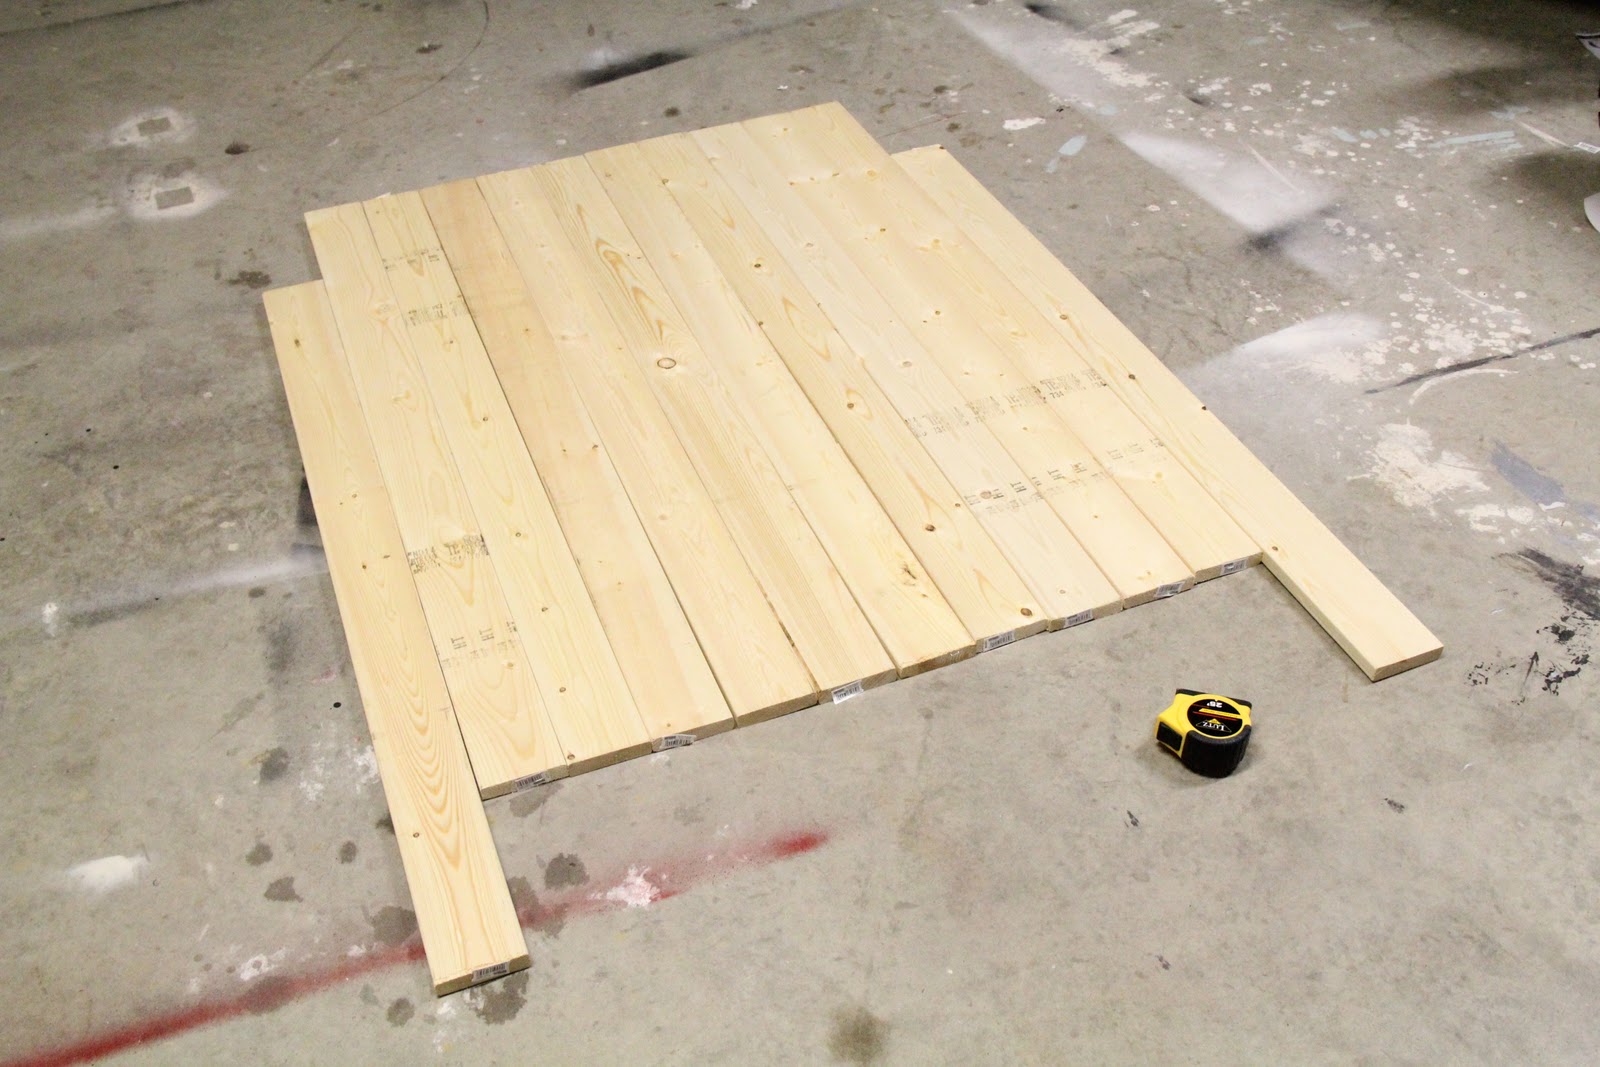
I would buy your boards as straight as possible. I thought mine were super straight and I still had some space when they all lined up. I do think it will add to the shantiness though so no worries.
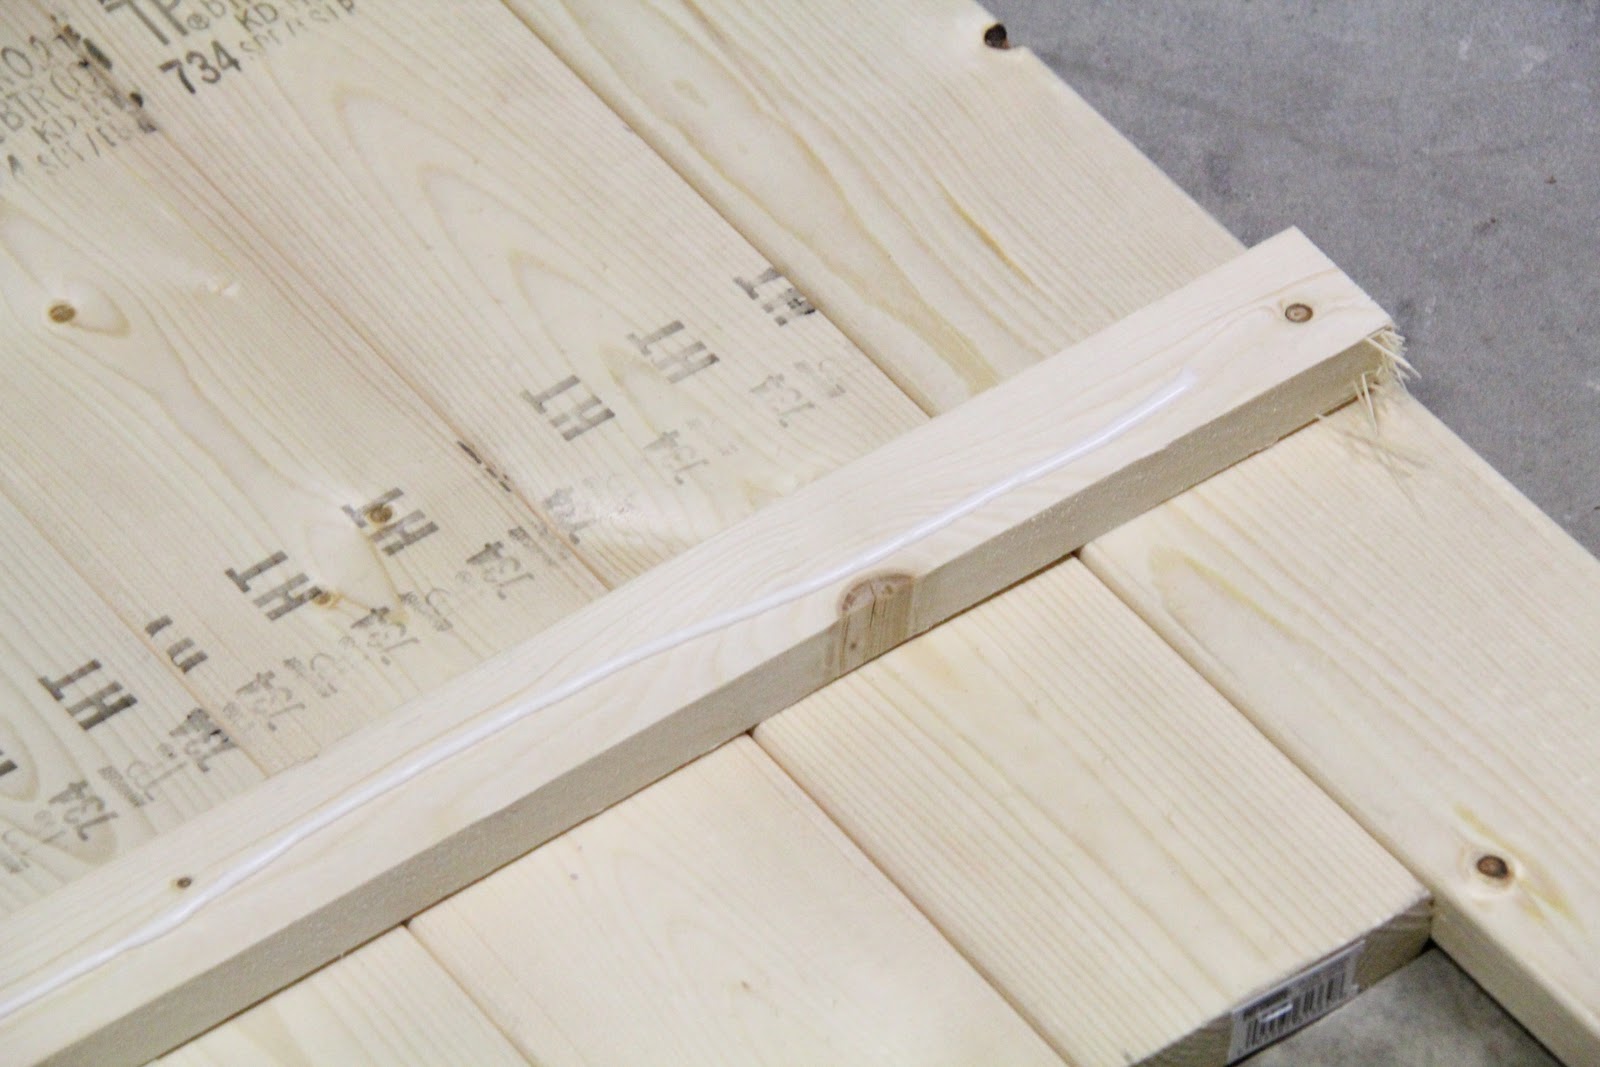
I cut one of my 1×2’s the width of my boards. I then put a line of Gorilla Wood Glue on it.

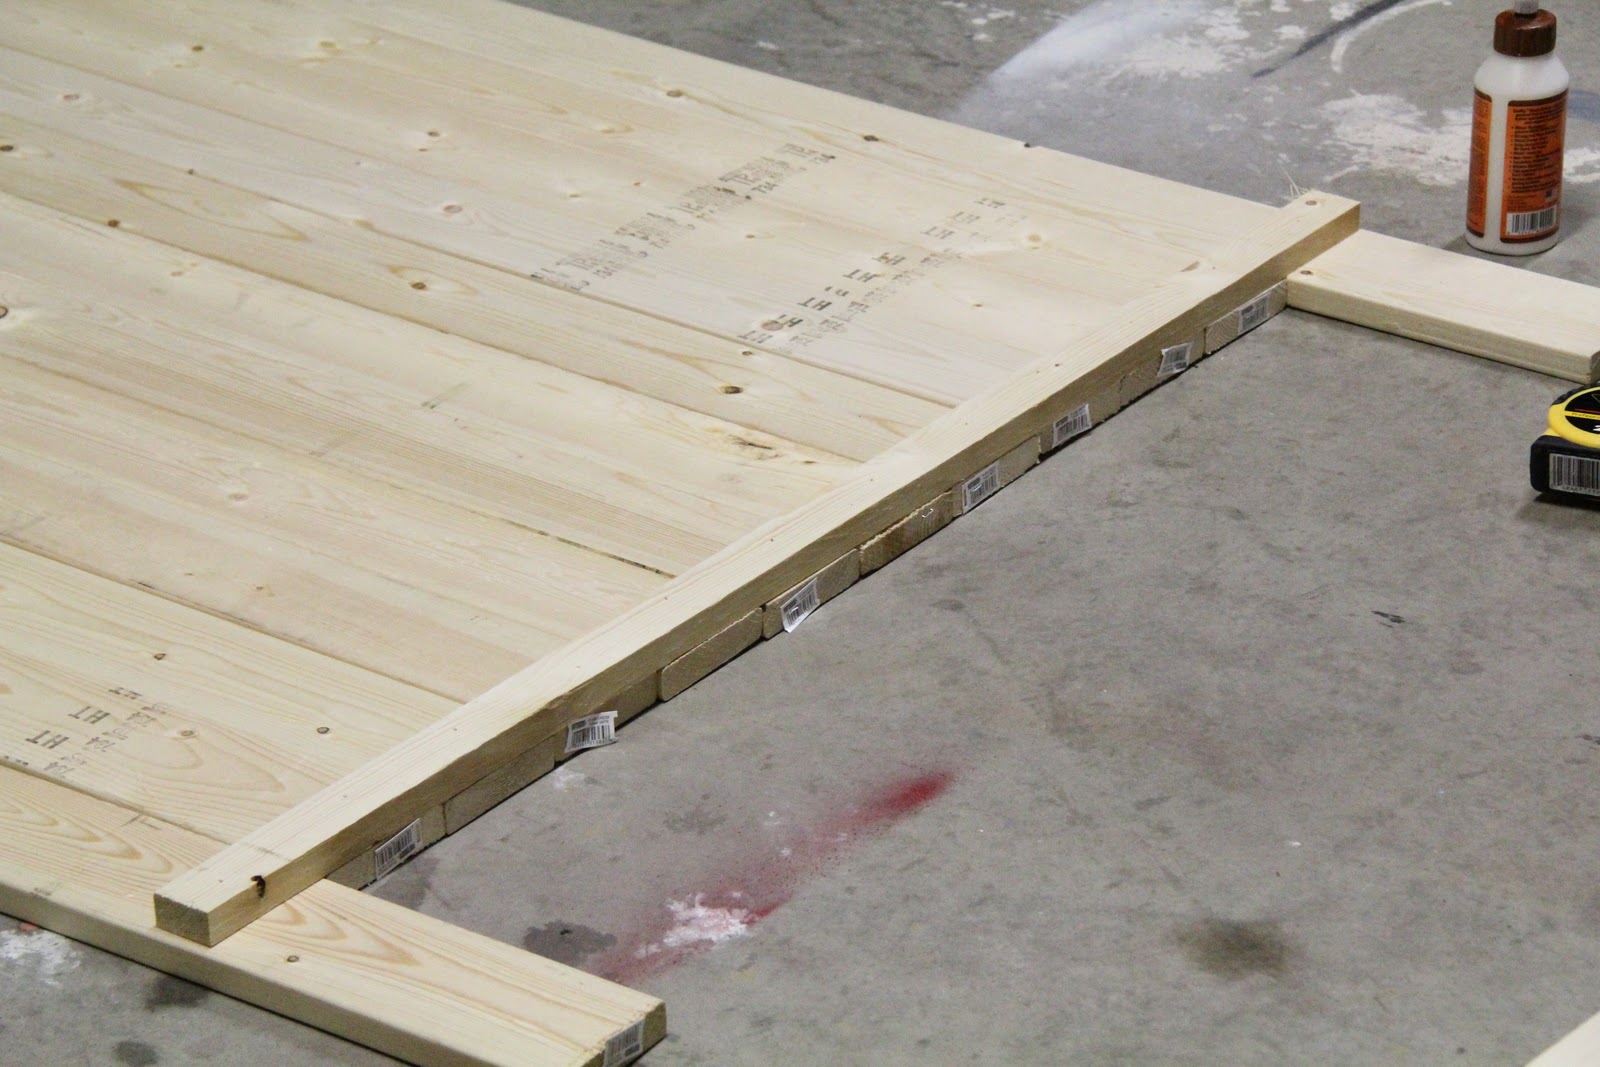
Lined it up along the bottom boards…
And I used my brad nailer to put a nail through the 1×2 and into each 1×4.
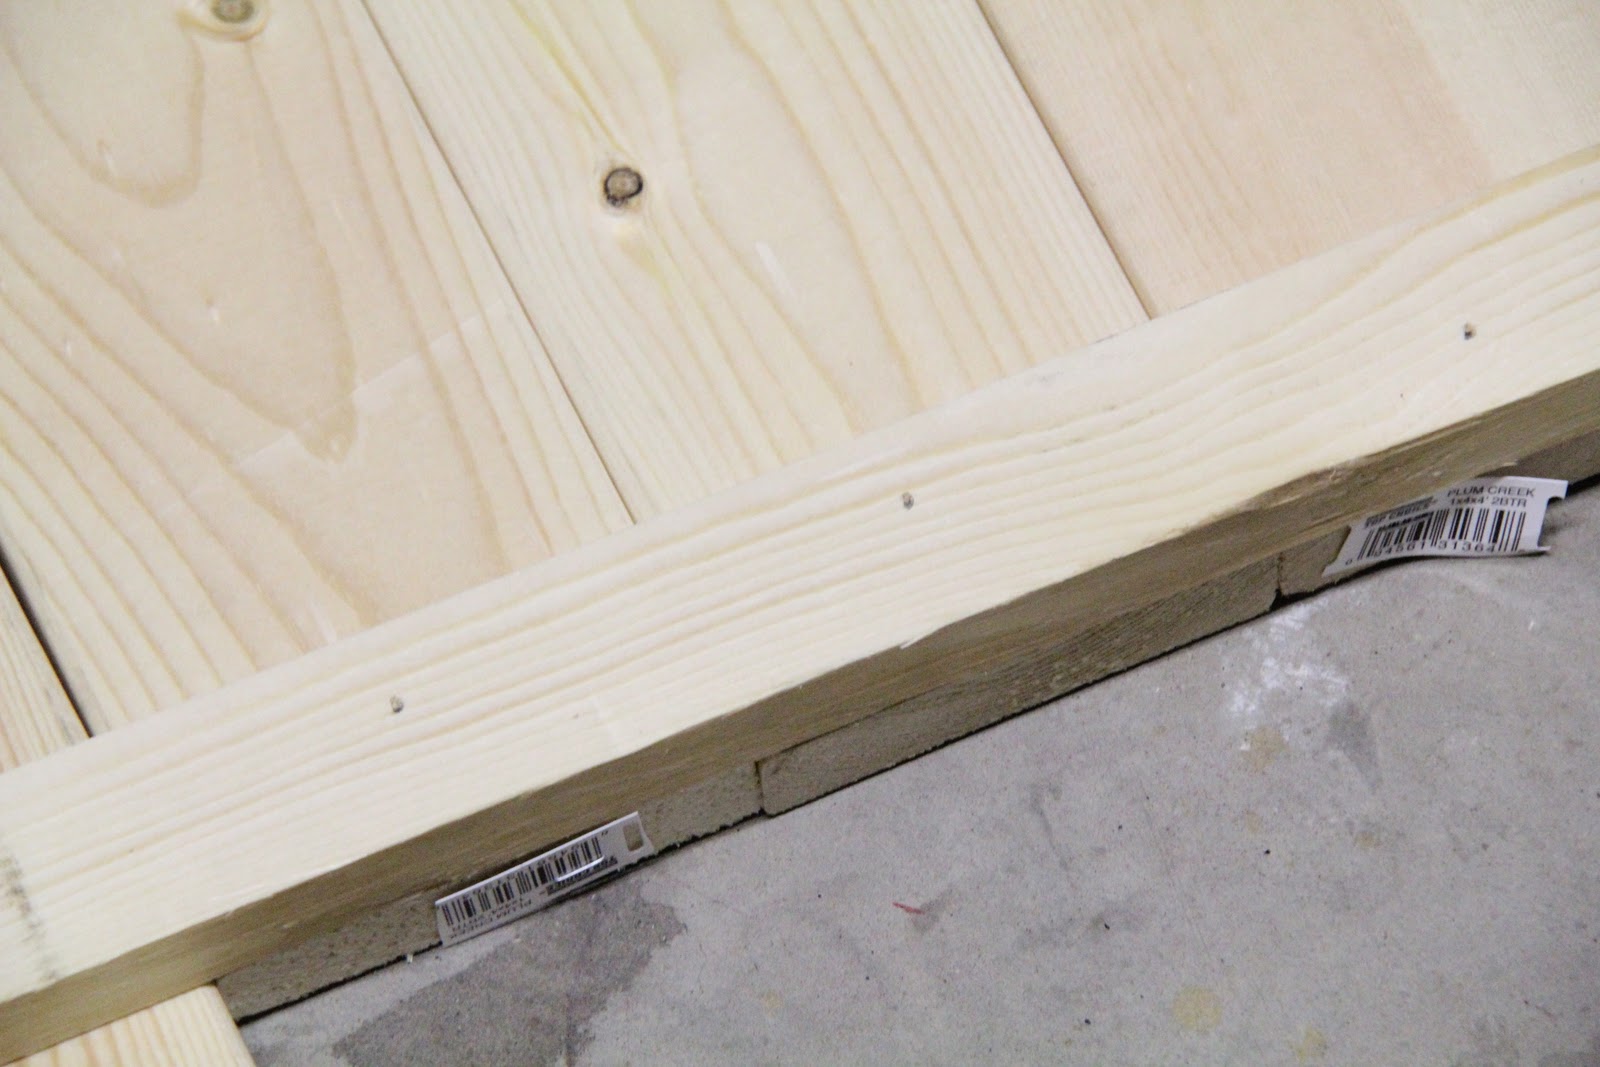
I then used my other 1×2’s going up the rest of the headboard to secure all the 1×4’s.
Here is the backside…

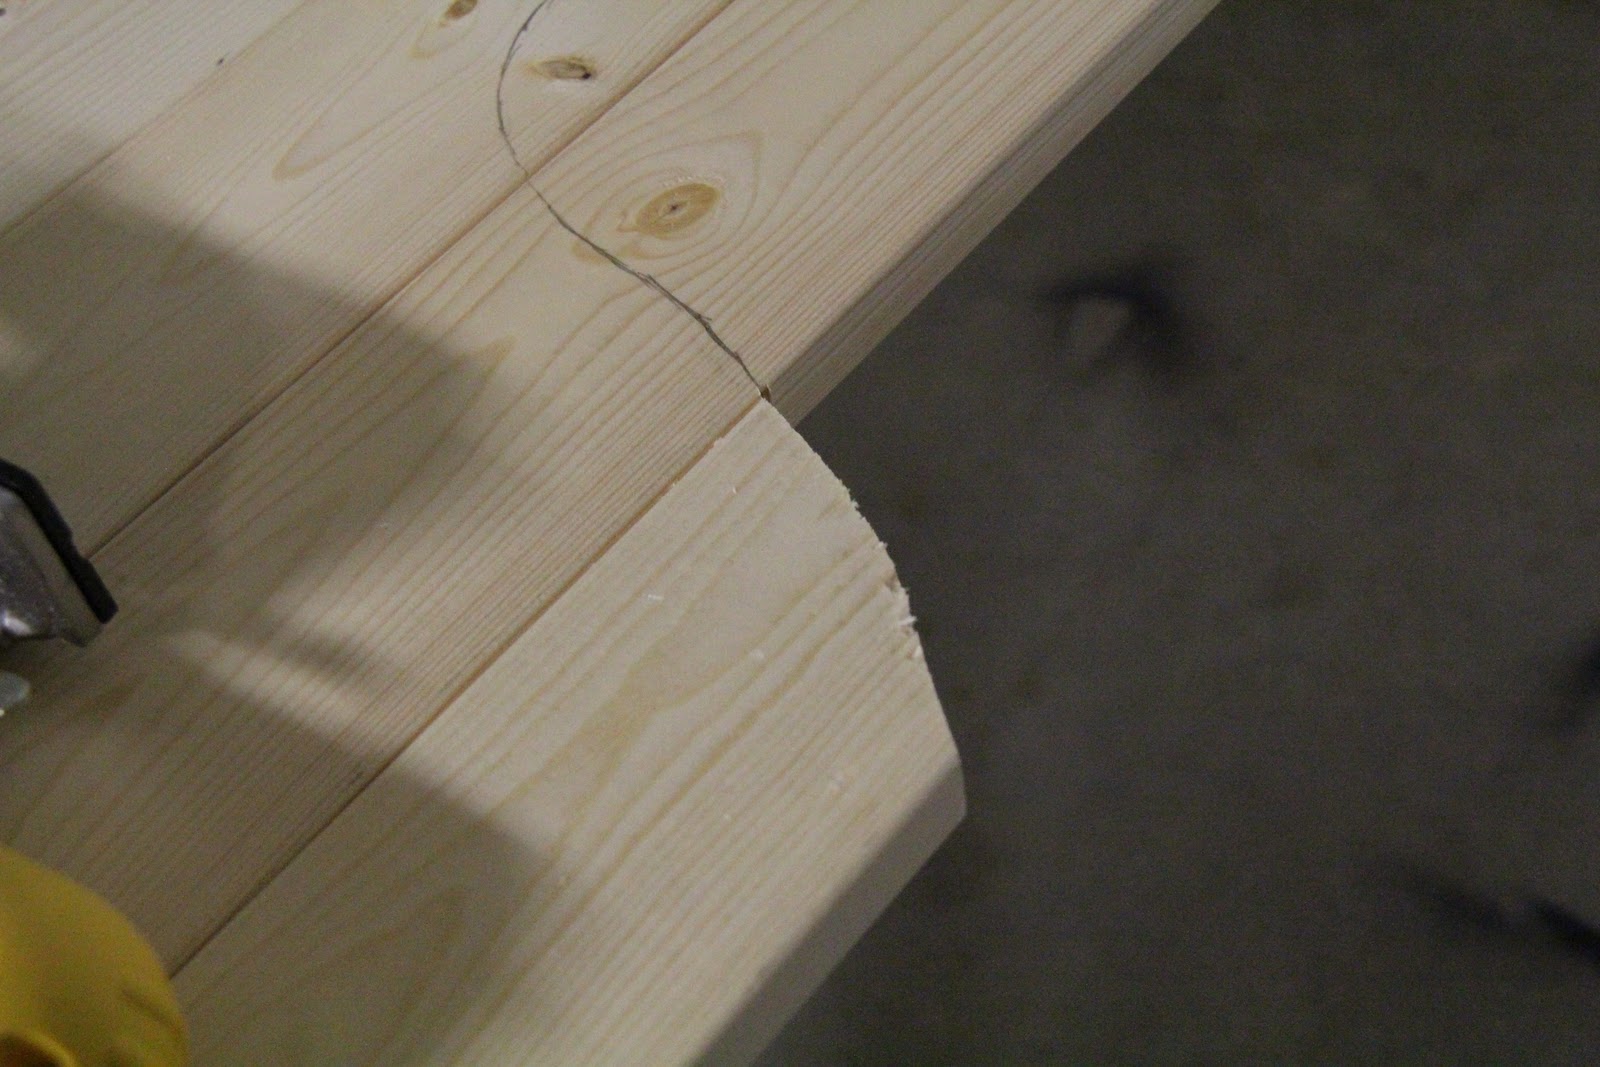
For the next part you will need a jigsaw. If you don’t own one and can’t borrow your hubby’s, you can rent one from Lowe’s or Home Depot. I think they are under $20 for the day. They are easy to use and fun. It kind of reminds me of sewing… Not sure why 🙂
To make my pattern I used the sports page:-)
I cut the paper to half the width of my headboard. I then used a big plate and a pencil to trace and free hand the simple design. I tried to copy Ana’s design and I think I got close enough.
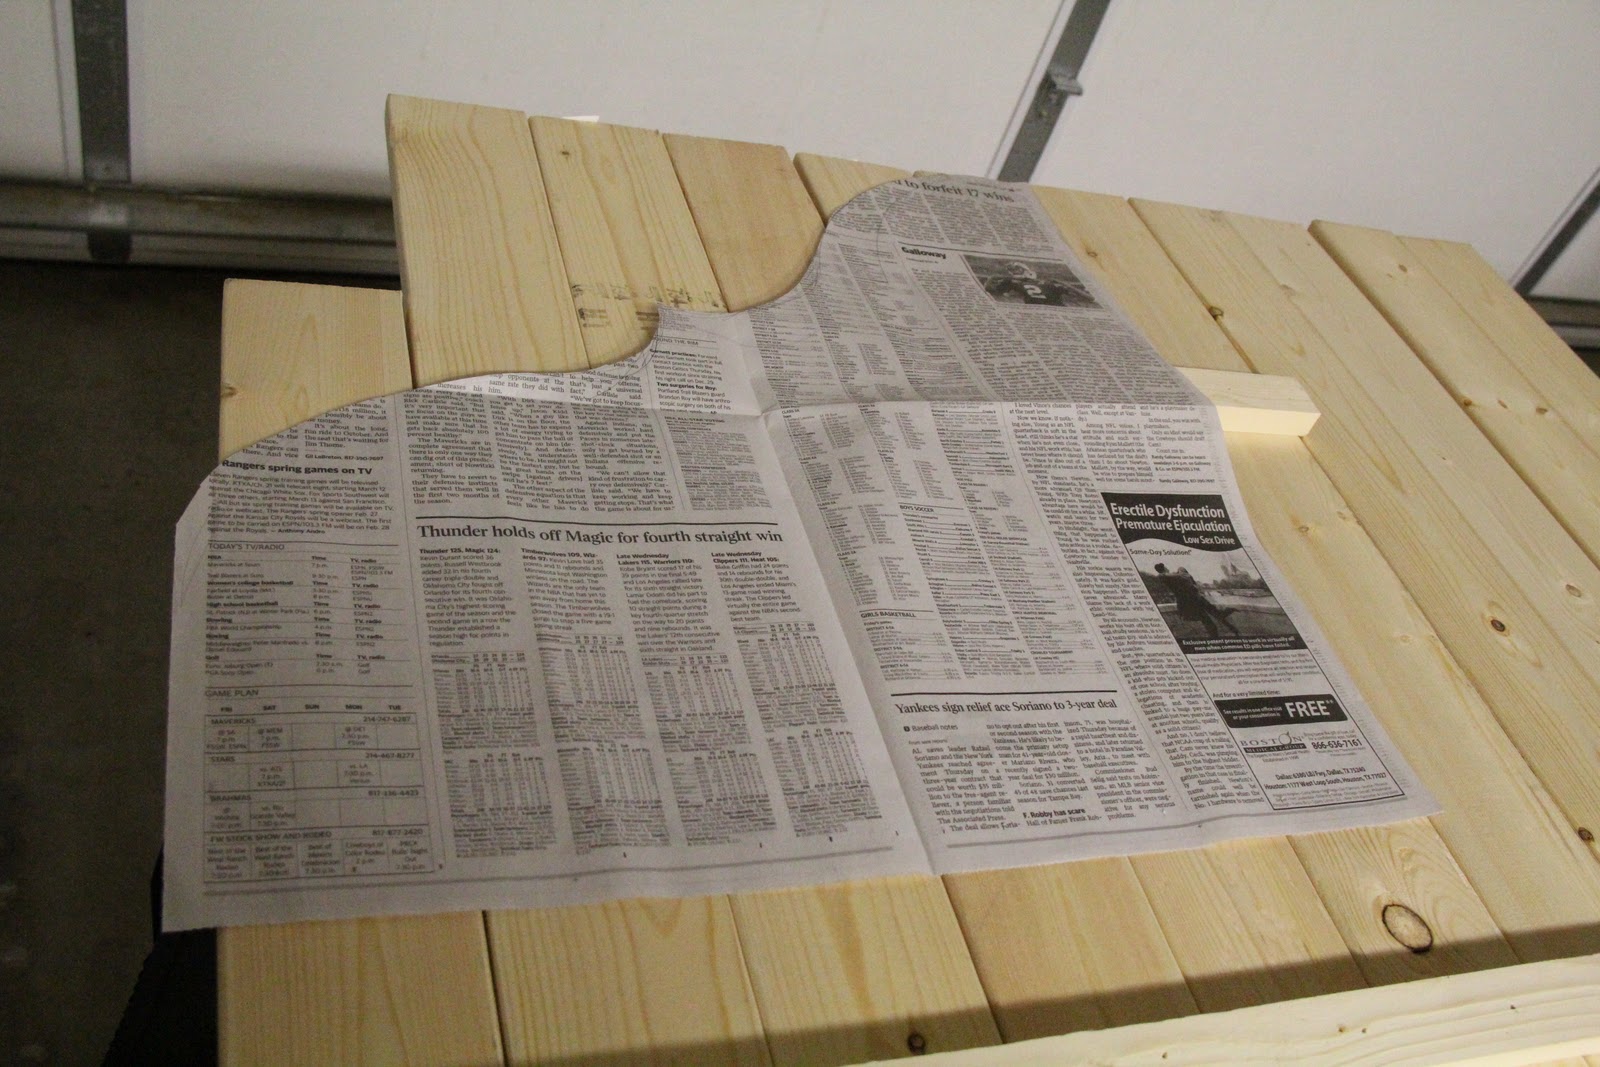
I then used a pencil to trace both sides on the back of my headboard.
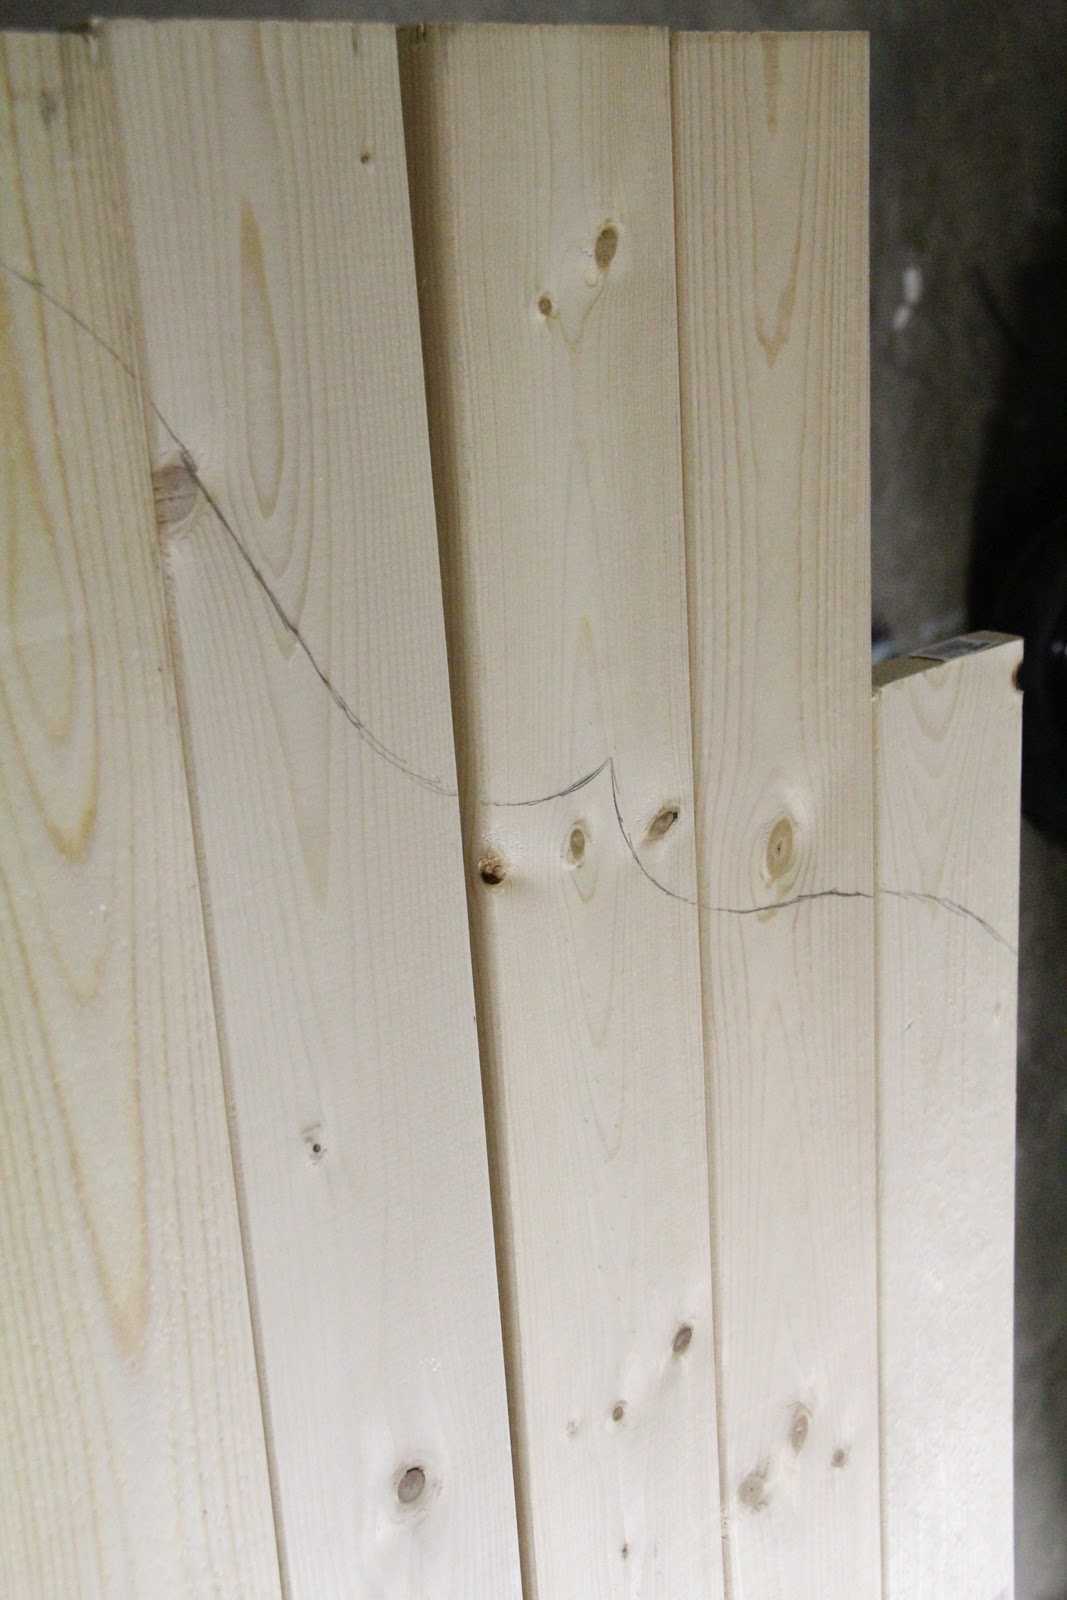
Now the fun part…
I used my DeWalt Jig Saw to cut my boards. I cut one piece at a time starting from the outside.
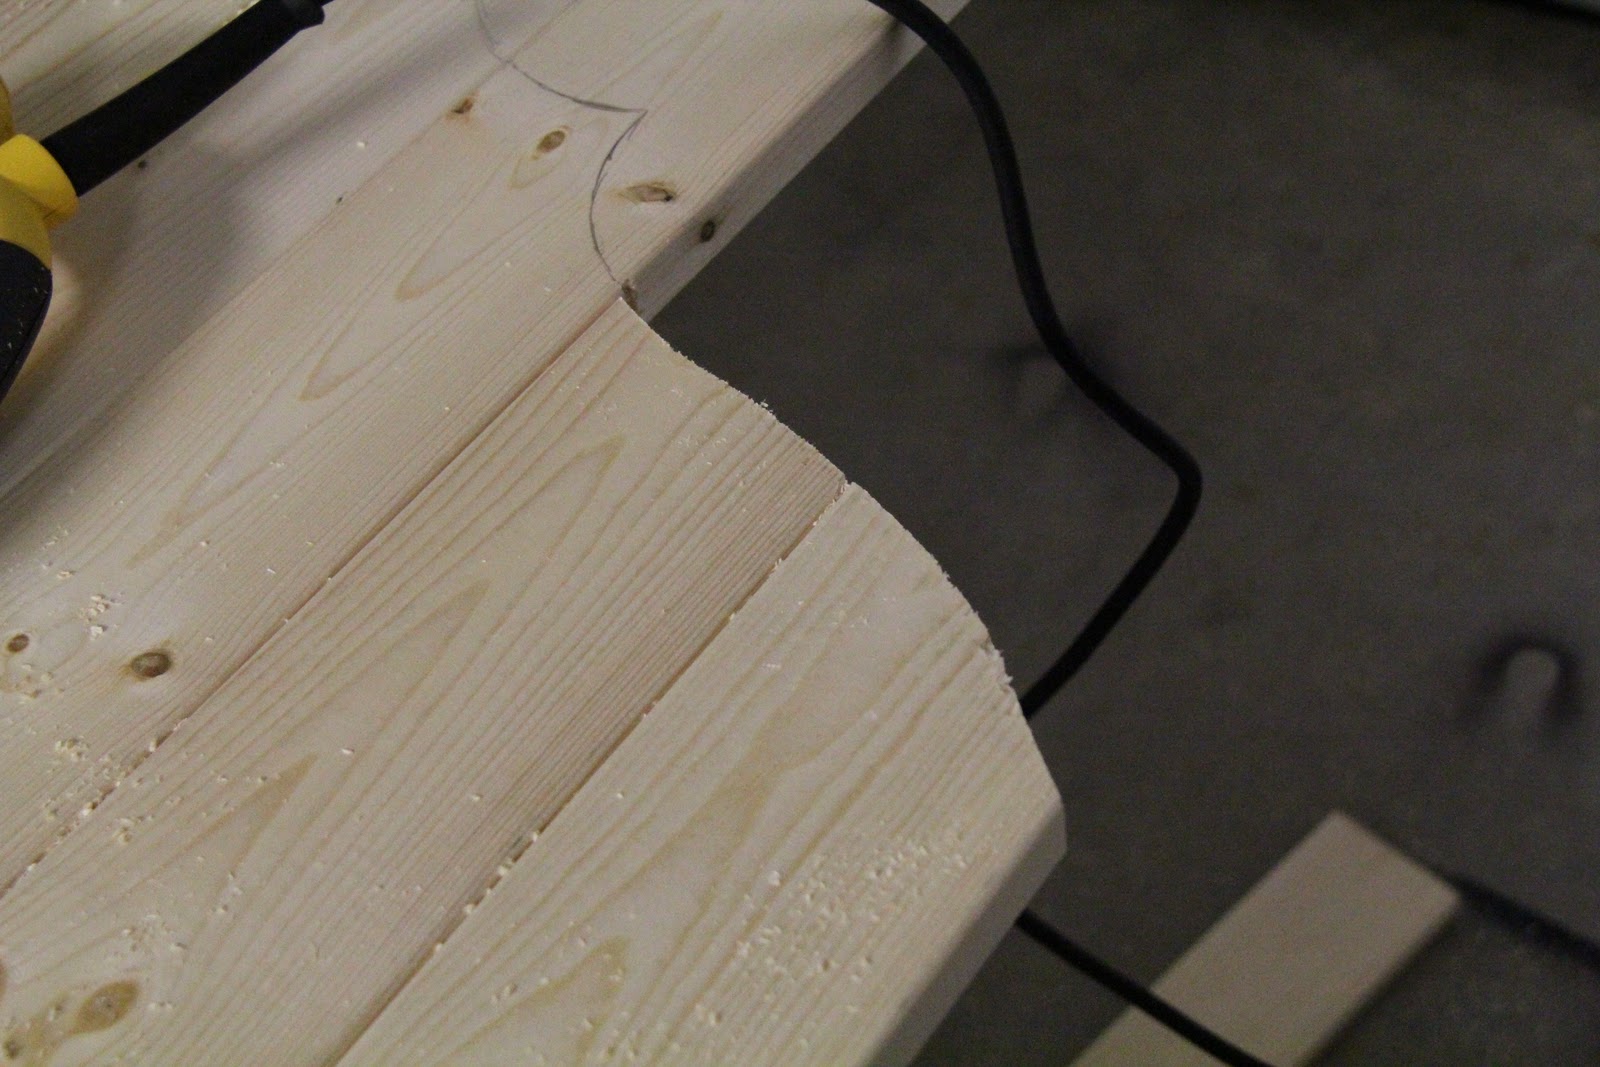
I cut all of my boards in a matter of minutes and I was done. In total I bet I spent less than an hour getting the headboard put together and cut.
The best part??
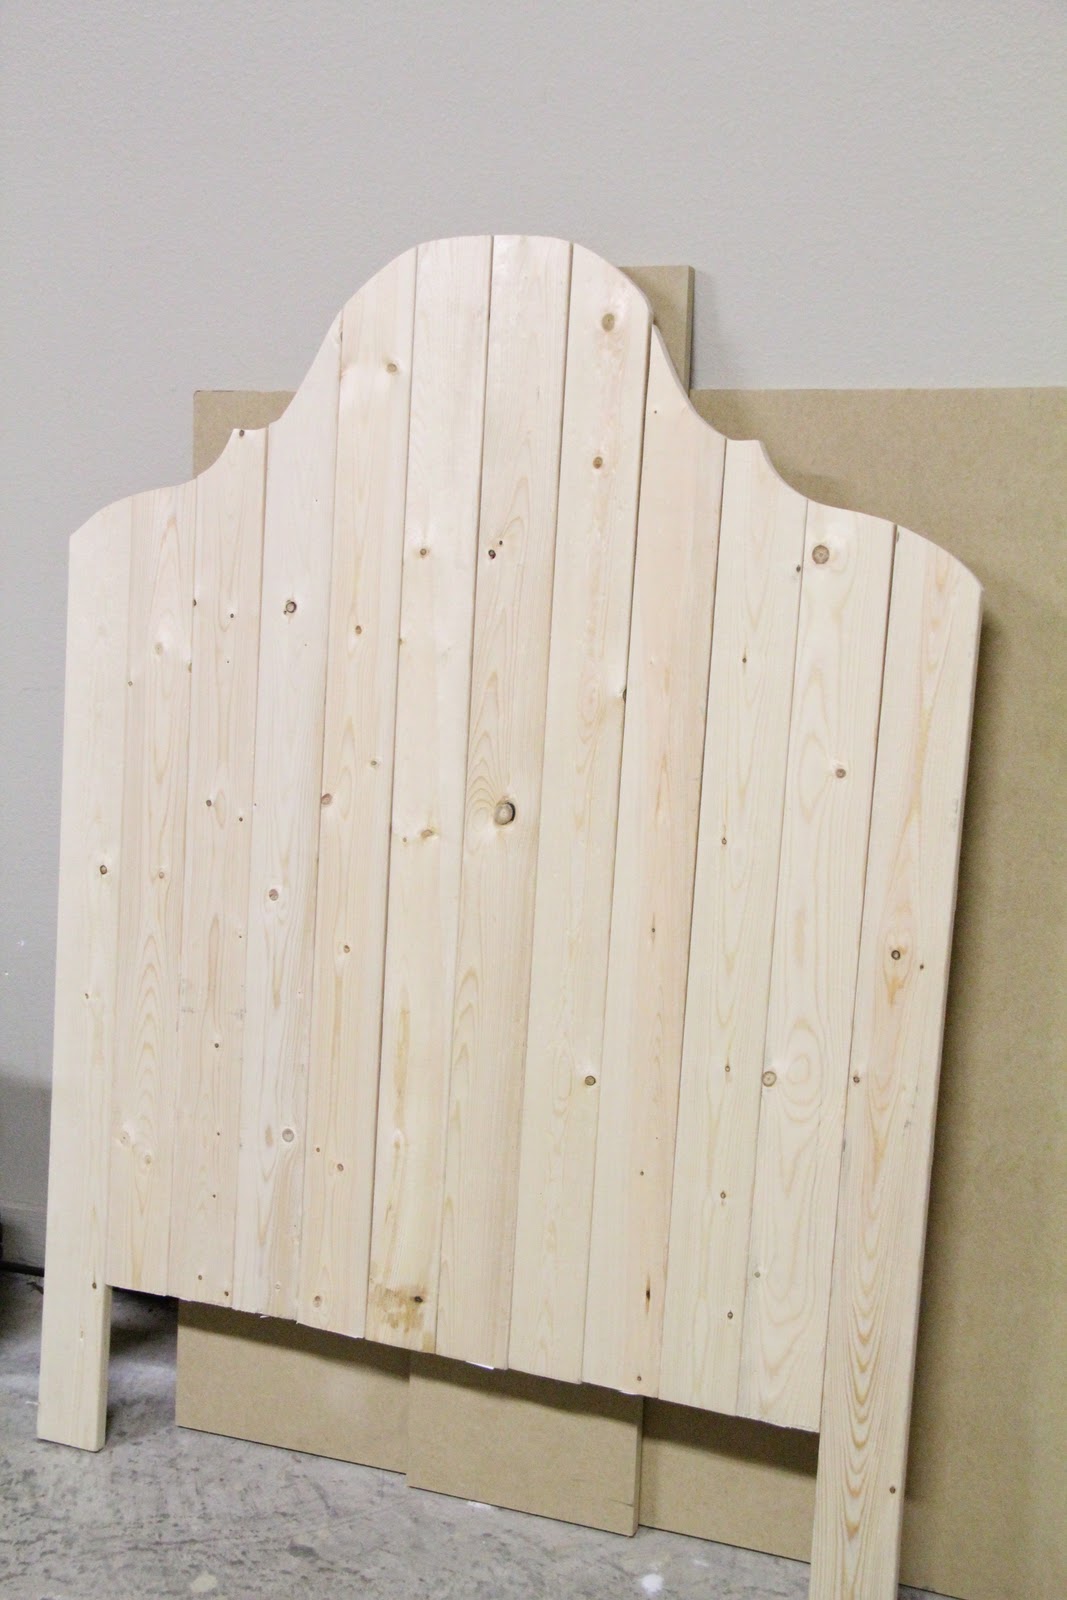
My total cost into the headboard is $24… Whooop!
Here it is…
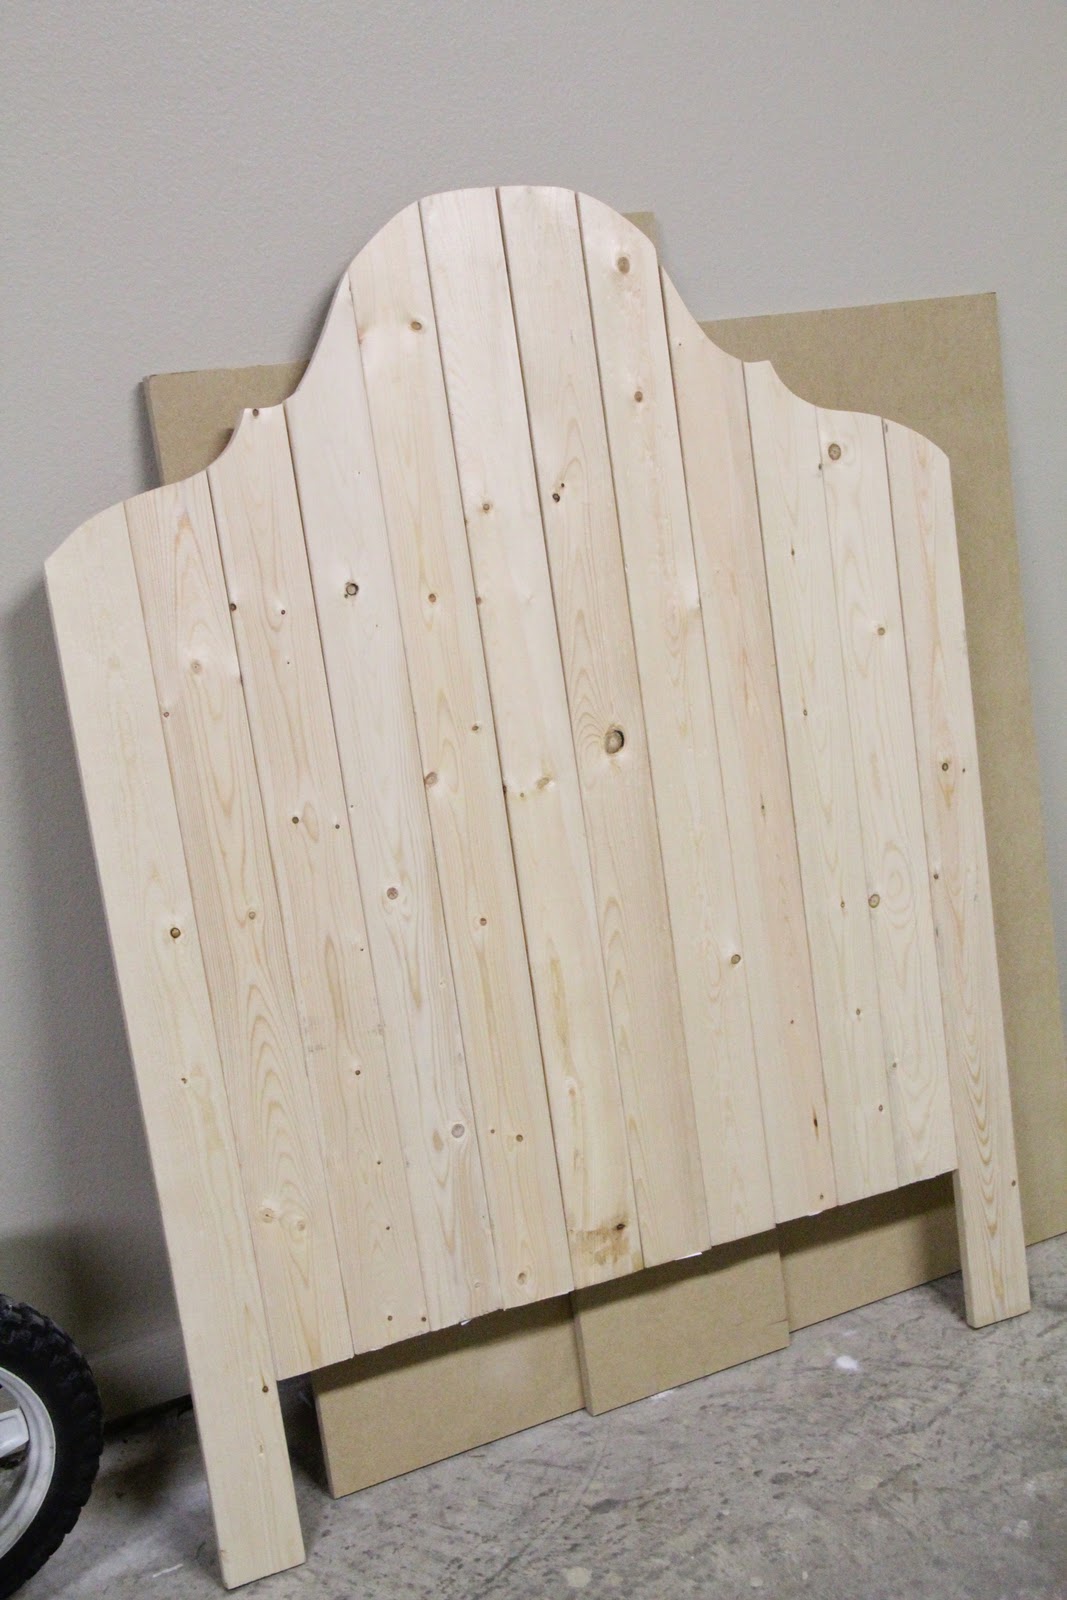
And one with my shadow…
Now it just needs a bed….
That will be one of my next posts!!
Thanks Ana for the wonderful inspiration and how-to’s! You are definitely to blame for this addiction.
Tomorrow I will be announcing the 8 winners of our ScotchBlue Edge-Lock giveaway. You can still enter before then by going HERE!
~Whitney


Can't wait to see the finished bed….awesome!
I love the shape…and all your hard work!:)
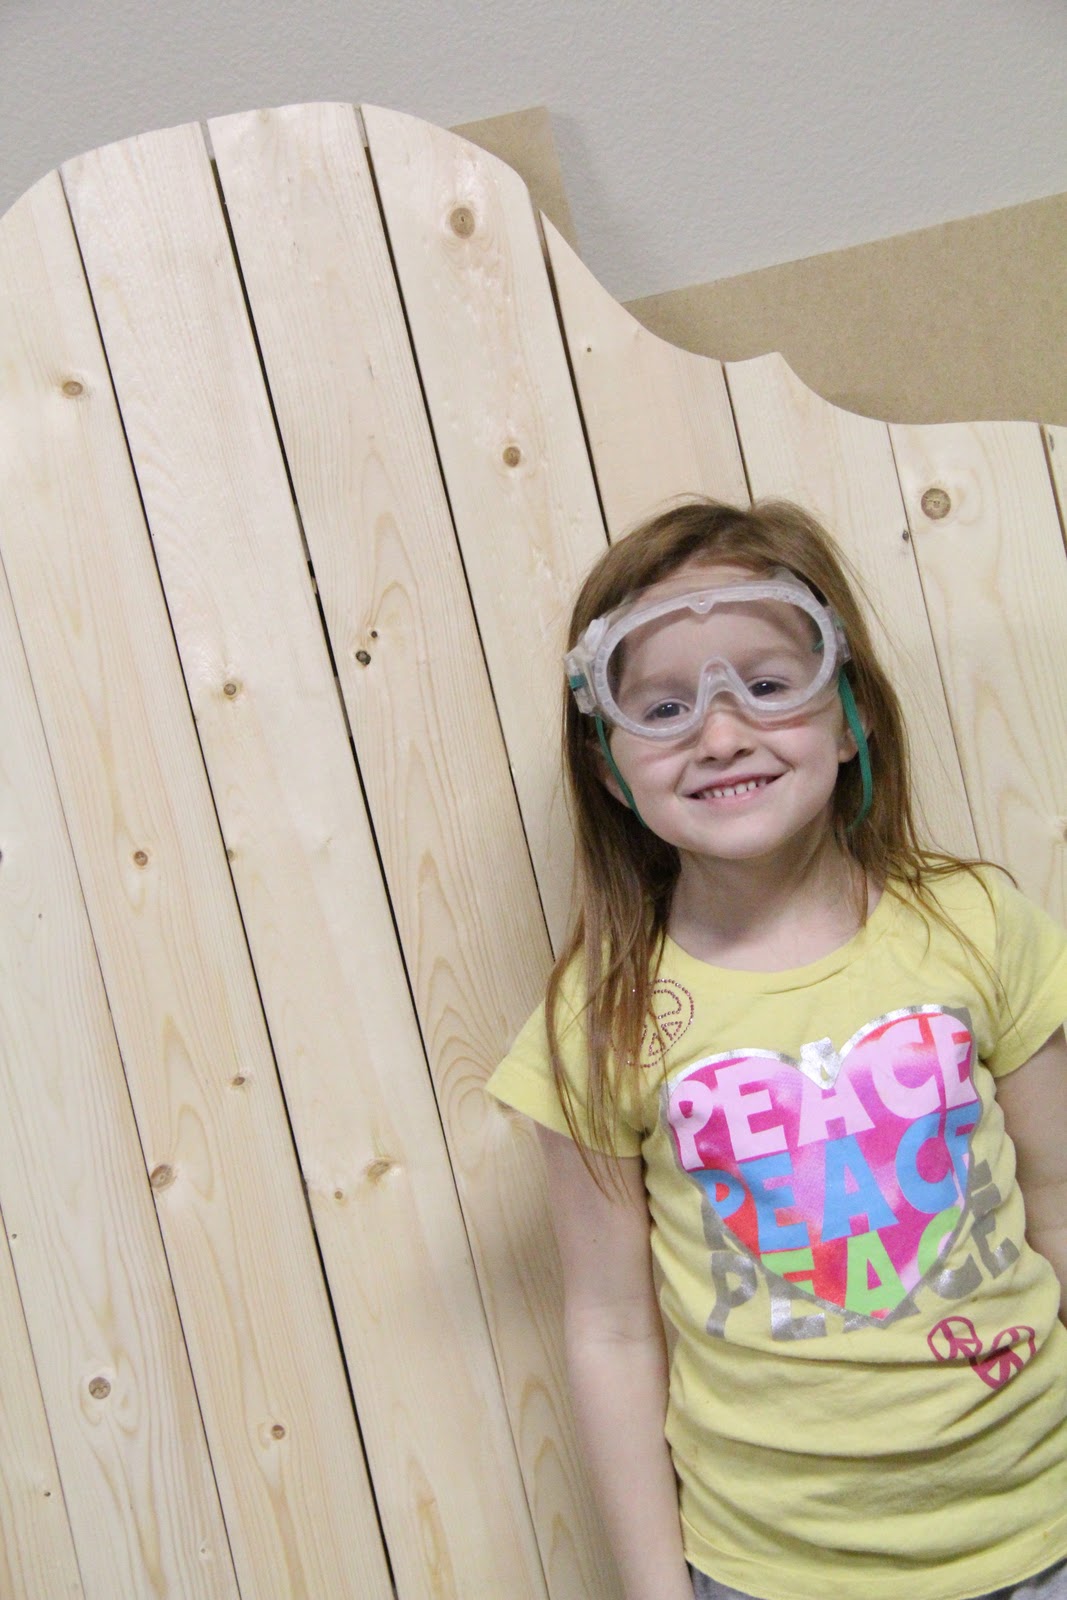
So cute and your helper is the cutest! 🙂 I can't wait to see the finished product!
Awesome! We are redoing my daughter's room and needed a new headboard….Could you hear me yell "Todd come look at this!!!"?
Great job. I love it and you did so well.
How awesome is that!!! I want to make my daughters headboards too!
It's looking so good! And what a sweet little helper =) Can't wait to see it when you are all done!
i love this, i've got to find somewhere to use this! thanks, denise
Great job as usual! I've been reading your blog for a year now and you guys never fail to amaze me.
Oh you've done a fabulous job! I can't wait to see the finish product. I fell in love with Ana's designs early on and sadly I've only made a book shelf of hers thus far. I plan to build vs refinish a lot more this summer! Finances didn't allow much more than sand paper and spray paint last year.
I have to ask… what color will it be finished in???
I can't wait to see the whole bed.
Love LOVE the headboard, it's so girly! Don't you just love Ana's site, that woman is just amazing. We made her farmhouse bed last year and blinged it out with some Crown molding. We love it!!
http://eoberrys.blogspot.com/2010/04/farmhouse-bed-part-2-knock-off-wood.html
p.s. Loving your blog!!!
Amazing! You are so very talented! love your mini-me!
Very nice, please share the finished headboard. sandi
Fabulous! I'm looking forward to how you put your touch on it.