Hi friends! Things have been a little crazy this past week. I coach at a competitive cheerleading gym and two of Whitney’s girls cheer there. We had our Nationals competition this past weekend and although it was so fun, we have been drained! I told you I would share how I put my DIY Wall Art up on the wall so here’s a quick tutorial for ya’ll!


I started with this metal piece from the garden section at Hobby Lobby. I used a coupon so it was about $3.00.

I spray painted it with Rust-Oleum Blue Sky spray paint and then roughed it up with my 3M sanding block.
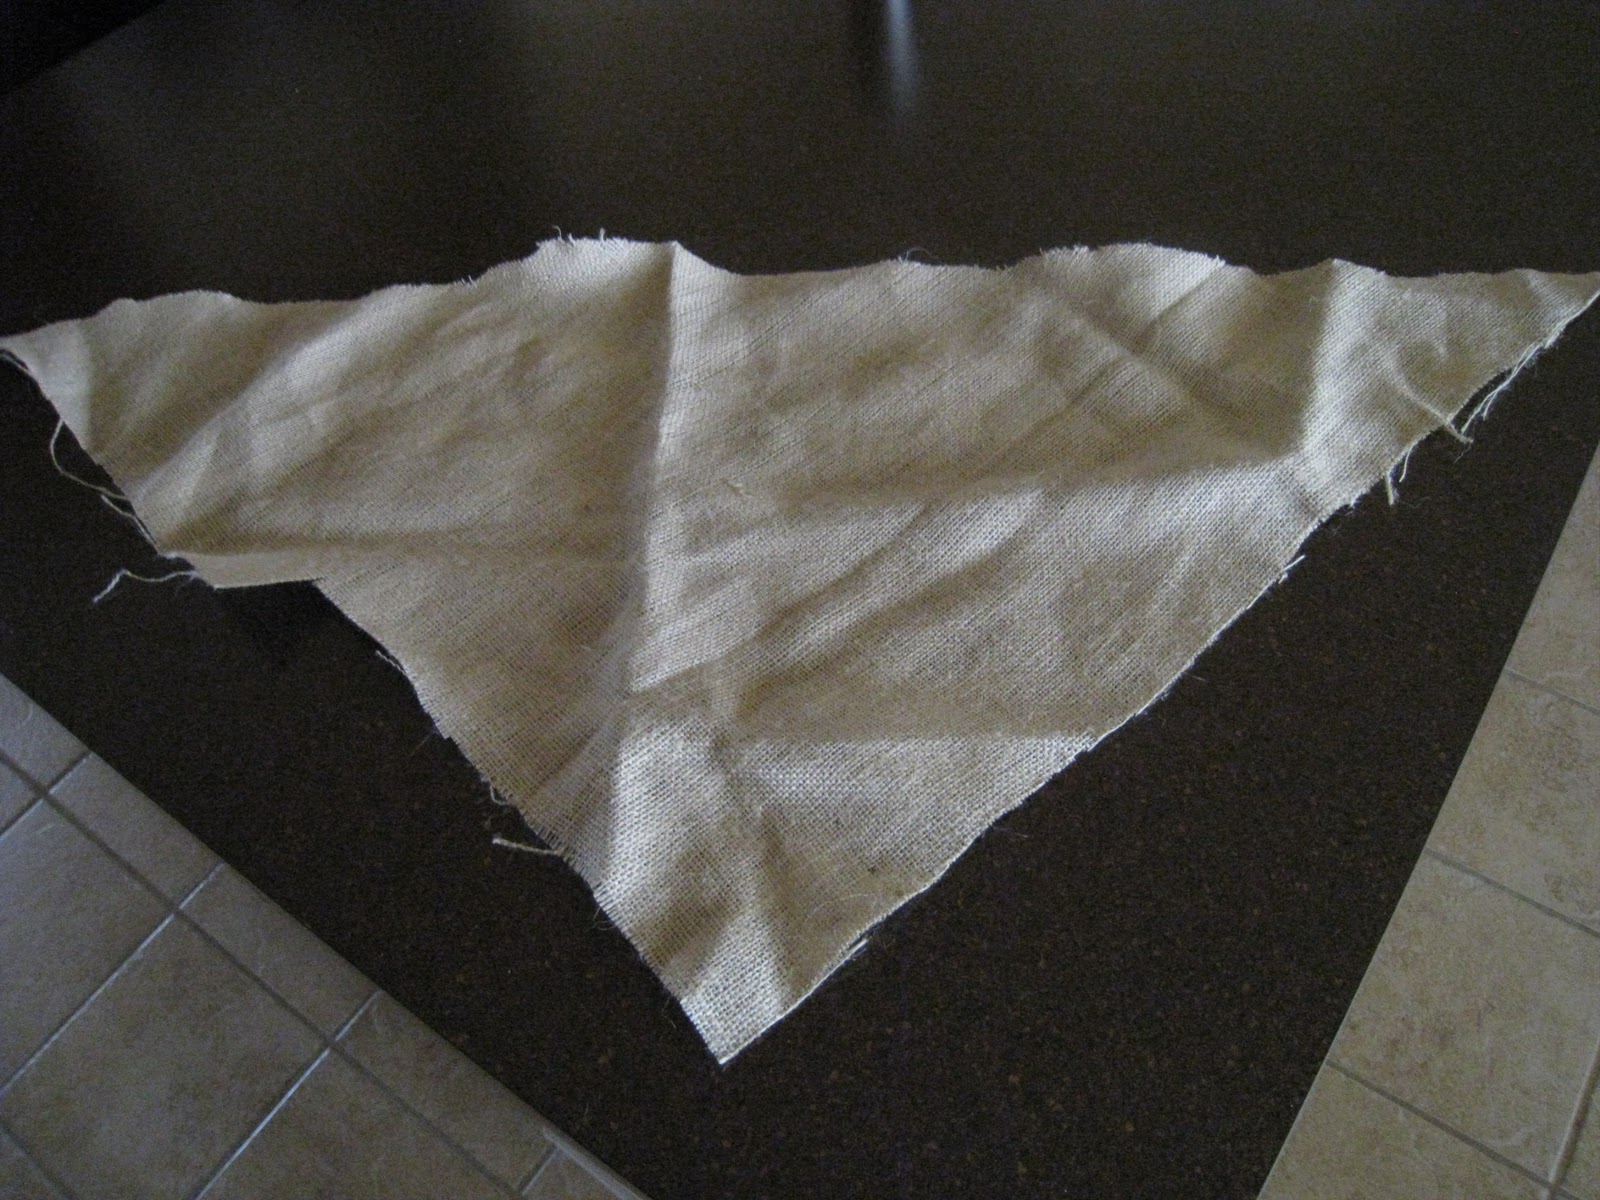
Next, I used a piece of scrap burlap and cut it into a square. Then I folded it in half to make a triangle.
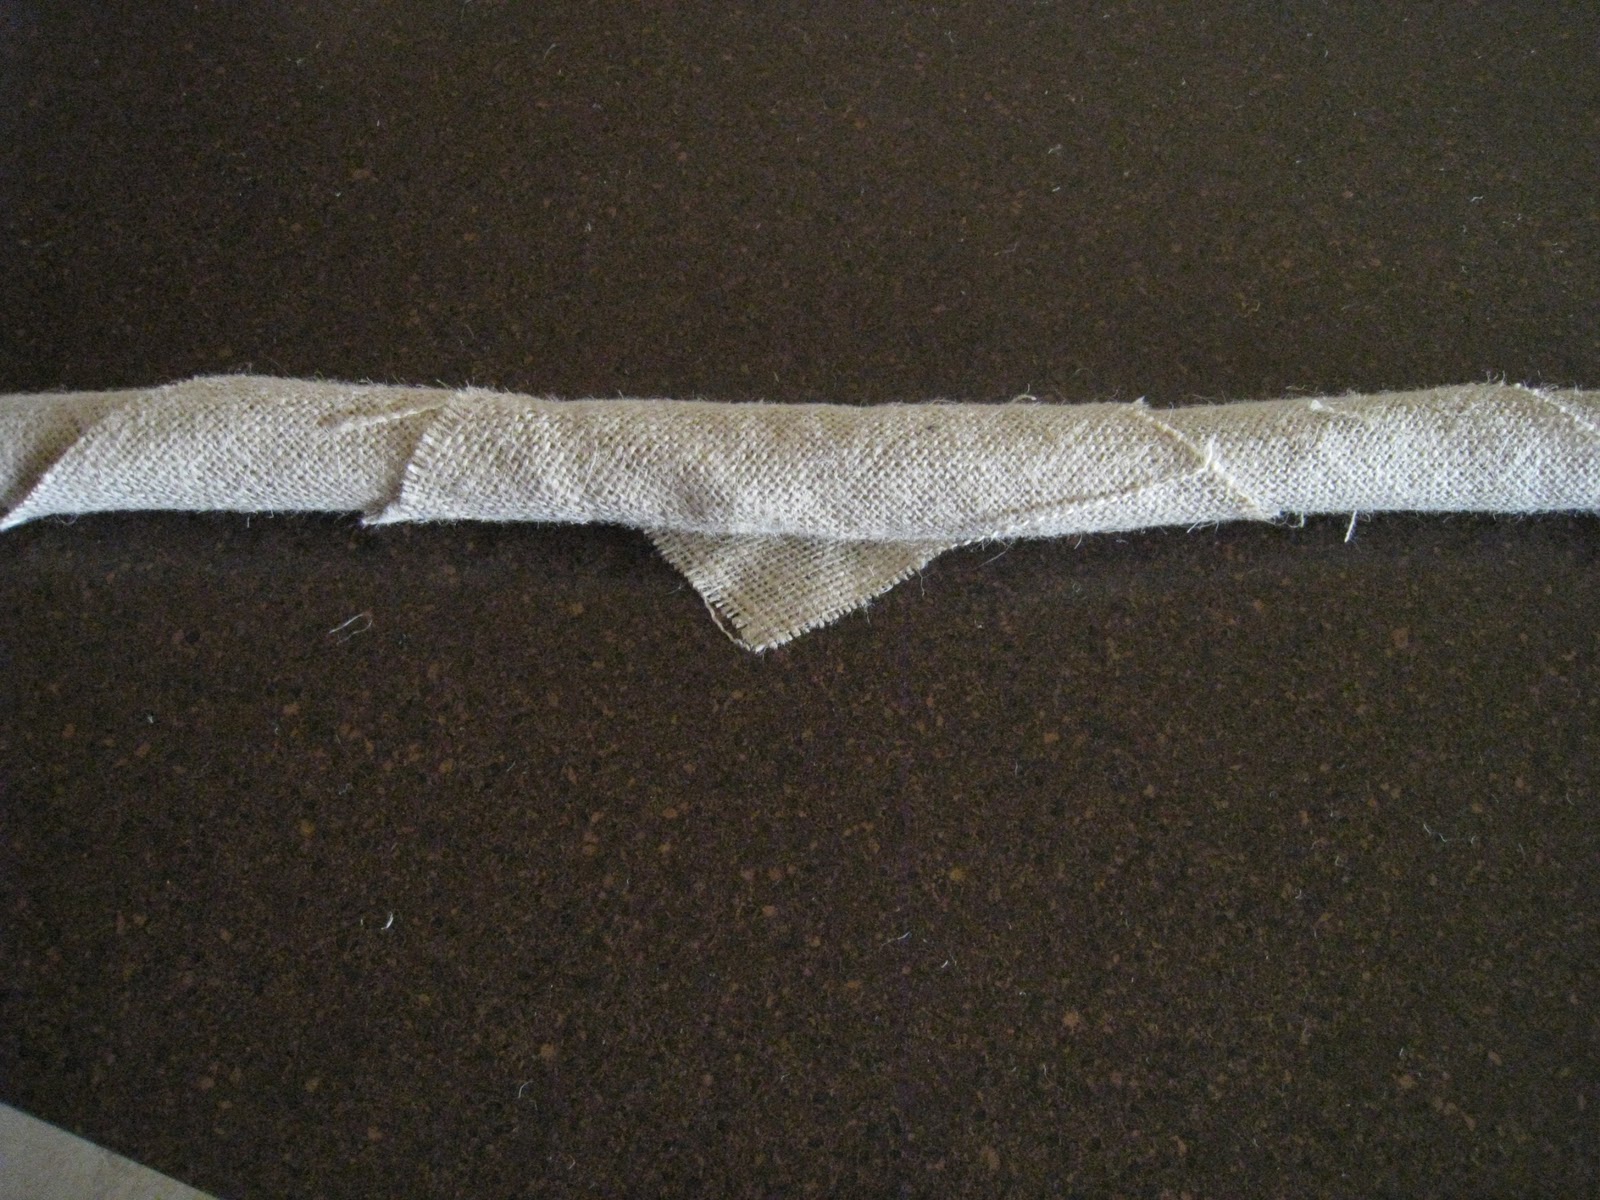
I rolled it up…

and secured it with a dab of hot glue.
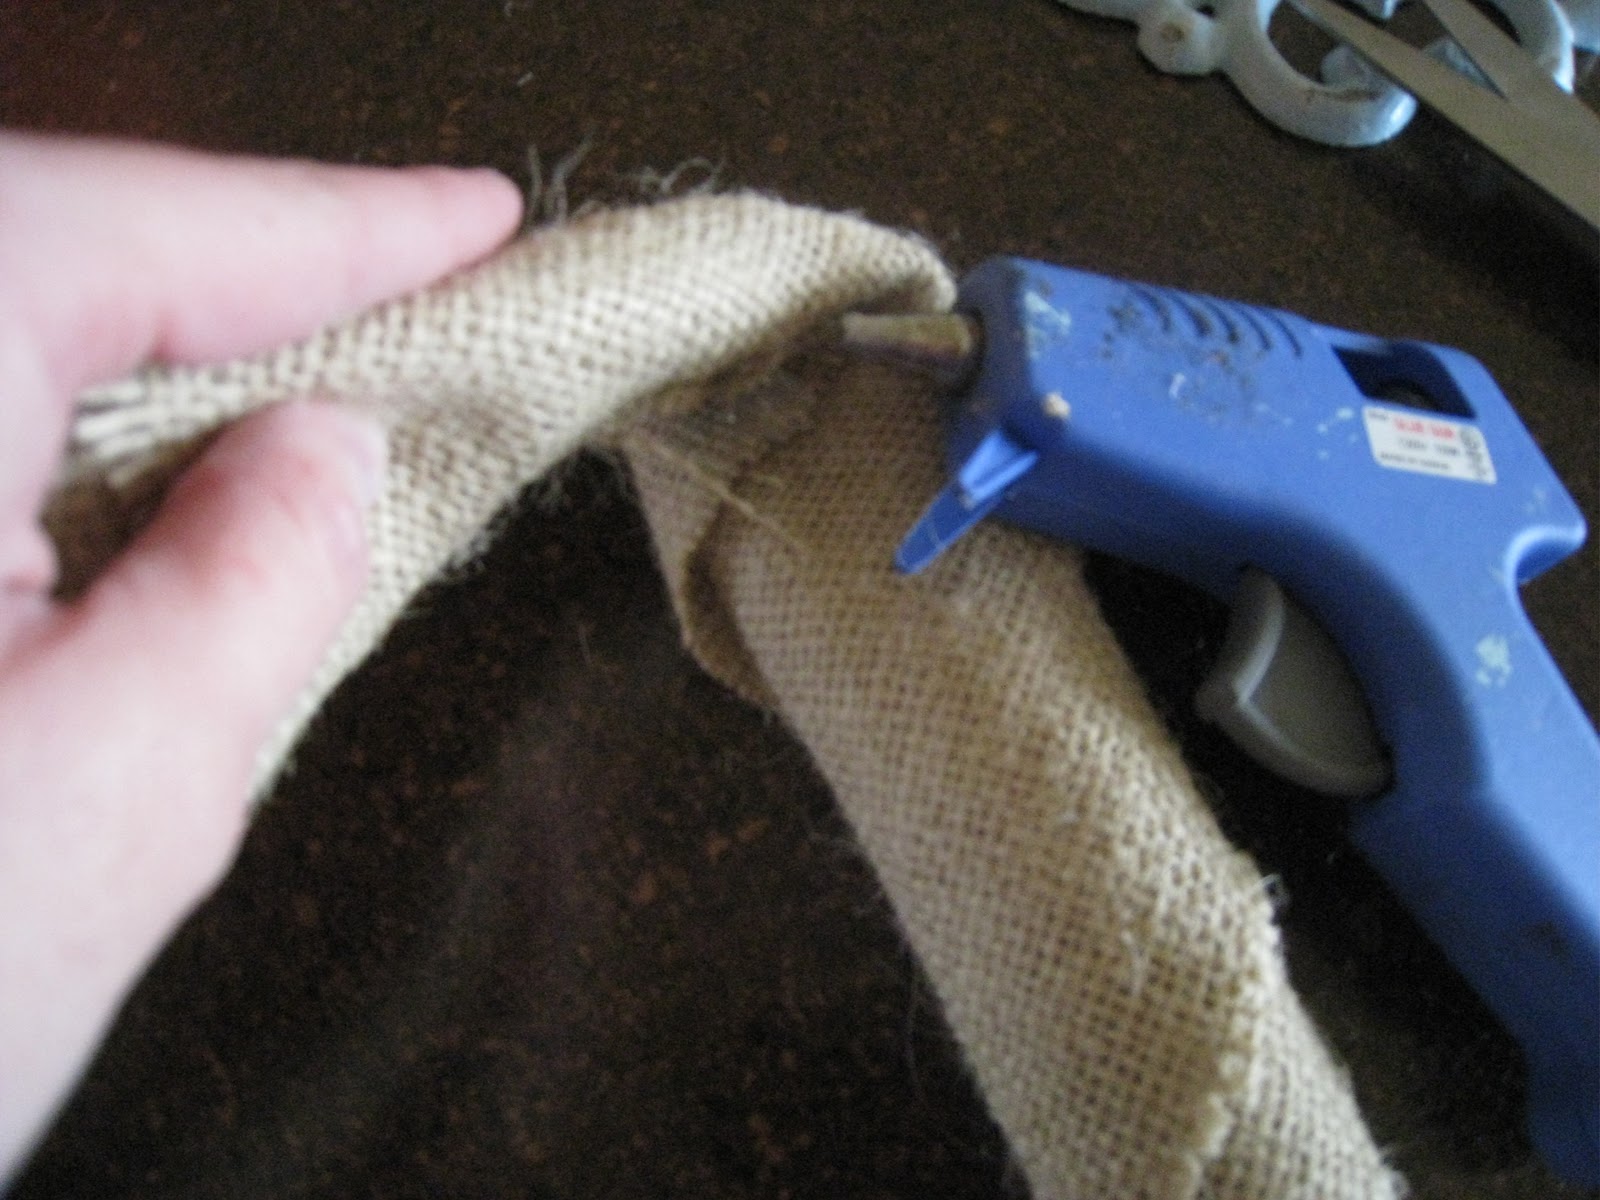
Next, I folded the burlap roll in half and secured with another dab of hot glue.

I pushed a hanging nail through the middle of the burlap

Pushed it through the wall…
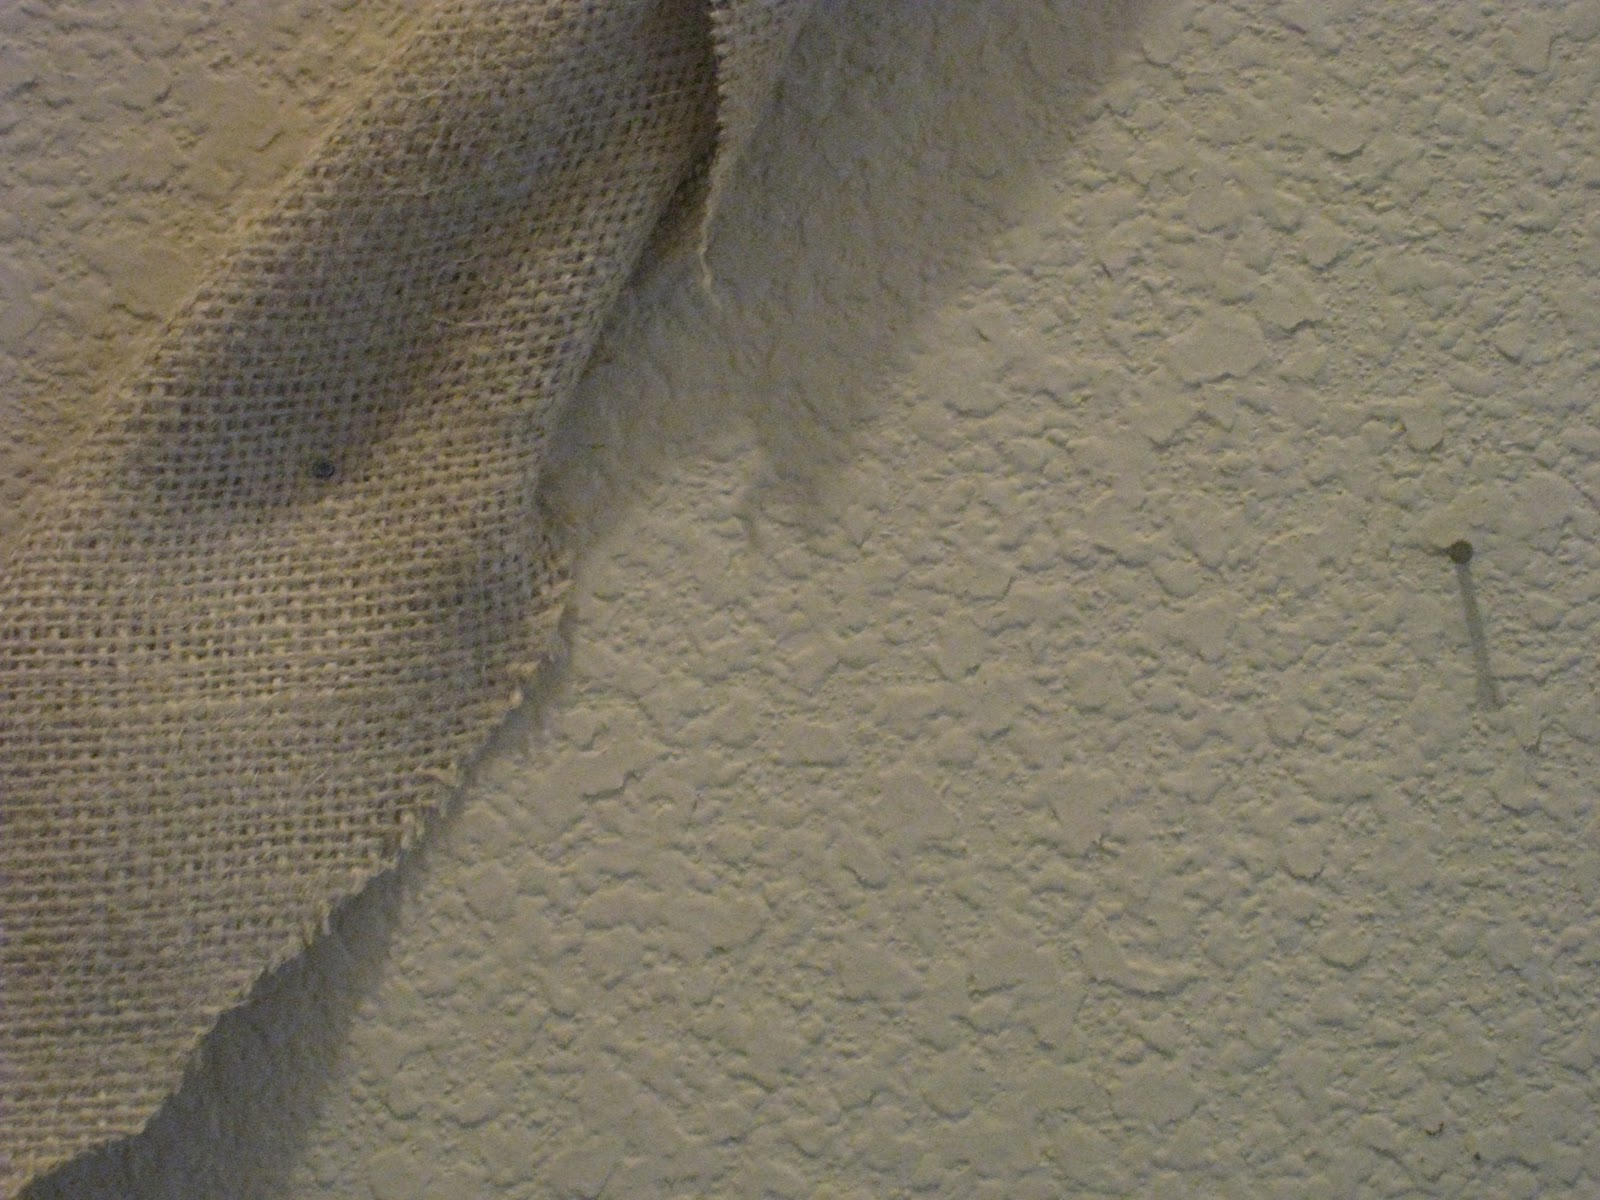
and nailed the ends of the burlap roll to the wall as well.

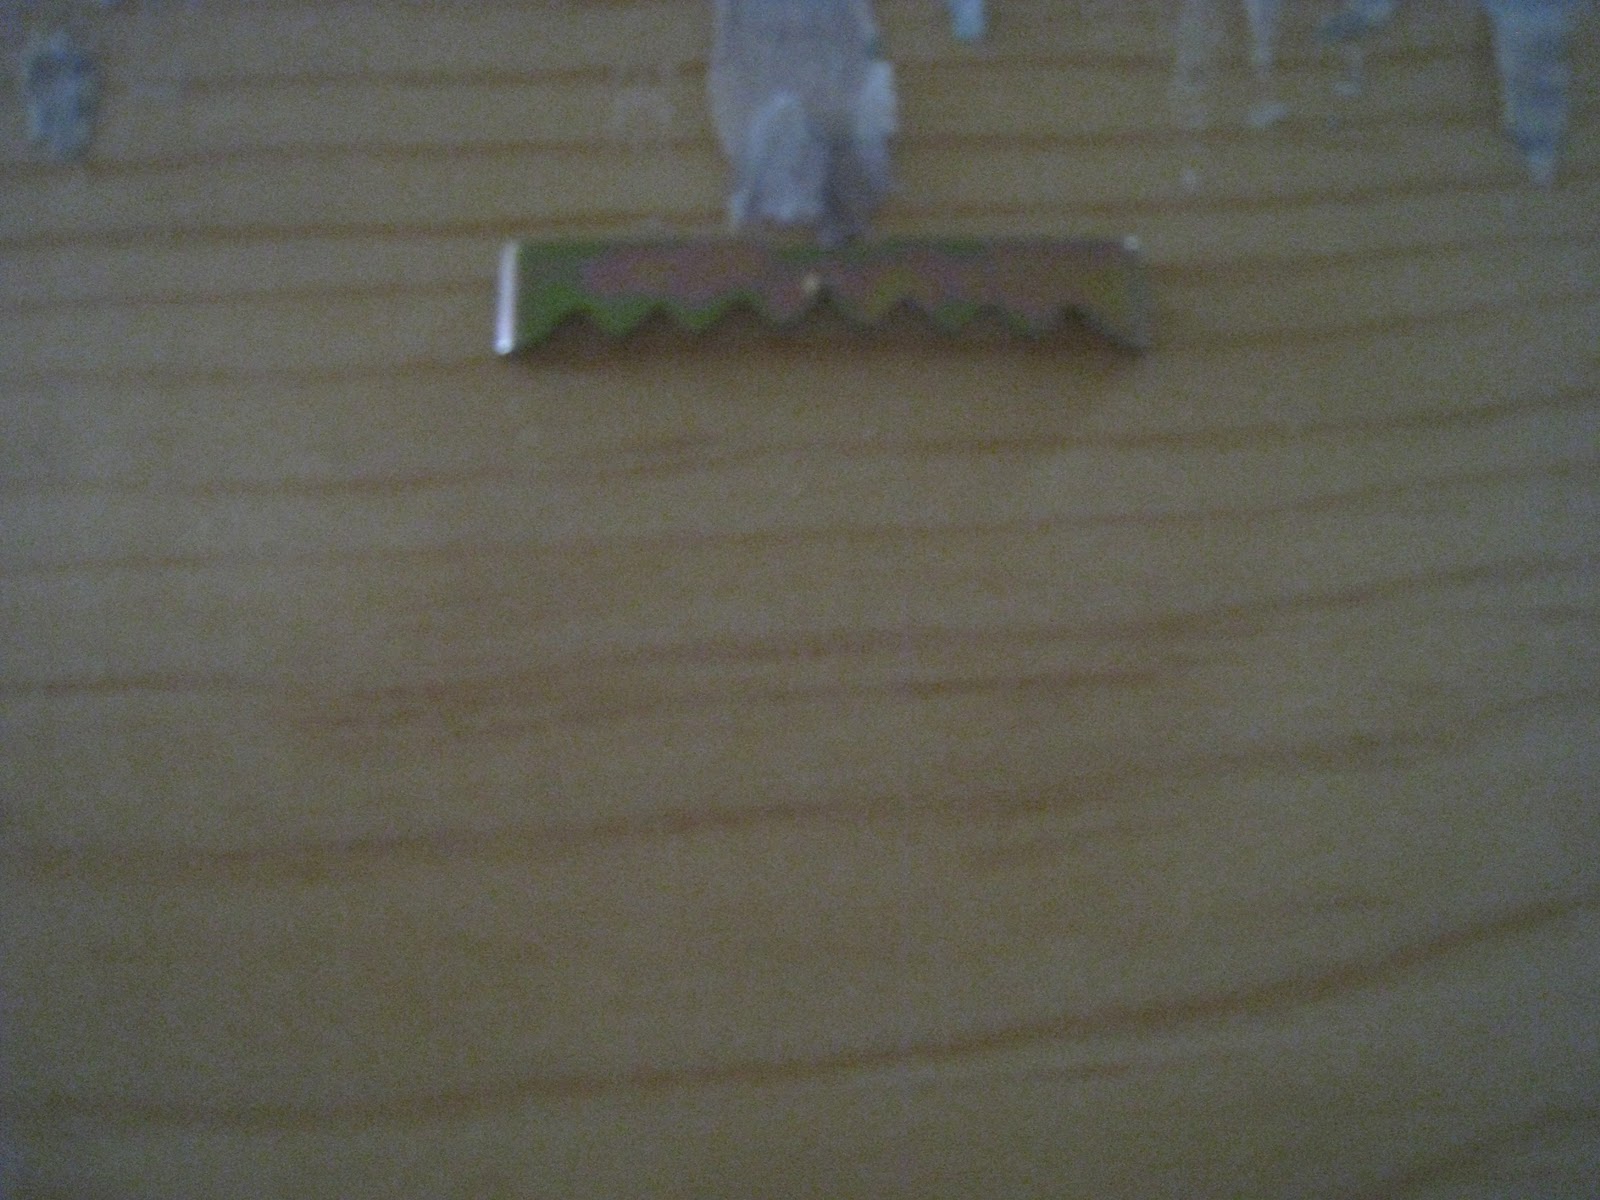
Next, I used a saw tooth hanger, purchased at Hobby Lobby, to hange the Wall Art. I just used one because I didn’t feel like lining up two of them:)


So there it is:) I hope you all like it! This entire piece cost me $3.00 and that was just for the iron decoration! Happy Friday and have a safe weekend!
~Ashley


Just discovered your site! I'm a huge new fan. Thank you for all your step by steps!
LOVE this!! Looks GORGEOUS! 🙂
Catchy title Love crosses!
Fabulous – dontcha just love the Lob?
(I used a 40% coupon today for fabric stiffener that never seems to go on sale. Score!)
I really like ironwork – what a great piece. And, such a creative use.
Thanks for sharing!
Great idea, I love the fabric to hang it with, it looks fab!
Bee happy x
Have a delicious day!
Happy Friday Ya'll from Utah! The burlap is a fun new twist on hanging. For more hanging idea visit:
www.rodworks.com Tons of pics and hanging ideas.
LOVE your ideas & blog!! My favorite!
All I can say is GENIUS!
So cute and looks simple, which I love.
I feel ya…my daughter used to be on a competitive cheerleading team (for 6 years) and although we loved it, this time of year was crazy! What team is she on?