Hey guys!
Hope you all had a great weekend. I spent mine with the fam and about 74839274 loads of laundry. Ashley and I have joked before about how we should post our folded laundry piles as our latest DIY projects. You girls would be so impressed :-))
My latest space to tackle has been this blank space between my kitchen and living room.
It’s a very long, blank space that catches my eye a lot. I thought it could use a little something. I decided to make a sign for it.
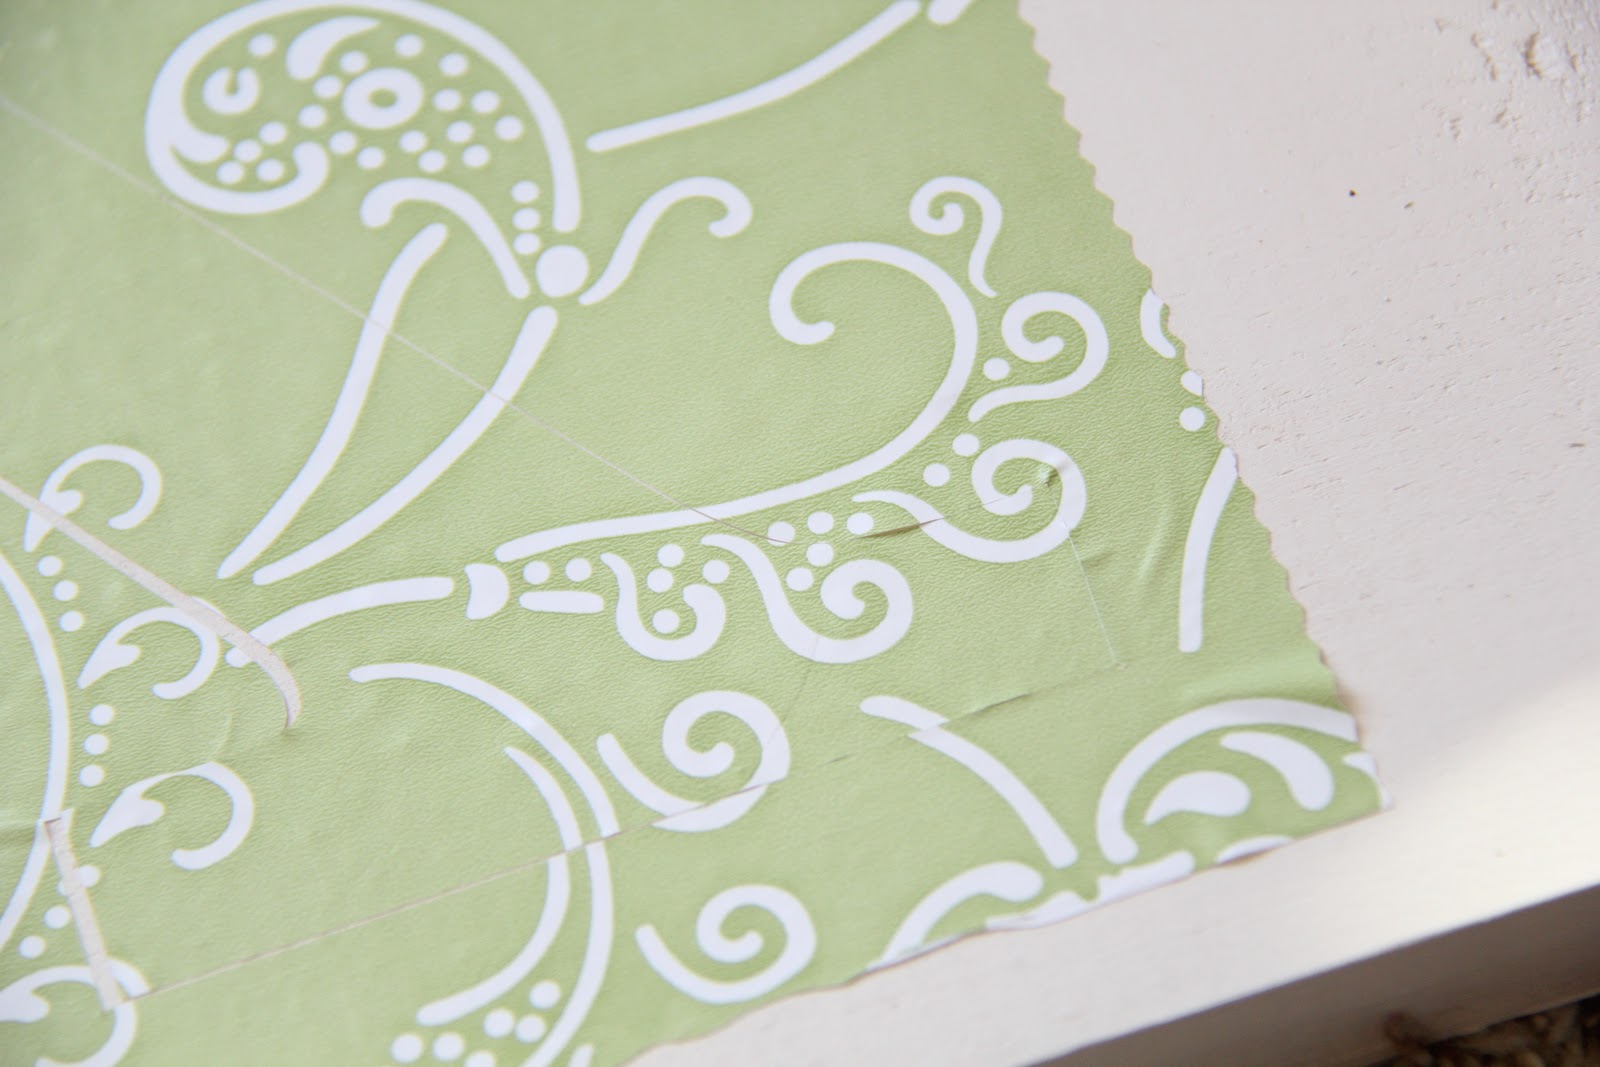
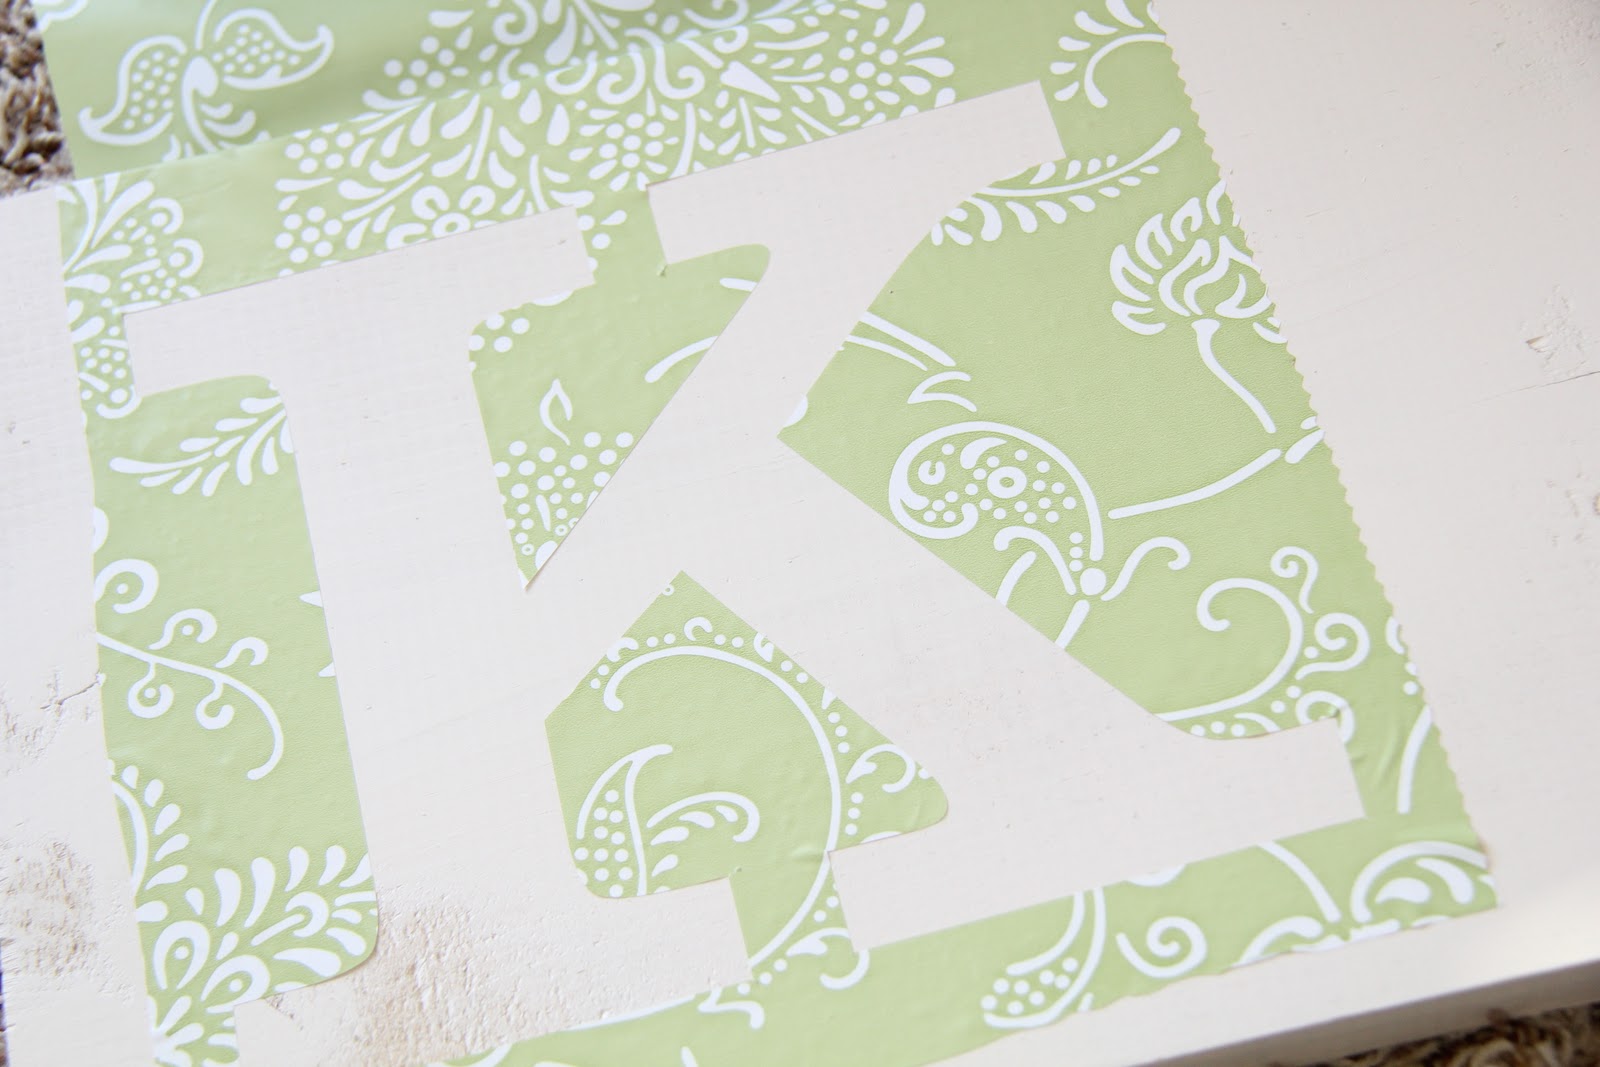
Because I am no free hand artist I started by purchasing a roll of Contact Paper.

I made my stencils using my Silhouette. For those of you that have a Silhouette, this is my new favorite material for stencils! I cut it on the same settings at vinyl and it was a perfect cut!
For the sign itself I decided to use a 1×10′ board from Lowe’s. I gave it a couple of coats of Rust-Oleum Heirloom White and let it dry. I picked a board with lots of knots and imperfections because I wanted it to look good and shanty.
After cutting my letters, I used the letter itself to space it on the sign like this.

Cute font?? I used a free font called Clarendon BT. Love it! And without having to use a cartridge I saved lots of time and money!
Once I had my letter placed I put the outline piece around it.
Then, I peeled the letter off!
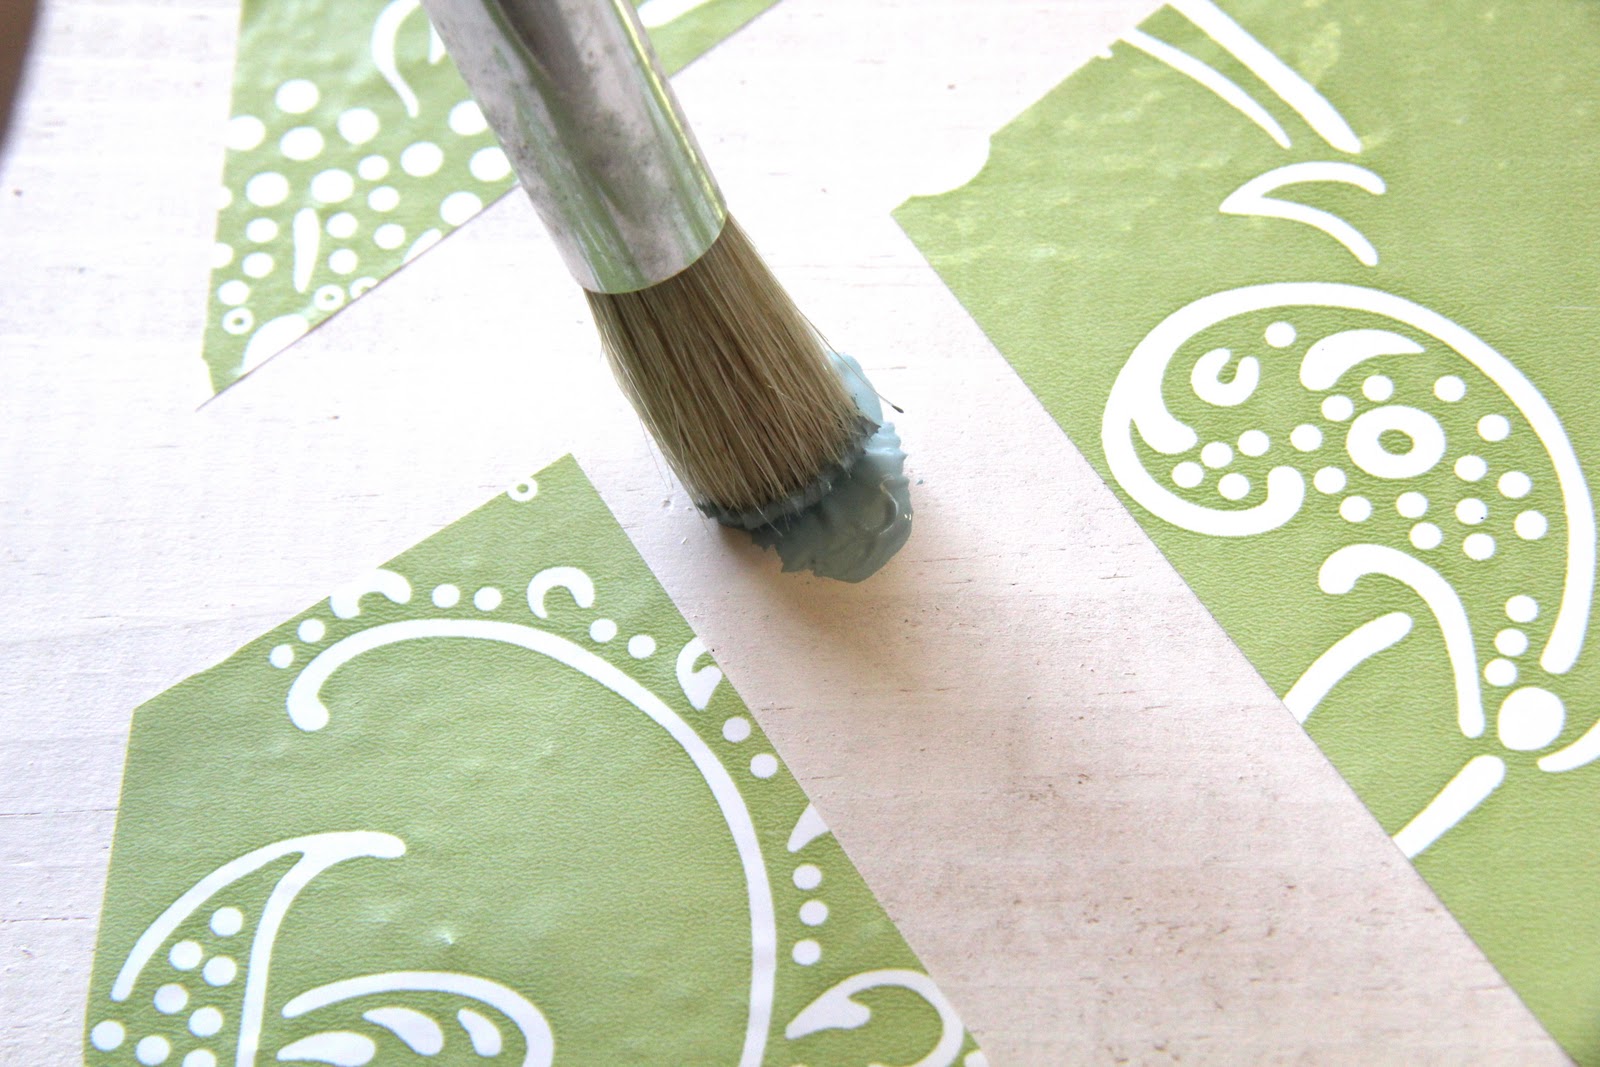
I used my favorite acrylic paint…

…And used a stencil brush to paint on my letter.
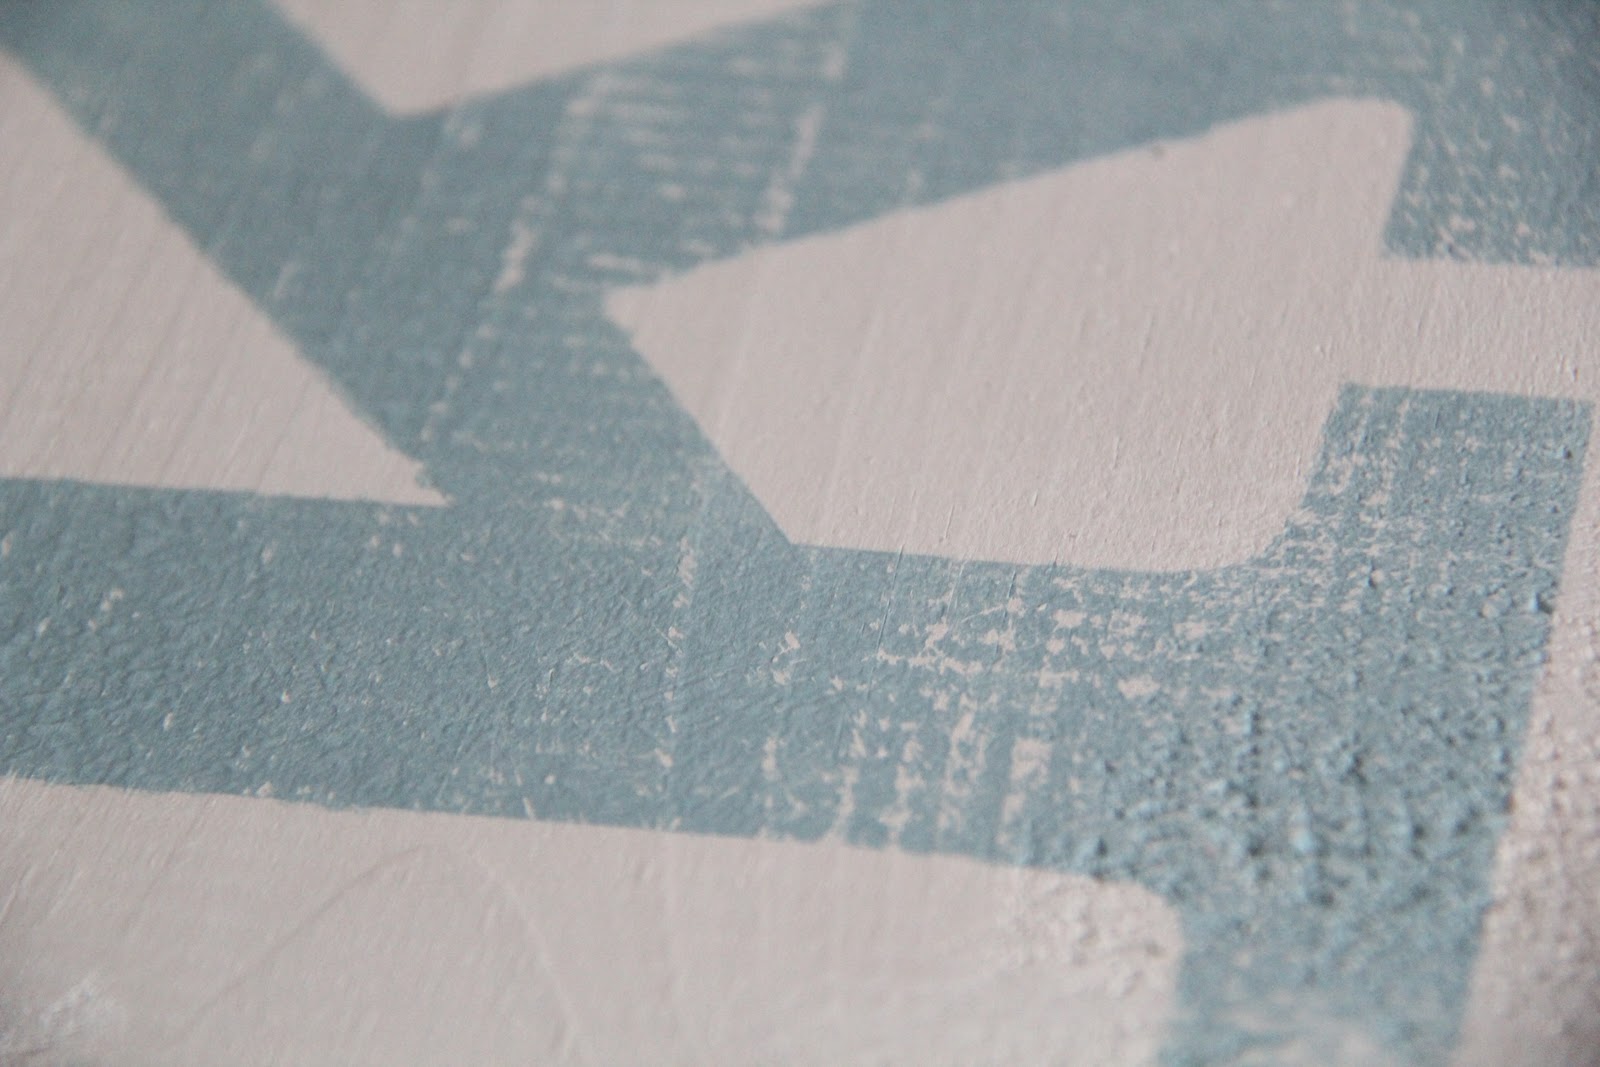
Drying…

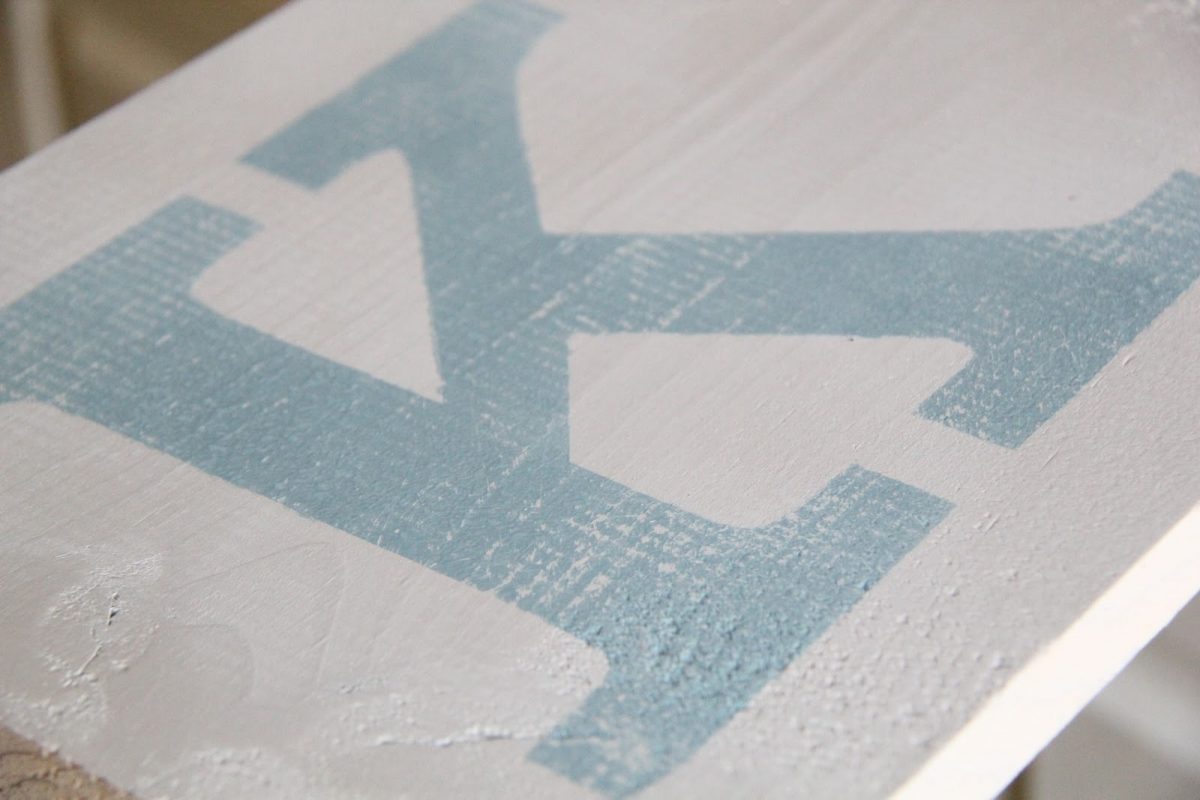
Here it is dry just before I shantied it up a bit.

I wanted my new sign to look old (the hubby still doesn’t understand this concept) so I used a 3M 220 grit sanding block to lightly sand over the letters. I LOVE the result.

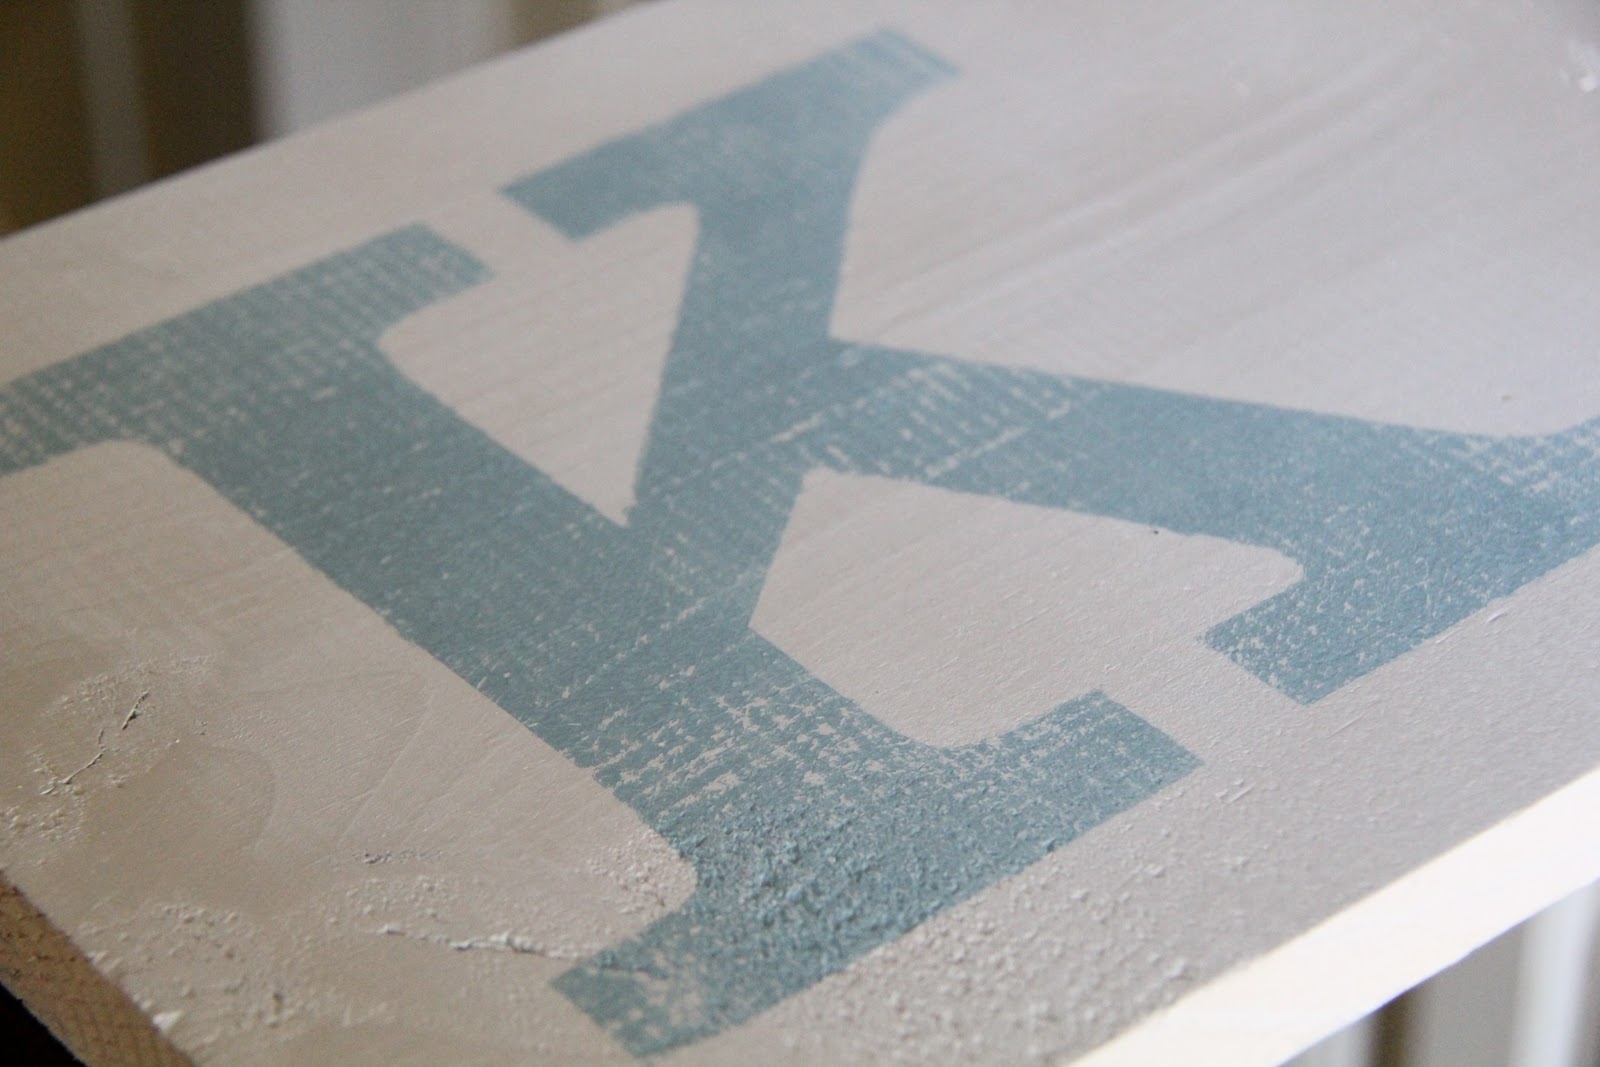
My final step is to distress my edges a bit and get this baby on the wall. I will show you guys that in my next post! Thanks for stopping by! I’m back to laundry 😉
~Whitney


egWiUt zrpmvmucyhge, [url=http://pxecnafevdgz.com/]pxecnafevdgz[/url], [link=http://utkfwsthsllj.com/]utkfwsthsllj[/link], http://goaaerqaxrgb.com/
Love the sign. Laughing with you about the husbands. I am for ever telling my dh it doesn’t need to be square………. I am not going to sand this down for two months and stain it for another month…. give me the paint!
Great homemade sign! Can't wait to see it hung up.
Can't wait to see what yours is going to say! I just recently did one with the name of my town on it. I love painting, especially anything on wood. I enjoy reading your blog so much, y'all always make such cute things.:)
I LOVE it! And it's fresh and Springy! I'd love for you to link up at my new Tuesday Time Out!
http://reasonstoskipthehousework.blogspot.com/2011/03/tuesday-time-out-link-up-party.html
Smiles,
Melanie
http://reasonstoskipthehousework.blogspot.com
Really enjoy your website! Looking forward to seeing the completed sign.
Ooh, looking forward to the reveal!
I just might have to totally copy your little sign. I have a wall just like that in between my kitchen and living room. This would be cute. Can't wait to see it:}
Jennie (Cinnaberry Suite)
i have a space like that too-can't wait to see it all finished!
can't wait to see it finished.
I was also a little in love with that contact paper! how gorgeous!
I hear ya on the hubby not getting it, only for me it's my parents. They FREAK out when I paint wood, lol
Ahhh! I am thrilled with your idea to use contact paper for stenciling! That's got to be WAY less expensive than the vinyl. Thanks for a great tip!
LOVE IT. I can't wait to see the finished sign as I have one of those spots in my house too.