Hey guys! Happy Monday! In an effort to minimize the rapidly growing wood pile in my garage I came up with another frame idea. I made this one for my kitchen to hold memos, photos and recipes. You can make yours for just about anything. Here is how I did it..
I used a 2×4 scrap I had and cut three pieces 11″ long.

I used Gorilla Wood Glue for this one.

Just put a thick line down the sides of each board and lay them side by side.

My hubby bought me this clamp a few months ago and I was finally able to put it to some good use. You can clamp yours or get creative with something else to hold them in place until they dry. I left mine for a few hours to let it dry good while I did a little grocery shopping.

For the next part I used a sheet of 12×12 scrapbook paper and 3M Photo Adhesive spray… I love this stuff! I used it on the photo blocks too. It’s super!

I used a piece of scrap 1/4″ plywood. Lowe’s actually calls it project panel. I know you can buy it in smaller 2×2′ pieces but mine was scrap from a huge 4×8′ piece. Either way… It’s cheap. Whoop!
I cut my piece of wood to 9×9.5″. I then sprayed one side with adhesive and stuck it to the backside of my paper.

I wanted to use a craft knife on this part but it was MIA so I settled on a razor. Just cut your excess paper off.

And I was left with this.

Of course I shantied it up a bit 🙂 I used an 80 grit sanding block to lightly sand all the edges and corners.

I also added a bit of distressing ink around the edges to rough it up just a bit more.

At this point I actually put a coat of matte Mod Podge on my paper to seal everything. I think it would have been fine without it but I also knew this would keep it from getting too dirty in the kitchen.
I also painted my now dry wood planks with some Rust-Oleum Heirloom White spray paint.
After it dried I added some wood glue to the back side of my paper wood and attached it to my wood planks.

I finished it off by attaching a bulldog clip that I painted Heirloom White also.

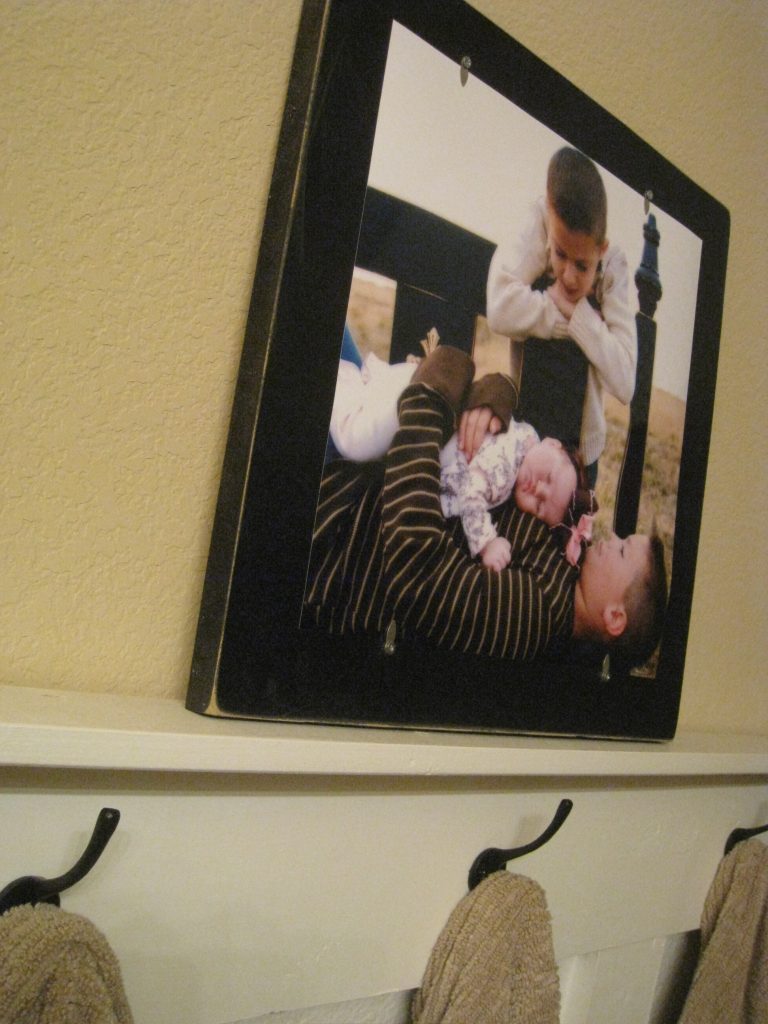
And it was ready to be used!

Right now I have it holding a photo but I love how you can switch it out with just about anything! I also love the pop of color and pattern that the scrapbook paper gives it.


Hope you like it! With just a couple hours and some spare change (literally), you get a super cute very custom display. Thanks so much for stopping by!
Don’t forget to have your projects ready for I Made it Without My Hubby on the 7th! Thanks again!
~Whitney

What a great idea! Did you add distressing ink to the 2×4’s also? I notice your project has darker sides around each 2×4 and mine is not turning out that way even if I try to distress through to the original wood. It doesn’t look complete-help?
What size photo did you use?
Love this! Very cute!!
I love this! I just featured it on my blog. Thanks!
I love it… and I love how you can make something so darn cute out of scraps!!! You have so much talent!
What a cute and clever idea! Where did you buy your bulldog clips?
Oh my goodness! That’s not normally my style, but I LOVE it!
Thanks so much Jennifer :-)!
This is so cute! Thanks so much for sharing!
Thanks Shelly!!
Love this! The colors, the texture! Too pretty!\
Thanks so much Allison!! I appreciate it 🙂