Hello to all you Shanty Fans!
My name is Traci, and I blog at Beneath My Heart!
I am so thrilled to be guest posting for Whitney and Ashley today as they enjoy some much needed R & R.
I love the Shanty sisters, and I especially love the way they are not afraid to break out the power tools.
So in honor of their “go get ’em” attitudes, I thought I would show you how I made a new desk for my office (with the help of a few power tools, of course!)
If you follow my blog, (which I sure hope you do!), you know that we recently moved into a new home. The home is quite a bit smaller than our previous home.
So in order to make room for all my “stuff”, I have had to try and come up with some creative storage ideas.
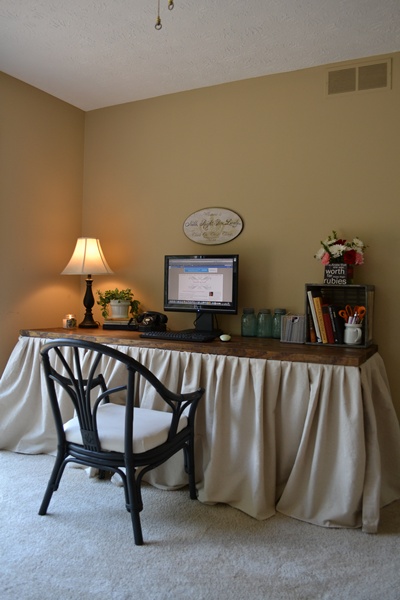
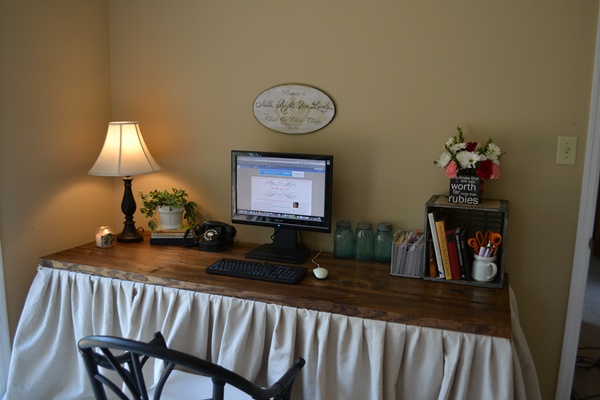
One thing I decided to try was to build a skirted desk for my office. I thought the skirt would be the perfect place to hid some of my office “uglies”. (Paint, paperwork, printer, ribbons, bills, etc…)
I decided to make a desk, or you might want to call it a table, that was a long as the wall in that room.
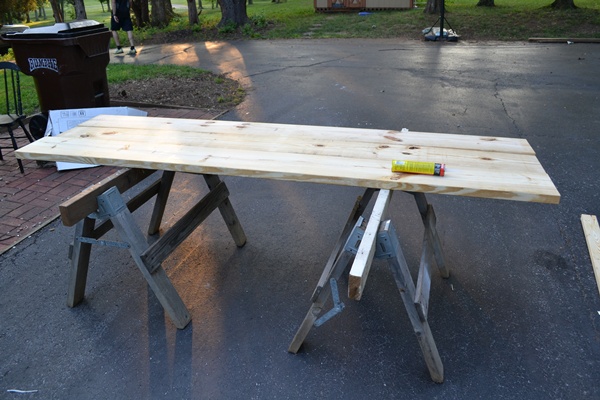
I purchase three 2x10x8’s from Lowe’s and placed them on our saw horses…
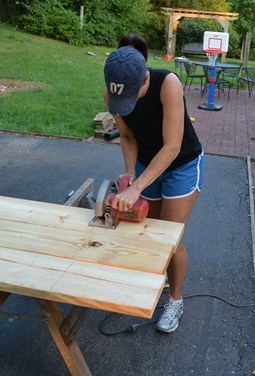
Then I cut each board 82 inches long. (You could cut them as long or as short as you needed them.)
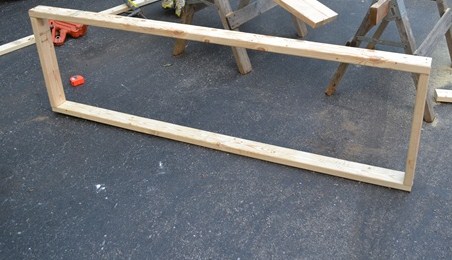
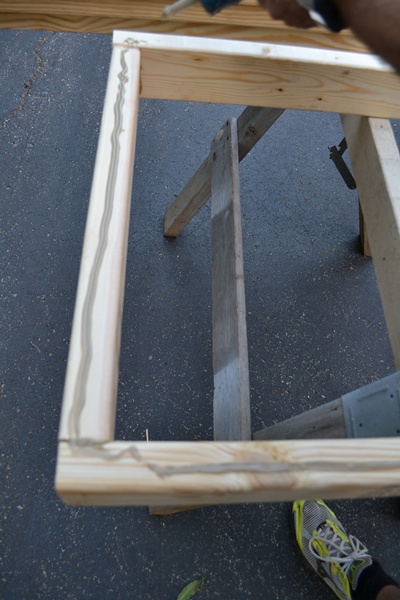
Then I cut 2×4’s to make a frame smaller than the top of the table.
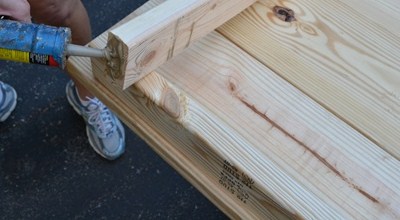
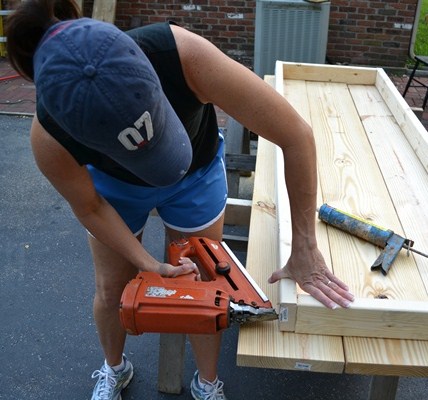
I used PL adhesive caulk at the end of each 2×4 before I used my nail gun to nail them together.
I also used PL adhesive caulk on the frame before I nailed it to the top of the table…
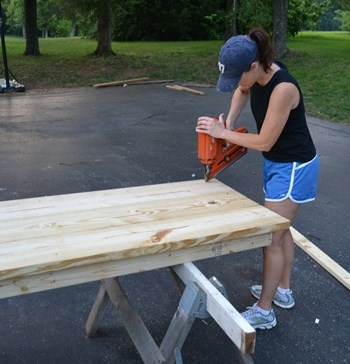
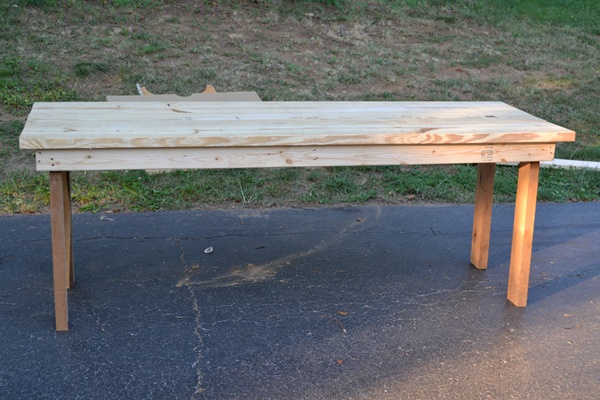
I placed the three 2×10’s on top of my 2×4 frame and nailed them together.
Next, I cut some 2×4’s for the legs of the table and nailed them to the frame. It didn’t matter if my table had ugly legs because I knew I would be covering them with a skirt.
I made my table 30 inches high.
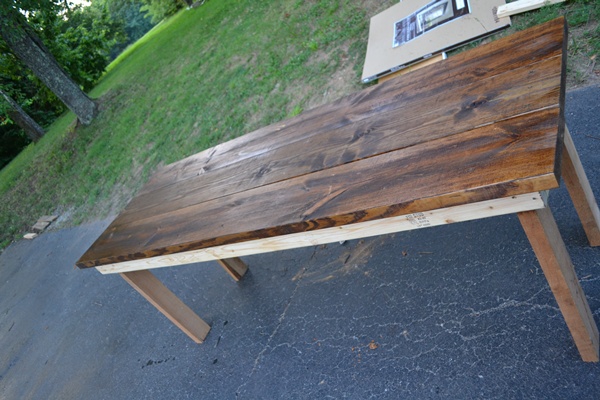
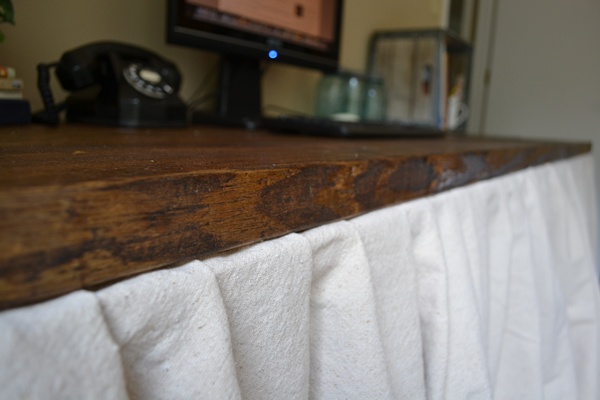
Then I used a clean cloth to wipe on the stain…
It is called Provencial from Minwax.
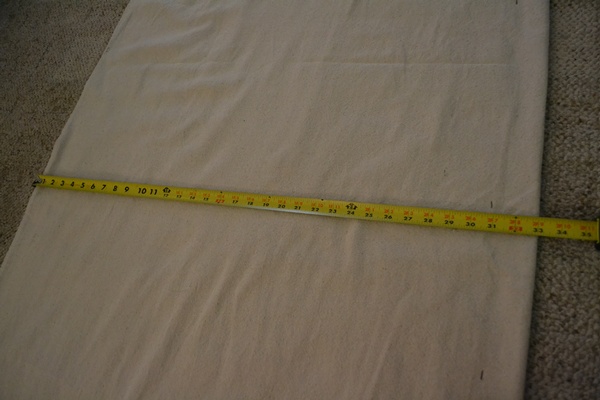
For the skirt, I cut strips from some drop cloths 31 inches long…
I LOVE drop cloths! I especially love that they are already hemmed on one side, so I didn’t even have to break out my sewing machine for this project!
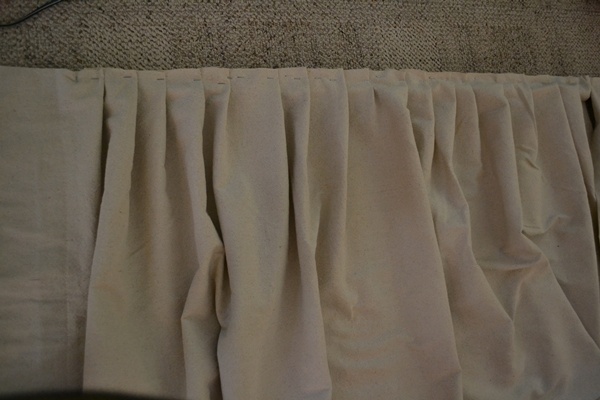
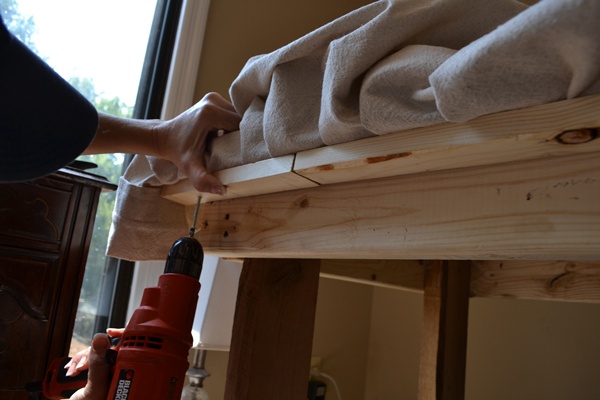
Next, I stapled the drop cloth to a 1×2 board that was cut 82 inches long (the length of the front of the table.) I gathered the material every couple of inches to create my skirt.
Then I attached the skirt to the table by screwing the 1×2 into the table top. (I used 2 inch wood screws.)
Then the material lays nicely between the 1×2 and the table top!
I did the same thing to the sides of the table too!
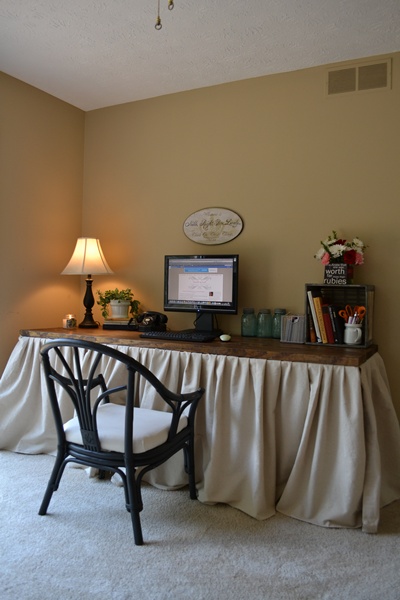
I already LOVE my new desk. I stuffed a bunch of my “uglies” underneath, and the room still looks great!
Whew!
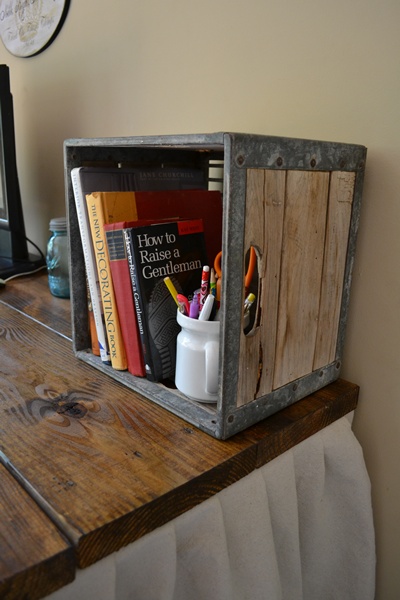
I grabbed some accessorites from around my house to decorate it for now. Of course, I may change it around a bit still.
But for now, I am really going to enjoy this roomy desk!
Thank you for letting me share this project with you!
Since we just moved into a new home, I am starting from “decorating scratch”. I would love for you to follow along as I transform each room of our home on a very tight budget. It should be fun!
Thank you, Whitney and Ashley, for letting me share my shanty today! 🙂




As usual Traci, you did a fantastic job! I love your blog and your projects. Can’t wait to see what you do w/ the new house!
I like this! Thank you!
Fantastic!
so darling-tfs!
Traci! I love the look of this. I also think it’s great that it is totally customizable! 🙂
gail
Very beautiful! I love how roomy it is too!
I just saw your guest post over at tt&j and was admiring your desk. I love it-can’t believe you diy-ed it!
I love it!…and I love power tools, you did a great job,looks amazing.
~Jo
I love it, it looks like a million dollars! Very pretty.
hugs
Sissie
Its absolutely perfect!
Traci~
I LoVe the idea of hiding all the ugly cords! I really WANT to do this! I’m really a beginner in every since of the word when it comes to wood work. Would you say this is do-able for a beginner like me!
I do think it is doable, Jan. There are no fancy cuts. You just need to be able to cut on a straight line. I also used a nail gun, but a good ol’ hammer and nail could be used as well. Good luck!
I need to do this! No sewing!
LOVE your new desk girl!! It looks awesome!! I especially love the skirted bottom! Adds a little feminine touch to that rustic tabletop! Absolutely BEAUTIFUL!! You did a great job!
LOVE IT! Great idea for a table top. I wonder if that could be done for kitchen counter tops if you sealed them really well and made sure they were glued together well…like a butcher block?
Looks great! I love that you have all of that space underneath to hide stuff!!