Hey friends!
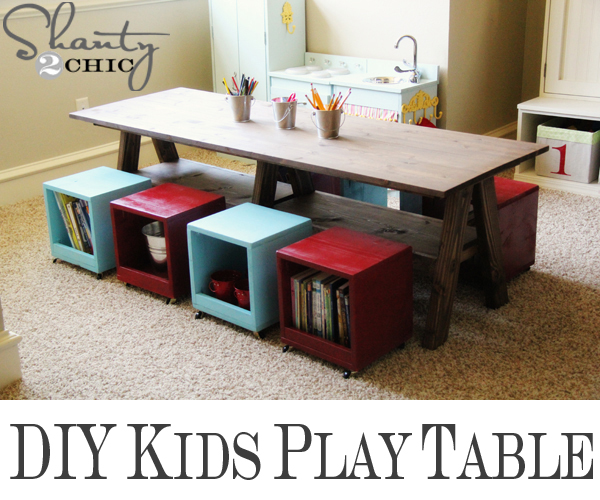
Thanks so much for all of your love on my new play table I built for the kids’ playroom!!
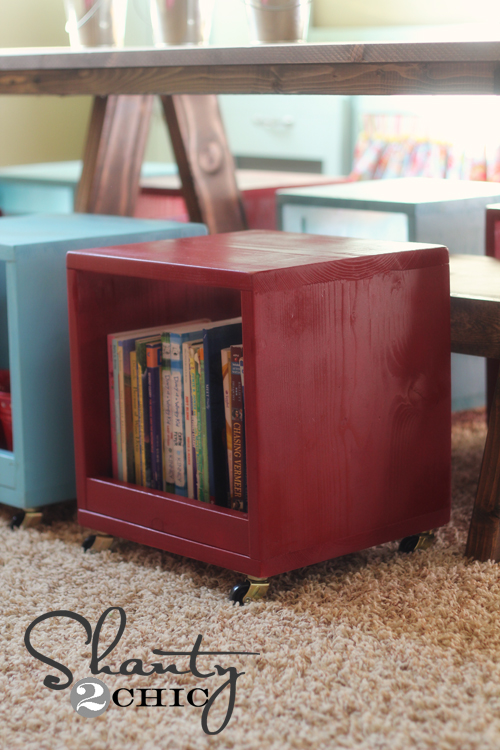
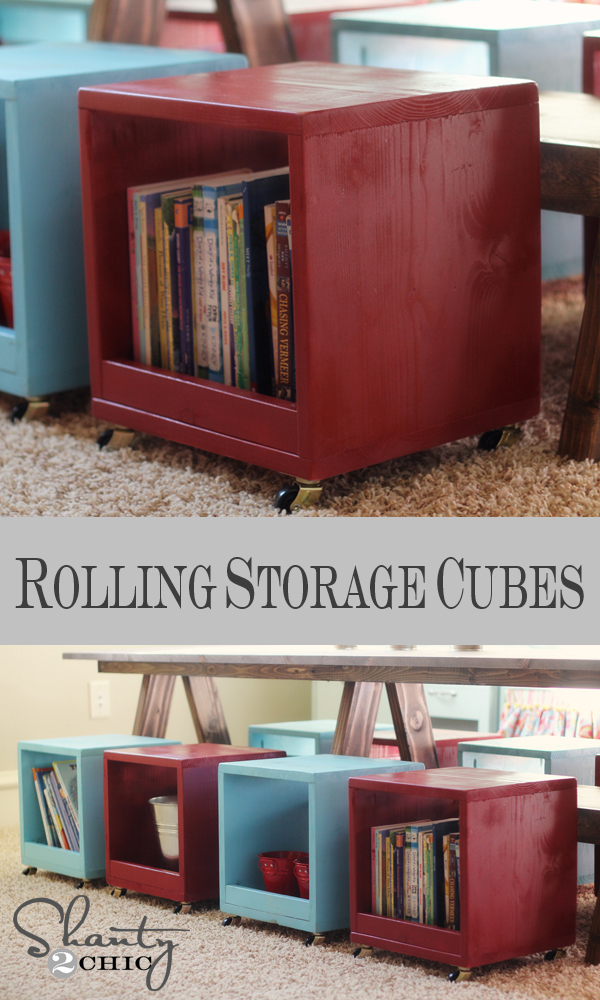
I am back today to show you how to build the cute little cubby stools! Storage and function in 1 piece = Win Win!!
These little babies are too easy!
To make 1 cube you will need…
1 x 12 x 4 whitewood board ($6 at Lowe’s and cheaper than buying the 8ft board for 2 cubbies)
22″ piece of 1 x 2 whitewood board (A $2 – 1 x 2 x 8 will be enough for 4 stools)
4 casters ($3 for a pack of 2 at Lowe’s)
So… Total cost of supplies is under $14 per cubby! Woohoo!
I cut my 1×12 into 4 pieces.
2 – 12″ pieces
2 – 10.5″ pieces
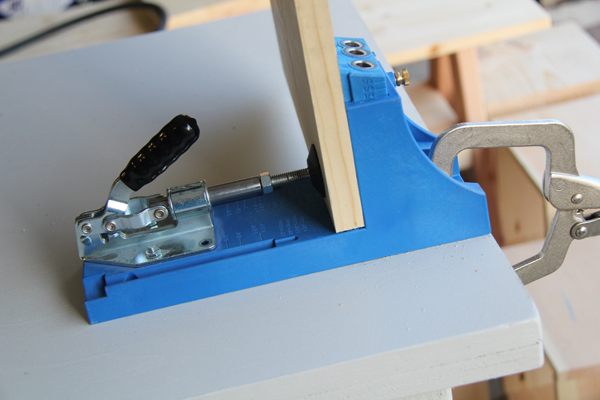
I used my oh so great Kreg Jig® to build these. You do not have to use a Kreg Jig® to build yours… You can countersink screws from the outside, or use finish nails and wood glue. The Kreg Jig® makes these stronger and hides your screw holes from the outside of the cube. Ash and I use the K4 model.
I used 3/4″ pocket holes and 1 1/4″ pocket hole screws.
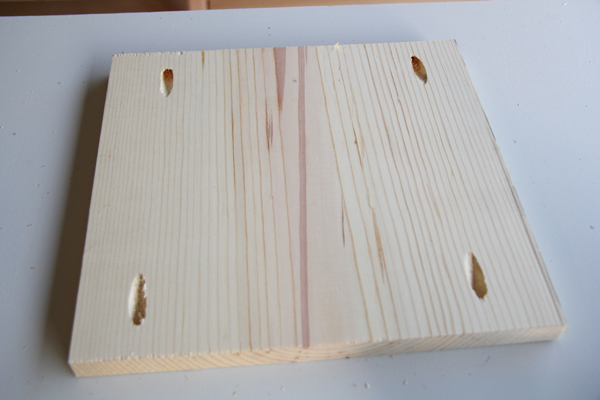
I put 4 pocket holes into both of my 10.5″ pieces like this…
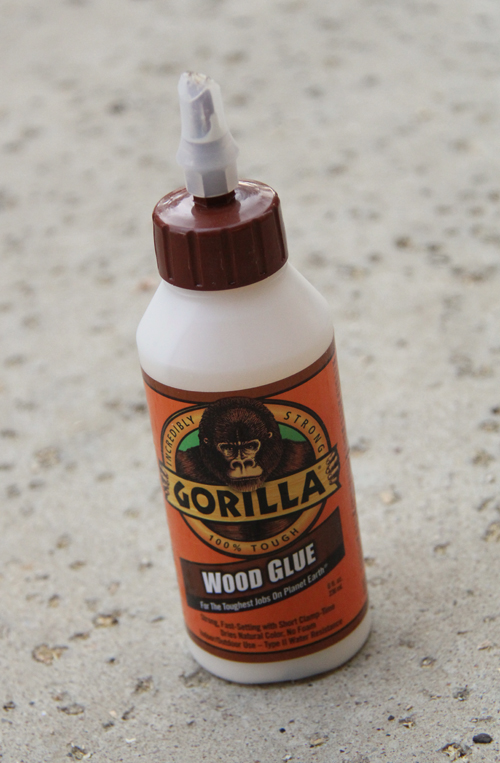
I used Gorilla Wood Glue to attach all of my pieces.
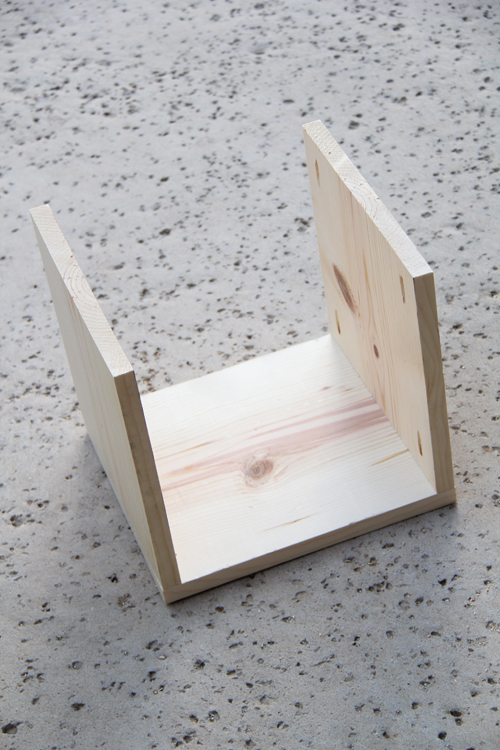
I attached a 12″ piece to a 10.5″ piece. You can also countersink screws from the sides, or use finish nails and Gorilla wood glue.
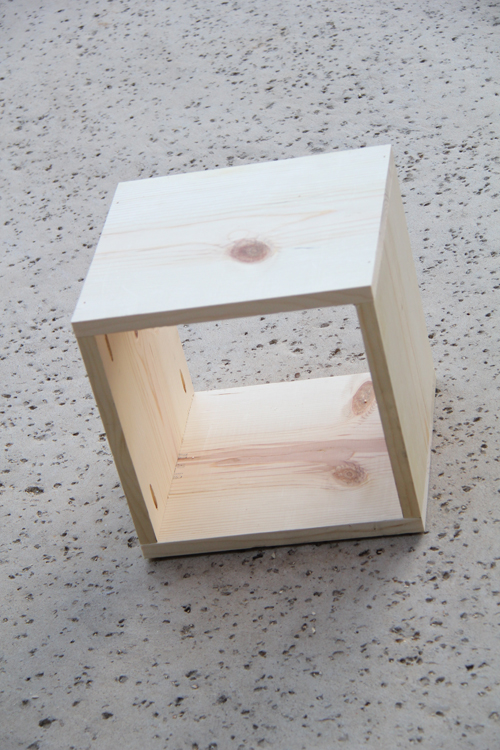
Next, I attached the other 10.5″ piece.
The other 12″ piece becomes the top of the stool.
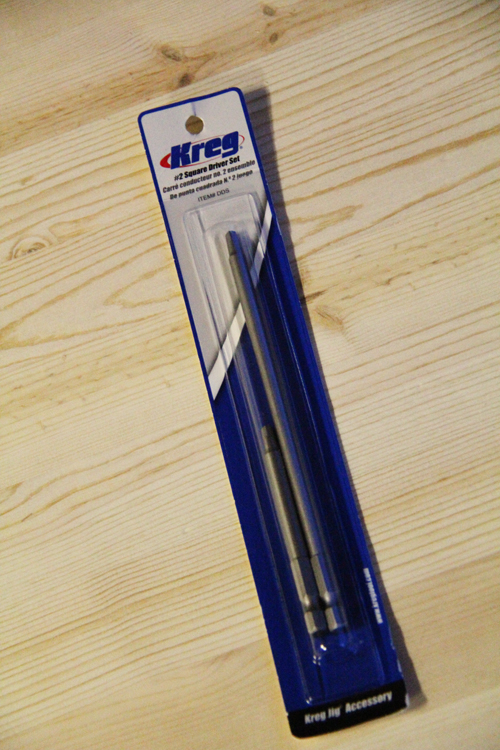
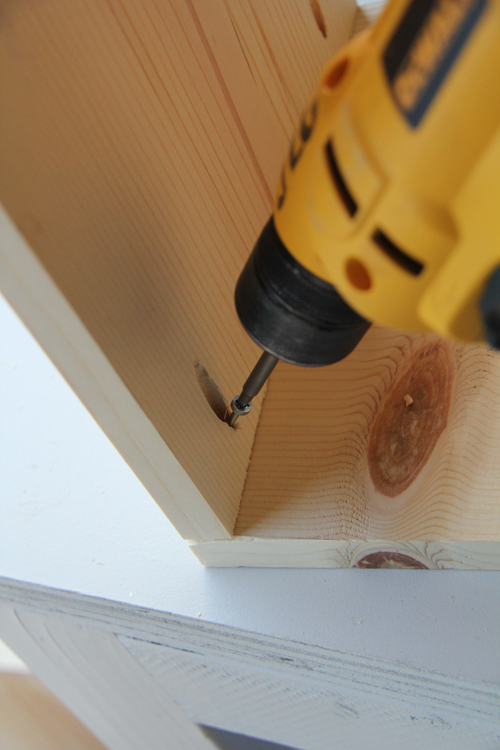
I did have a bit of a time trying to get the long Kreg Jig® driver into the holes with such small space. I was so excited to find this little guy at Lowe’s for around $3!
It is a 3″ Kreg Jig® driver… Woohoo! I can’t tell you how happy I was to find this! There have been several times in the past that I couldn’t squeeze the longer one into a small space, and this totally did the trick.
To keep the goodies I wanted to store from falling out, I added the 1×2’s next.
I cut them right at 10.5″ a piece and used 2 for each cubby. You may want to measure exact on this part before cutting because the width of boards does vary slightly.
I used finish nails and Gorilla Wood Glue to attach the 1×2’s on each side.
After I finished 8 of these babies, I gave them all some color!
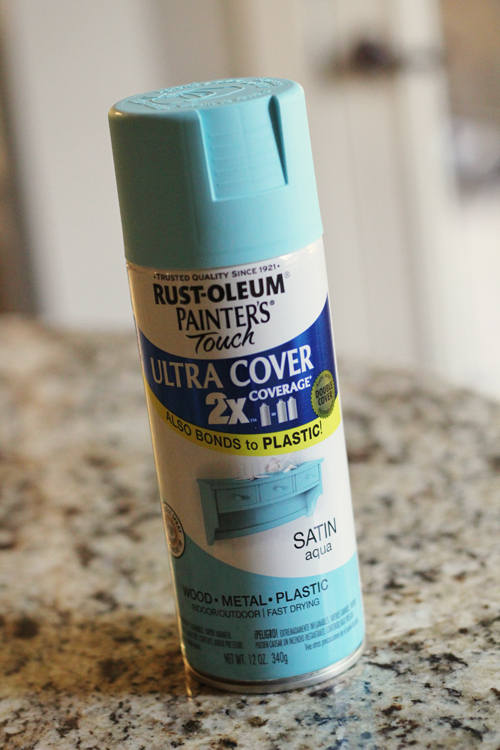
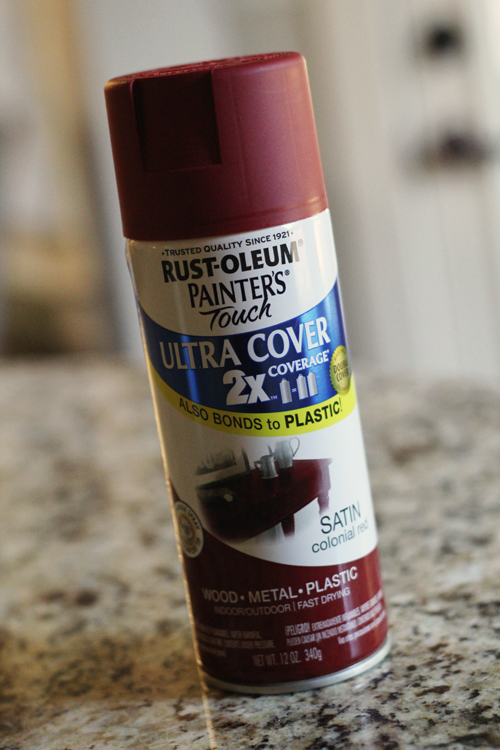
I used these two colors that you can find at Home Depot…
Rust-Oleum Painter’s Touch in Aqua
Rust-Oleum Painter’s Touch in Colonial Red
Good team I must say! 😉
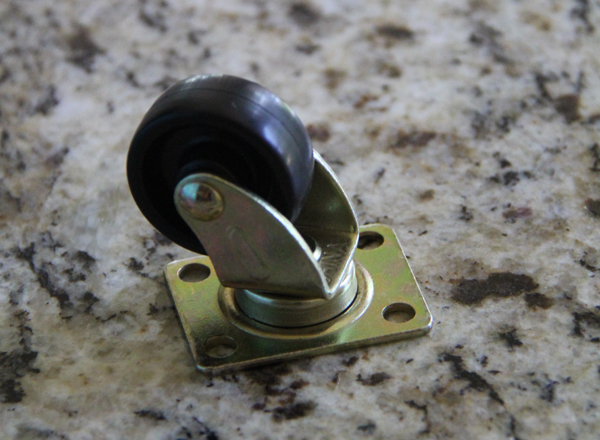
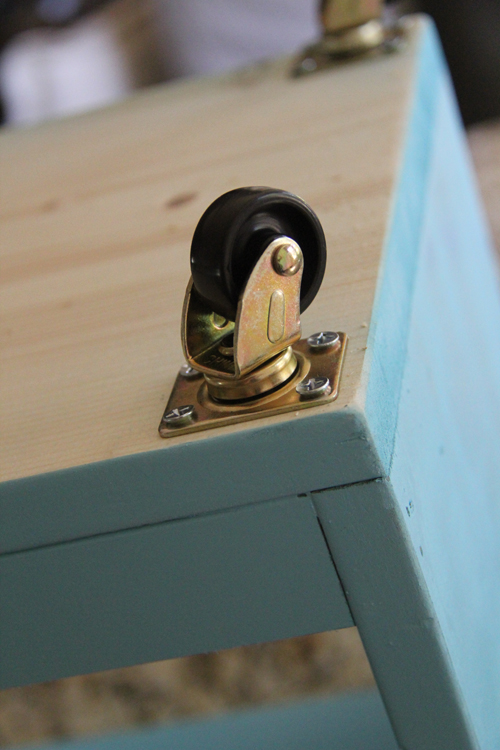
After giving each cube a couple coats and letting them dry, I attached my casters. I found the cheapest casters at Lowe’s. They come in a pack of 2 for $3.
I used 3/4″ wood screws to drill them into the bottom of my cubes!
How easy is that?
Remember to check out the plans for the play table!
Thanks so much for stopping by guys!!
I would love for you to pin and share these cubbies below! Have a great Tuesday!!
~Whitney





How did you cut your 1×12? Did you use a table saw?
Hi, I really love these cubes. Will try to attempt them soon. I was scrolling through the comments to see if you had any instructions on how you round off the corners. I think I missed it. Could you give me some tips on how you did it? I have young kids so that will be a must.
Hi! I love these so much. I wonder, what are the measurements when they are finished? I know i could just add it up, but i dont do Inches so I’m not sure if i got it right!
And how old are the kids who use them?
Thank you!
Hi Whitney,
I hoping you could give some advice on how to get the edges rounded? What kind of sander or sandpaper you used? Thanks so much
Whitney H.
Love the cubes and the table. We bought the wood for the table today; cubes are next :0)
Ive never used a spray paint for a finish-but I really want to! Did you spray paint it after it was fully assembled? I just wonder how hard that would be to do the inside of the cube…Also-did you use any kind of top coat? Or just a quick spray paint?
Exactly how tall are these after they are finished? I might make a couple for my classroom.
I love those cubes! The colors are gorgeous. I had one part I didn’t understand and that is the photo that shows the screw being drilled into the pocket hole…it appears that the angle is wrong, and that it wouldn’t be hitting the predrilled hole? Maybe it was just the camera angle! Thanks for all the great DIY ideas.
Hi Ann! The screw is slightly tilted in the picture because I am trying to hold my camera and drill at the same time. Sorry!
Whitney
These are adore able and look great with the table.
Wished you were my neighbor do you could teach me your mad woodworking
skills. I missed the post on the table. Off to check that out.
Thank you so much Cheryl! YOu are sweet 🙂
These are so cute, and more importantly multifunctional! What playroom doesn’t need more seating and more storage? Very cool idea and execution. I’m especially fond of the rounded corners. You didn’t mention them in the blog, but they jumped right out at me from the pictures. Nice touch on both the aesthetic and the safety fronts. Good job!
Thank you so much Wendy! I do love rounded corners! I like to say it gives the piece an “I didn’t make this in my garage” look! :-))
What size screws for the pocket holes to construct the cubes?
3/4″ PH and 1 1/4″ PH Screws 🙂
I love these…really love these!! I am a novice woodworker…as in I’ve not done ANY sort of work with wood yet…just pinned a WHOLE LOT… (does that alone make me a “novice” woodworker?!) Anyway, I so want to recreate these stools…and the table!!! Trying to convince hubs to join me…I’ve been looking at the Kreg Jig too…coincidence that you used one for the project that I am totally coveting right now? I think not!! Love ’em!!
Haha! Love it Krissy! You should SO get one… You will not regret it! And yes.. You are totally a novice woodworker ;-))
For this Luddite, how do I follow you?
As a Luddite, I’m guessing on foot… 😉 (There’s a box at the uppermost right-hand side of the page that contains the different ways to follow. If you click on the envelope, you can enter your email address and start getting Shanty2Chic in you inbox. Hope that helps.)
Thanks Wendy… Hope this answer helps her 🙂
I browse blogs, pinterest, etc and yours was the first I enjoyed reading. Lovely!
Thanks so much!!
Awesome! Thanks Whitney! I love these!
Thank you Mindi!! I appreciate it!! 🙂