Hey guys! Hope you had a great weekend! Ours was bonkers…. Along with a ball game, 4 cheer practices, a garage sale, church and our Meme’s 80th birthday party, I also finished up a couple bookcases for the girls. Still tired.
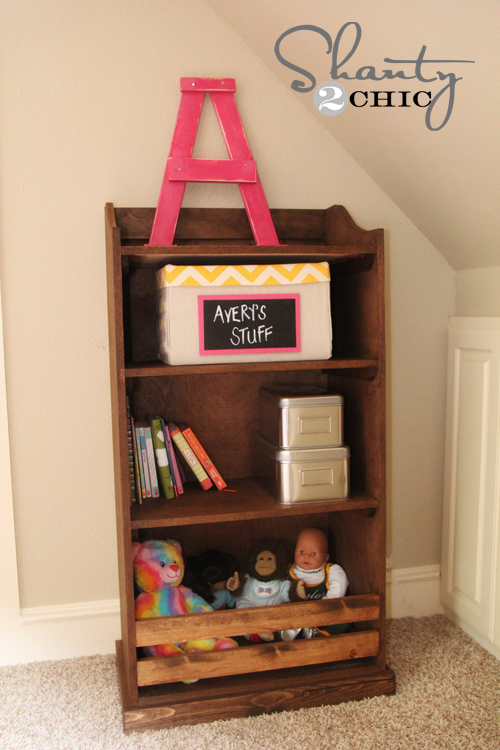
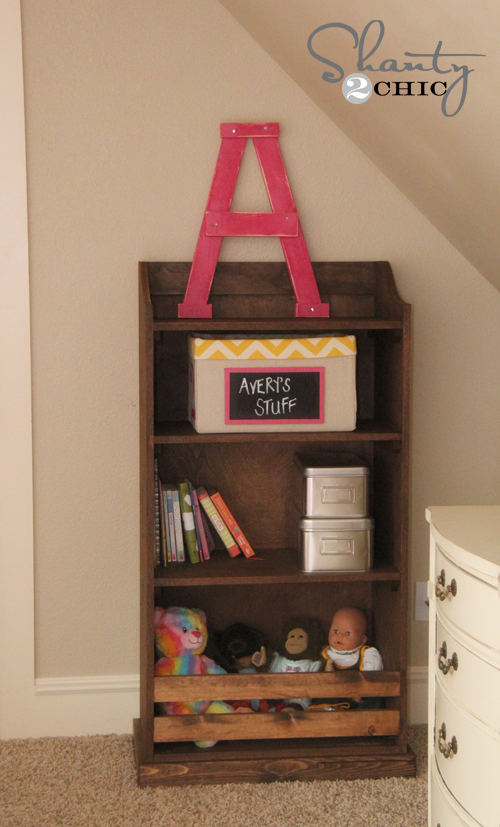
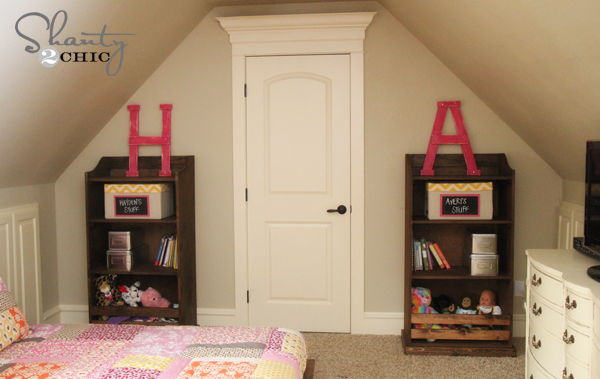
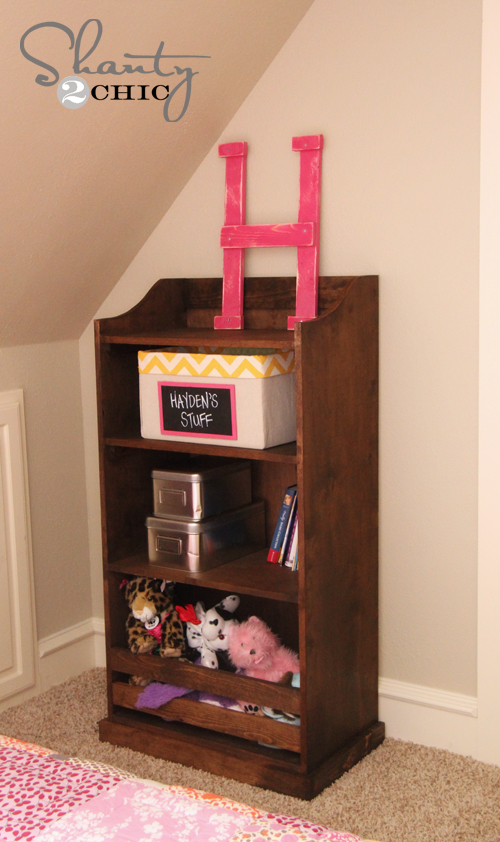
But… I do love them! My girls have been begging for bookcases ever since I finished their beds and nightstands. I told Ana, and she came to the rescue with these! I LOVE them. They aren’t super tall which makes them perfect for the kiddos. I also modified the bottoms to make them storage bookcases. It created the perfect spot for their dolls and stuffed animals.
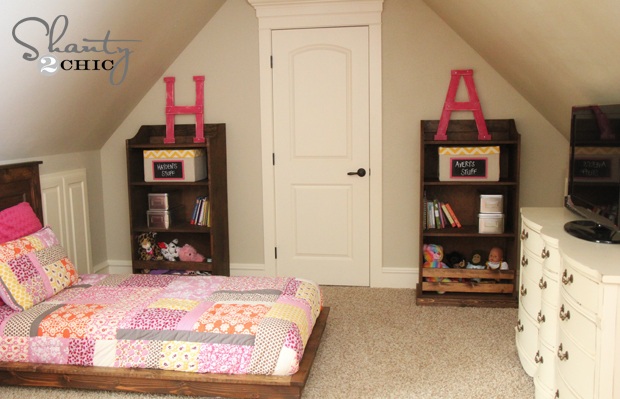
Here is how they turned out…
Aren’t they cute?! I will share a few tips here, and you can see the full set of plans over at Ana-White.com!
I decided I wanted to stain these bookcases. I know the girls will be using them a lot, and stain won’t scratch or scuff like paint.
The plan calls for plywood cut into 16″ boards. I knew exactly what to use.
I used PureBond Plywood from Home Depot for both the 3/4″ plywood and the 1/4″ backing.
What we love about PureBond…
~ It uses Formaldehyde-free glue (scary to think we have been breathing in harmful chemicals until now)
~ It’s made in AMERICA… Whoop!!!
~ It’s made with wood from sustainable forests
~ It’s extremely easy to work with
~ Biggest selling point for us… It’s BEAUTIFUL! You get the look of real hard wood for a fraction of the cost. Home Depot stocks birch and oak. You can also order hickory, maple, you name it and have it delivered to your store… Love that!
So after learning the benefits of PureBond Plywood, we will never go back. It’s such an obvious choice and it fits quite nicely in our shanty budgets!
You can find out more about PureBond and learn why Ash and I took the PureBond Pledge in this short video!
I had the guys at Home Depot cut down my Purebond into 15 3/4″ boards. I also had them cut my 1/4″ Purebond into the dimensions the directions call for…. Saves me lots of time at home!
A quick tip on how I made my curvy tops…
To make my curvy tops I first drew on a scrap piece of wood and cut it out using my jigsaw.
Then, I used that template to draw the patterns on the 4 sides.
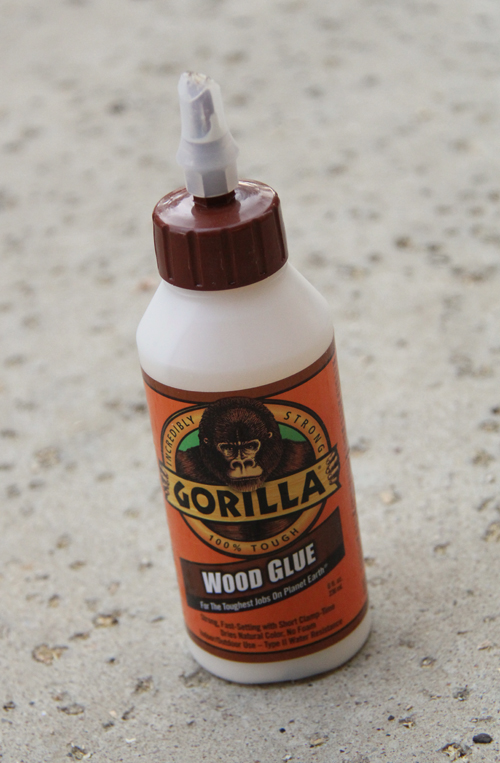
For my shelf supports, I used Gorilla Wood Glue and finish nails!
Also, rather than rounding the fronts I chose to do them at an angle like this. It’s just a 45 degree cut done 1/2″ from the edge of the board… Easy!
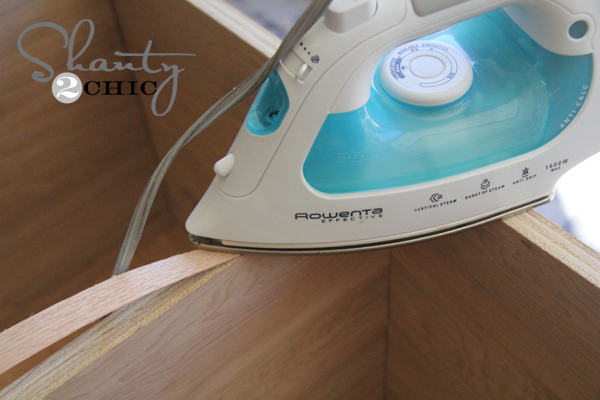
Because I used plywood, I was left with a rough edge. One easy way to solve this and make your DIY projects beautiful is by using edge banding. This is what the brand at Home Depot looks like…
You just iron it over your rough edge and cut the extra off. Simple!
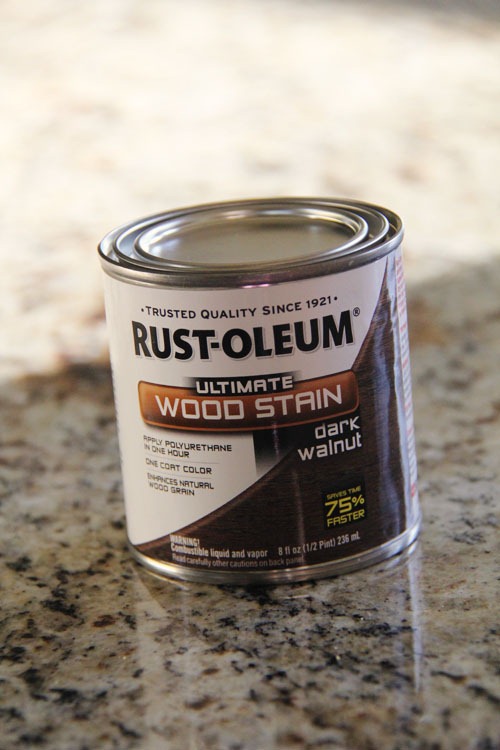
That’s it! I stained the whole thing with Rust-Oleum Ultimate Wood Stain in Dark Walnut to match their beds! You can find this at Lowe’s.
When finding storage baskets for this one, an idea popped in my head. After searching for baskets to fit the bottom, I came up with the idea to make this a cubby space for their stuffed animals and dolls. This was so simple, and almost free!
I just added 2- 1×3″ boards cut to fit the inside of the bookcase. I used wood glue and finish nails from the outside to keep them in place. It was a perfect solution to my basket problem, and solved a storage issue we have had for a long time… LOVE!
A few more photos…
Hope you love them!
I would love for you to pin and share these bookcases below! And be sure to check out the full set of plans HERE at Ana’s site!
You can also check out more of their bedroom projects I have done below!











I am excited to start these tomorrow. Did you notch out the bottoms like it was described in the plans on Ana’s site? If so, do you have any tips for making the notches? Thank you!
Hey, Just curious what is the wall colour in this room?!
Thanks a lot …. and love the book cases 😉
Those are gorgeous … definitely going on my to do list … I also love the letters … did you do those yourself ?? Do you have a tutorial on them???
So cute! I assume you will have a tutorial on the letters soon….LOVE!
Cute bookcases! Are those diaper boxes on the shelf? If so, I just used your tutorial and made some just like that(same lining fabric and all:)) . Just wondering how you did the little extra part with the chalkboard, cause that makes them super cute!!:)
Do you have a link to house tours of your beautiful homes? I’d love to get a glimpse of an entire room. All i find are pics of a specific project (although I do appreciate these immensely), and I am curious to see the bigger picture.
wow,…. great job on the bedroom. Did I miss the info on your “A” and “H”??? Those are super cute!
You guys amaze me! That room is adorable!