Hey guys!
Happy Wednesday!
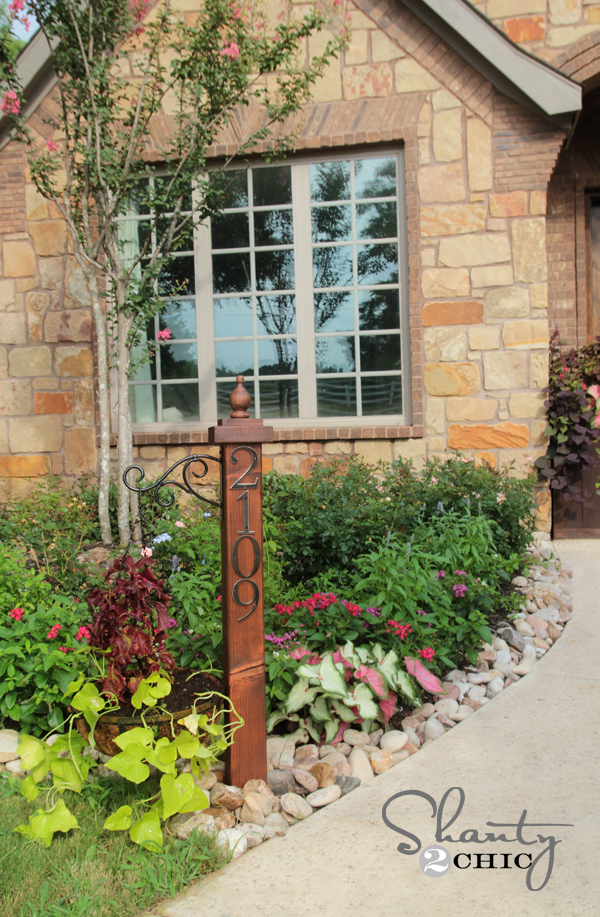
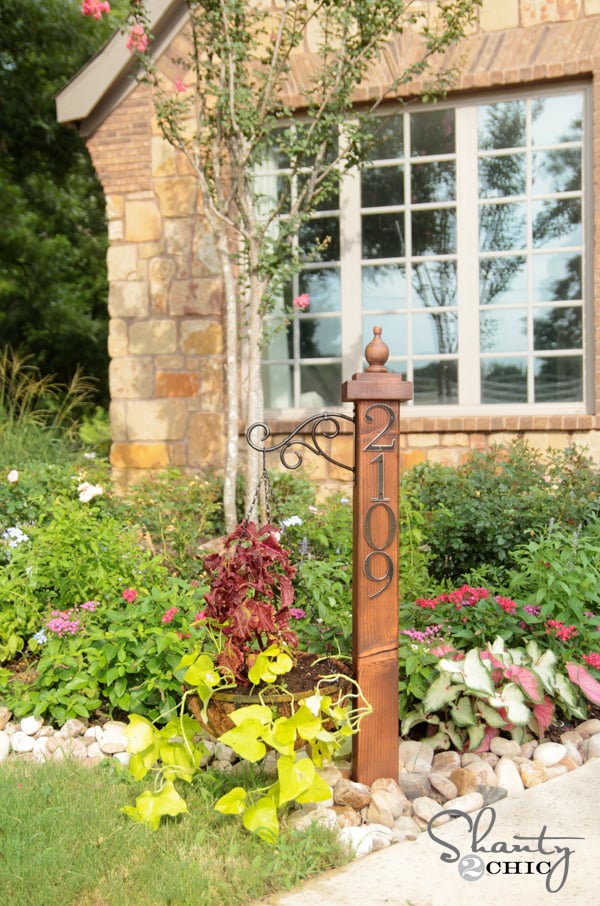
I have a really fun and simple way of displaying your address number outside your home! Here is how mine turned out…
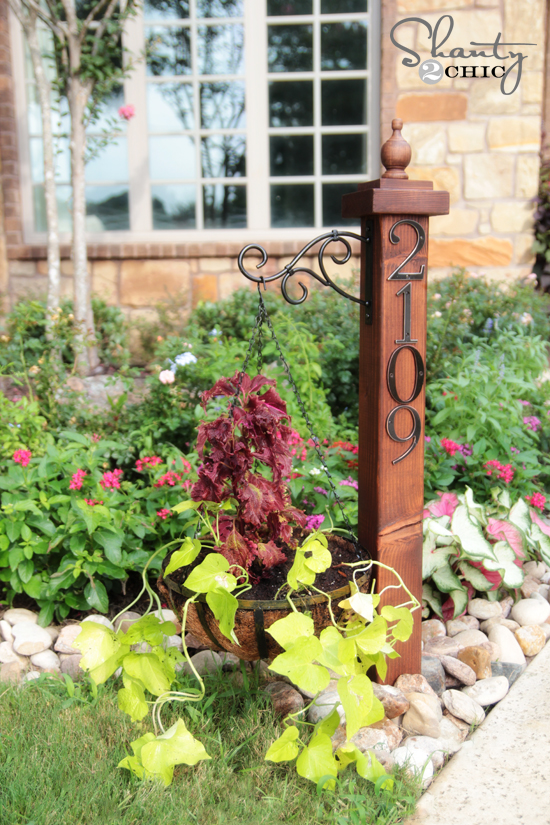
How fun is that??
This is super easy to make! I found all of the supplies, including my flowers at Lowe’s!
Let’s get started!
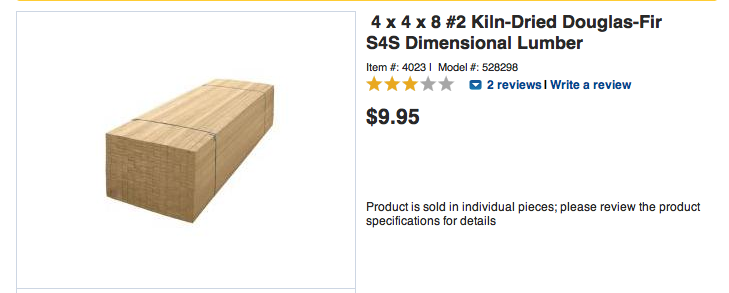
Start with a 4x4x8 piece of wood from Lowe’s. These are about $10 a piece and sometimes I have the guys at the hardware store cut mine for me to make it easier to carry and get home. Plus… It saves me a step 😉 My post is 48″ long. A small handsaw will cut it in half easily too! Just takes a little elbow grease 😉 One post will make 2 of these signs, so you may want to make one with a friend, as a gift or make a water hose holder!
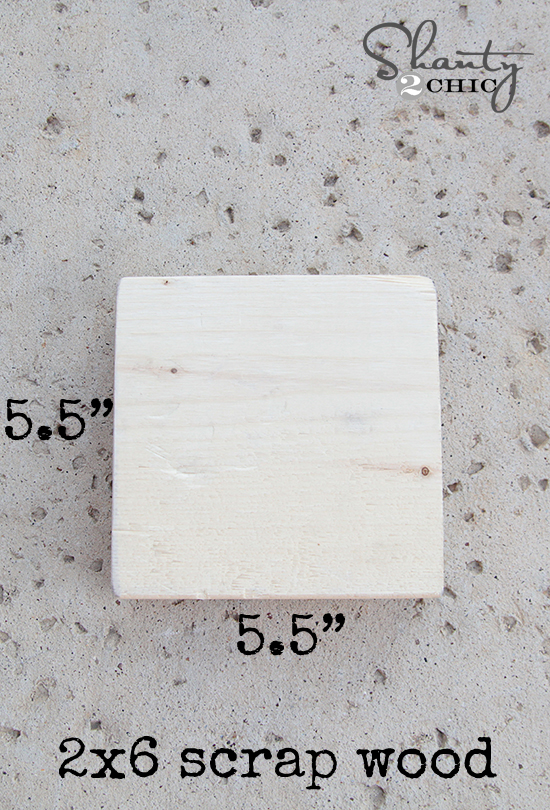
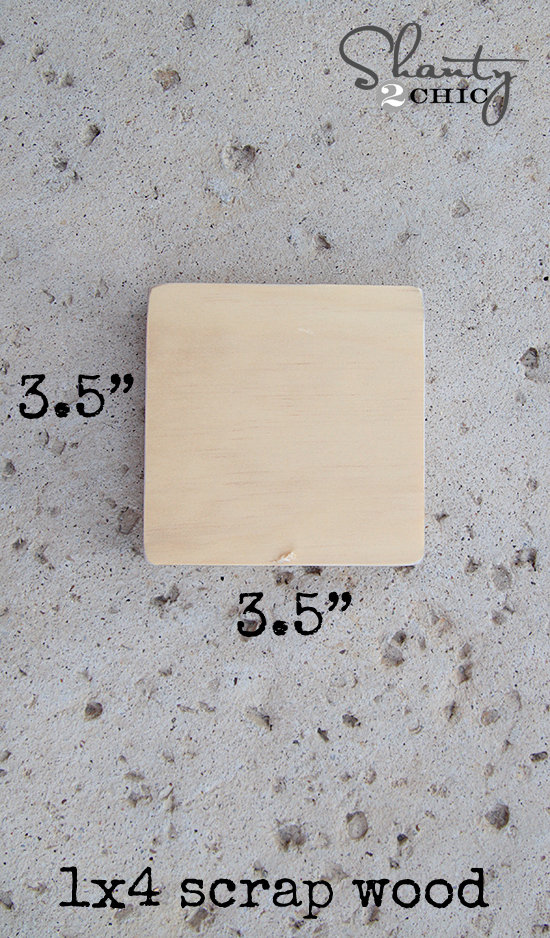
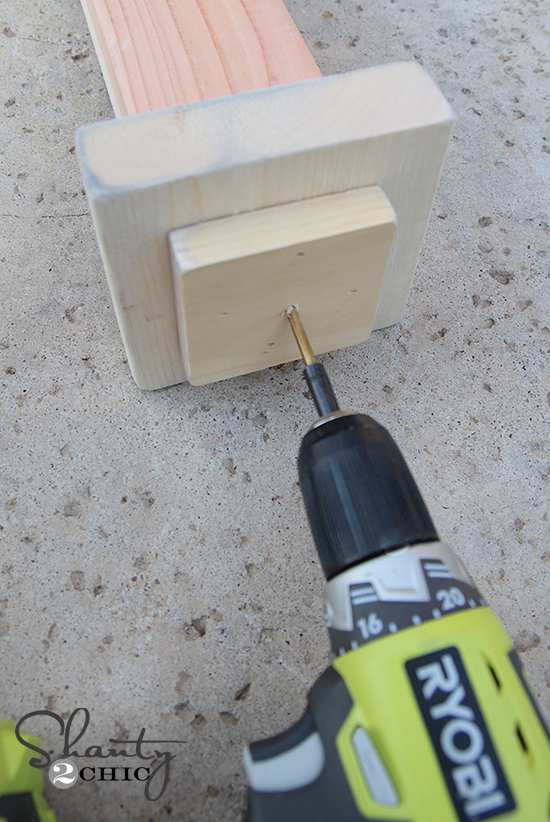
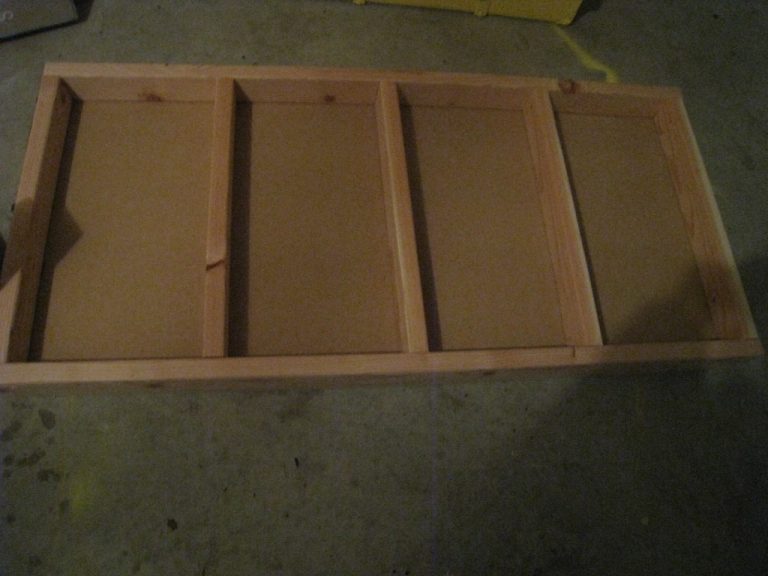
You will also need 2 other pieces of wood. I was able to use scraps for mine.
Next, I used my drill to put a screw through both pieces and into my post like this. I also used Gorilla Wood Glue in between each piece.
Now for the finial!
I find these on the wood aisle at Lowe’s next to dowels.
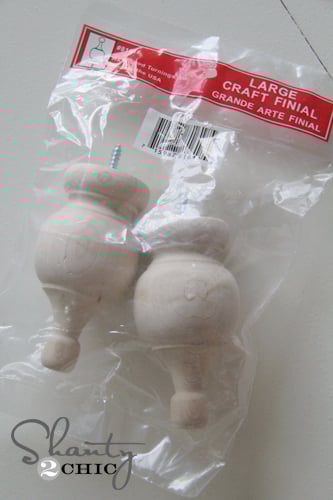
Drill a small hole and put it on the top like this!

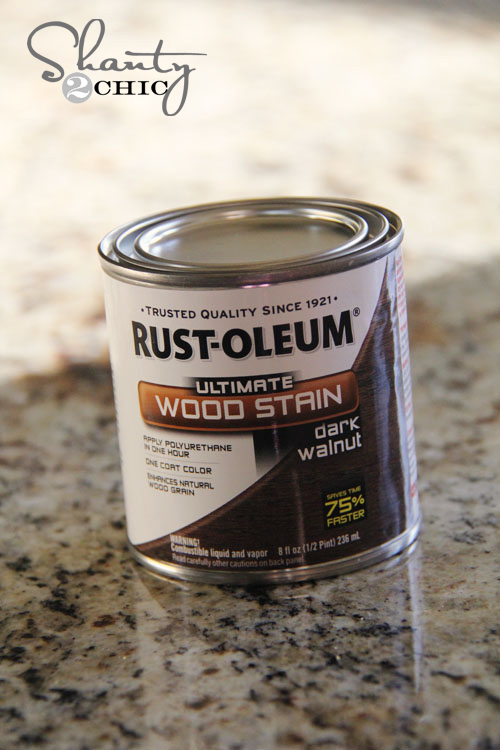
Now I gave the whole thing a coat of my very fav…
Rust-Oleum Ultimate Wood Stain in Dark Walnut
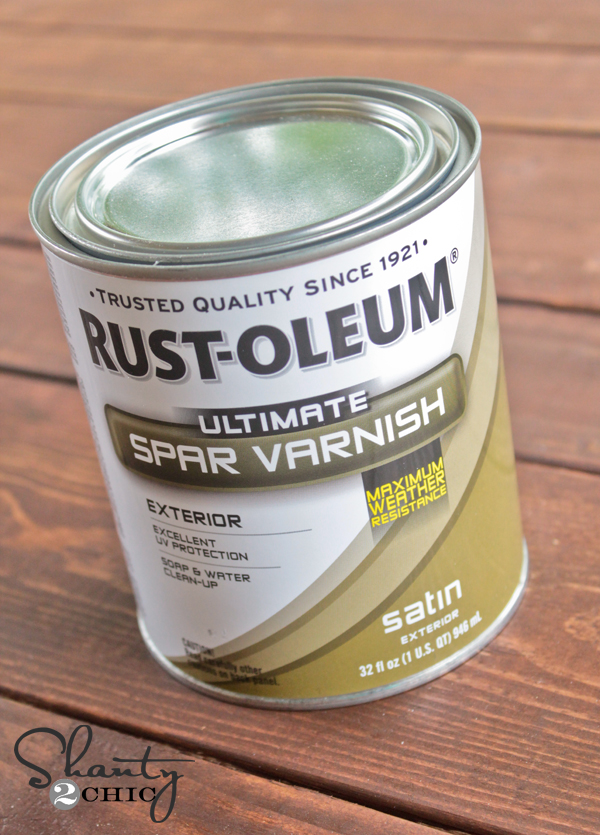
And to protect the finish I added 2 coats of Rust-Oleum Spar Varnish after the stain dried!
My final step was adding the numbers and plant hook! I found these cuties at Lowe’s for about $4 a piece. They had other finishes as well. The plant hook is also from Lowe’s. It was around $5 in the garden section… Woohoo!
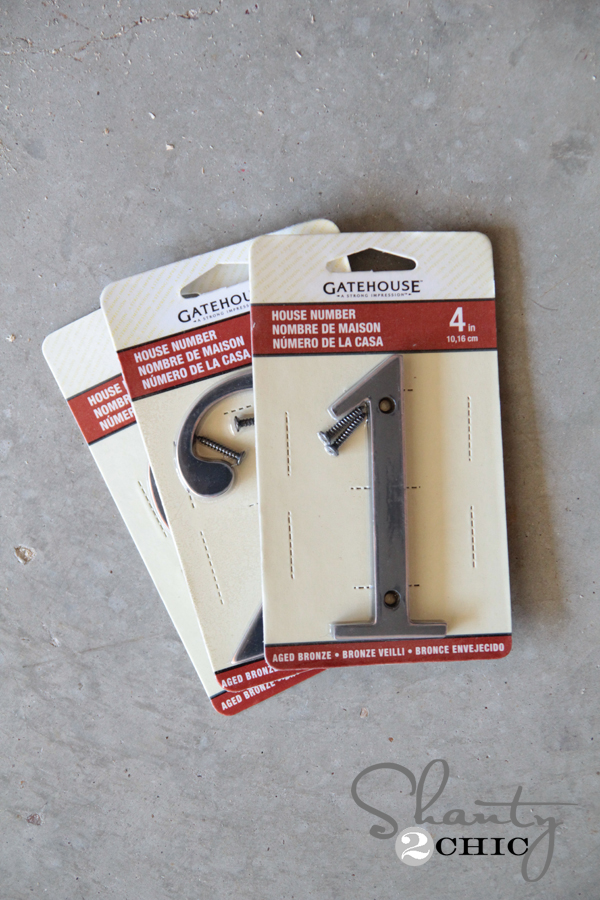
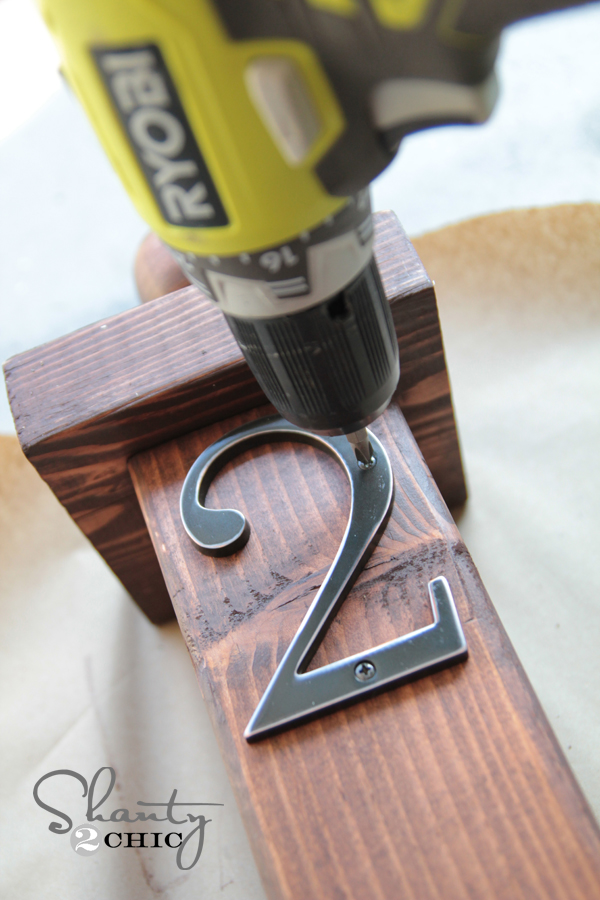
I lined them up and attached them to the post using the screws that came with them… Easy peasy!
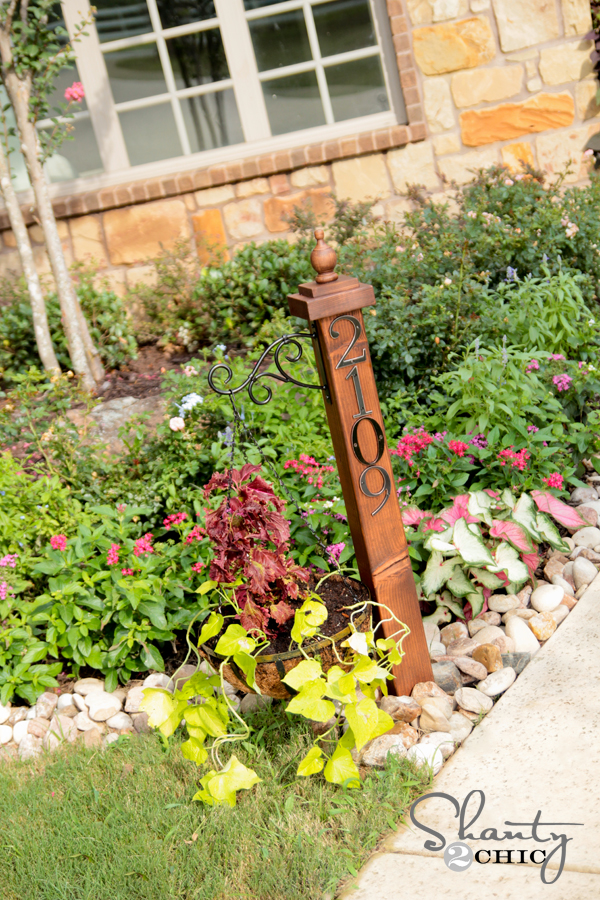
I dug an 18″ hole in the ground to put my post and then added a cute planter from Lowe’s! I filled mine with Sun Coleus and sweet potato vine… LOVE!
And here is how she turned out…
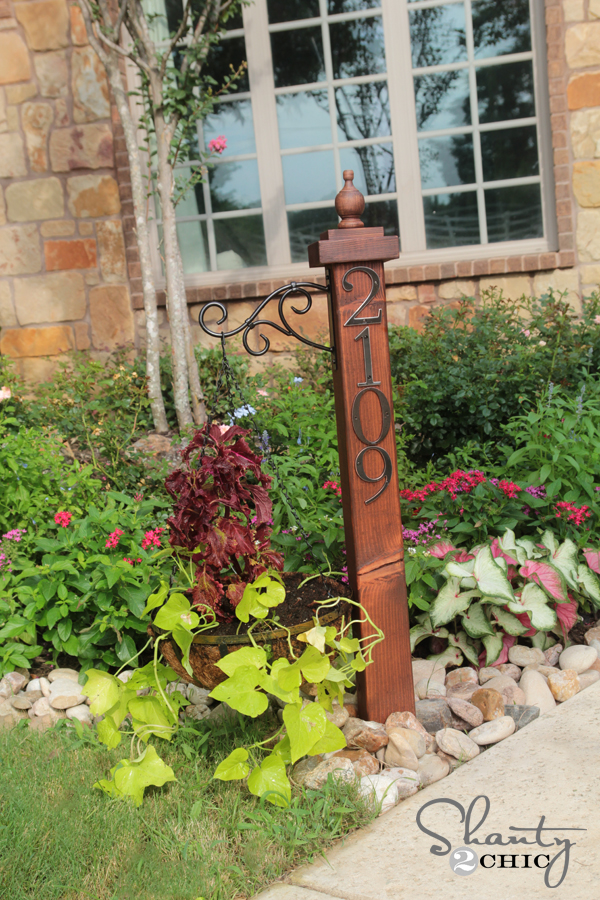
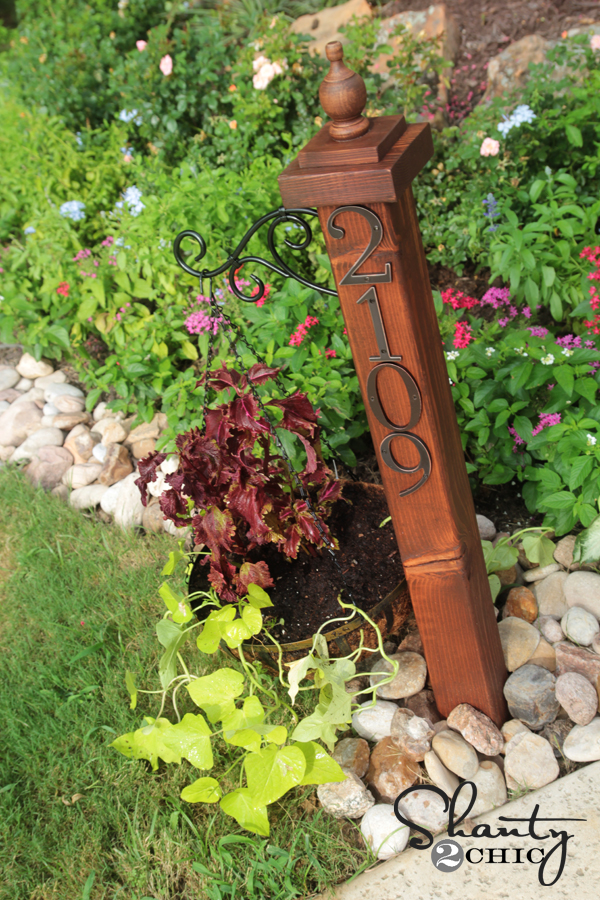
What do you think?? I LOVE it! It makes me happy when I drive up to my house 🙂
I hope you love it too!
I would LOVE for you to share this and PIN it with your peeps below!!
Have an awesome day and let me know if you have any questions!
~Whitney


Do you recall what size hook AND basket you used? It seems like the most common sizes for hooks are 6″, 9″, and 12″ I love how the dimensions of yours “fits” well and was wondering the length. Corresponding with that, what size of basket did you purchase? 12″ or 14″? Thank you for your post and for your time!
Love this idea!! I’m going to use the full length of the post & hang a hummingbird feeder from the plant hanger. A taller post will be more visible in the area I need to put it.
I LOVE this!
Did you mount in concrete?
Nope! Just dirt… But I am in Texas with tough clay dirt. You may find concrete a better option 😉
What length did you have them cut the post?
I may need to open a Home Depot CC… Your projects are so inspiring! I’ve only been lucky enough to try the $20 shelves but I’m hoping to try this one next, or next to next…
OMG, I Love this and can’t wait to do one of my own!!!! Thank you for sharing this post!
How much did you have to sink into the ground?
Okay, now that is three projects I HAVE to do this weekend, curtains, spice rack, and address post!! I LOVE IT!! I live in the country and the number one complaint is no one can see my address. Problem solved! Thank you!
Very nice. Pinned it!
Love it! Pined it! Will be making this as a house warming gift for my aunt and sister and one for myself! Thanks for the share!
Love it! I’ll be making my own soon!
Love this idea! Gave me some ideas for my own house to go with the outside style decor I have going on.
omgravy! i absolutely love this!!! off to lowe’s first thing tomorrow! tfs!
Beautiful! 1 quick question. Did you screw the wood together off center? Otherwise the finial would not be able to be centered, right? The previous screw would be in the way? Thanks!!
I know I’m not Whitney, but if you look at the picture closely, you can see four small nails holding the top on. I’m sure there are four more under that piece. That leaves room for the finial to be added in the center. Hope that helps!