Welcome to Day 6 of our 12 Days of Christmas series!

Each year, I love finding inexpensive gift ideas for the masses. I have 5 kiddos, so when I say masses I absolutely mean it! Between teachers, neighbors and friends, finding these gift ideas allows us to give really great gifts at Christmas time without breaking the bank.
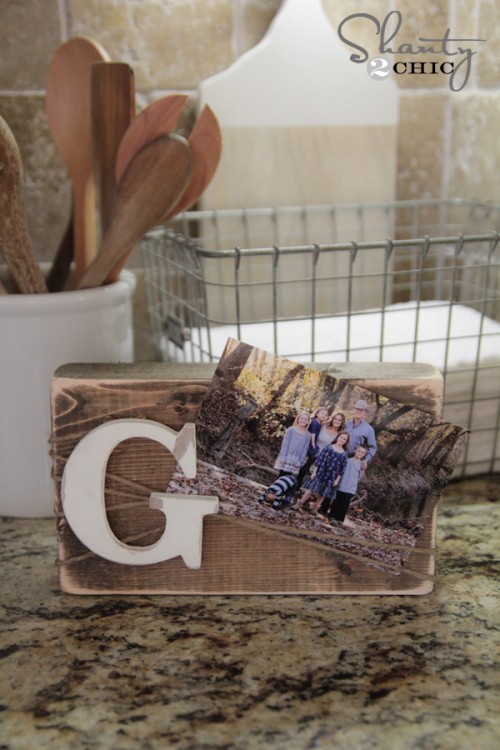
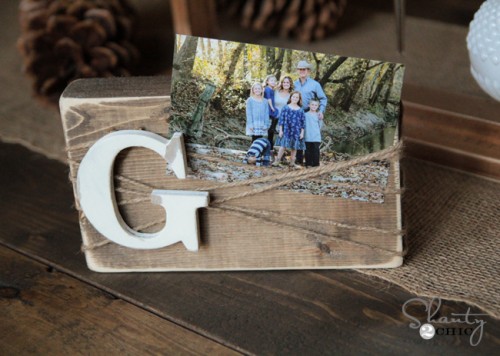
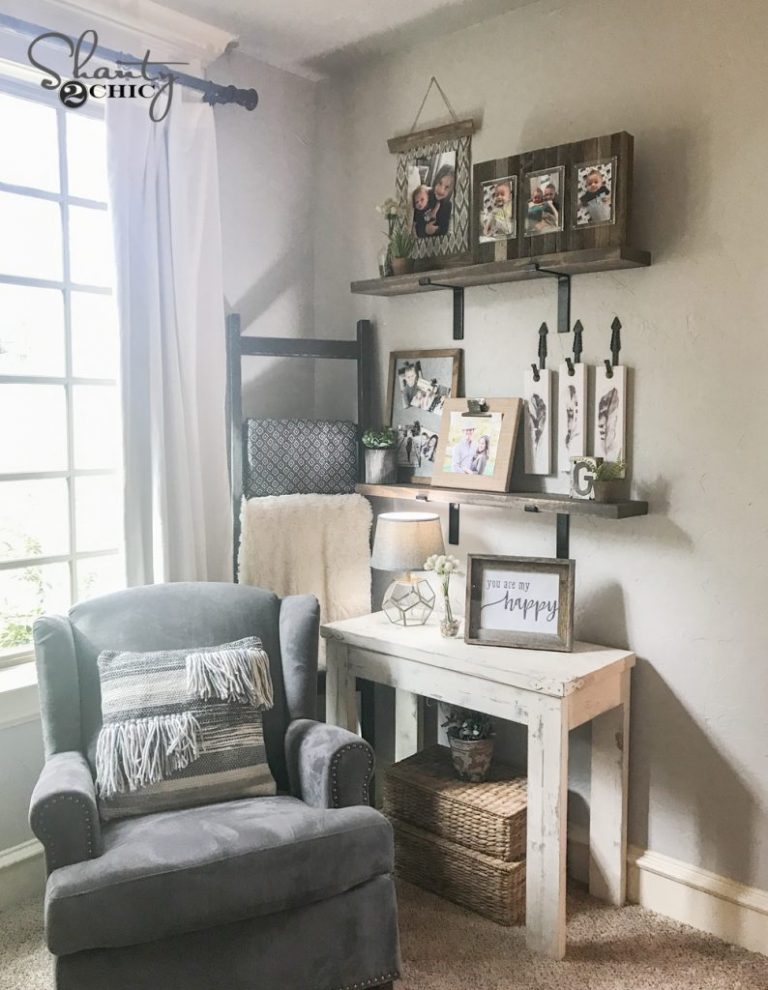
Check out my $1 DIY Wood Block Frame!


These are so fun to make, and totally customizable!
I used 2×6 boards for the frames today, but any size works! You just want it to be 2x so the frame will stand alone without a support.
I started by making my cuts. Again… Anything goes here! I made these 9″ long each. You can also have the guys at the hardware store cut yours for you. A 2×6 runs around $5. I was able to get 10 frames out of 1 board.
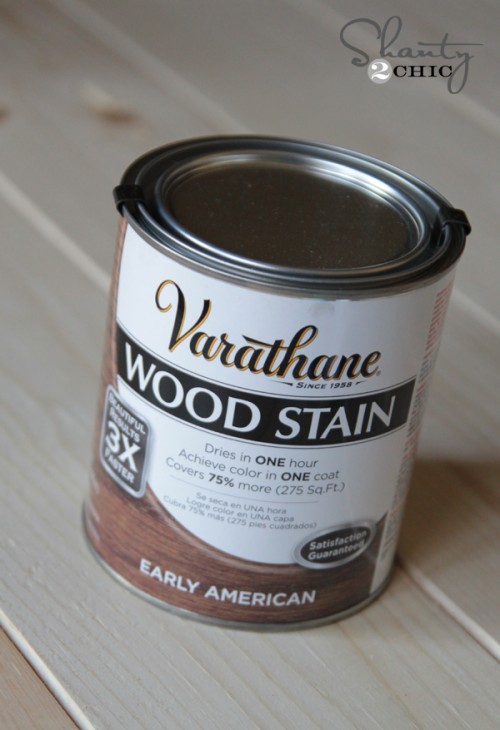
I stained my boards. I used Varathane Early American for the first one…
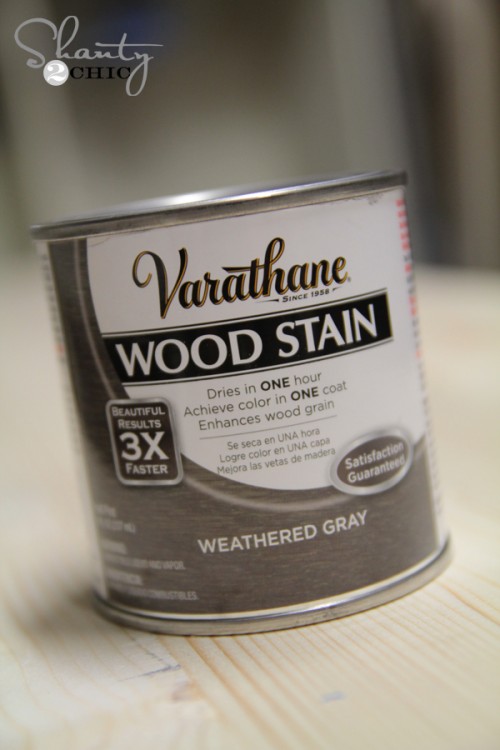
And I used Varathane Weathered Gray for the second!
To stain these blocks, get some rags or an old t-shirt and dip it in to the stain and rub it around the full block until you get an even coat. Wipe off any of the extra and wait an hour for it to dry… Simple!
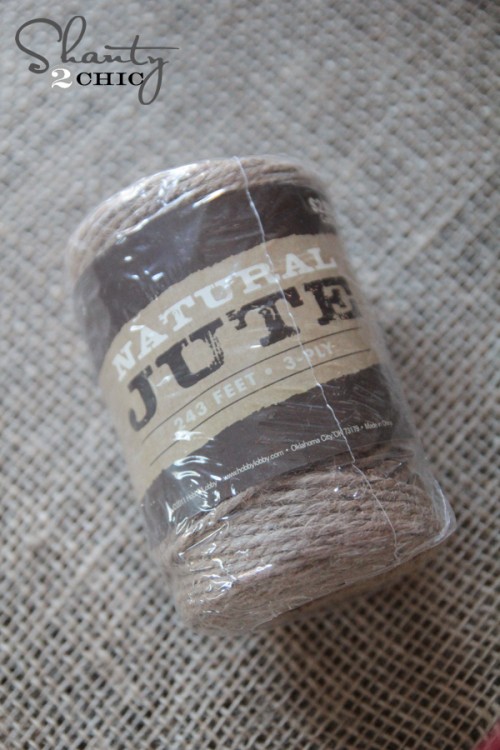
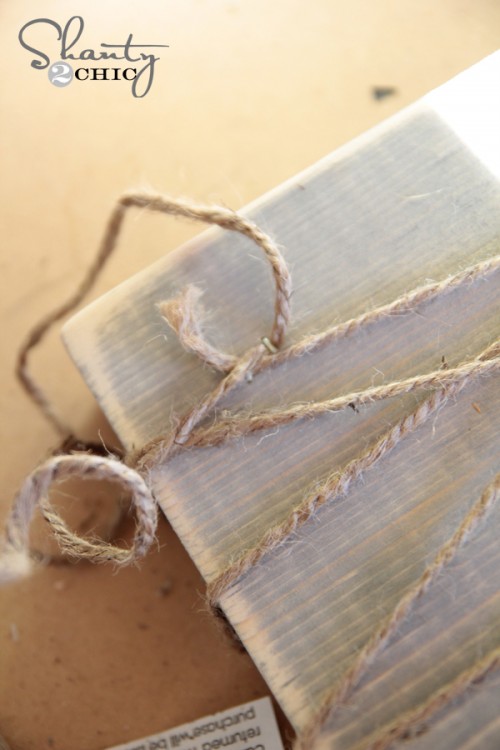
Once they were dry, I used this jute twine from Hobby Lobby for the next part.
I used my Ryobi Airstrike Staple gun to attach the twine to the block in the top corner. You can also use a hand stapler if that’s all you have, or even just hot glue the twine down on this part.
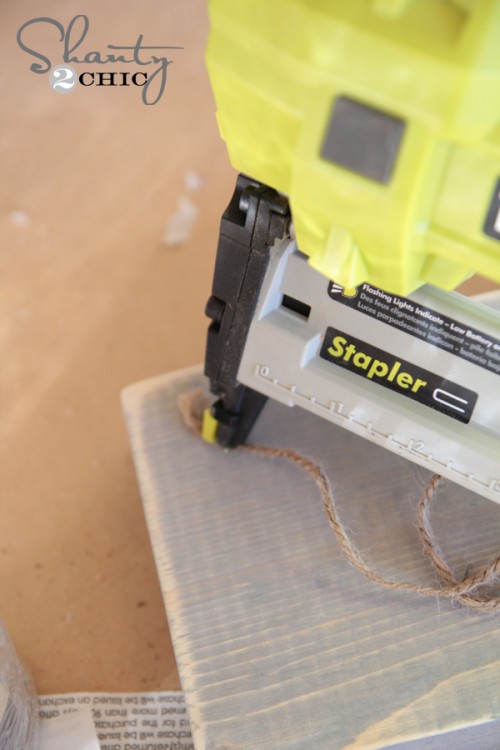
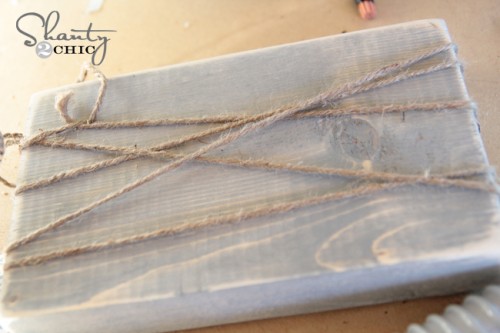
Next, I just wrapped the twine around the block 4-5 times making sure to space it all out. When I was finished, I stapled the end of the twine to the block close to where I put the start of the twine.
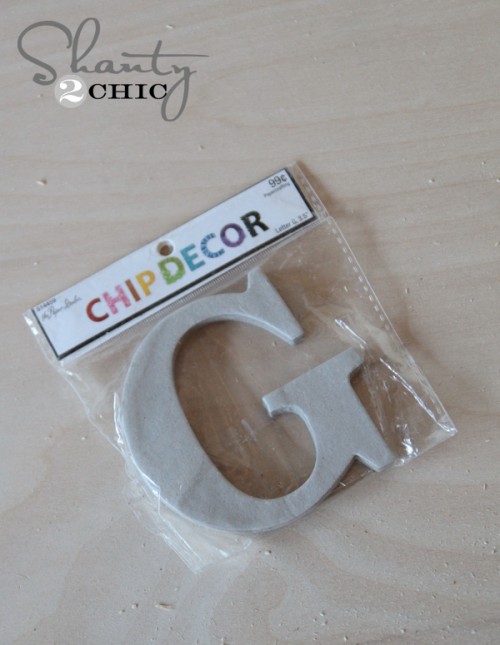
My final step was adding a cute embellishment to the front. You can have lots of fun here! I used a $.50 chipboard letter for one frame. I just painted it an off-white and distressed the edges a bit using sand paper. Then, I just hot glued it into place. Make sure to cover up where you started your twine!
The metal rose I used from the other came from a local import store. I will say that Hobby Lobby has started carrying a bunch of metal embellishments close to their craft wood aisle. They would also be super cute on one of these!
DONE. How easy is that?
Thanks so much for stopping by guys! Let me know if you have any questions at all!
Be sure to check out the other Day 6 projects from our friends below! Just click the buttons to take you there 🙂


????⭐?⭐?
I built my own using the plans at www. WoodworkPlans.info – highly recommended you check those out too. They are detailed and super easy to read and understand unlike several others I found online. The amount of plans there is mind-boggling… there’s like 16,000 plans or something like that for tons of different projects. Definitely enough to keep me busy with projects for many more years to come haha ⭐?
Head on over to www. WoodworkPlans.info if you want to learn more – click the pink link above for some more plans! Best of luck on your building adventures!
✌✌✌⭐?✌✌✌✌✌✌✌✌
Thank you so much for the idea! I made these for my family for our Homemade Christmas and they were a huge hit! I used the chipboard letters on some, I made rosettes for some and bought small crosses at Hob Lob for some of them. I can’t wait to try more of your projects!
I just made three of these today as teacher gifts…super easy and enjoyed making them. I ended up using the chip letters like you did but painted them in black chalkboard paint and then wrote their last name on the letter in chalk so they would know it could be erased and something else written. I then did as you suggested and put a blank photo on it with “Insert your favorite family photo here” from you NHS Secret Santa! Thanks for a great tutorial!!
what kind of wood did you use??
What size of picture did you use?
Such a great project. And by switching up the shape of the wood and the “string” – so many options for so many styles. So fun!
xo Michael
Thanks Michael! 🙂
I love this idea as well as some variations on it. For Tina’s question, you could place a card to her in it, like you would a picture, and in the card just make a note explaining its intended purpose.
This is a really cute idea. And a very affordable one for ‘the masses,’ as you said! I was wondering, when presenting this gift to someone (say, a teacher) would you give it with a picture in it? I would want them to understand it’s a frame that they can change out, but of course wouldn’t want them to think I expect them to keep my child’s photo in it.
I agree with Sharon… If you are worried about that, just put a piece of paper in it explaining that it is a frame. Or, if you are including a card, mention it in the card. Hope this helps!