I have a slight obsession with scarves and they were taking over my closet! I’m in the middle of building a closet storage system and I have been trying to decide what the best storage option would be for my scarves. I have been hanging them on hangers in my closet but they were getting out of control. I couldn’t even see what I had and they were getting tangled so I stopped all of my projects and got busy working on a solution.
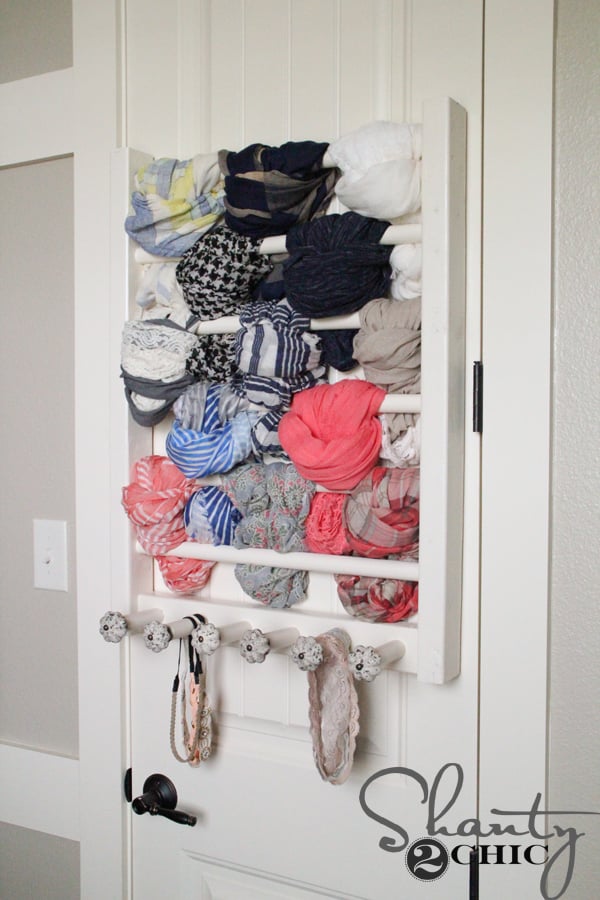
A few dowel rods and a 2×3 later and I have this over the door scarf rack and I’m sooooo happy with it! The lumber cost was about $15 and the knobs were about $2 each (Hobby Lobby on sale)! That’s a lot of bang for my buck 🙂
This only took about 30-45 minutes to build and it requires minimal tools! If you don’t have a saw, you could easily build this with a simple hand saw like the one below.
Here’s how to build it!
Lumber supplies:
1 – 2×3 @ 8ft.
3 – 1″ dowels @ 48″
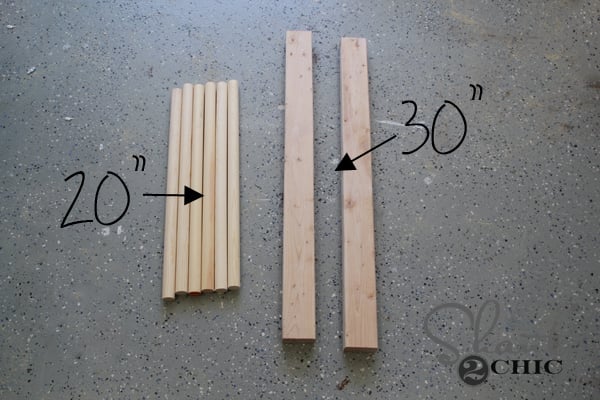
I cut 2 – 2×3 pieces at 30″ and 6 dowels at 20″ (save the scraps on the dowels).
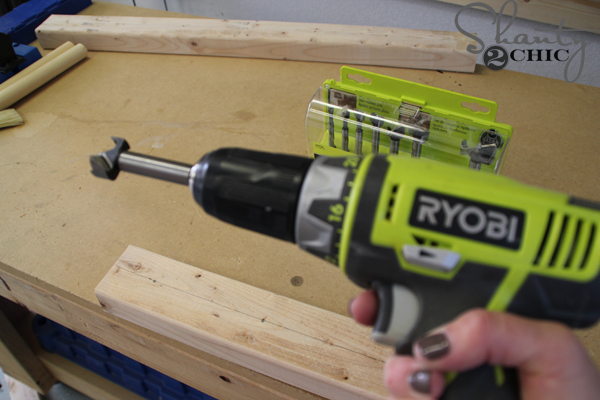
With a 1″ forstner bit attached to my drill, I drilled six holes into each 2×3. I only went as deep as the tip of the bit (about 1/2″).
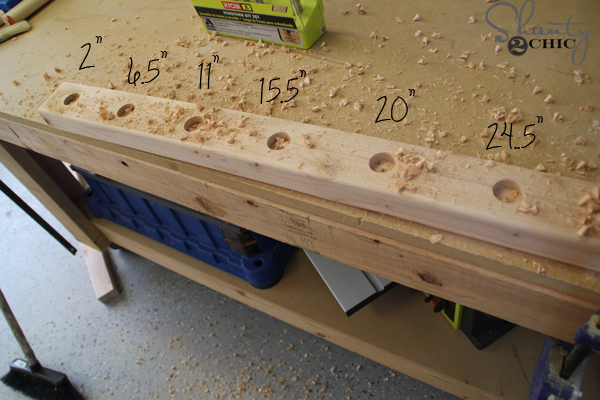
I started 2″ from the top and drilled a hole every 4 1/2″. I drilled my holes right down the middle of the board but if I did it again, I would have drilled closer to one side of the board to leave more space behind the scarves to tuck them.
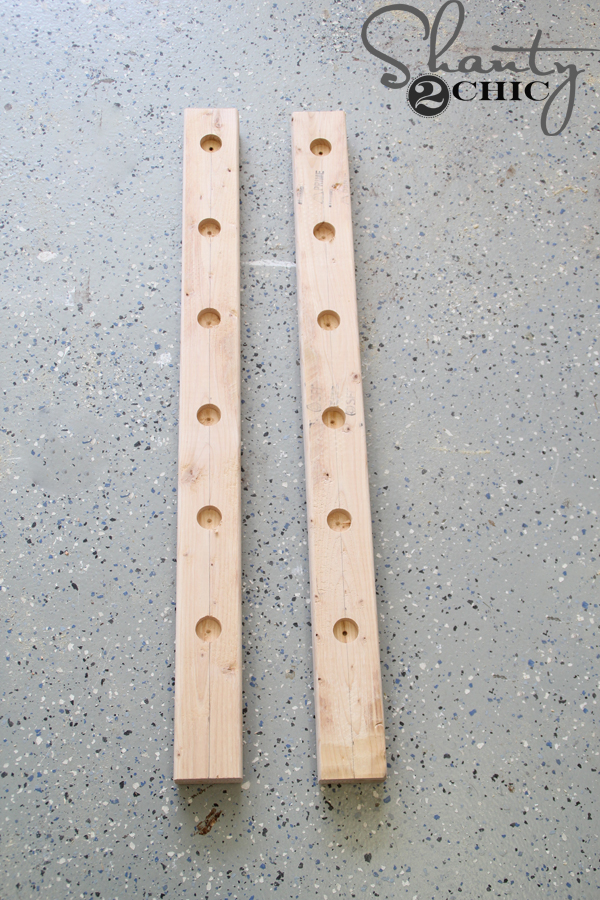
Do the same for the other 2×3 piece. Make sure the holes are lined up exactly.
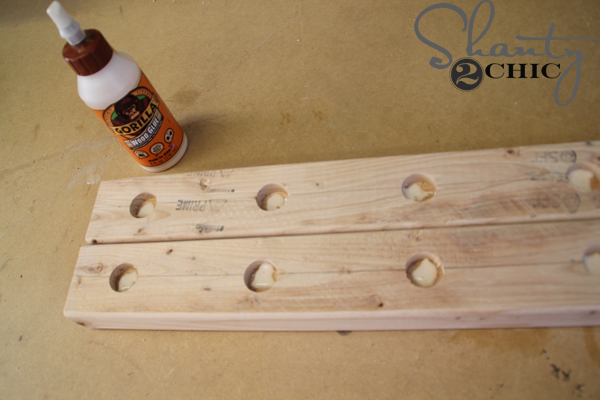
Next, add a drop of glue into each hole – a DROP – I put too much and had a mess.
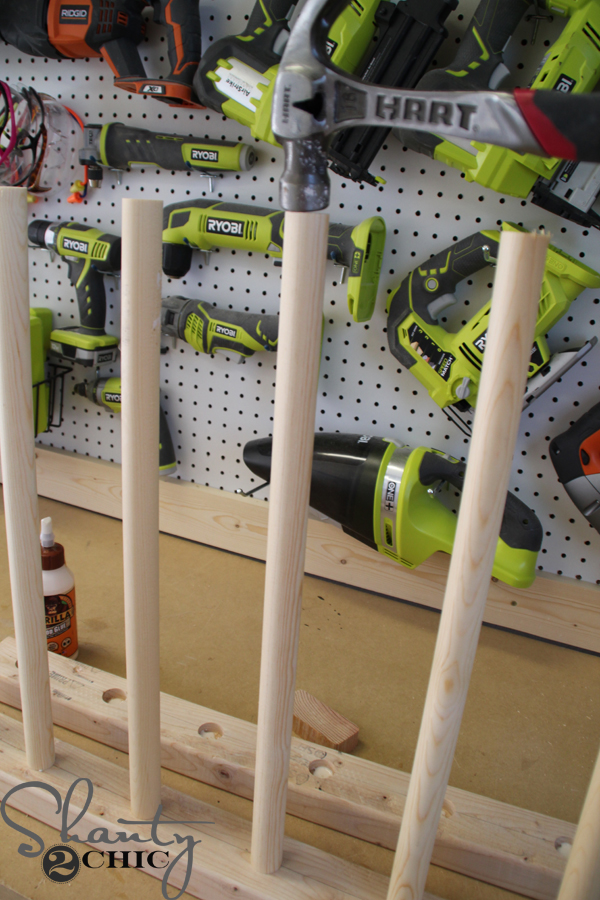
Then, hammer a dowel into each hole.

To attach the other 2×3, flip it over and hammer the 2×3 onto the dowels. Use a scrap piece so that you don’t dent the 2×3.
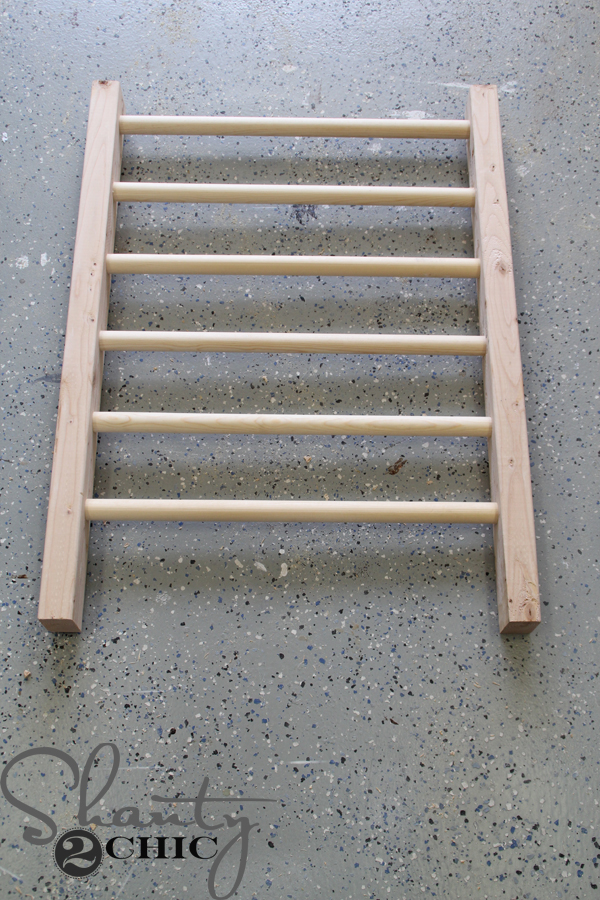
Here it is with all of the dowels assembled! Now, measure the space between each 2×3 and cut another 2×3 to fit.
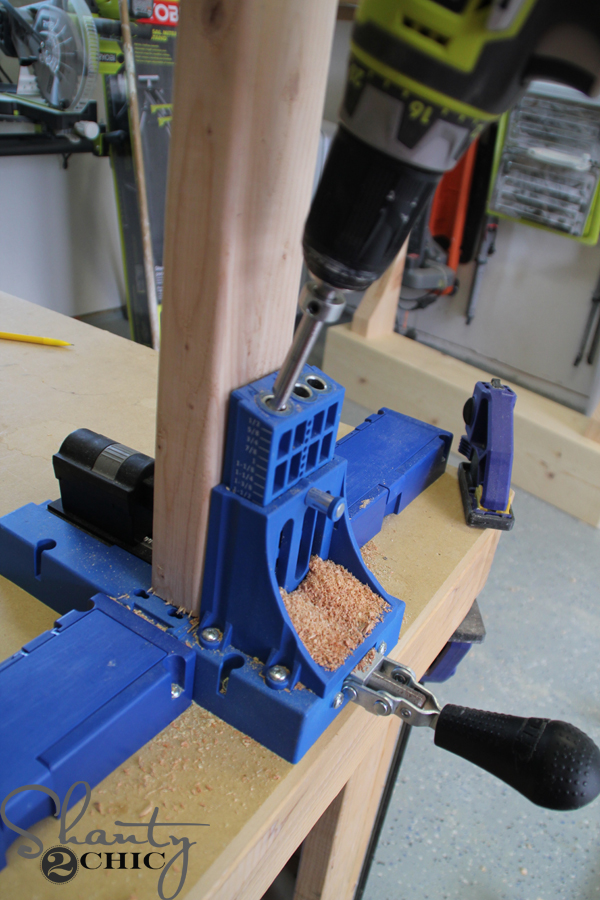
Drill 2 1 1/2″ pocket holes in each end
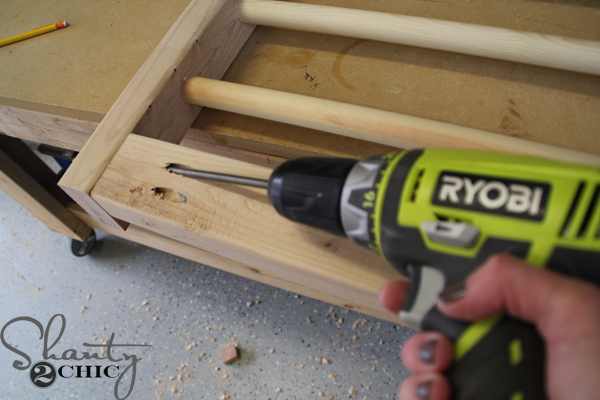
and attach it to the bottom of the scarf rack. Make sure the pocket holes face the back. I attached mine flush with the back but if I did it again I would have made it flush with the front to tuck the scarves. #liveandlearn #itstillworksgreat
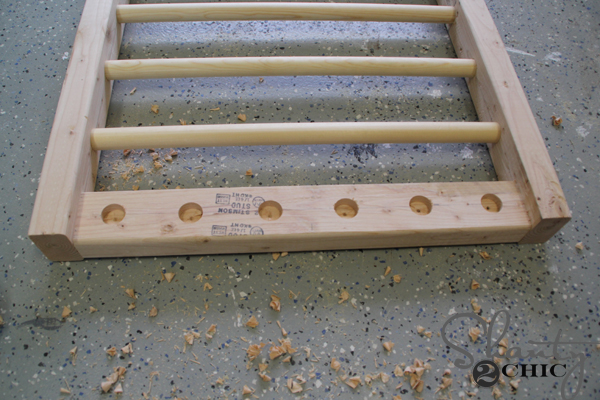
Next, drill 6 1″ holes on the bottom 2×3 the same way you did on the side pieces. I just eyeballed mine for spacing
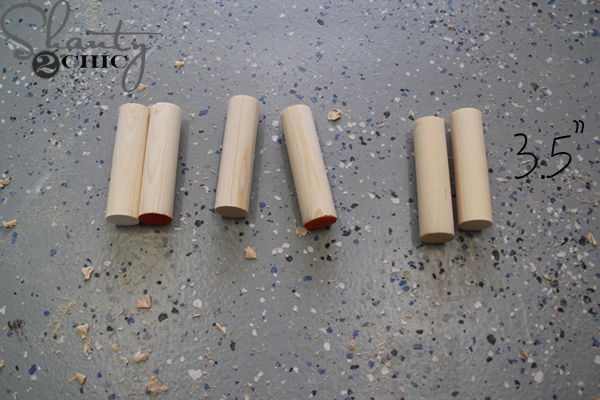
and cut 6 3 1/2″ pieces from the scrap dowels. Then hammer them into the holes with wood glue.
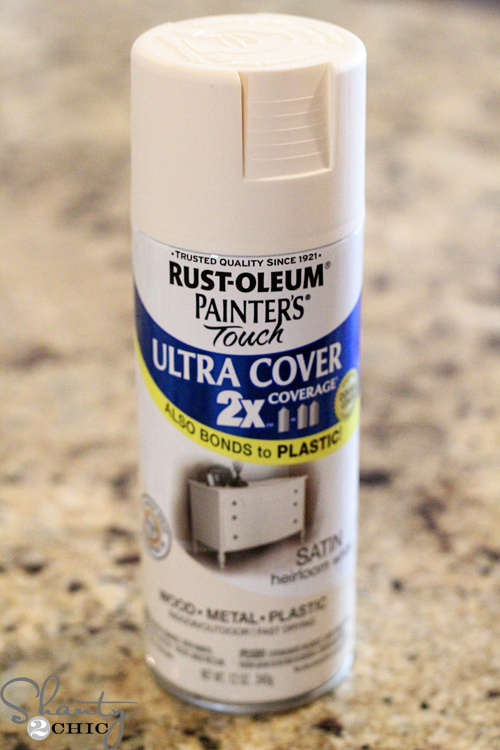
To finish it, I sprayed about two coats of Rust-Oleum Heirloom White spray paint all over. (This color matches my trim and door colors exactly).

Finally, I drilled a pilot hole in the middle of each short dowel (this should be the width of the knob screw).
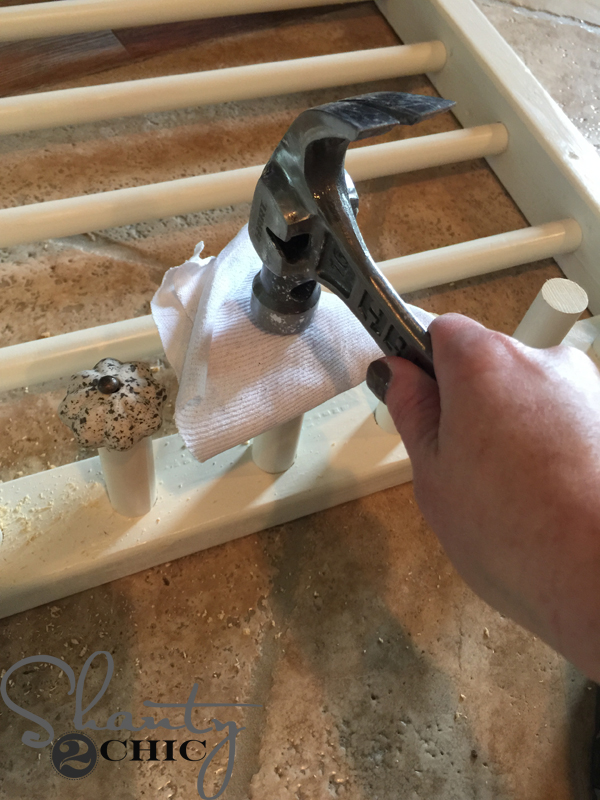
Then I hammered a knob into each hole. This should be a tight fit. If not, add some Gorilla Glue Super glue gel to hold it in place.
That was it!

To hang it, I used large 3M command strips (4 on each side). This baby isn’t budging. If you prefer to mount it with hardware, make sure to use hollow door anchors.
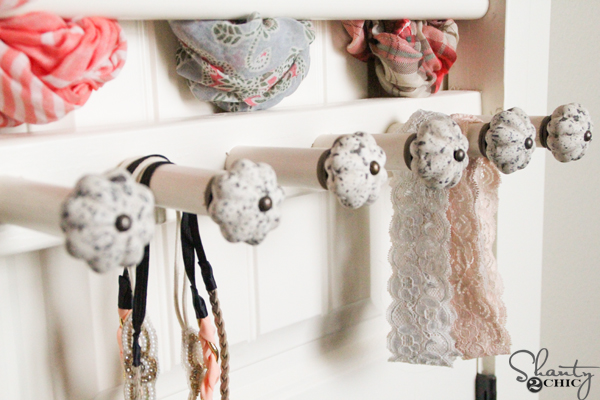
I added the bottom dowels for hair accessories, belts and necklaces 🙂
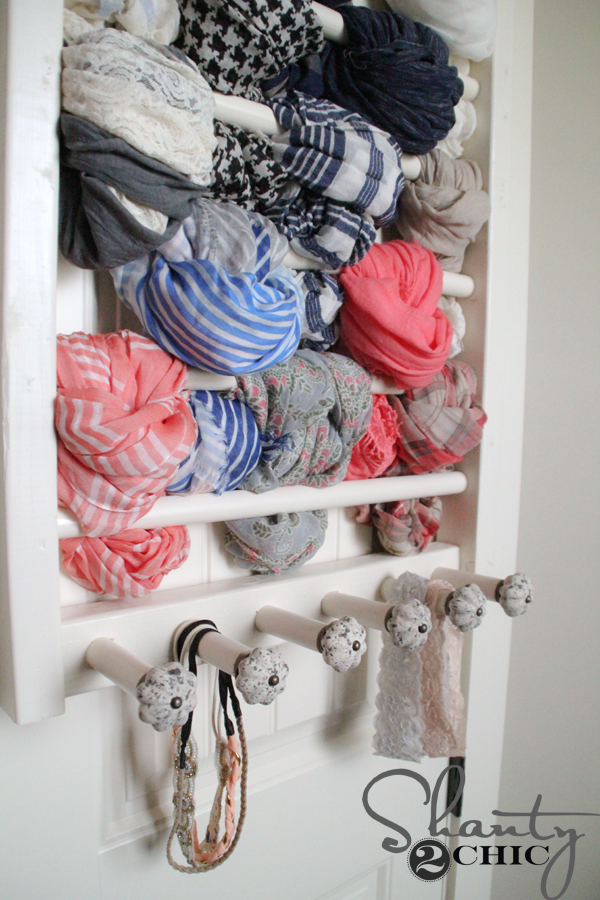
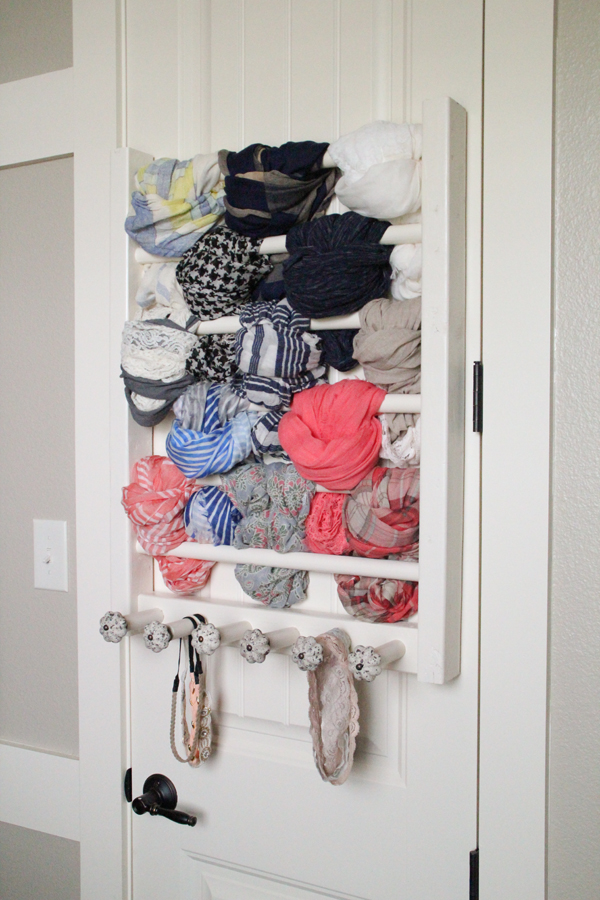
A place for everything and everything in it’s place! (Well at least where alllllll the scarves are concerned). It’s funny, my husband was more impressed with this project than he is with others – so much so that he asked for a modified version for his ties and belts? SCORE! 🙂
Thanks so much for stopping by!
~Ashley


I love it! You are so talented!