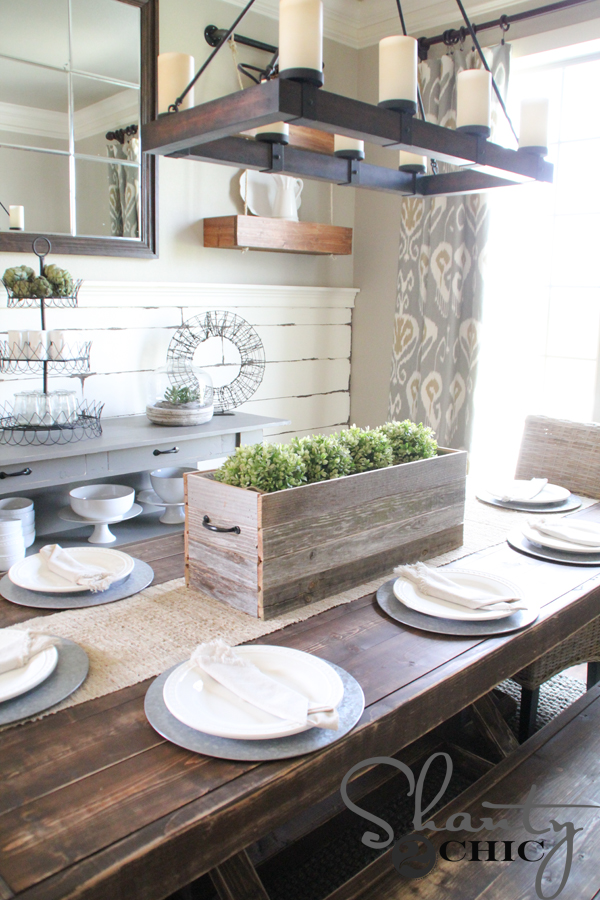
Hey guys! If you caught our live tour of my dining room, last week on our Periscope, you heard me promise to share a tutorial of the Barn Wood Planter Box that I built for the centerpiece of my dining table! If you aren’t familiar with Periscope, it is an app that you download to watch live video feed and interact with the accounts that you follow. You can find us @shanty2chic!
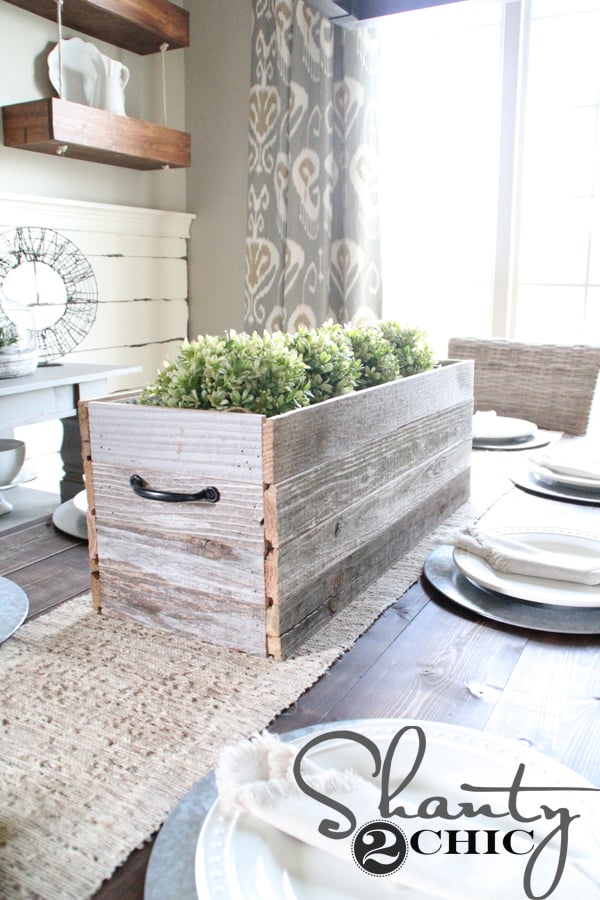
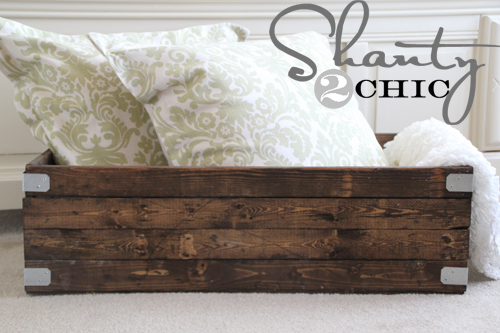
We showed everyone this cute planter box and got lots of requests for a tutorial so here we are 🙂
This is such an EASY project that requires only basic tools AND there’s no need for a finish because I bought the wood like that!
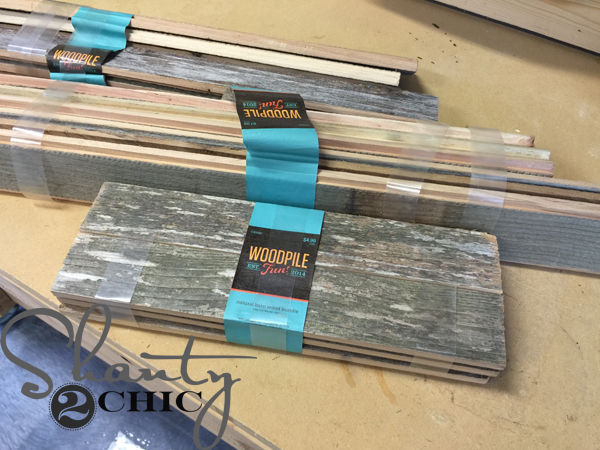
I started with these awesome Woodpile bundles that we found at Hobby Lobby. They look just like old barn wood and they are tongue and grove. I only used the bundle of long pieces and the entire bundle is only $4 after a coupon! (if you shop the same Hobby Lobby as I do, I’m sorry, I may have bought them all up 😉
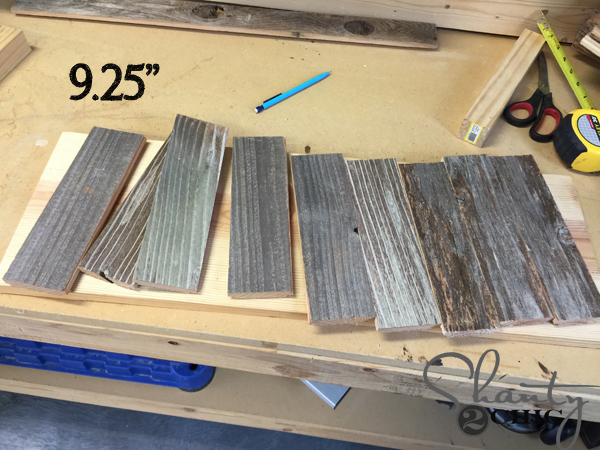
I cut 8 pieces at 9 1/4″ and 8 more pieces at 28″. You can definitely use a handsaw like THIS to cut these pieces. I used my miter saw.

Next, I cut 4 2×2’s at 8 1/2″. I used scrap premium pine for this but you can also use 2×2 furring strips.
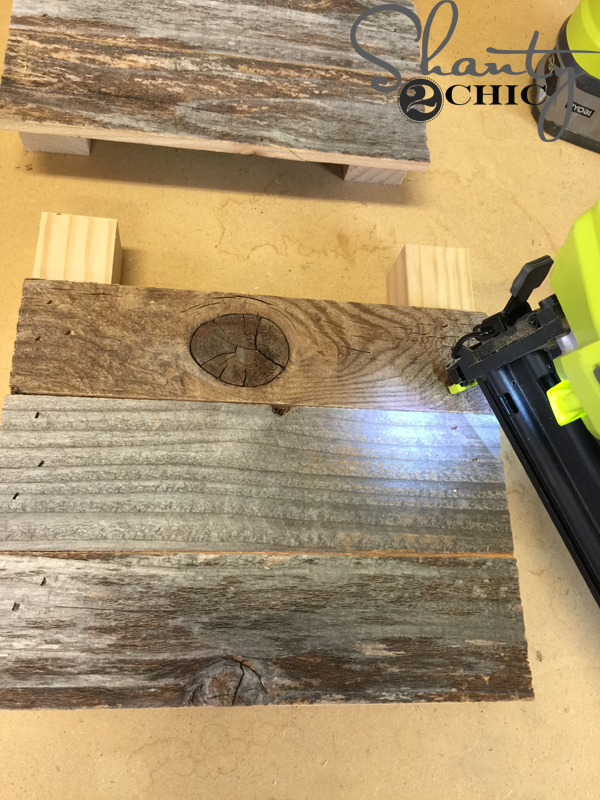
I attached four 9 1/4″ pieces to each set of 2×2’s. The edges of the planks will be flush with the edges of the 2×2’s. I used 1 1/4″ brad nails and my 18 gauge Ryobi Airstrike Nailer. You can also use a hammer and finish nails here.
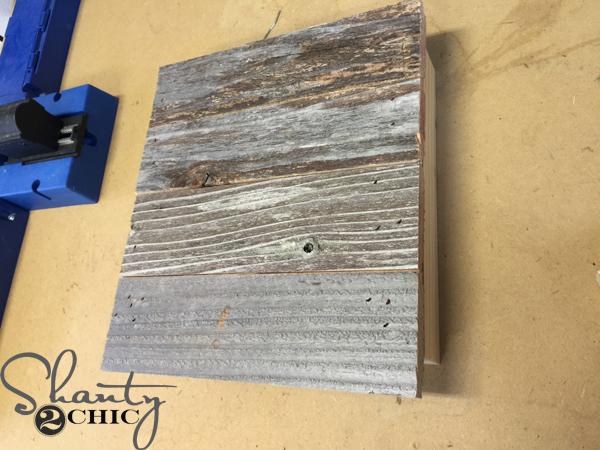
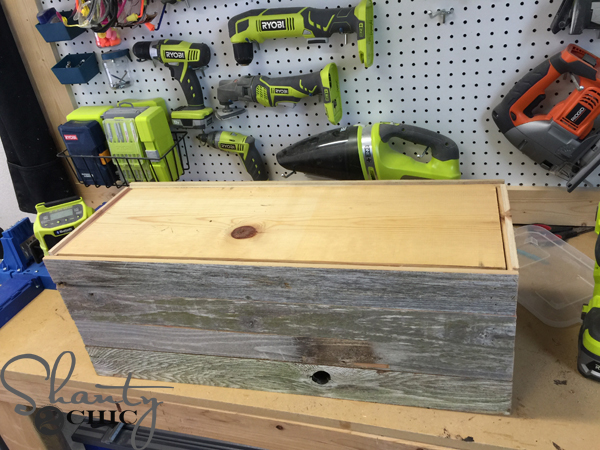
This is what it will look like at this point.
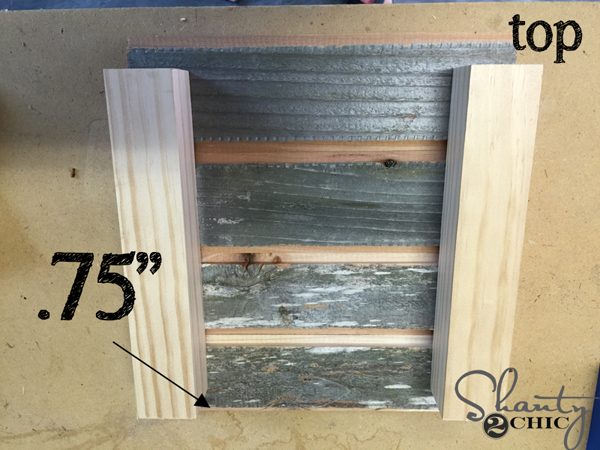
This is the back side. The slats should overhang the 2×2’s on the bottom 3/4″. Do the same with the other set of 2×2’s and the remaining 9 1/4″ slats.
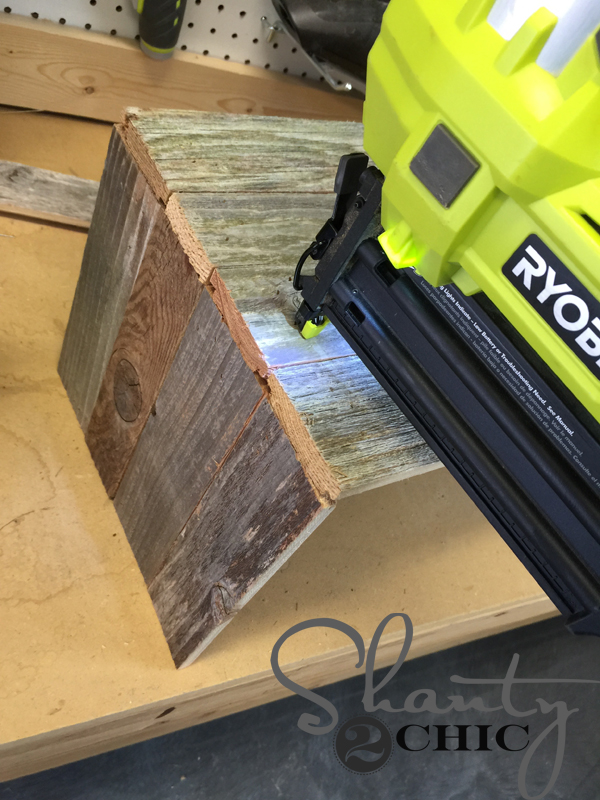
Next, attach the 28″ slats between the 9 1/4″ sides.
Now, you should have a box without a top or bottom 🙂

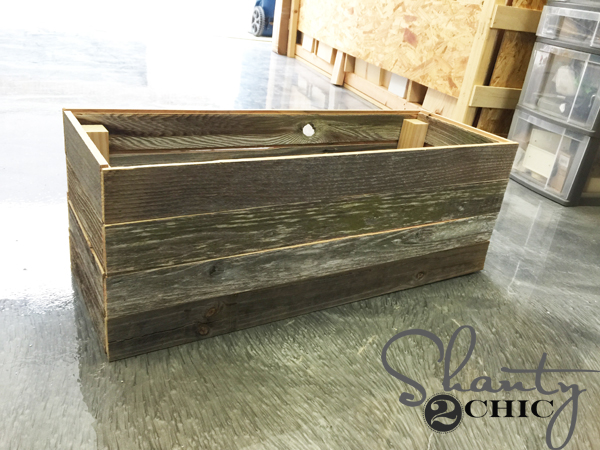
Cut a 1×10 to fit inside the bottom of the box and attach it with brad nails from the outside of the slats into the 1×10.
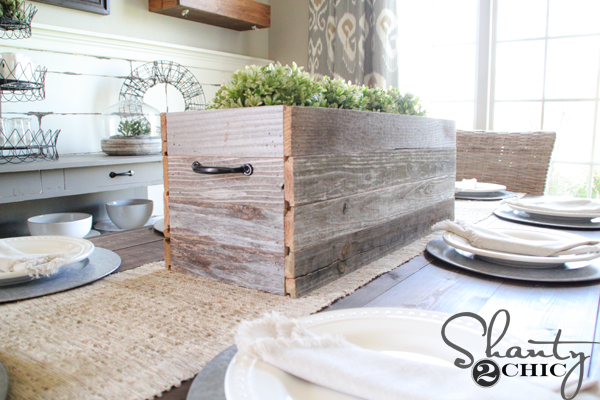
That’s it! Add a pair of fun handles on the ends and you’ve got yourself an awesome planter box for under $10!


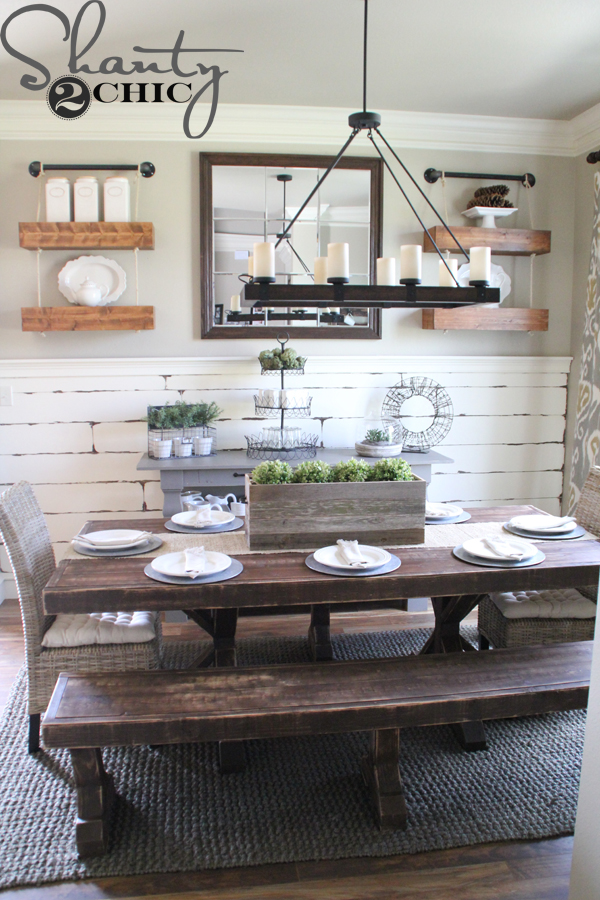
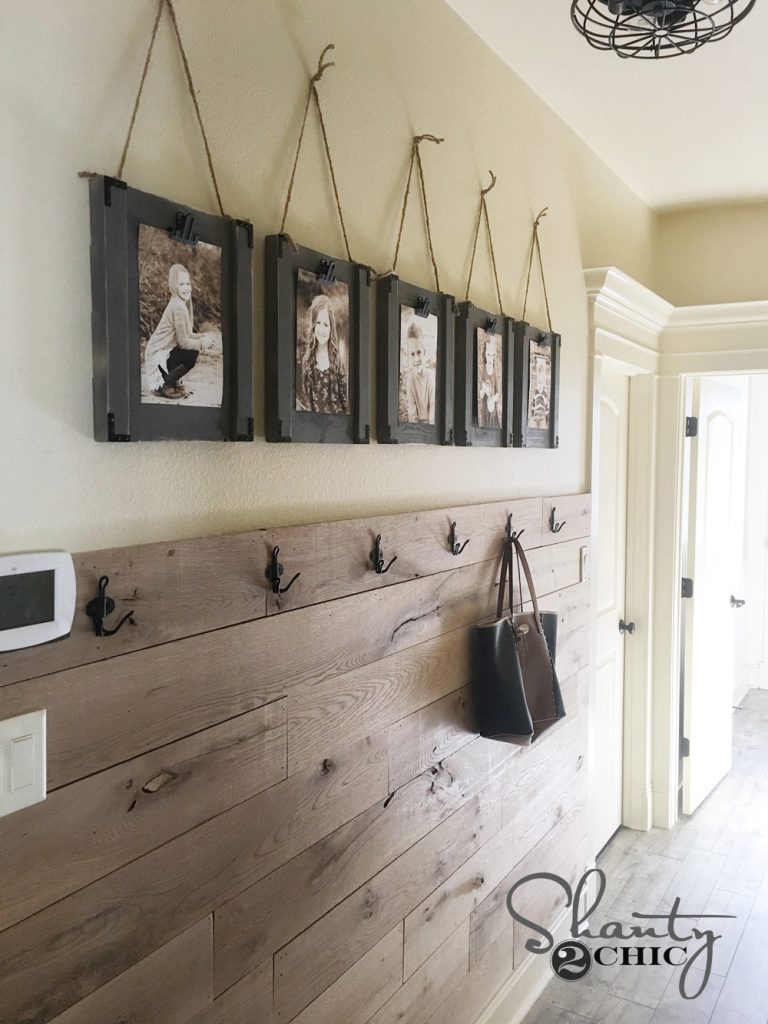
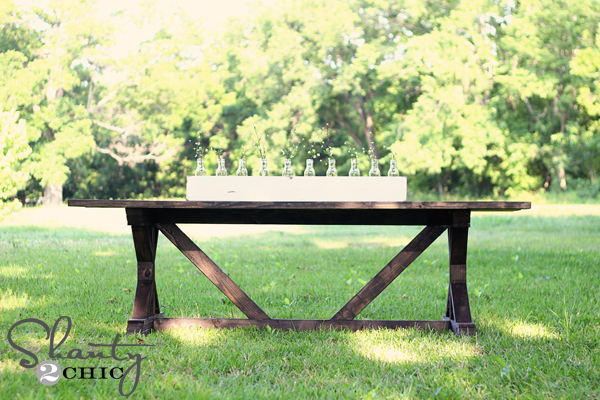
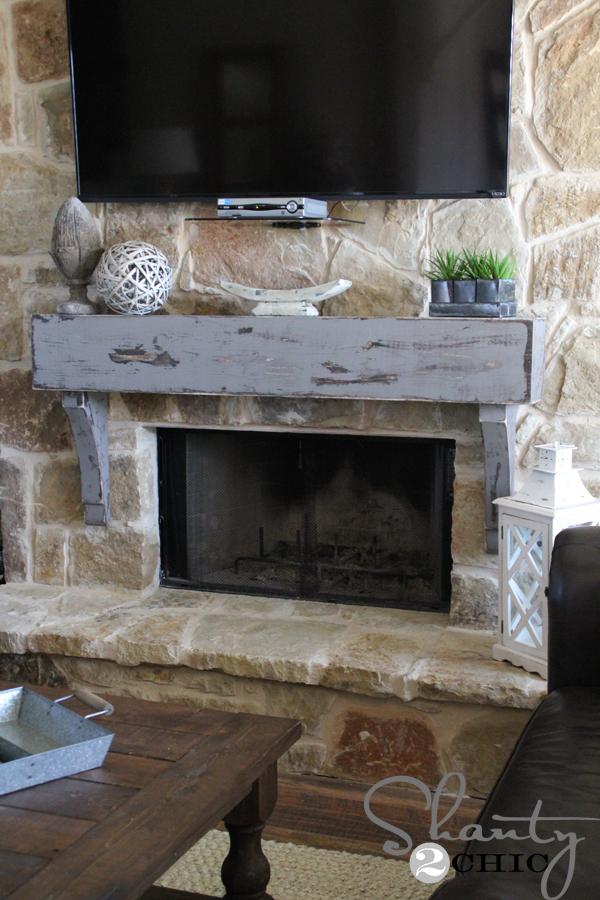
There is so much DIY in this room 🙂 Click the links below to find tutorials to everything you see in here!


I have noticed you don’t monetize shanty-2-chic.com, don’t waste your traffic, you can earn additional bucks every month with new monetization method.
This is the best adsense alternative for any type of website (they
approve all websites), for more details simply search in gooogle: murgrabia’s tools
???? Use the plans at www. WoodworkPlans.info for this project like I did – highly recommended you check those out too. They are detailed and super easy to read and understand unlike several others I found online. The amount of plans there is mind-boggling… there’s like 16,000 plans or something like that for tons of different projects. Definitely enough to keep me busy with projects for many more years to come haha
????????
☁☁☁☁☁
☁ ? ☁
☁ ☁
☁???????☁
☁ ? ? ☁
☁?????☁
☁☁☁☁☁
?
?
what did you use to fill your planter?
Where is your table runner from?
FYI- I went to my Hobby Lobby in Utah and bought a bundle for $5.10 with coupon. I got home and started cutting and realized I would for sure need 2 bundles especially since the bundle I bought had 2 different widths. I went back and got another only to find out that this bundle had only the bigger width in it AND with the measurements of the 2×2 ‘s I have to go by the bigger width. I now have to go back and get another bundle and be sure to get all bigger width ones. So be sure that the width of your bundle is all the same at about 2″ in width.
Good to know! I guess they are random lengths! I didn’t have that issue – so sorry!
Super cute. I bought some of the wood at my HL but I don’t think it’s planked – just regular lengths of wood, but the same building steps will work! They had all different kinds of bundles.
Super cute!
Love it, It’s not online at hobby lobby. Looks like I have to make a trip tomorrow to see. If they carry in CA stores