I hope everyone is off to a great start this year 🙂 I am excited to finally share the Industrial Wall Art that I made for my son’s bedroom!
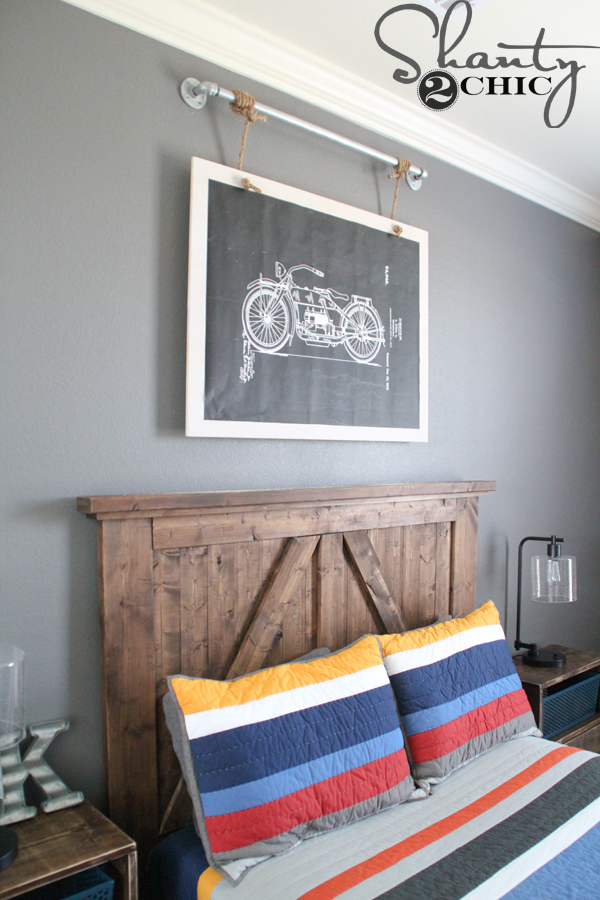
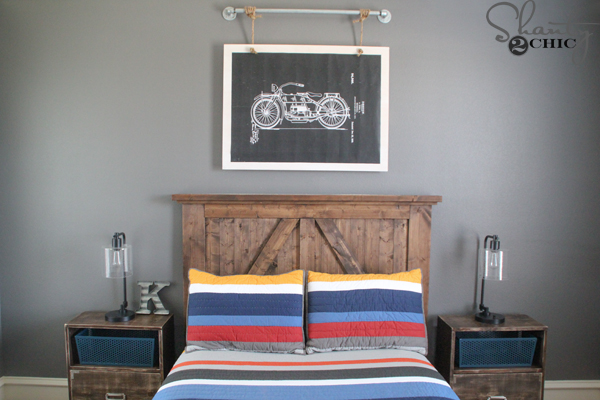
When I shared the DIY Nightstands, that I built for his room, I had so many questions about the wall hanging! How cool is that for a teen boy room?!?! It is super easy to build AND I found the motorcycle download, for FREE, HERE.
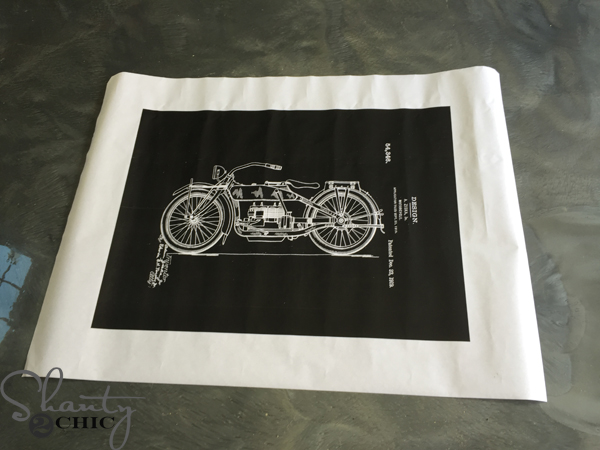
I downloaded the 36″x48″ print, uploaded it to Staples and ordered a 24″x36″ engineer print. It was only $4 and it was ready in a few hours!
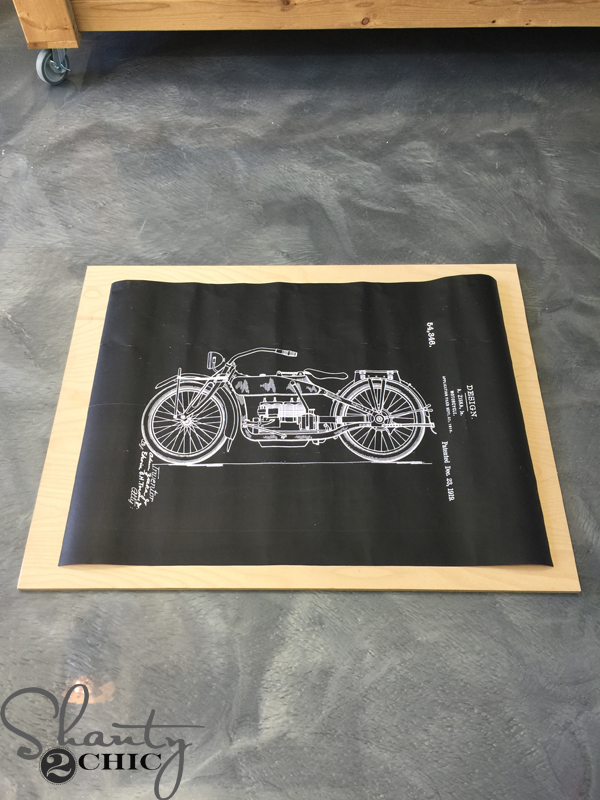
I cut the white border off, with scissors, and cut a 1/2″ sheet of Purebond Plywood scrap to fit. I left about a 2″ border all the way around.
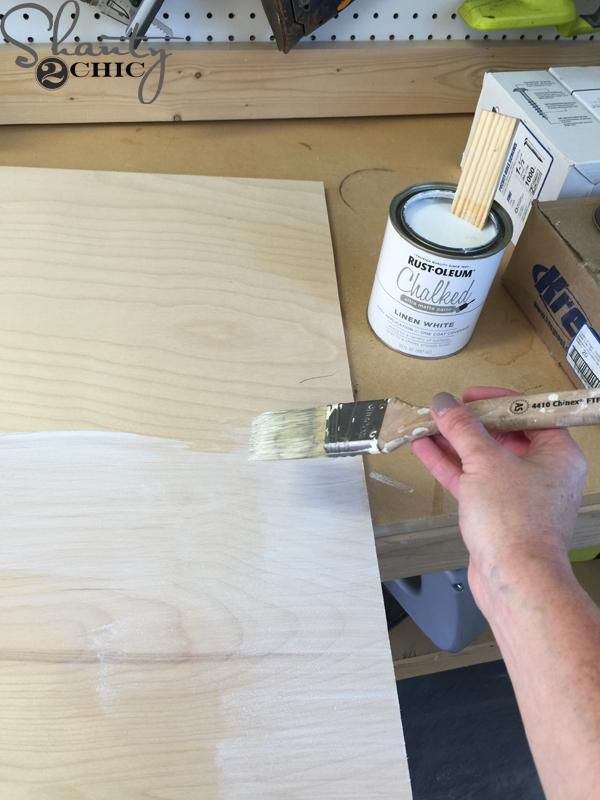
Next, I applied one coat of Rust-Oleum Linen White Chalked Paint around the edges. You don’t have to cover the entire board, just enough to cover what will be seen when the print is on the board. The Chalked Paint is very thin and this gives a white washed look 🙂
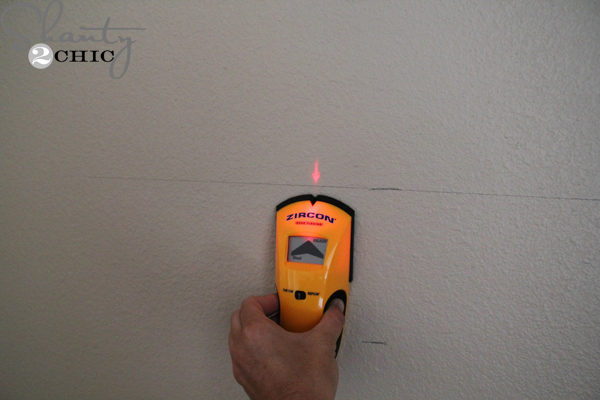
While the paint dried, I drew a horizontal line on the wall, about where the middle of the picture would be (this will be where the 2×4, that the picture attaches to, will go). The, I used my stud finder to mark the studs behind the wall. HERE is a link to our favorite stud finder.
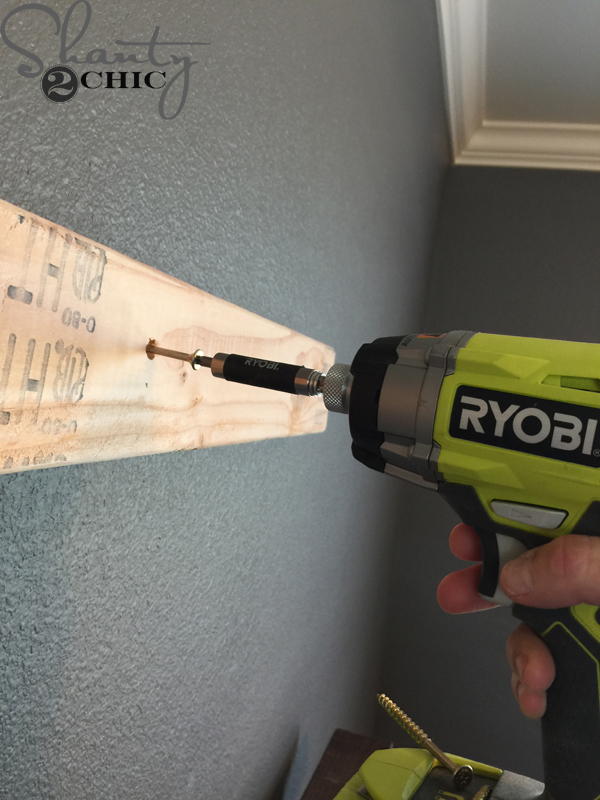
I cut a 2×4 at 30″. I wanted the picture to look like it was hanging from the metal pipe, so I cut the 2×4 shorter than the width of the picture so that it wouldn’t be seen from the sides of the picture. To attach the 2×4 to the wall, I used my Ryobi Impact Driver to drive 3 1/2″ Spax screws into the 2×4 and into the studs behind the wall. You need to drill into at least two studs. We like to use Spax screws because you don’t have to pre-drill and they won’t split the wood! If you don’t have an impact driver, a standard drill will work fine. The impact driver just drives the screw into the studs faster and more easily.
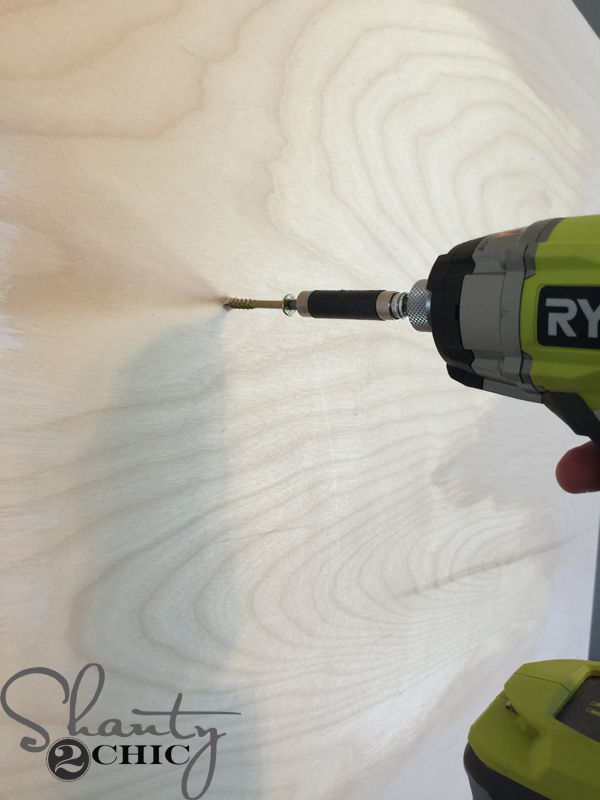
Next, I centered the plywood over the 2×4 and attached it to the 2×4 with 1 1/4″ Spax screws. Make sure to place all of the screws so that they will be hidden behind the picture.

You can see the screws in the middle of the plywood. They will be covered by the picture soon 🙂
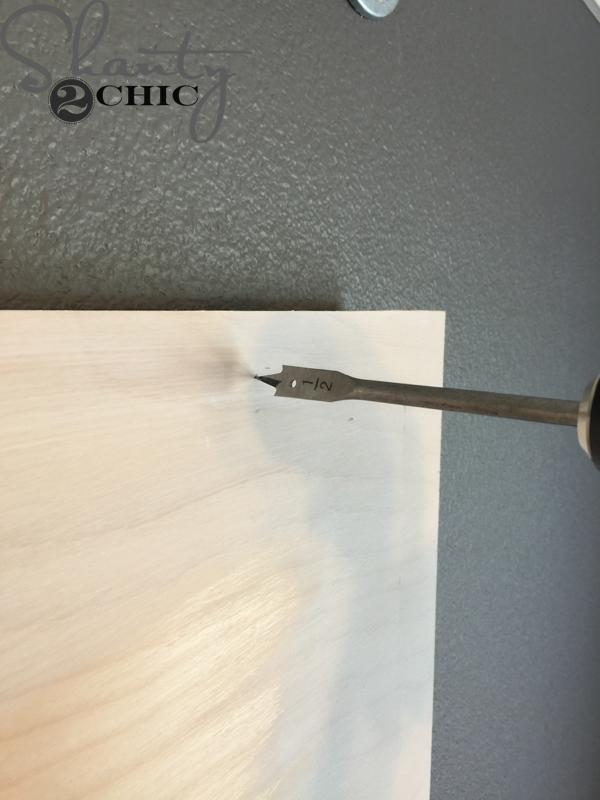
Next, I used a 1/2″ spade bit to drill a hole on each top corner of the plywood. I just eye balled where I wanted the rope to attach. Just make sure that the hole falls above where the picture will attach and far enough in so that it can hang from the pipe.
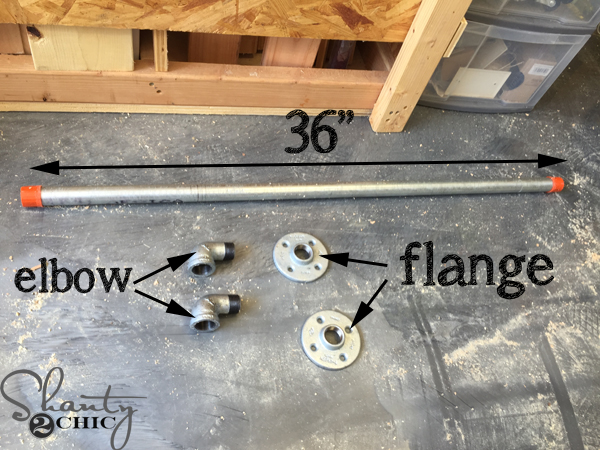
Speaking of pipe, I purchased a 1″x 36″ galvanized pipe HERE, two 1″ flanges HERE, and two 90″ street elbows HERE, from Home Depot. The bulk of the cost in this project is the the pipe supplies. I spent about $40 on the pipe materials.
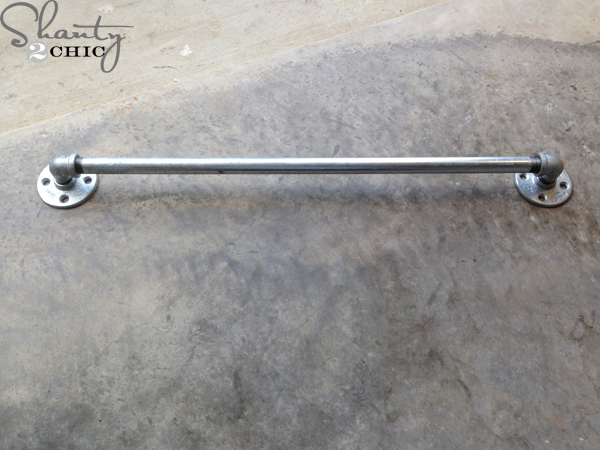
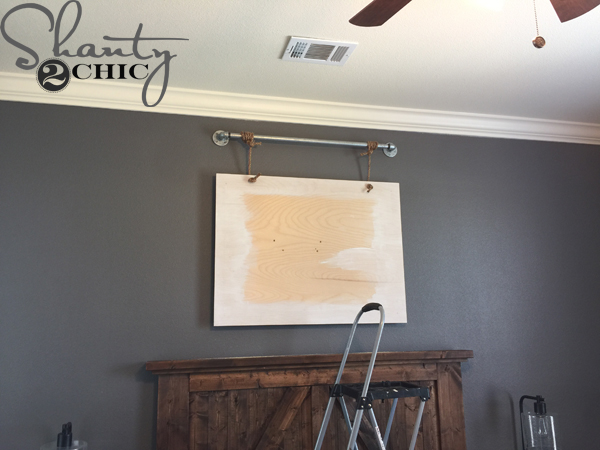
I attached all of the pieces together,

then I centered it over the plywood and attached it to the wall with anchors, through the holes in the flanges.
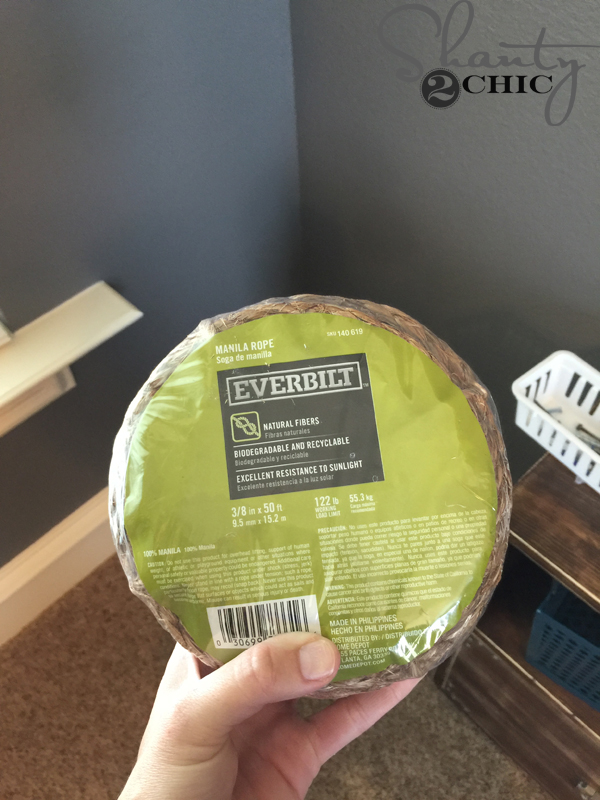
I found this 3/8″ rope at Home Depot.
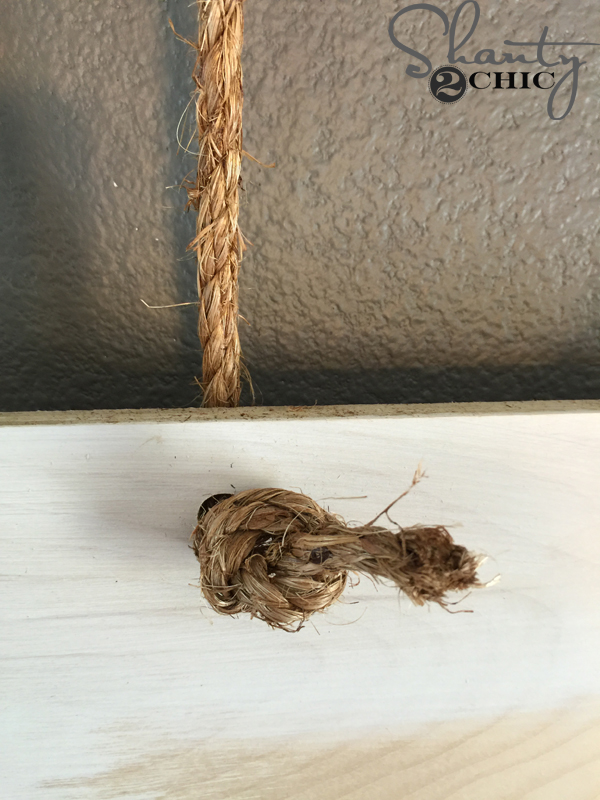
I started by running the rope into the hole in the plywood, from the back side. Then, I tied a knot at the end. If you have too much hanging off the end of the knot, just cut it to size.
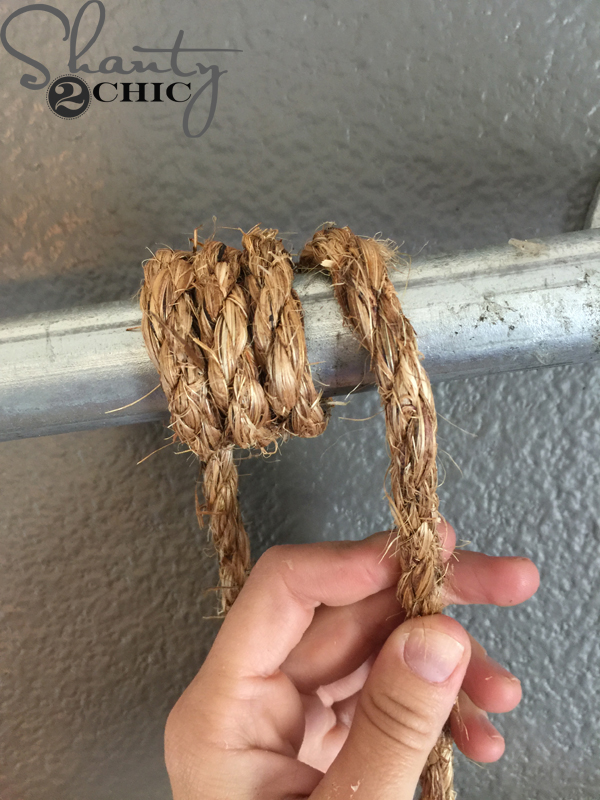
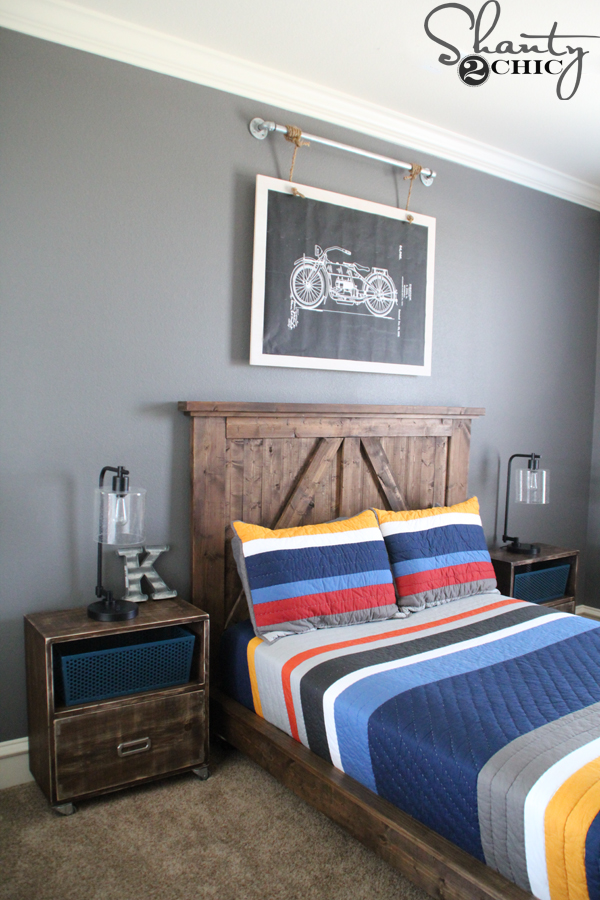
Next, I ran the rope up behind the metal pipe then over the top. I wrapped it like this about five times.
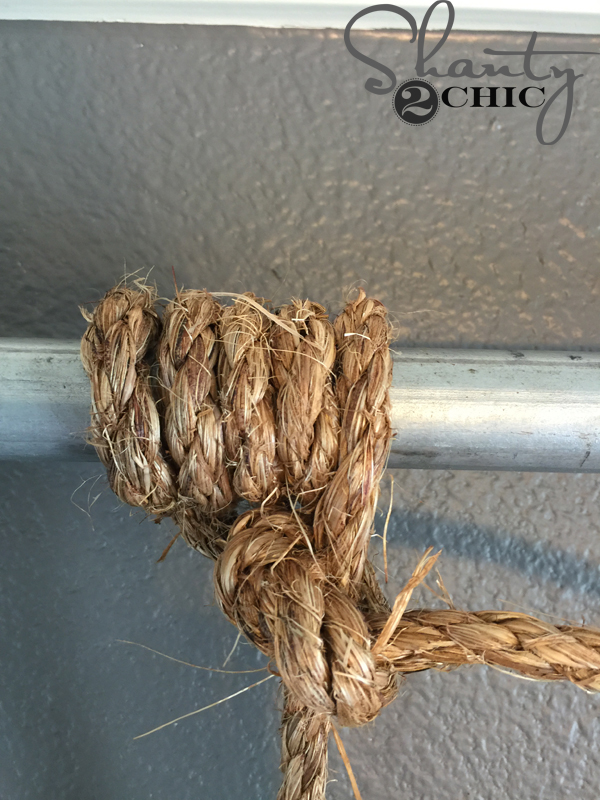
Then, I used the end of the rope to tie a knot around the part of the rope running to the plywood. Cut off the slack.
Now to attach the picture 🙂
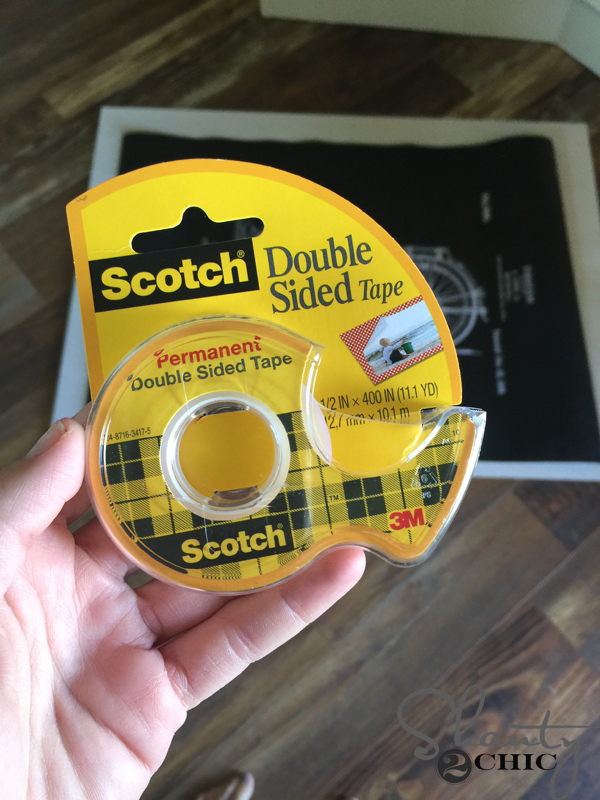
I used double-sided tape to attach the picture. I marked exactly where I wanted each corner, attached the tape to the plywood then aligned the picture over it. Use lots of tape 🙂 You can also use furniture tacks to attach the picture but I didn’t want them to be seen. I opted to not use spray adhesive because I didn’t want the mess in the house.
That was it 🙂 Super easy, inexpensive and I love that it looks like the picture is hanging from the pipe!
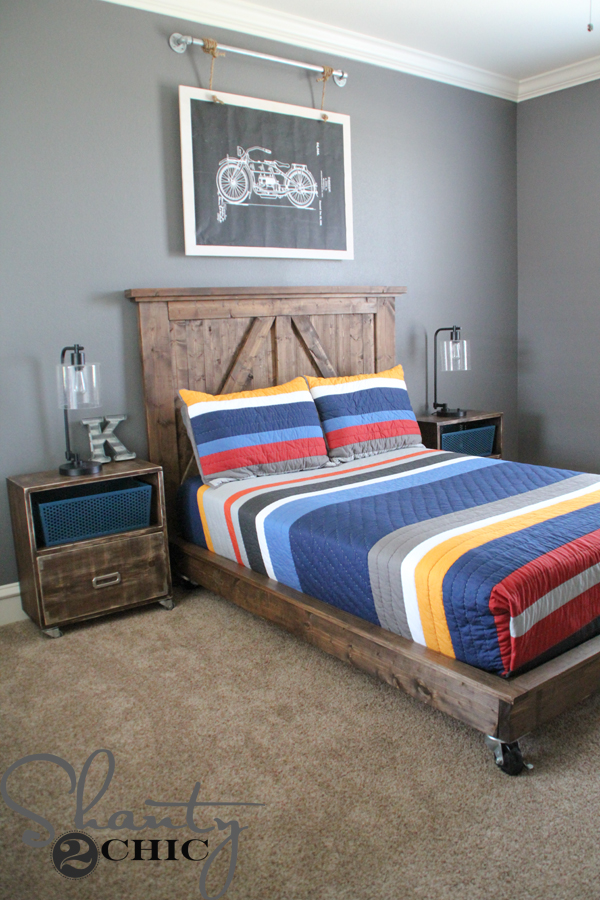
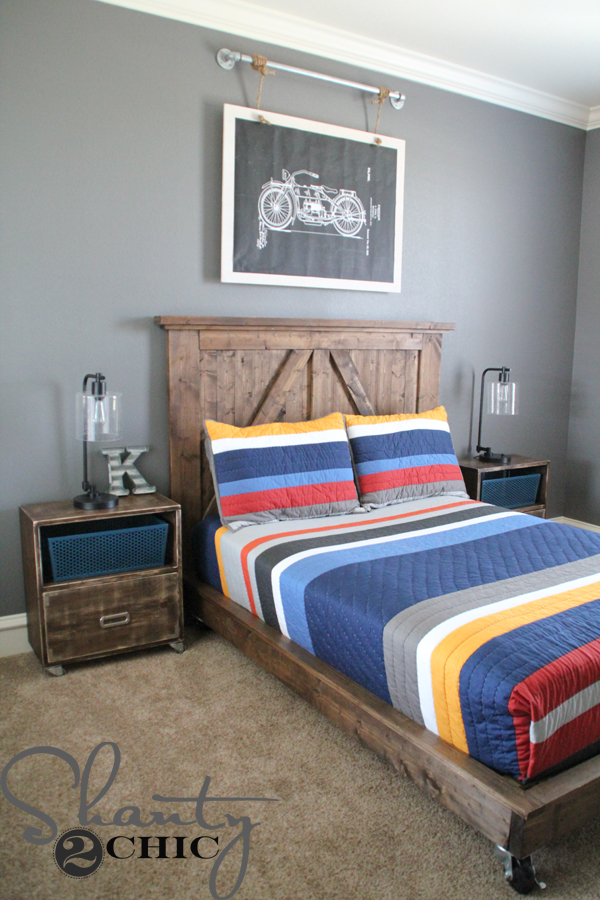
I spent about $70 total, in materials! Not bad for a large, unique, piece of art for my son’s room! He loves it, too!
Here’s some info about the other pieces in his room:
DIY Headboard – HERE
DIY Platform Bed – HERE
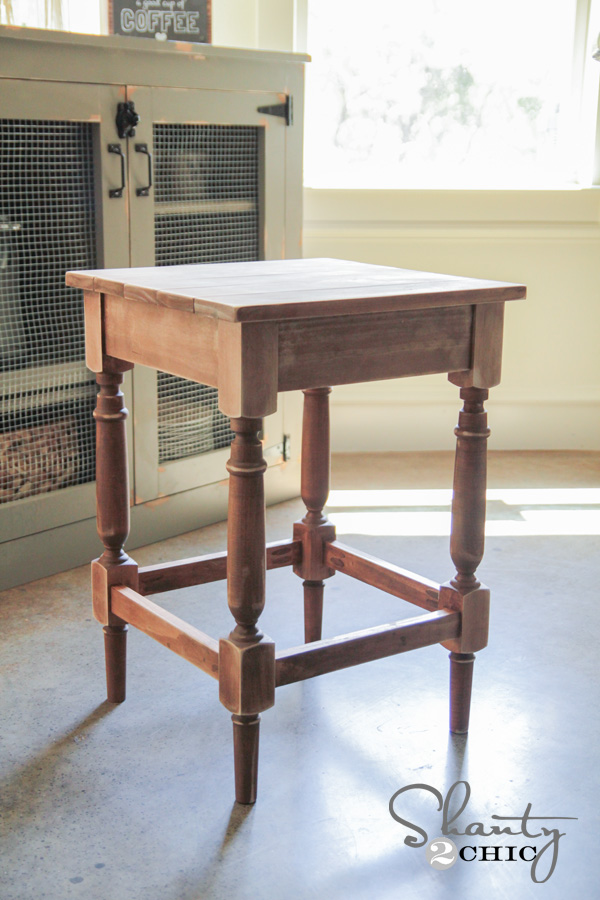
DIY Nightstands – HERE
Bedding – Pottery Barn Teen
Lamps – Target
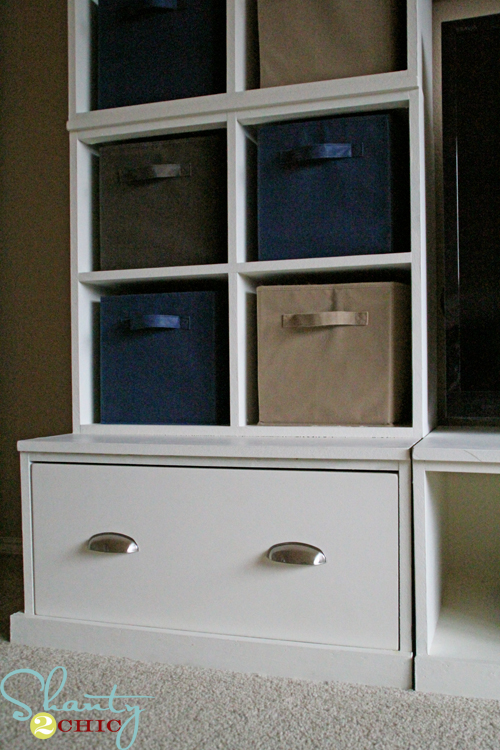
Baskets – Michael’s
Paint – Wall: Rugged Suede by Valspar; Trim: Oil-based match to Ivory Lace by Valspar
Thanks so much for stopping by 🙂
~Ashley

What kind of pure bond plywood is that? Maple?
I tried to download the same picture in the 36″x48″ and it says the page could no longer be found!! :(Could you pass along the picture you downloaded in whatever format you downloaded?
Super cool! I love that is attached but looks like it’s hanging.