This DIY Hanging Chalkboard is the PERFECT project for a beginner! The steps are simple, it only requires a few tools AND it’s just so darn cute!
If you had the chance to see our pilot, Open Concept, on HGTV, you might have caught a peek at this guy 🙂 Not only is it easy to build, the distressed finish is quick and easy too (and currently my fave finish)!
Here’s a list of the materials you need to create this DIY Hanging Chalkboard:
1 – 1×3 @8ft.
1 – 1×3 @4ft.
2 – 1×2 @8ft.
1 – 2’x4′ sheet of chalkboard (Home Depot)
2 – Eye Hooks
Saw
Kreg Jig
Drill
Nailer (hammer and finish nails will work too)
Stapler (hammer and finish nails will work too)
Here’s how to build it!

I started with a 2×4 sheet of chalkboard (found at Home Depot)
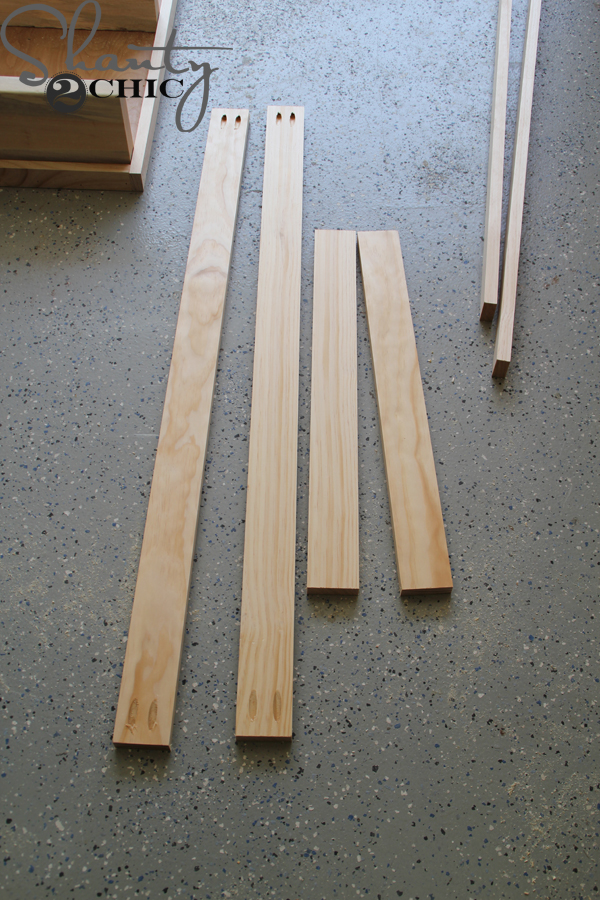
Make sure to measure the chalkboard before making cuts. My measurements are just a go-by for you. I cut 2 1×3 pieces at 24″ and 2 1×3 pieces at 43″.
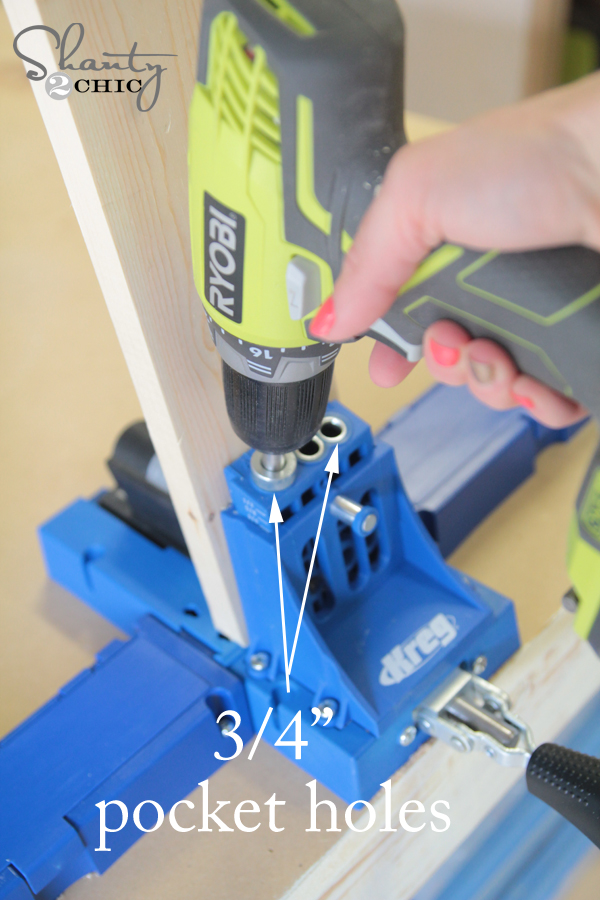
I used my Kreg K5 to drill 3/4″ pocket holes in to both ends of the 43″ boards. (You can watch our “How to Use a Kreg Jig” video HERE. You can click HERE to purchase a Kreg Jig from Amazon).
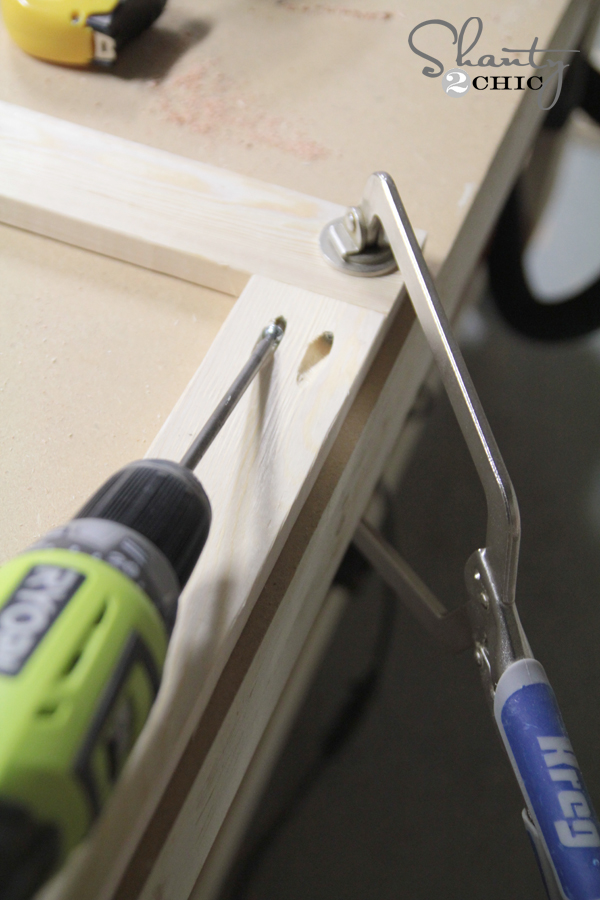
Next, I attached the 43″ boards to the 24″ boards with 1 1/4″ pocket hole screws.
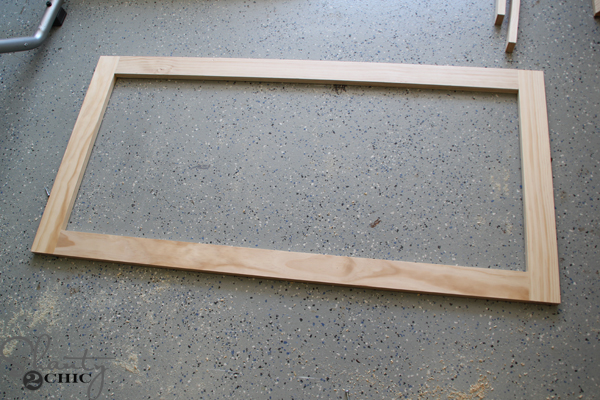
The frame will look like this now.

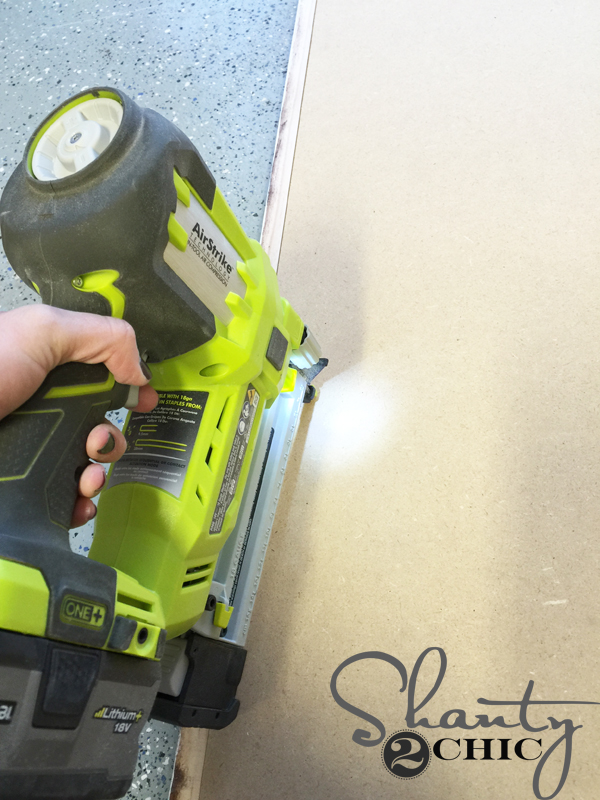
Then, I laid the frame over the chalkboard making sure the edges of the frame were flush with the edges of the chalkboard. Next, I measured the length of the long sides from end to end and cut a 1×2 piece to fit. I attached the 1×2 with my Ryobi 18V Airstrike Brad nailer and 1 1/4″ brad nails. If you don’t have a nailer, you can use hammer and nails here. It is important to lay the frame over the chalkboard before attaching the 1×2 pieces. You want the 1×2 to cover the sides of the chalkboard so you do not see them when it is hanging.
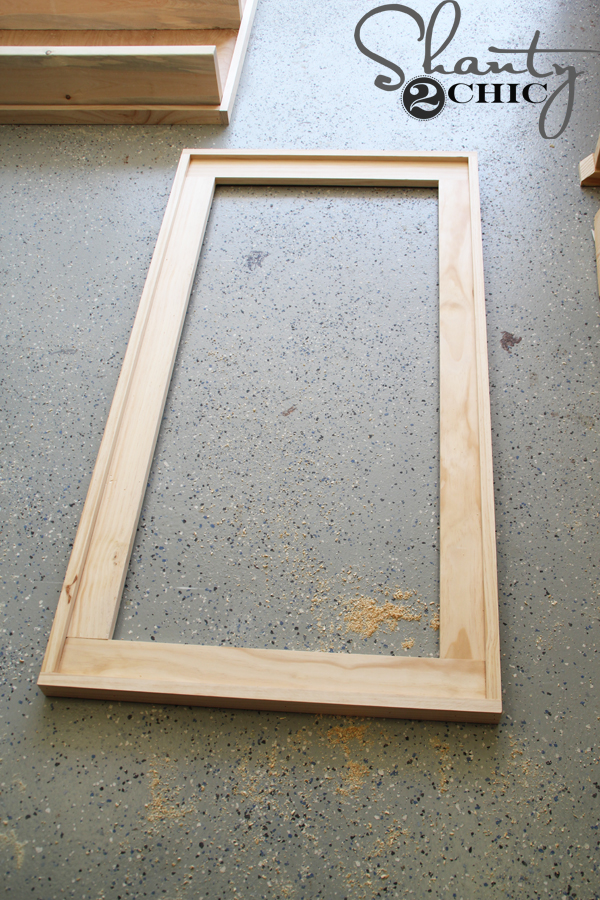
Now, measure the short ends from one side to the other and cut another 1×2 piece to fit each end. Attach the same way. This is what your frame will look like now.
Time for the finish! *Don’t attach your chalkboard yet. It’s easier to finish the frame without it.*
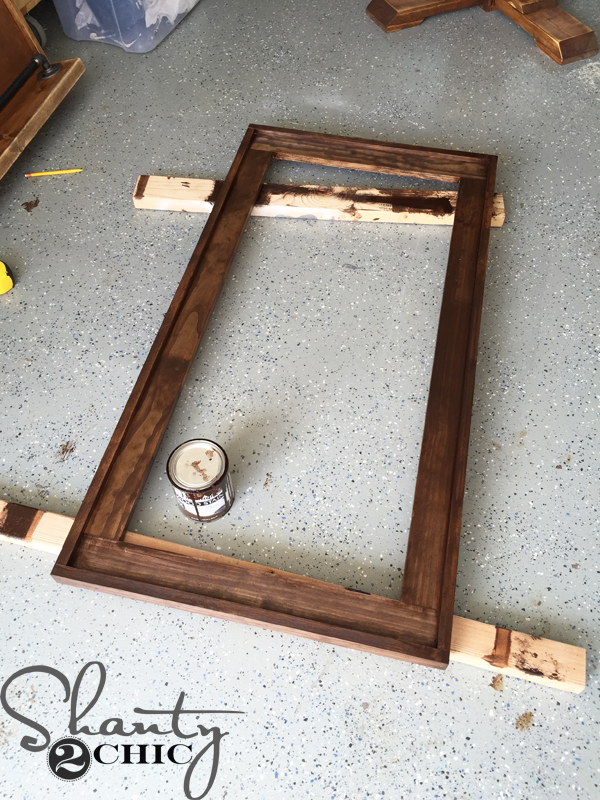
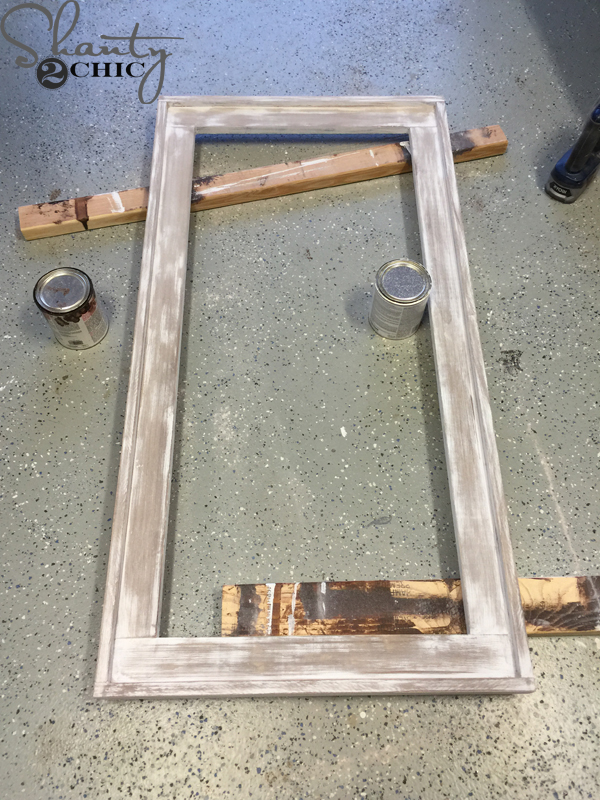
I applied one coat of Varathane Dark Walnut stain, with a clean cloth, to the frame. I let it sit for about 5 minutes and then I wiped it with a clean cloth blend the stain.
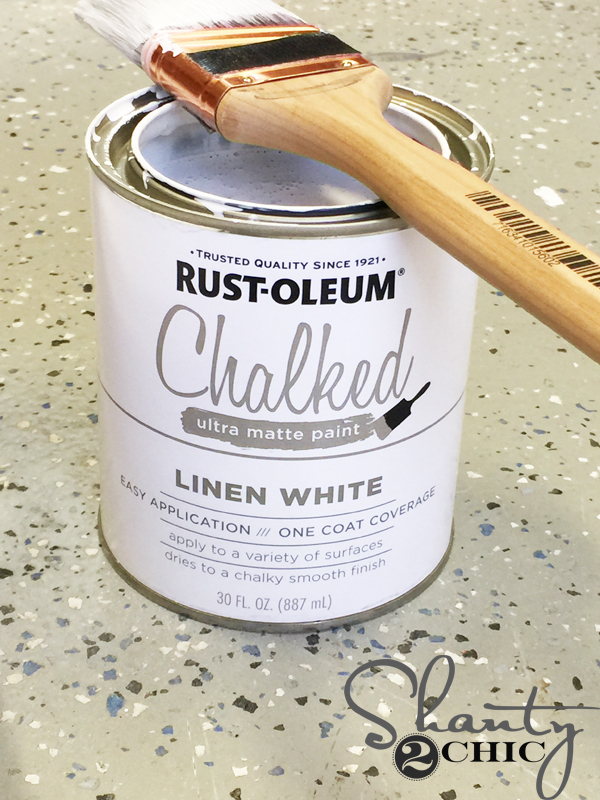
Once the stain was dry, I used a paint brush to apply one coat of Rust-Oleum Chalked paint to the entire piece. Only one coat! As the paint dries it will be a light coat that you can see through – this is a good thing. It will be less work to distress 🙂
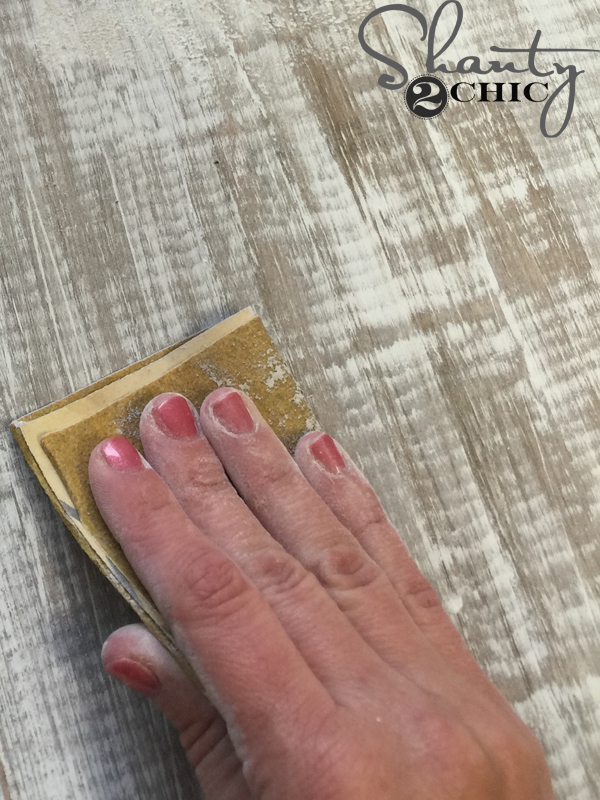
Once the paint is dry, use an 80-grit piece of sand paper and just rub it back and forth on the piece. The paint will just start powdering off!
LOVE IT! Now for the chalkboard!
I flipped over the frame and used my Airstrike Crown Stapler, with 3/4″ staples, to attach the chalkboard to the back of the frame. (Finish nails and a hammer will also work here).
Time to hang it 🙂
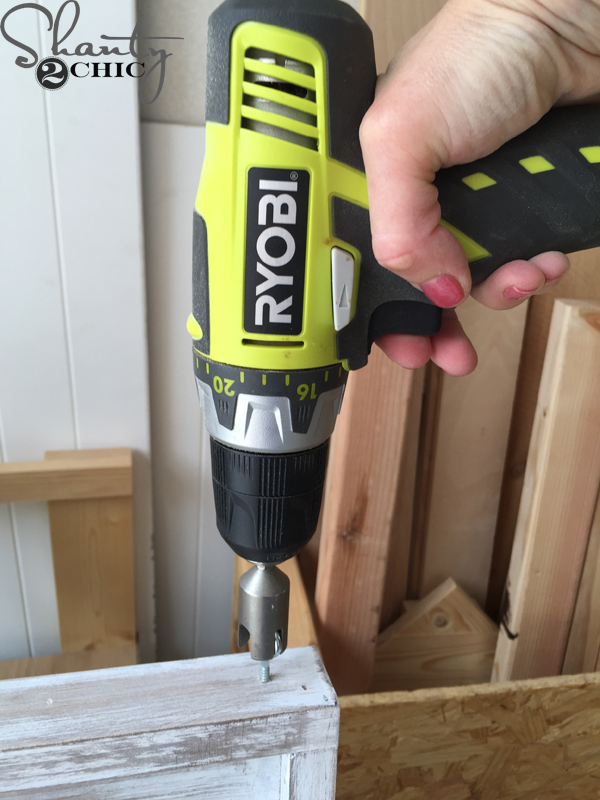
I used my Ryobi Eye Hook Bolt Driver bit to screw an eye hook at the top ends of the chalkboard frame.
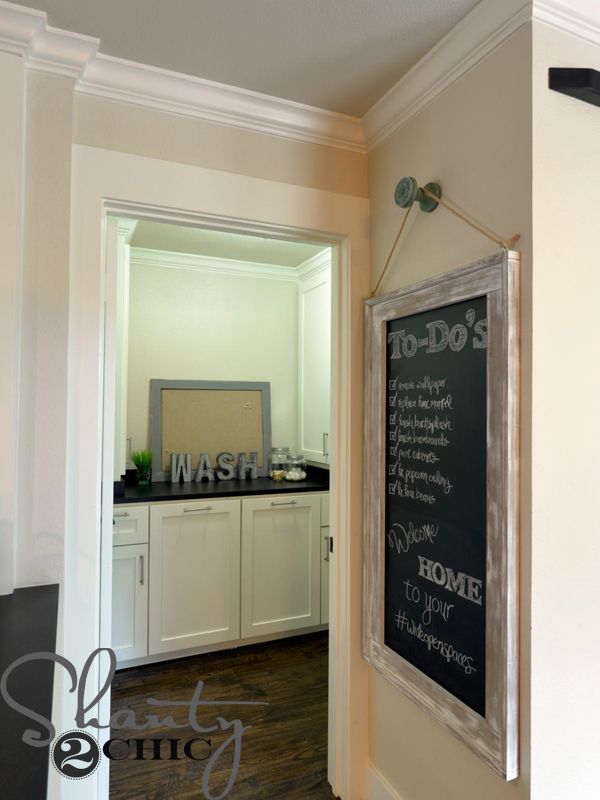
We used jute rope and found a cute wall knob, from Hobby Lobby, to hang the chalkboard with!
That’s it!
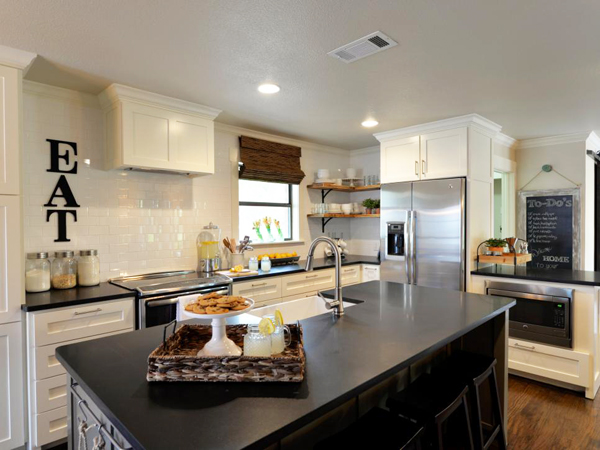
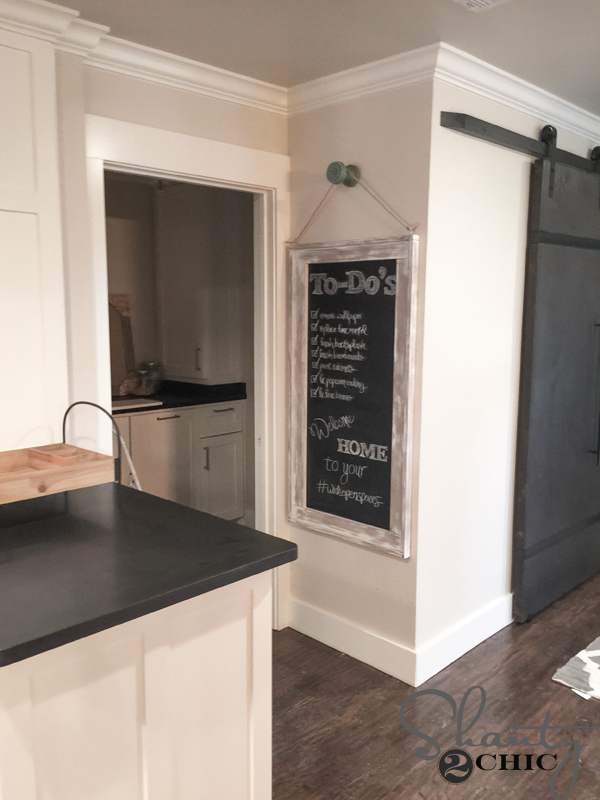
There it is peeking from behind the kitchen 🙂
So fun and easy! I spent about $30 in lumber – not bad for a 2’x4′ chalkboard that takes up a LOT of empty wall space 🙂 I’d say that’s a lot of bang for my buck!
If you want to see more before and after pictures from our pilot episode of Open Concept you can click HERE!
And get excited!!! We are in the middle of filming MORE episodes of Open Concept so you will see more furniture building, more home reno and more Shanty on HGTV! We will keep you posted on the air dates as soon as we have them!
Thanks so much for stopping by!
Happy Building!!!


What color are your walls and ceilings painted?
Making the chalkboard….tested my first pocket hole on some scrap wood! ????
I made a couple of these, but smaller. I used a dark walnut stain, then today, I went to Menards and they just happen to have the chalked paint there, so I got a can. I think i’m in love with this as well. The first frame, I put it on light, but still full coverage, and it sanded like a dream. The second frame, , I put it on a little heavier, because I was worried the dark stain would discolor it, as I only stained it the day before, and it took just a wee tiny bit more effort to get my finish, but well worth it. HUGE QUEATION for you’s…… What did you seal your board with??? I was going to use hemp oil, like I do with milk paint, but have yet to put anything on it, for fear of ruining it. I love the matt finish on it. I used rough cedar, so you can imagine the grain when I sanded it off. Anyhow…I sure could use some advise for this.
Just made this. My wife loves it! Thanks for the idea!
So cute! Thanks! I would love to try this! I’m a total newbie. Is there a Ryobi kit you would recommend?
Love this too! What kind of countertops do you have?
I love this! Thanks for sharing!
Awesome!!! Love your tut’s sooo much! Can’t wait to try this one!
Guys! It’s so so cute. I might need to make one for our home. I just wish my chalk board writing was a little bit better. You guys rock anything you do.
www.theruggedrooster.com/blog