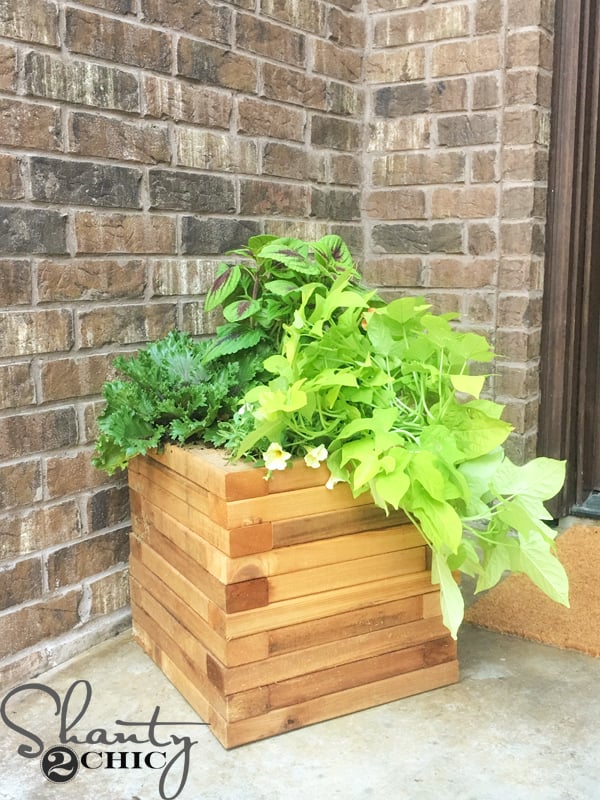
We love decorating our porches when fall rolls around and we thought it would be fitting, for our next How-to, video to show you how to build this super cute, super easy and super inexpensive cedar planter!
You can click below or HERE to watch us build this cutie!
And, click HERE for the FREE PRINTABLE PLANS!
Annnnndddd of course, follow along on the step-by-step tutorial below 🙂
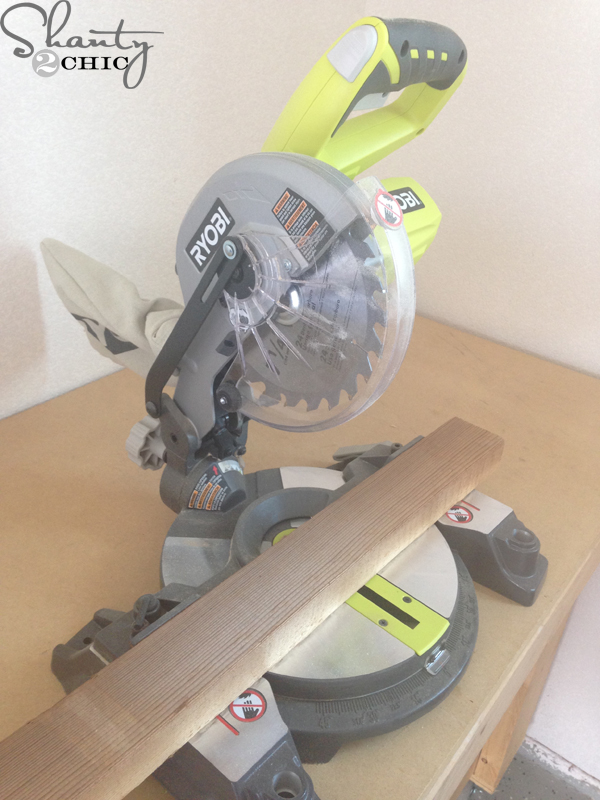
All you need is 6 2x3x8 cedar boards. You will cut 20 at 15″ and 22 at 10″. I used my 18 Volt Ryobi miter saw for this project!
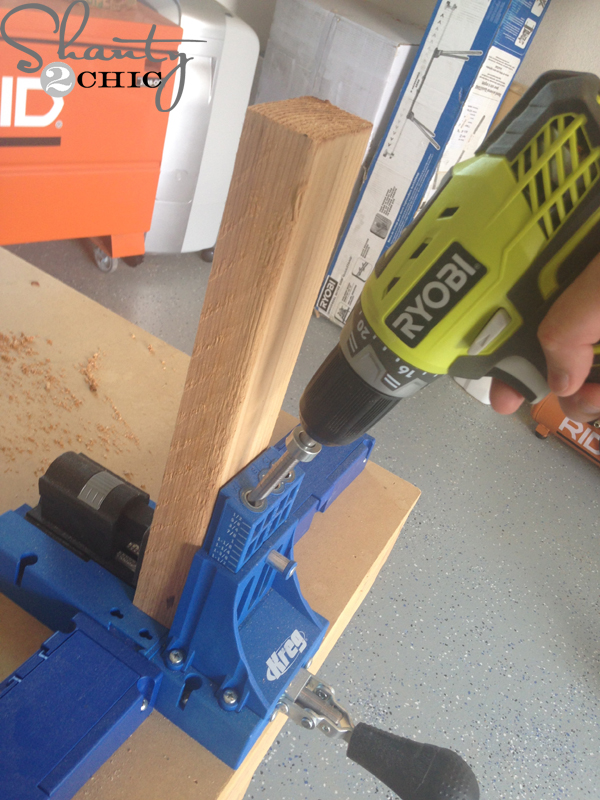
Next, I used my Kreg Jig to drill 1 1/2″ pocket holes into both ends of the short boards. You can find the Kreg Jig that we use HERE on Amazon.
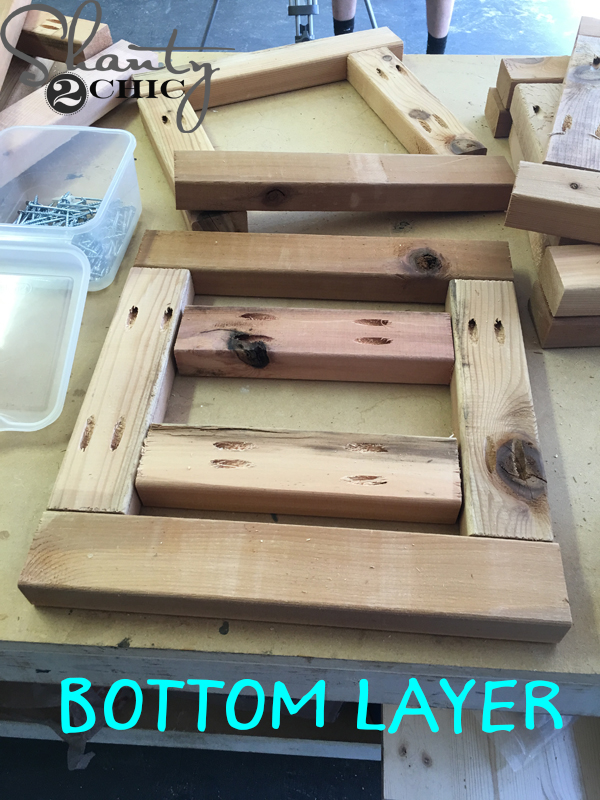
Now, start with the bottom, base layer. This is the only piece that is different because it has two extra pieces in the middle. This will give the planter a bottom for the plant.
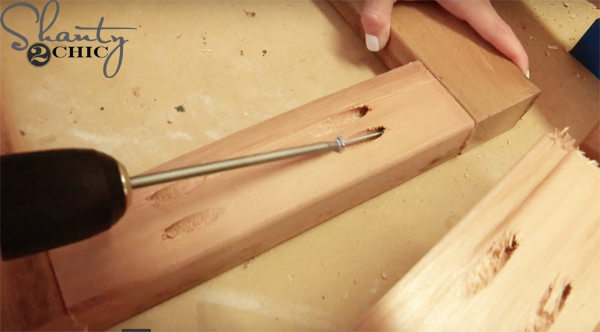
Attach the short pieces to the long pieces with wood glue and 2 1/2″ pocket hole screws.
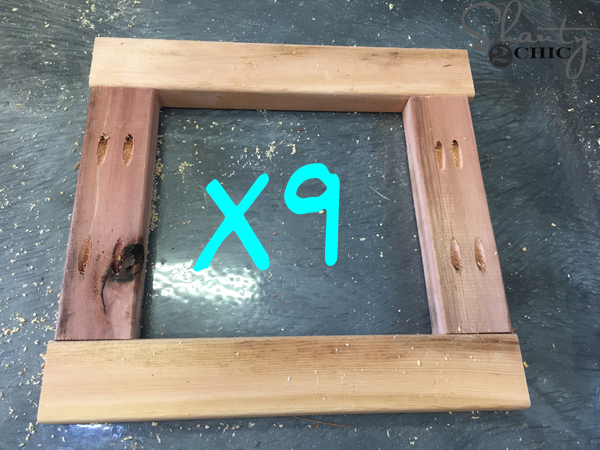
Next, make 9 squares like this. Use wood glue and 2 1/2″ pocket hole screws to attach the pieces.
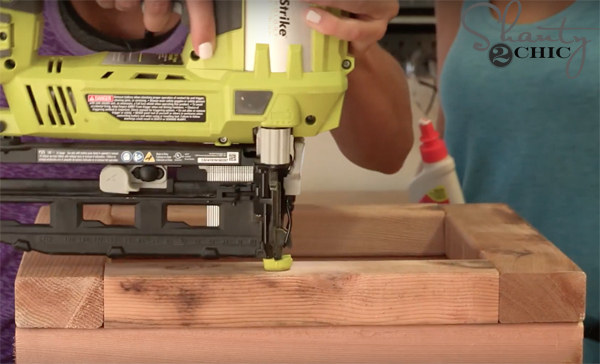
Turn the base over so that they pocket holes face down, run a line of wood glue on the top then, set a square directly on top of it. Make sure that you turn the square that you put on top so that the short board is now facing forward. This will create the fun pattern on the corners of the planter. Attach the squares with 2 1/2″ finish nails. We used our Ryobi 16V Airstrike.

Add another line of glue to the second square
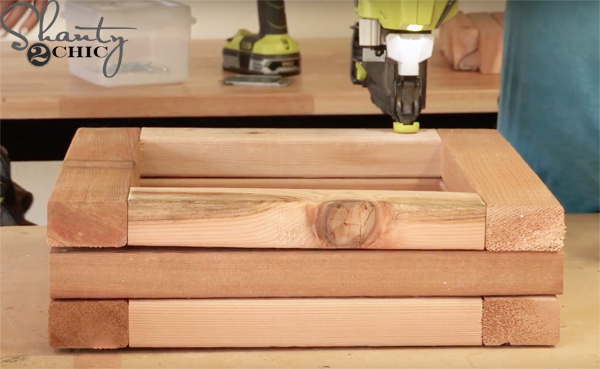
and attach it with finish nails.
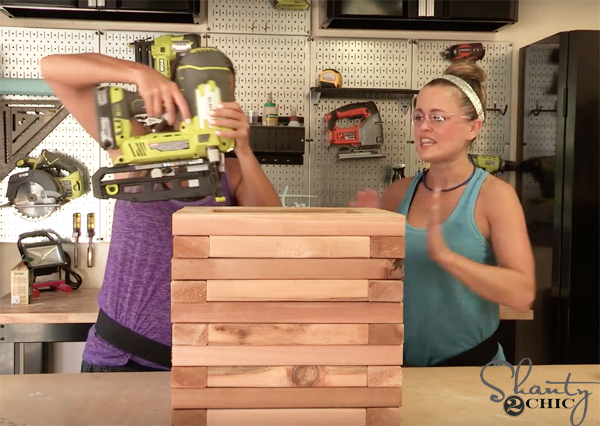
Repeat these steps until all 9 squares have been attached. Notice the fun pattern on the corners!
That’s it! The best part about this project is that it is so easy to customize! We left ours raw but you could add finish, embellish it with your house number, make it taller, shorter…the possibilities are endless! This could easily be built in an afternoon so you have NO reason not to have a cute cedar planter box on your front porch this fall!
If you build one share it on social media and use #shanty2chic so we can see it and share it with everyone!
Don’t forget to check out the how-to video and make sure to subscribe so you don’t miss one!
Thanks so much for stopping by!
Happy building, friends!


The dimensions don’t seem right if you cut the long boards 15″ and the short boards 10″
One length of the board will be 15″ and the other length would add up to be 16″ (10+3+3).
How does this work properly?
Disregard my comment! I believe when using “actual” measurements, everything will be fine – I’m a newer into woodworking and was trying to analyze everything prior to building. Thanks!
Hi,
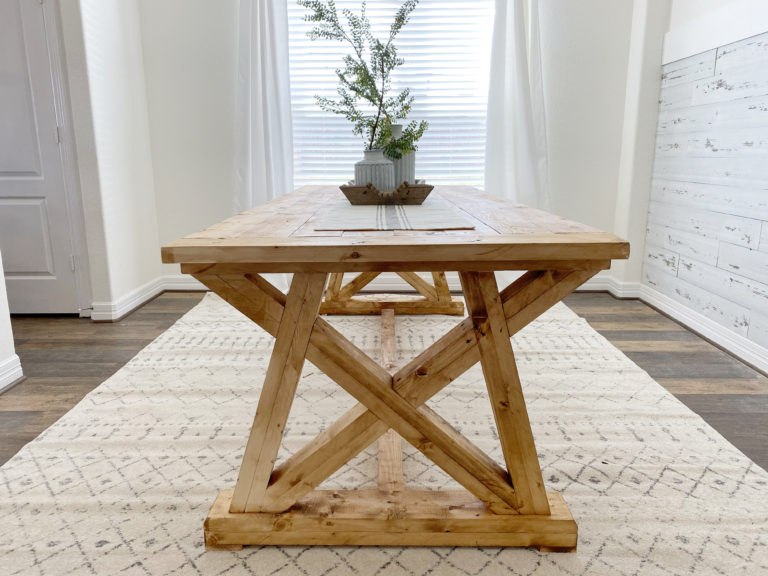
I was hoping to find out where you purchased the table? I love it. Thanks!
The cedar planter looks so cute. With $25 and this easy tutorial, I think I should try to build one
Can I alter the dimensions? If so, what ratio did you use?
2 in. x 4 in. x 8 ft. Rough Green Western Red Cedar Lumber at homedepot is 10$ a board here in Augusta, G.A. 🙁
Did you seal the inside with anything?
I’m not able to find 2 x 3 boards either. Would a 2 x 2 boards work or would a 2×4 board be better? I love the look just looking for an alternative board size recommendation.
I would love to know where you could find 2 x 3 lumber for $25 or less. I cannot find 2 x 3 anywhere but 2x4s run $10-$13 per board.
Hmmm our 2×4’s in Texas are just over $3 each. Where are you located?
I’m in Indiana. I may have found a source. Keeping fingers crossed.
Check your local lumber prices and materials list if you don’t have these items already….
2x4x8’s in Indiana are $9 – $10 per stick. Luckily, the kid rang me up for 2 instead 12.
My bill at Lowes with both the $100 lumber error and 10% military discount + tax was $149.20