Oh hey guys! It’s Wednesday! That means another YouTube video for you… Yeah! We are so pumped to share DIY Plank Wall! We recently crashed our friend Rachel’s house and gave her a brand new kitchen nook. They use this space a ton as a family, and we really wanted to give it some much needed function and make it pretty at the same time! Check out the entire transformation! Just click the Play Button below!
When we saw the blank wall, we knew it was screaming for a fun wall treatment.
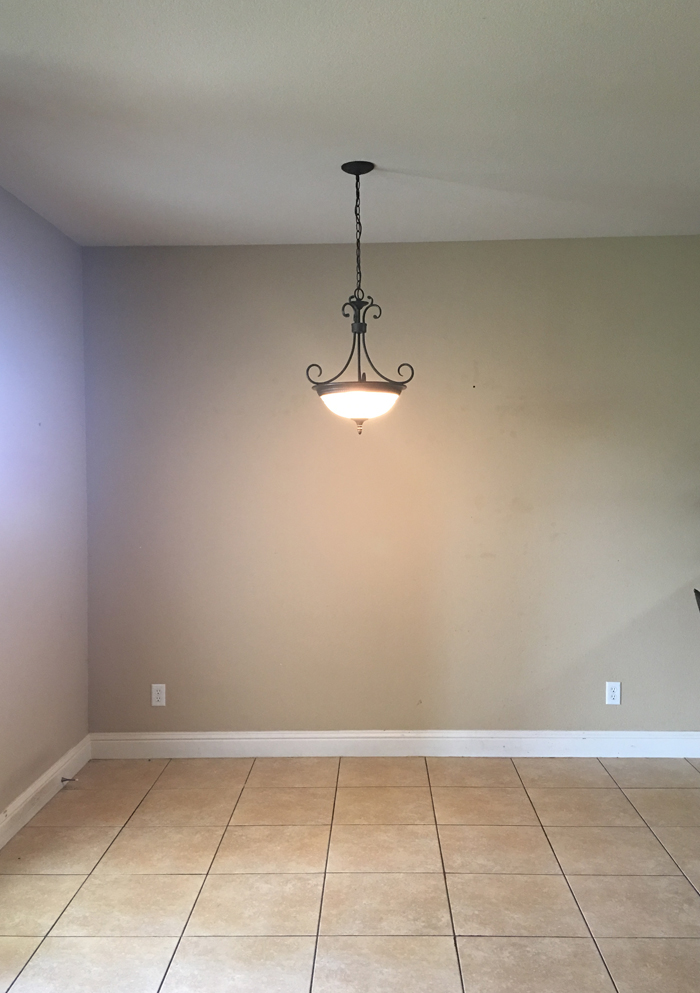
We wanted to give the space an awesome backdrop and we immediately came up with plan. We teamed up with one of our favorite brands for this House Crash! We have been using PureBond Plywood for the last 4 years ever since discovering their brand and the benefits of their products.

In a nutshell, PureBond Plywood is a plywood product that is faced with a hardwood veneer. The great thing about that is that you are able to build large pieces in species that you would typically not be able to, and at a fraction of the cost. It’s made in America from sustainable resources and it’s formaldehyde-free making it such a great choice! We love it!
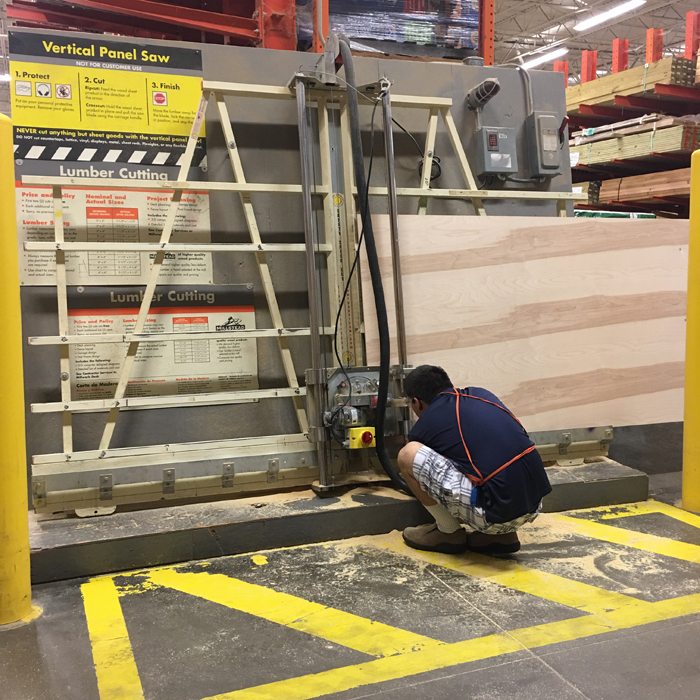
For Rachel’s home, we used 2 sheets of 1/2″ birch hardwood plywood that we purchased at The Home Depot. We had the guys at Home Depot rip both boards down in 9″ boards to make it easy to get to the house.
DIY Plank Wall
The rest of the supplies you will need for this size wall are right here…

You can definitely make your wall as long or short as you need it, but Rachel had a huge wall and no real good stop point leading into her kitchen, so we decided to make the wall 8ft wide and trim out each edge with 1×4 pine boards. We used a pencil, level and tape measure to draw lines where we would be starting and stopping.
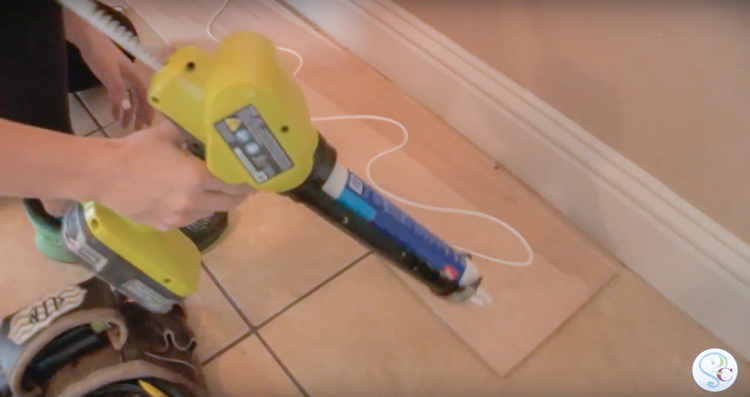
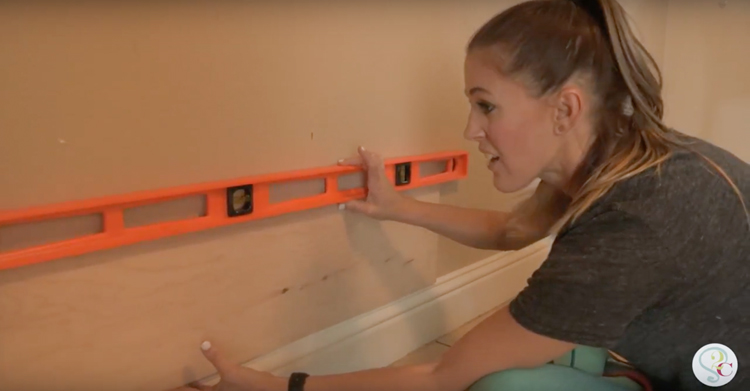
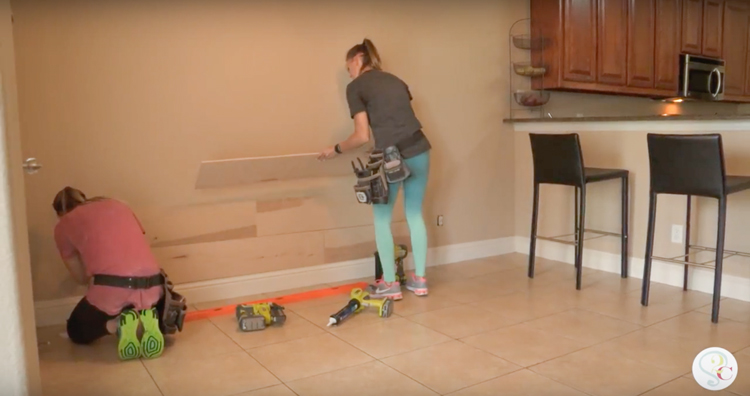
We cut one of our boards to 4′ and started with it. We decided to line hers up just on top of the baseboards. Make sure to check for level with each board, especially this first one! If you start the first one wrong, you are going to have a real mess on your hands! We attached each board using a line of panel adhesive and 1.5″ finish nails using our nail guns.
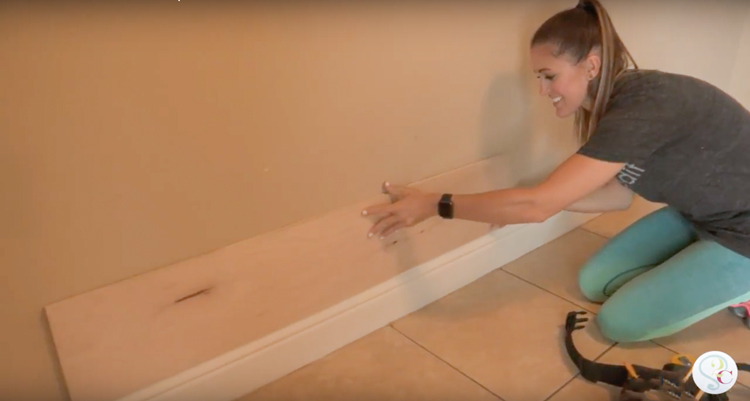
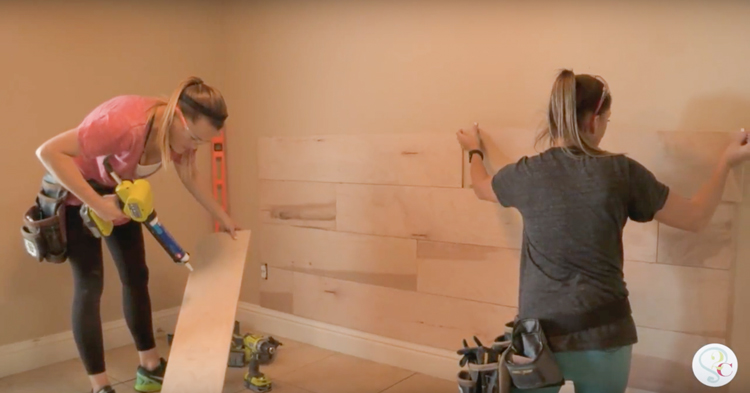
Once we had the first board attached, we worked our way out on each end of that board by measuring the distance to each line we had drawn on the wall. Then we cut those boards to size and attached them to complete the line, and then started working our way up!
A couple of tips!
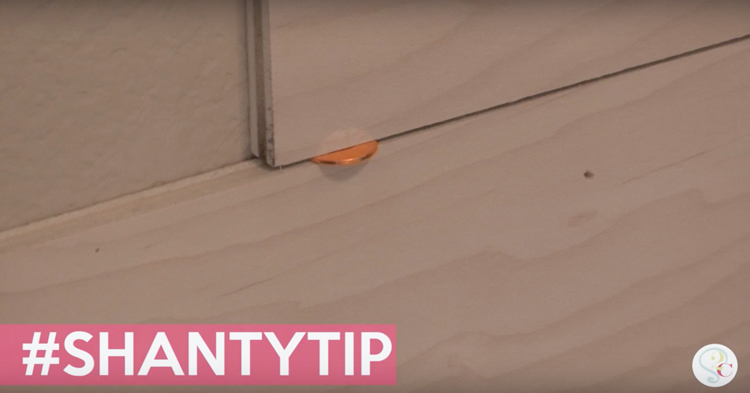
~ Use pennies as spacers between each row of boards. This gives just a bit of space to allow for any swelling of the wall that may happen, and it gives the planks just a bit more definition.
~ Also, be sure to avoid lining joints up when moving to the next row. We staggered ours each time by starting each row with a 4′ board that didn’t line up with the row below.
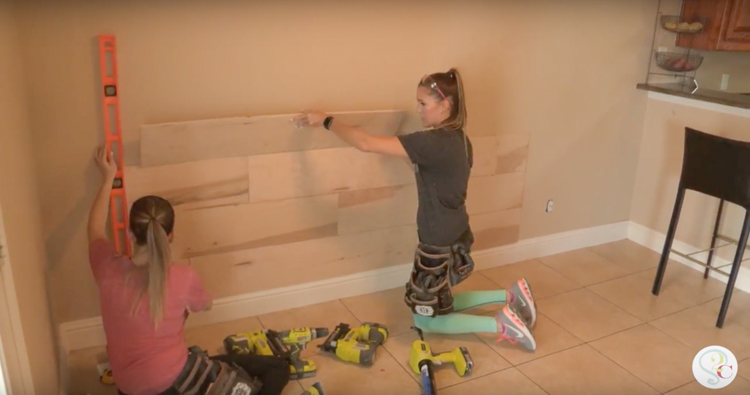
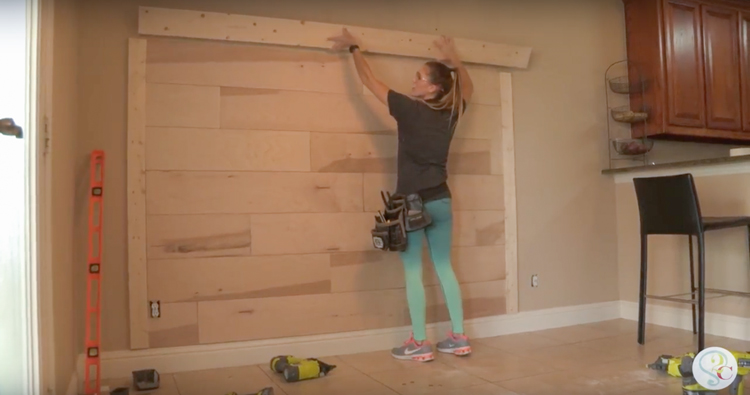
We continued working our way up the wall.
Make sure to check for level on your sides as well.
We took Rachel’s wall up 7 rows giving it a 54″ height above the baseboards before adding the trim. We cut the side trim to that length and attached it using panel adhesive and nails as well.

We decided to allow the top trim piece made from 1×6 to hang over about an inch on both sides. We love the finished off look it gives to the top of the wall. It’s also attached with panel adhesive and nails.
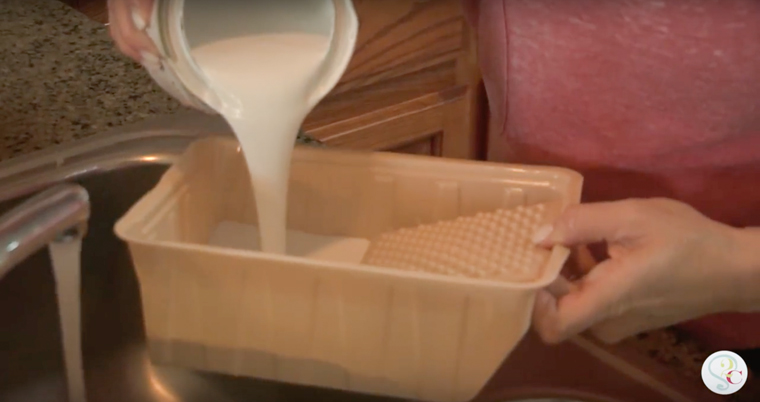
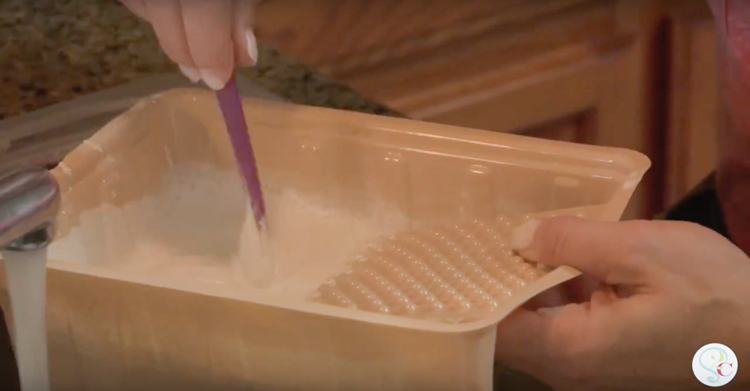
Time to finish it off!
We mixed Linen White Chalked paint from Home Depot with water using the same amount of each. Make sure to stir it really good to mix the paint up. Then, we brushed it on and used a rag to go back and rub off any excess. We LOVE the whitewashed feel and how it makes the grain of the PureBond really pop.
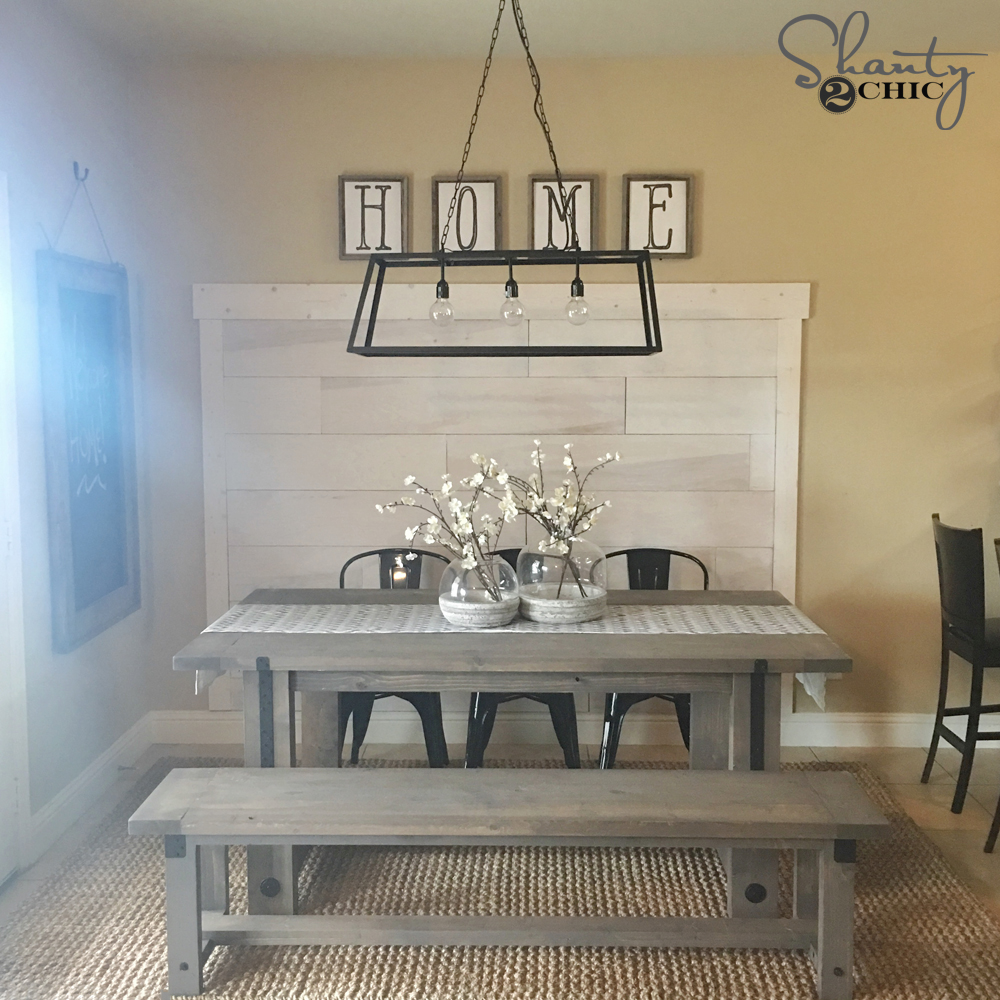
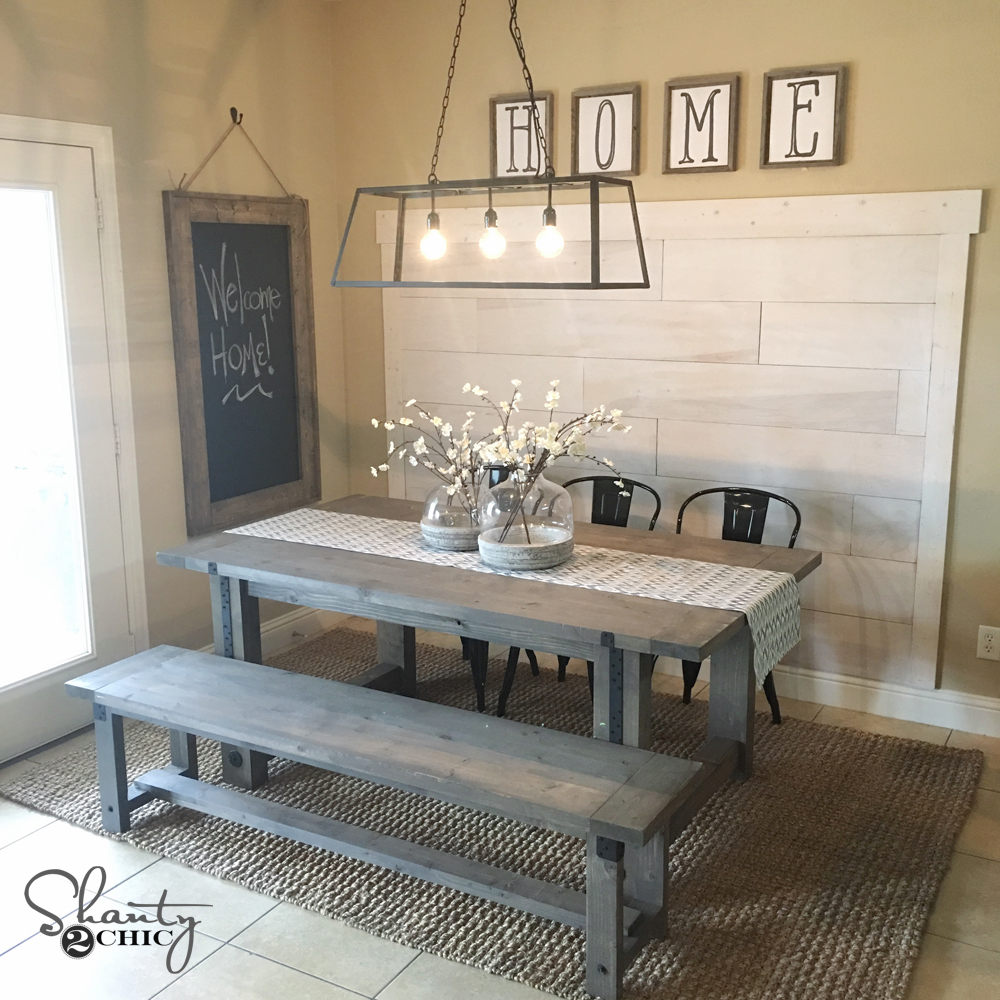
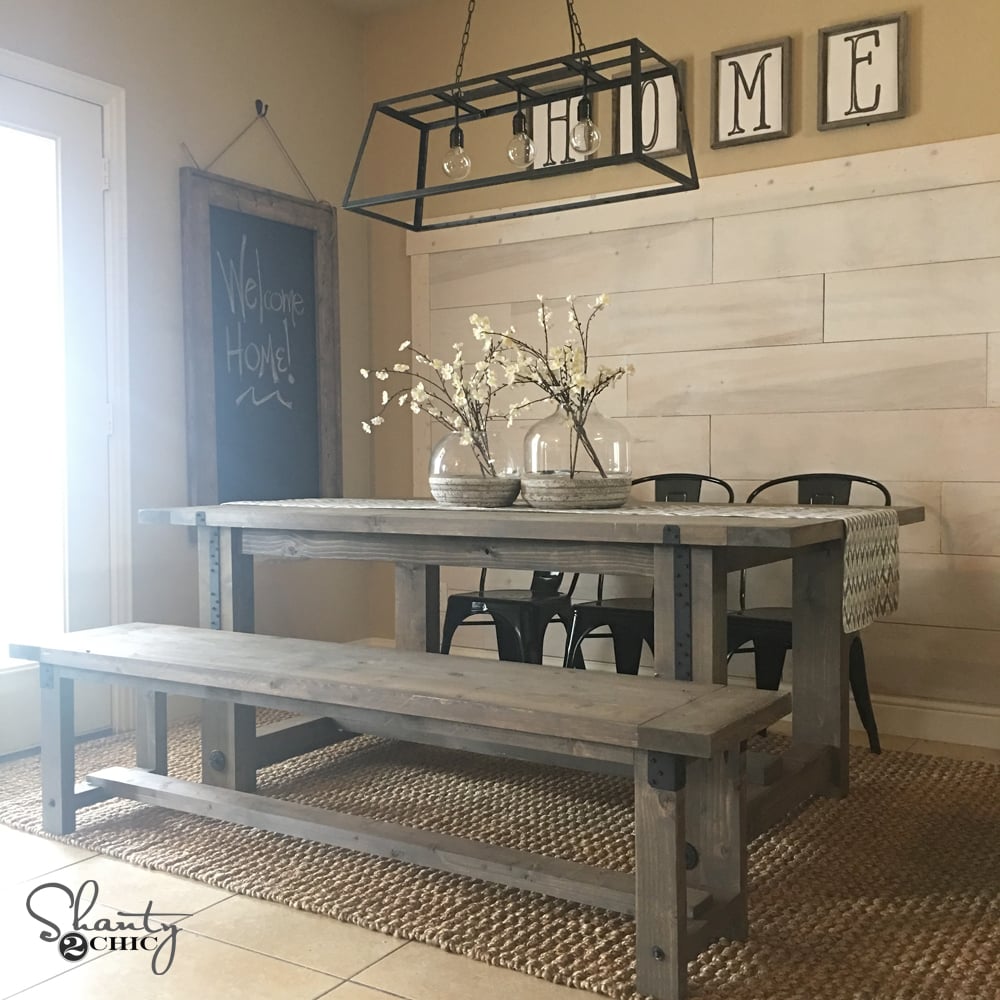
Once it was dry, we added all the cute stuff and dressed the rest of the space up! Here it is all finished up!
You can find the rug HERE!
You can find the light HERE!
You can find the vases HERE!
You can find the table runner HERE!
You can find the chairs HERE!
You can find the HOME printables HERE!
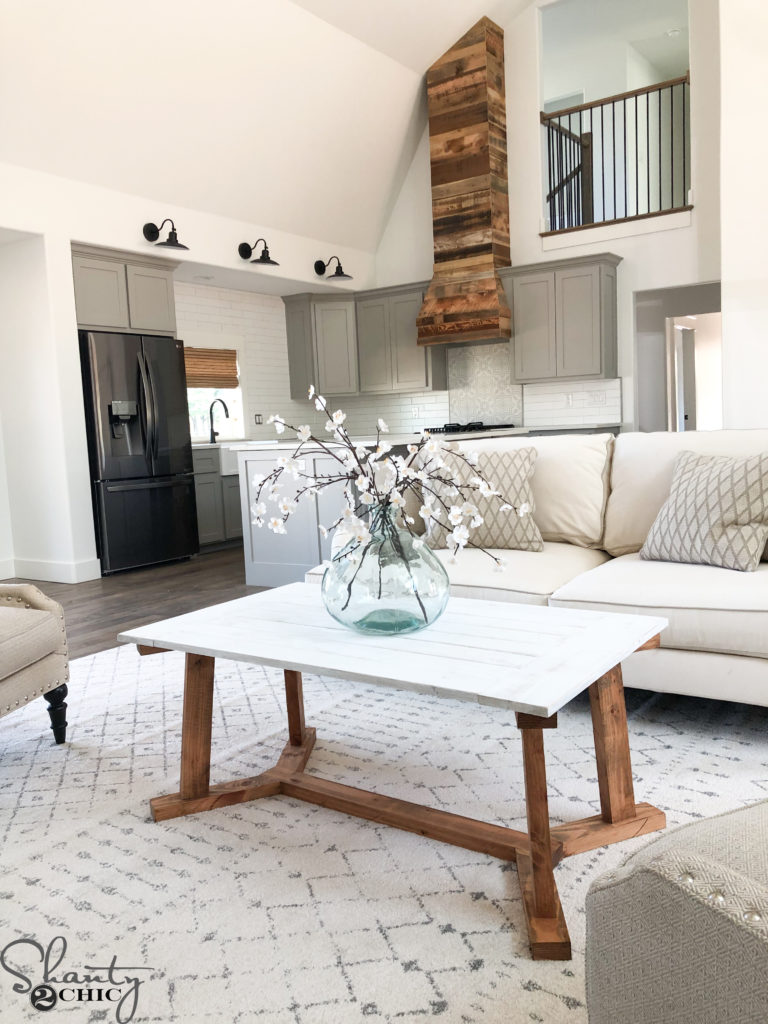
You can find the Free Plans for the Table HERE!
You can find the Free Plans for the Bench HERE!
You can find the Free Plans for the Chalkboard HERE!


Please, please, please can you but the link to the plywood wall on here. Thank you so much. Oh, love the heck out of you guys, y”all the best
I’m loving the light fixture, but the one in the link isnt the same one.
Hi! Is the HOME printable available?
Can you put up a new link to the vases. It takes me to the light fixture.
Where do we go to find the HOME printables?
The link for the vases is the one for the light fixture again