Hey guys! Welcome to day 3 of the 12 Days of Christmas Series! If you aren’t already keeping up with us Instagram and Facebook, we’d love to have you join us!
 I am totally loving my project today! It’s super easy to make and inexpensive, Whoop!
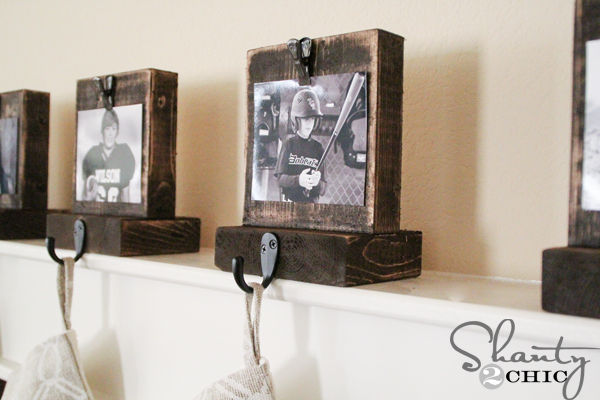 Our project for day 3 is DIY Wooden Stocking Hangers! I am loving how rustic they feel especially with my fancy stockings (purchased at Crate and Barrel).
Each stocking hanger will cost a couple of dollars max! And, with one board you can make 9! They are so quick and easy to make too! Here’s how!
DIY Photo Stocking Hangers
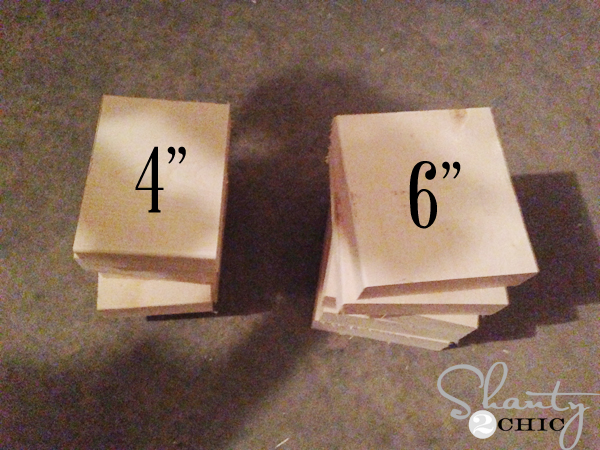 I purchased 1 2×6 @8′ and cut a 4″ and 6″ piece for each stocking hanger.
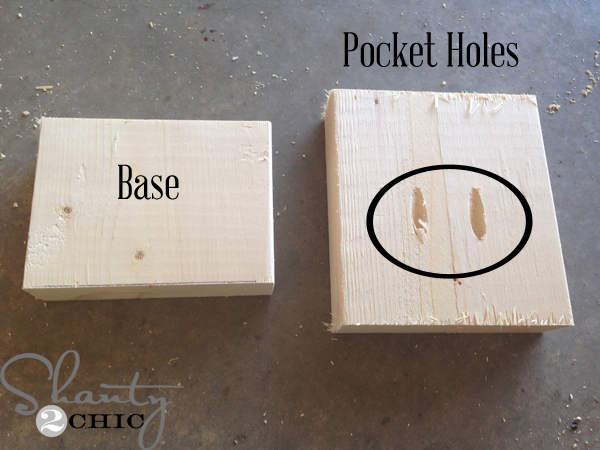 The 4″ piece will be the base of the stocking and the 6″ piece will be the top (where we place the photos). I drilled 2 1 1/2″ pocket holes with my Kreg Jig in each 6″ piece. I circled where I drilled mine. If you don’t have a Kreg Jig, just use a 2 1/2″ wood screw and drive it through the bottom of the base into the 6″ piece.
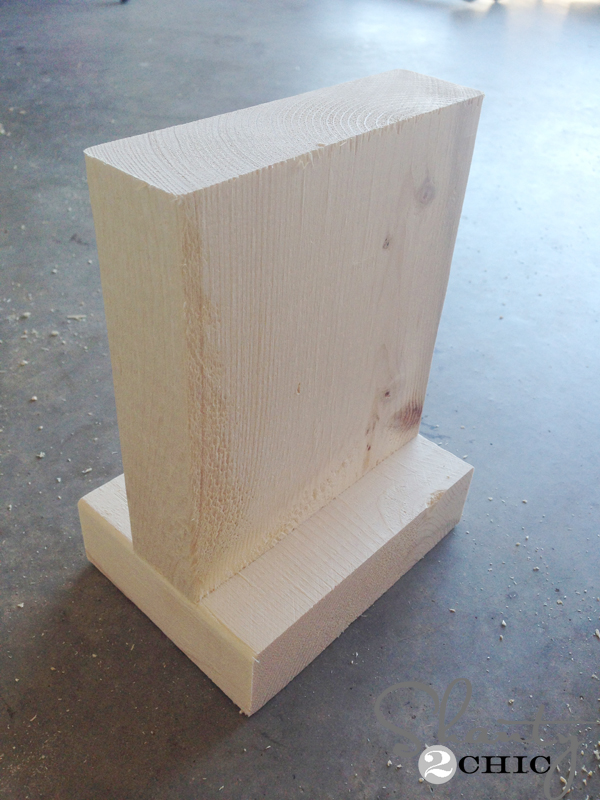 Bam! That was easy 🙂 I just attached the top to the base with 2 1/2″ Kreg pocket hole screws.
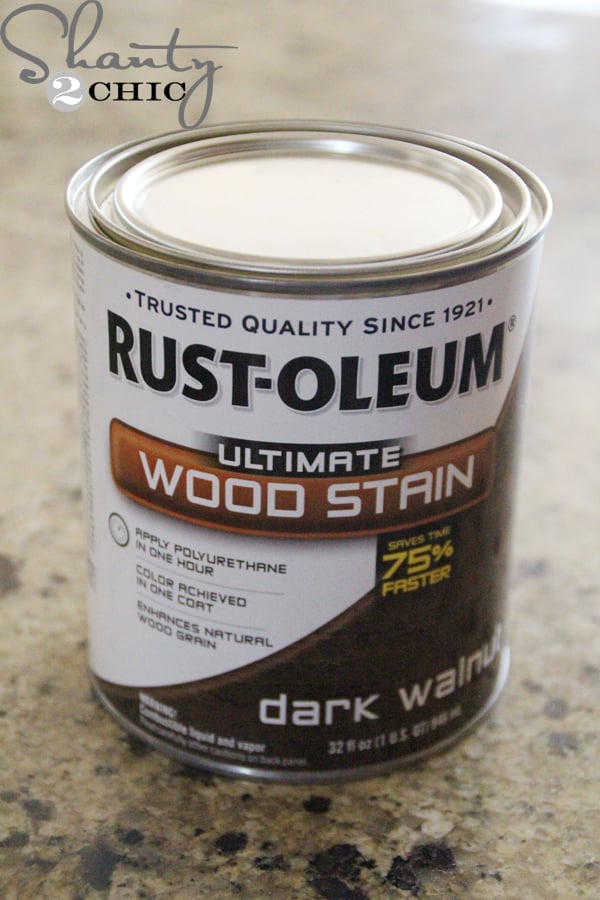 Next, I applied one coat of one of our faves, Rust-Oleum Dark Walnut. Wipe on with a foam brush, wait 5 minutes and blend the stain with a clean cloth and let it dry.
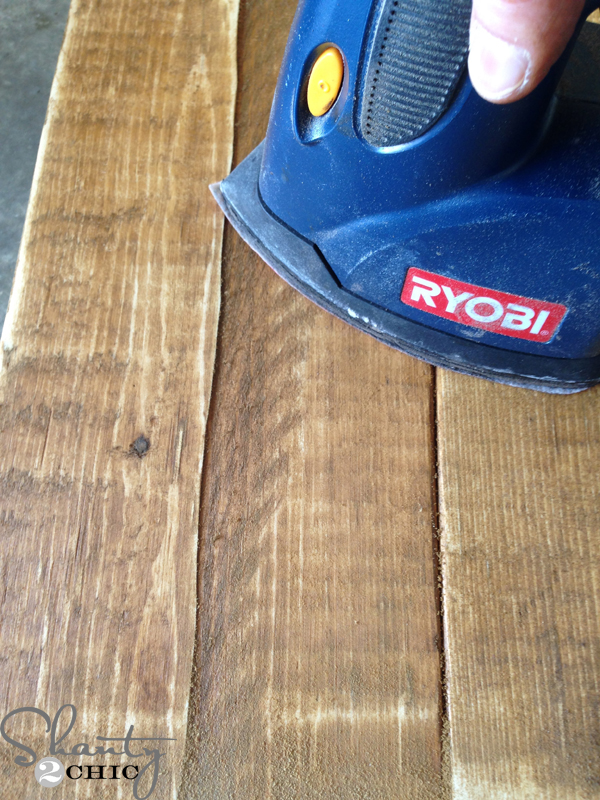 Once it was dry, I used my Ryobi Corner Cat Sander to distress the wood all over.
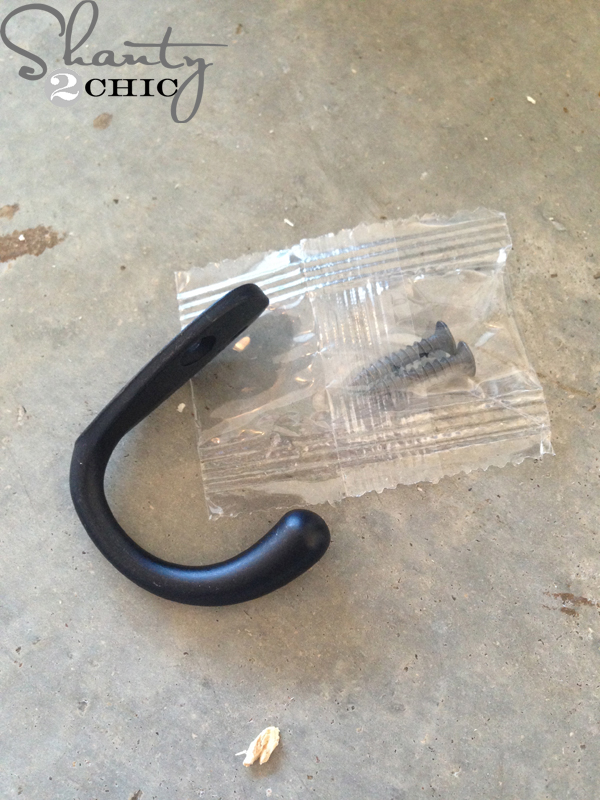 To finish them off, I purchased oil rubbed bronze hooks to hang the stockings.
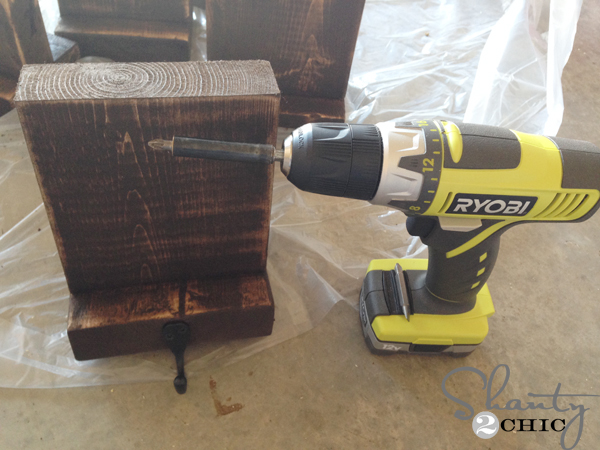 I used my Ryobi 12V drill to attach them. This is a great drill for little projects. It’s small and light-weight but it gets the job done 😉
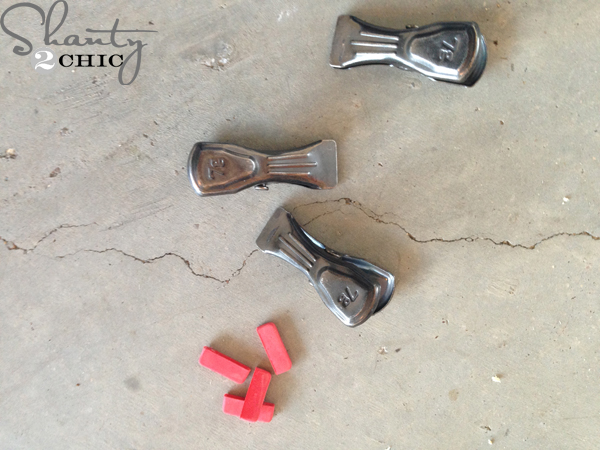 Finally, I purchased these cute little metal clips from Hobby Lobby. They were in the scrapbook section. I just removed the red rubber ends
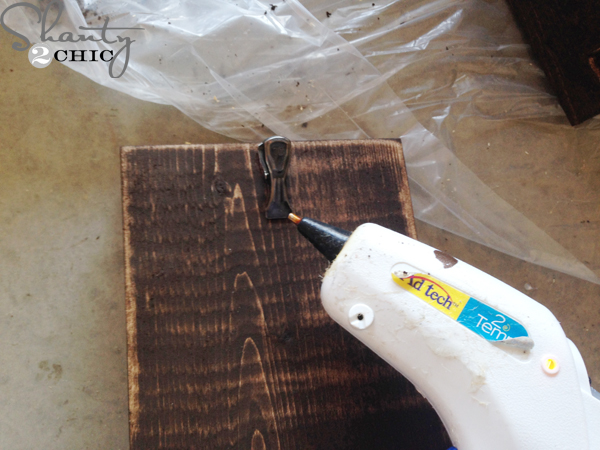 and hot glued them to the top center of each stocking hanger.
Now, these don’t weigh much and a stocking with lots of goodies in it might topple the thing right over! So, I decided to use 3M command strips to secure each stocking. I used one 16lb strip per hanger but you can use which ever size you feel you need. You could also double up on them if you want added security!

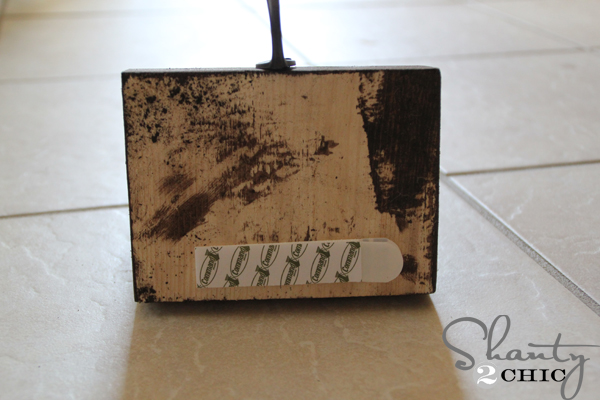 I just stuck one to the bottom of each stocking, towards the back and stuck it to the mantle! These are great because they won’t ruin the finish on your mantle when you take them down!
Now, just hang your stocking 🙂

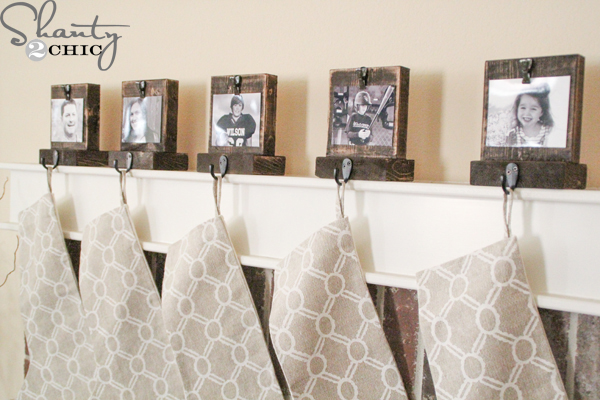 Ahhhh I love them 🙂 So rustic but fancy at the same time and the clips allow you to change the pictures every year. I let my kiddos choose the pictures they wanted me to hang this year and they thought that was a lot of fun!
I hope you love my DIY Stocking Hangers as much as I do and we always appreciate all of your shares and pins!
The fun isn’t over! Hop on over to our other friends in this series and check-out what inspiration they have for you on Day 3!
Michael of Inspired by Charm
Marianne of Songbird

Cassity of Remodelaholic
KariAnne of Thistlewood Farms
Donna of Funky Junk Interiors
Here are a few projects that we have recently done to help you get your home holiday ready!

 Free Printable Merry Christmas Banner
Thanks so much for stopping by!!!
~Ashley


Where did you purchase the hooks? I am having a hard time finding simple little ones like these.
Would there be anyway you would make these and sale them to me? I am not craft at all! And absolutely love these! I would need 7.
I made the stocking holders and they turned out great! Everybody loved them:)
I just made this as my first ‘wood’ project, and oooh, I LOVE it! Thanks for such detailed instructions! My family adores this idea! Off to try to make more of your projects! 🙂
Love, love, love these! Can’t wait to make them, even if it will be after Christmas!! 🙂
I made these for my family and it was my favorite project so far. I absolutely love the feeling I get when I see my work at the very end. can’twait to pull these out every year!!!
Love, love, love the stocking holders. Cute.
where did you find the hooks?
Gosh you really get use out of that Kreg Jig don’t you? =] I want one SOOOO bad!
These are so beautiful. If only I had a mantle…. Well, this post is getting pinned for when I get one 🙂
You could use same consept for wall without the base !! Even quicker project !!
Suuuuper cool idea to be able to change out the pictures! This is one sweet project!
Oh how cute! My Kreg Jig has not left his box yet. You are getting me inspired to give it a whirl. Thank you!
You are always inspiring me to create in my home! I love this!
So cute!!
Okay, so clearly I need to get one of those tools that makes the pocket holes. It makes projects so much easier!
I just love this idea too.
xo Michael