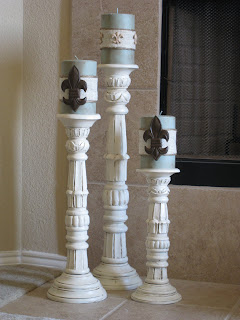
Hi all! This post is a revamp of a revamp and I am so loving the final product!!! I bought these candle sticks at a store in Dallas off of Harry Hines. I loved them at the time and needed 3 big candles to go with them. Of course you can never find the color you want so I painted three large, white candles that I purchased at Hobby Lobby for $3.00 each. I painted them with Spa Blue Acrylic and glazed them with Ralph Lauren Smoke Glaze. As you can see, I added the embelishments (which were old Christmas ornaments from Whit’s attic that I painted with Burnt Umber Acrylic) and wrapped ribbon around each one. I wasn’t loving these but I was happy they were done so I could move on to other projects!
I kept staring at them until I couldn’t take it any longer…..
I started with the candles by taking off the embelishments and the ribbon!
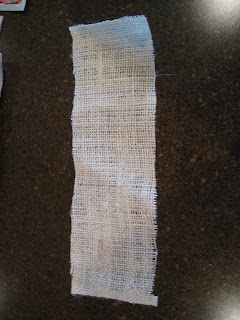
I cut three pieces of burlap long enough to wrap around the candle.
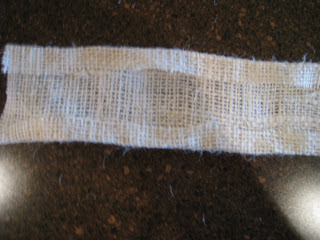
I then hot glued the edges of the burlap and folded the ends over to keep them from freying…
and wrapped each piece of bulap around the middle of the candle securing them with hot glue.
What project is complete without a little twine! I used a dab of glue to secure the twine and trimmed both the top and bottom edges of the burlap from front to back, securing with a thin line of hot glue as I wrapped.
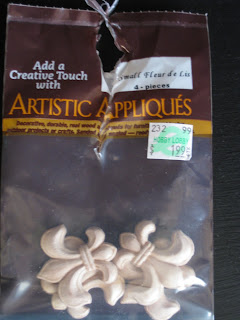
Back to the embelishments…I really like the two fluer de lis that I had used previously so I added them again to two of the candles by hot gluing them to the burlap.
Remember these cuties from my Date Blocks! I had three left over so I added them to the remaining candle, also securing them to the burlap with hot glue.
Now to tackle the dark candle sticks! I lightened them up with 2 coats of Rustoleum American Accents Heirloom White. Ahh better but….
You guessed it! I just had to glaze them with Ralph Lauren Smoke Glaze ~ A DIYers best friend! Just paint on and wipe away with an old cloth!
Just look at the way he catches the details!
Now for the reveal…..
You remember the before…not too bad but just not right…
And the after
Now that’s it! I no longer imagine what they could be…they are the exact way I pictured and I am so happy I revamped them! This revamp is a keeper!
REMINDER!!
Are you guys getting your Gorilla Glue Party projects ready?? You can get all of the information on our shindig HERE!!! Don’t forget to grab our party button below!!
I will be posting this at Poppies at Play!











You painted candles !! I never would have thought of that. They are fabulous !
What a do-able and fabulous idea! I love burlap. It has great texture, and is fairly easy to work with.
Hi! You have such a cute blog! Love the new look of the candles!
WOw- they look great! I just LOVE Hobby Lobby. I could break the bank in that store! 😉
Perfect! Amazing how the glaze brings out all the detail!
Love them! They were nice before, but I like the white better.
Very pretty. The "before" was nice, but I definitely prefer the "after".
I like the after so much better. I love how the color of the candles even 'pops' more now. Too cute!
I'm in love with those!!!! LOVE the FLEUR DI LIS!!!!
AWESOME
Lana @ ilovemy5kids
Yes indeedy…very cool. I can't believe you flippin' painted candles! I'm so doing that.
Great tute.
peace.
I like them much better too!
Gotta love ol' Ralph!
Blessings,
Traci
Wow, your candlesticks are great and I really love the candles with the layers.
They look really great! What a change! I think I'm going to have to get me some glaze and try some of the things you guys do!
Love this project. I especially like the candle with the jute trimmed burlap band and then the mini fleur de lis! I went out an bought a package of them when I saw you use them on one of your previous projects. I think I am going to use mine on candles like you did. Thanks for the great how to!
Loving the after so much more! They look great!
pk @ Room Remix