Hey girls! Wasn’t the party so fun?? It came at perfect timing for me because I came down with swine flu last weekend… and then managed to share it with all 3 of my kids. It’s been a bad week at Whitney’s house. Luckily, I had Ashley to man the blog post and the party to fill in for my lack of crafting! I wanted to share a really fun project I just finished. After going to Round Top I have been in lamp mode! I saw so many creative and fun ways to make and alter lamps there which led me to this pile of old stair spindles. The man sold me the box for about $30…woohoo!!
I found a vendor there there made almost any piece of architectural salvage into a lamp. I was amazed by her vision and talent and had to copy. This is how I made my spindle lamp…
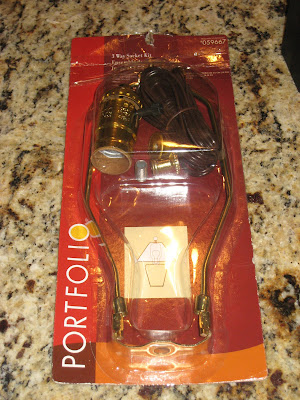
You will need a lamp kit… I used this one from Lowe’s for under $10.
I first painted my 4 spindles, an unfinished square wood plaque and a small piece of 1/2″ pvc with Rustoleum American Accents Canyon Black spray paint. The wood plaque will be your base and the pvc is to hide the cord that will run through the spindles. This step is totally optional… you can just let your cord run through the center.
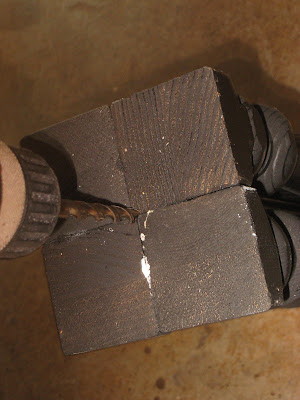
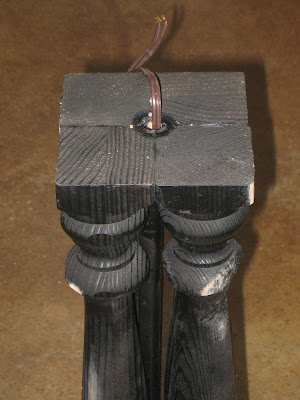
Once these are dry I used my Gorilla Super Glue to attach the four spindles with the pvc inside. Before attaching these, you need to run the cord through the pvc with the raw end up. Drill a hole in the top of your spindles the same size as the lamp nipple that comes with the kit. ** These words will all make sense to you once you have the kit in front of you:)
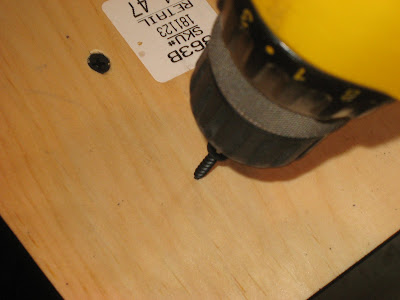
At this point, I attached the four spindles to the wood plaque as my base. I added glue to the bottom of the spindles and then used my drill to secure them with wood screws.
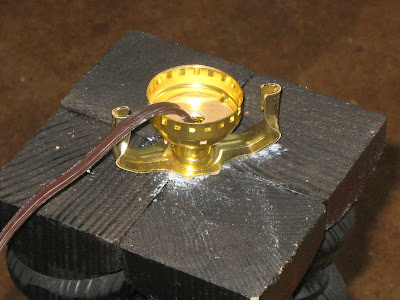
Now to start the electrical fun… Put your lamp nipple tightly into the hole at the top of the spindles. If it isn’t tight enough you can add a bit of Gorilla Glue here as well. Make sure you leave enough of it showing to attach the other pieces(about half). You will then add the harp bottom and the socket cap.
The wiring is super easy. You just wrap one cord around each screw on the socket and tighten them. Make sure no cords are sticking out. Then cover it all with your socket shell.
I started this on Sunday of last week just before I got sick so this is where your detailed pics stop… sorry! But if you need any help just ask!
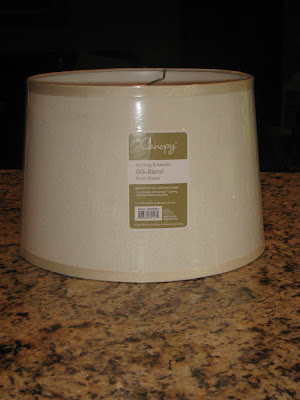
My final step was to get a shade ready for this baby. I found this lovely, boring and silk drum shade at Walmart. Drum shades are too easy to alter so I was sold!
I used a piece of lightweight canvas to cover the silk. Just lay it out, spray it with spray adhesive and roll the shade on to it. When I was finished I pulled the excess at the tops and bottoms and glued them down with my hot glue gun. Then it looked like this…
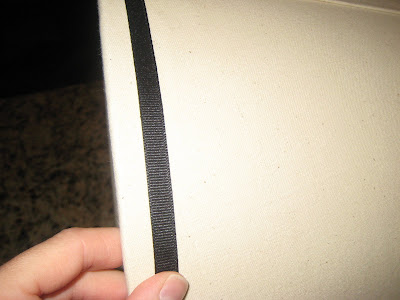
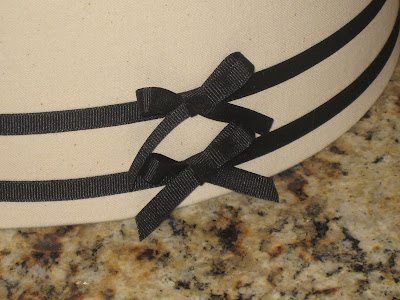
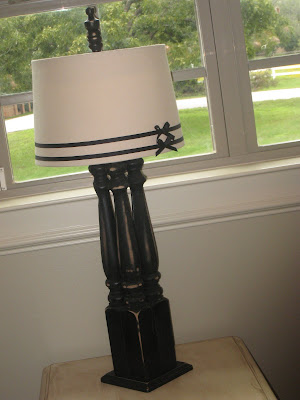
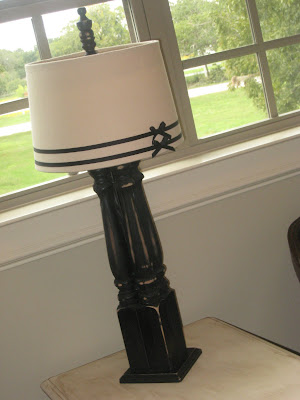
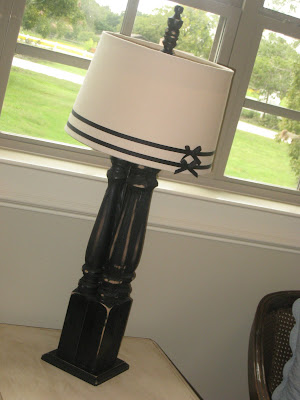
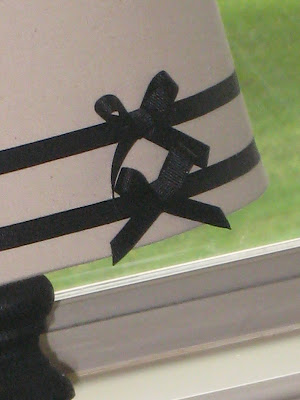
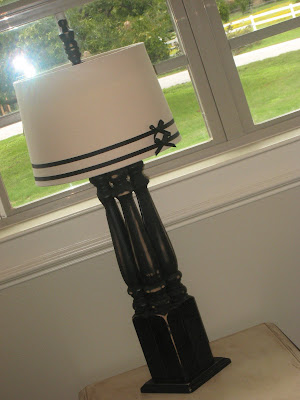
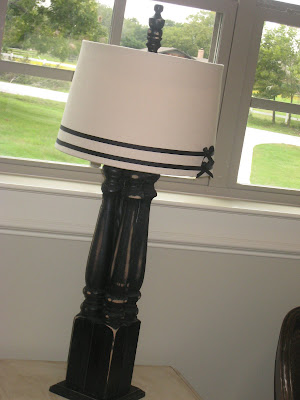
This lamp is going in my loft where my work space is so I wanted something a little girly. I used small black grosgrain ribbon to make two lines along the bottom of the lamp. I just eyeballed it and added a dab of hot glue every 4 inches or so…
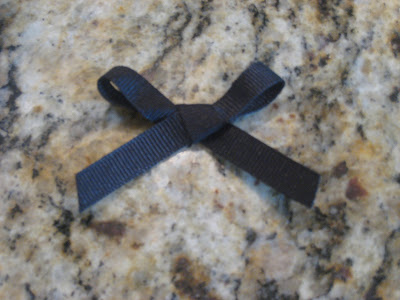
Then I made 2 cute little bows to top it off…
Then I took a dab of hot glue and added to bows to one side of the lamp… So cute!!
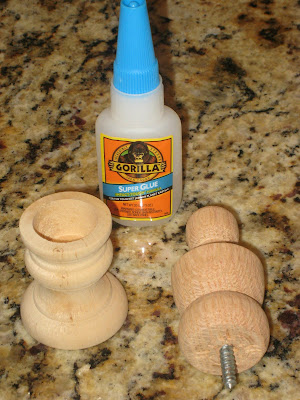
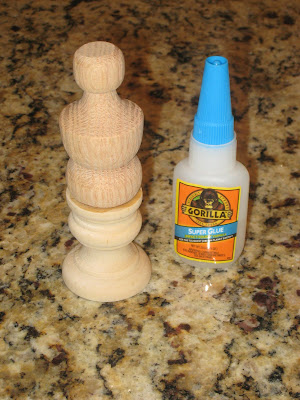
Finally I was in need of a finial for the top but I only had the unfinished ones with screws. I attached one to to a small unfinished candlestick with Gorilla Glue… got all of these at Hobby Lobby.
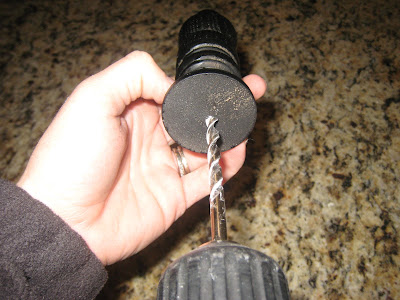
I painted it black and drilled a hole in the bottom the size of the screw at the top of the lamp.
After a little distressing using my 3M block sander with 80 grit paper and putting the lamp together, it was ready for the reveal! What do you think??
Thanks for stopping by guys! And don’t forget to stay tuned this week for details on our next link party and HUGE giveaway!! This one will be even more fun than the last and we are so excited to share all the details with you. I hope I explained the steps on this project well enough but if you have any questions just ask!!





Oh boy! That is cute! Great job!
Sincerely ~ Tricia Anne
Too darn cute! I love the ribbon and mini bows on the shade…The whole project is great!
Oh.my.Gosh! Simply AMAZING! Love it. Want one. Dang, now I have to find spindles. LOL
I want to make these for my house now…
This turned out great, Whitney! Love it!
Smiles,
Rachel
OMG! It's like a beautiful little black dress!
What an interesting idea! I have alway been too intimidated to do lamps- you make it look so easy! Thanks for sharing!
I can't remember how I stumbled onto your blog…but, it is a really inspiring place!
I know exactly which vendor you found in Warrenton!! I met her and you are right she does fabulous creations for her lamps. Thanks for sharing!
xo…deb
you are a girl after my own heart! I am a power tool magnet!
Wow. That lamp is darling!! I want one!
I LOVE the spindle lamp, it's SO cute! What a great idea.. One that I definitely want to try! Thanks for the tut!
I DON'T THINK I HAVE SEEN A CUTER LAMP EVER… I WANT IT! darling, so darling… GREAT NO' FANTASTIC JOB!
oh no, I'm sorry you had the flu ! I do love the bows on the shade, the whole lamp turned out so cute.
Very creative! I love how you reused and recycled something old and gave it a new life!
Chelsea
Beautiful! You are gonna get soooo many compliments on her :)Can't believe you made it!
-Erin