Hey guys! I promised this to you over the weekend but found lots of other things to do… Sorry 🙂
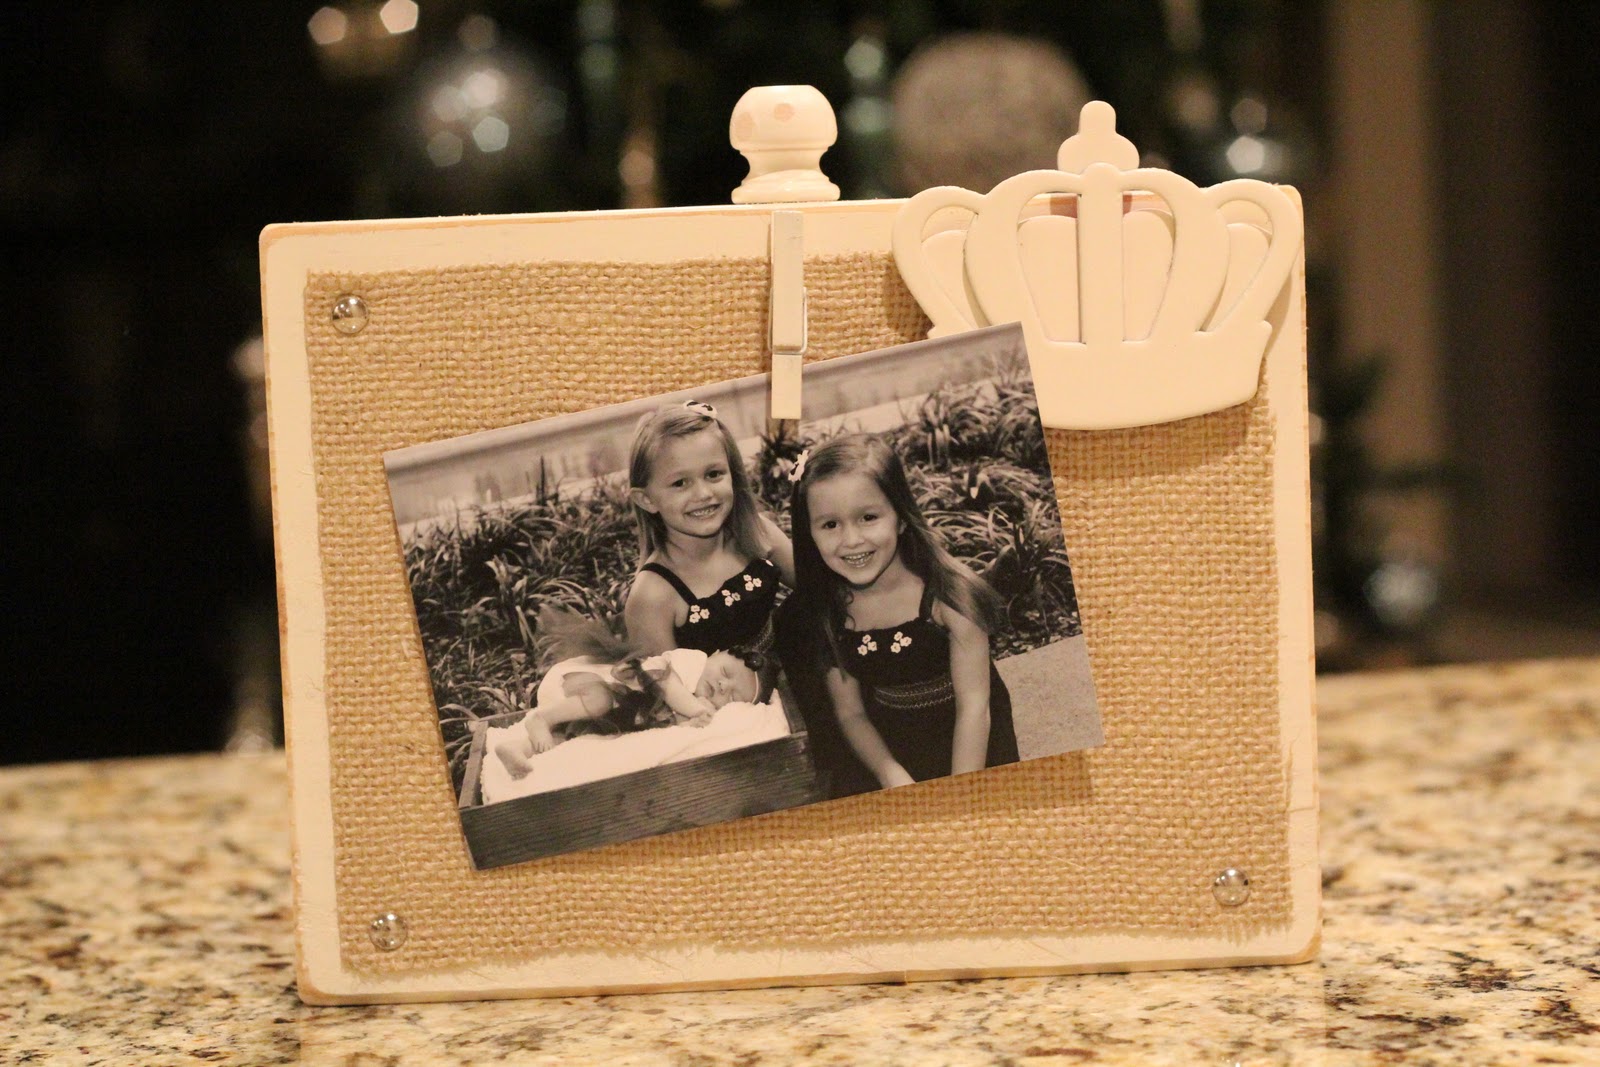
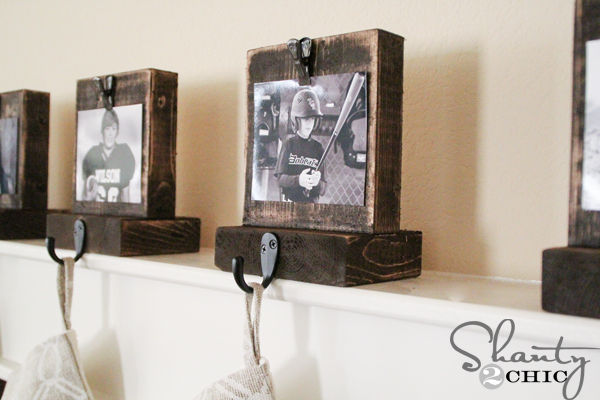
My next frame/display idea is even cheaper and easier than the last! It’s still cute though! Here it is…
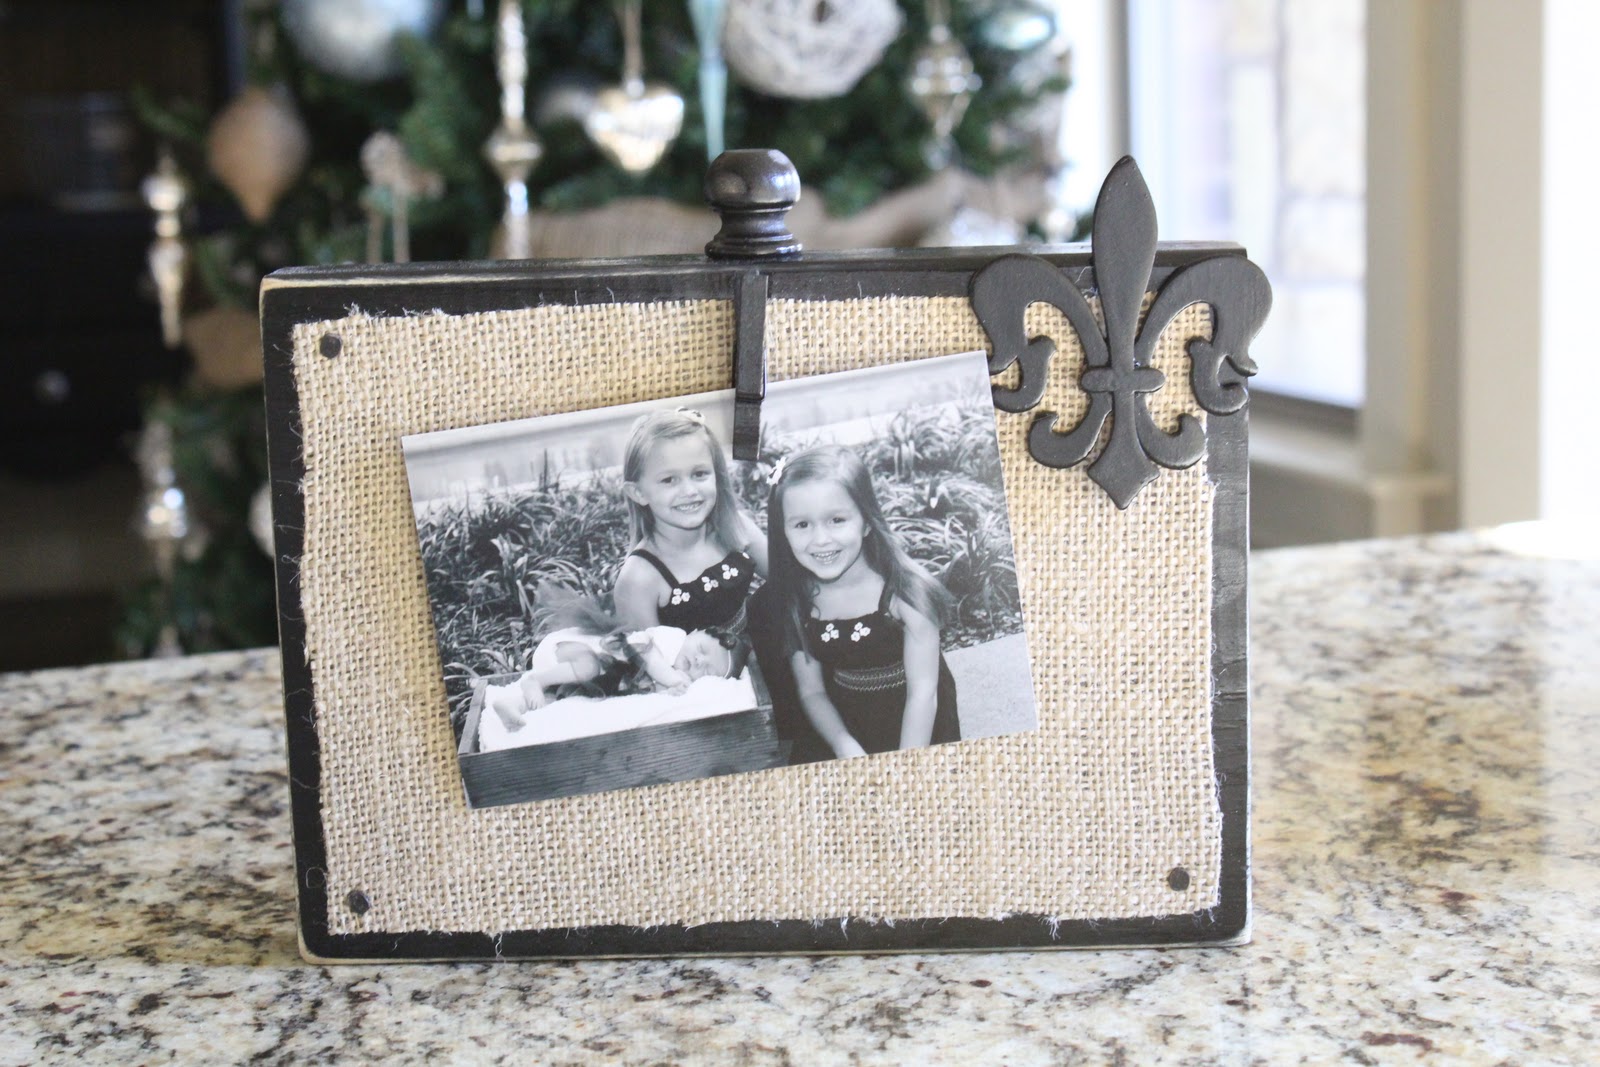
These make a super cheap but so chic gift for Christmas. Here is how I did it…
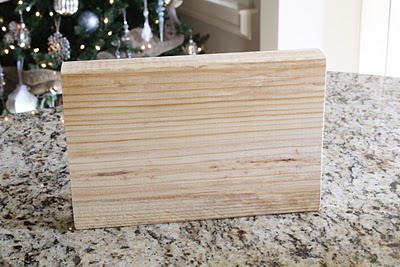
I started with the same 2x8x8 I purchased from Lowe’s for $5. If you don’t have a saw you can purchase your wood at Home Depot and have them cut it there for you. My pieces are about 10″ long.
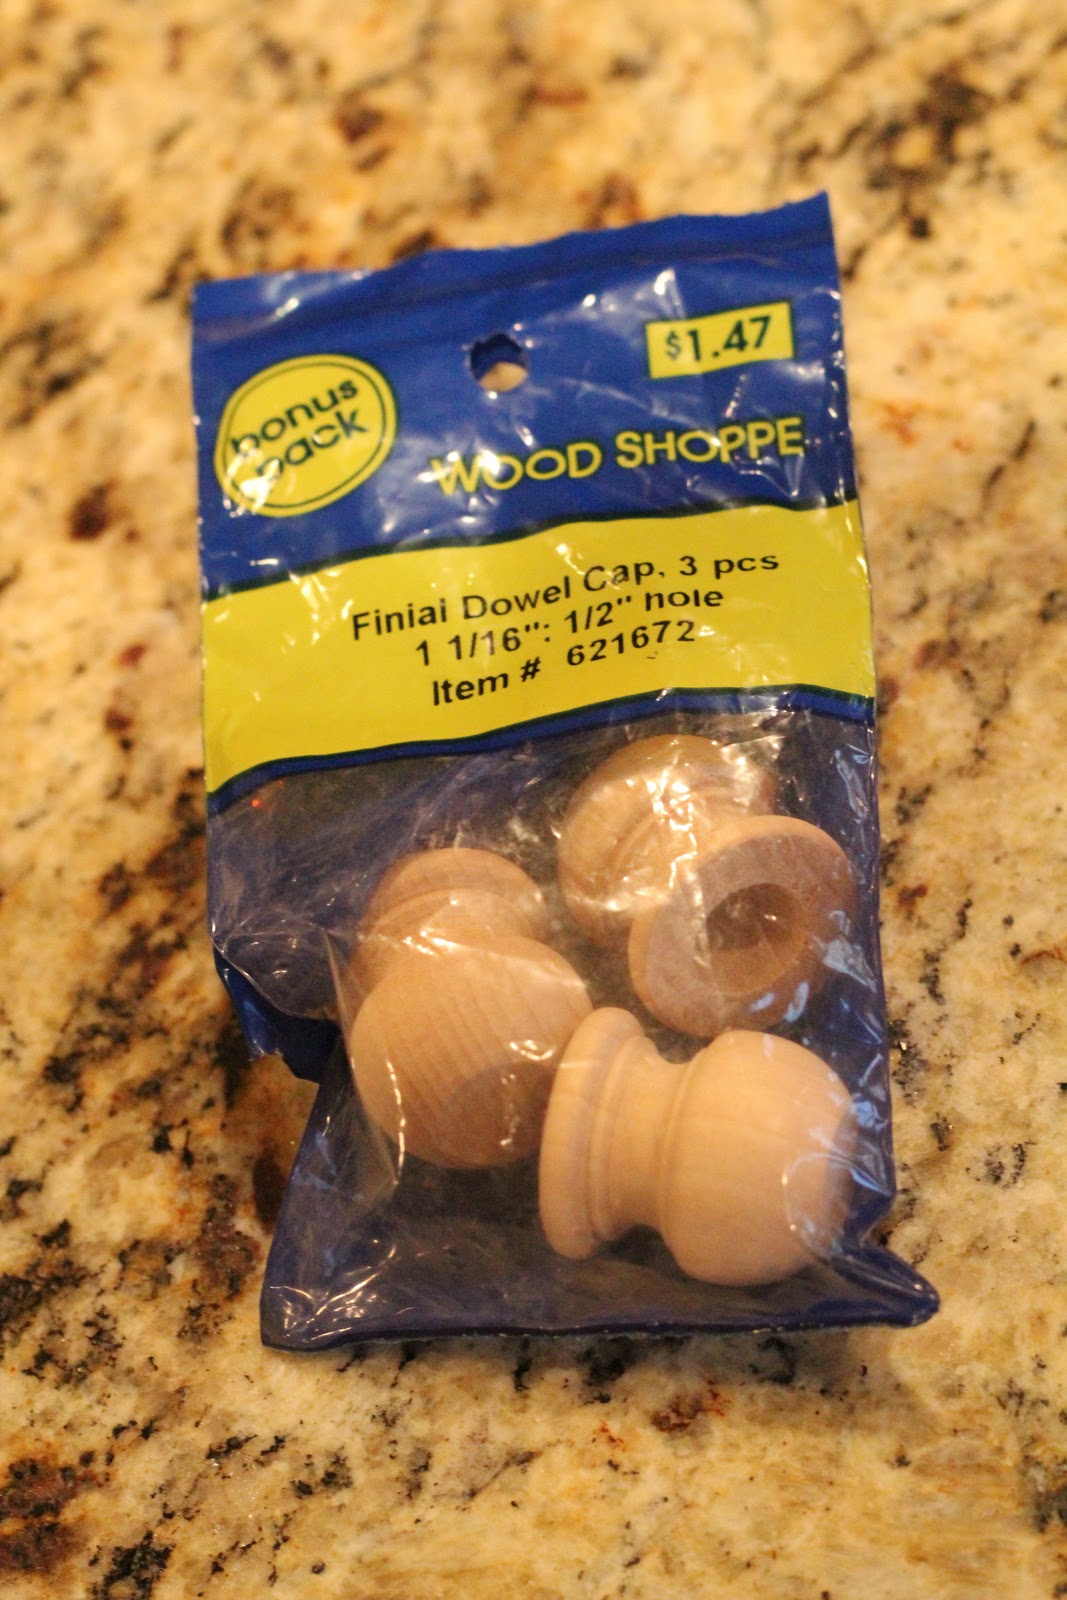
I then used these dowel rod caps I found at Hobby Lobby. They come in a pack of 3 for under $2. I did find some very similar at Joann’s as well.
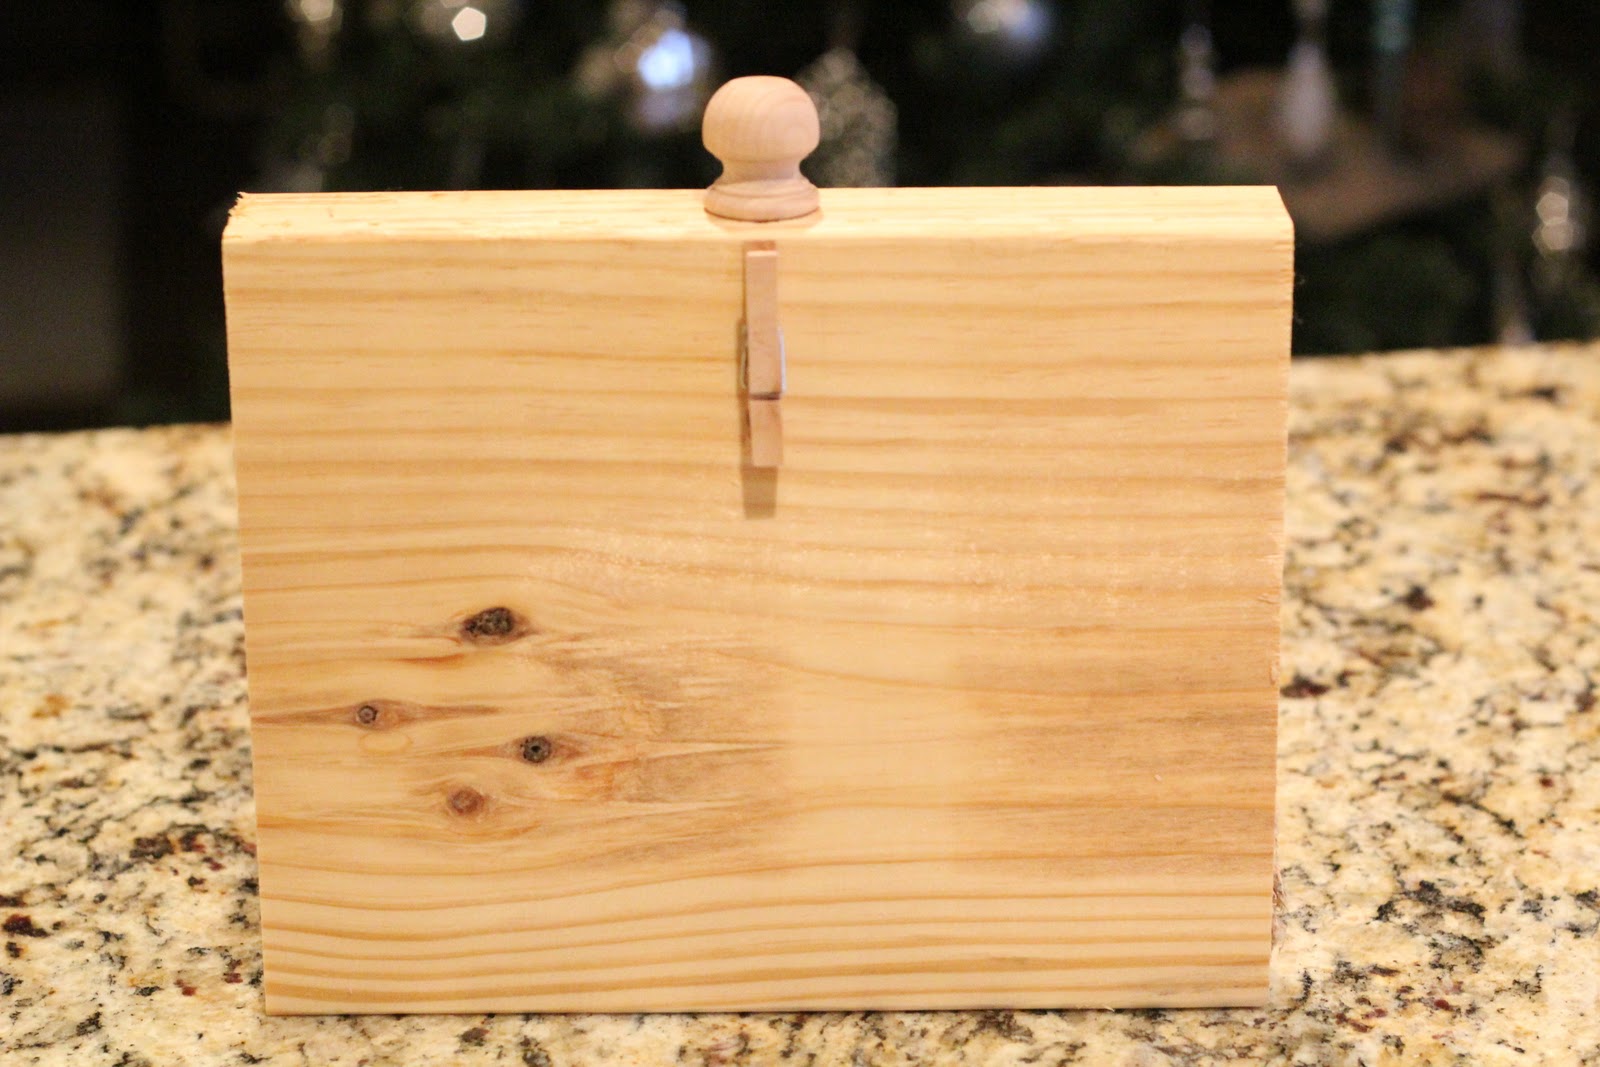
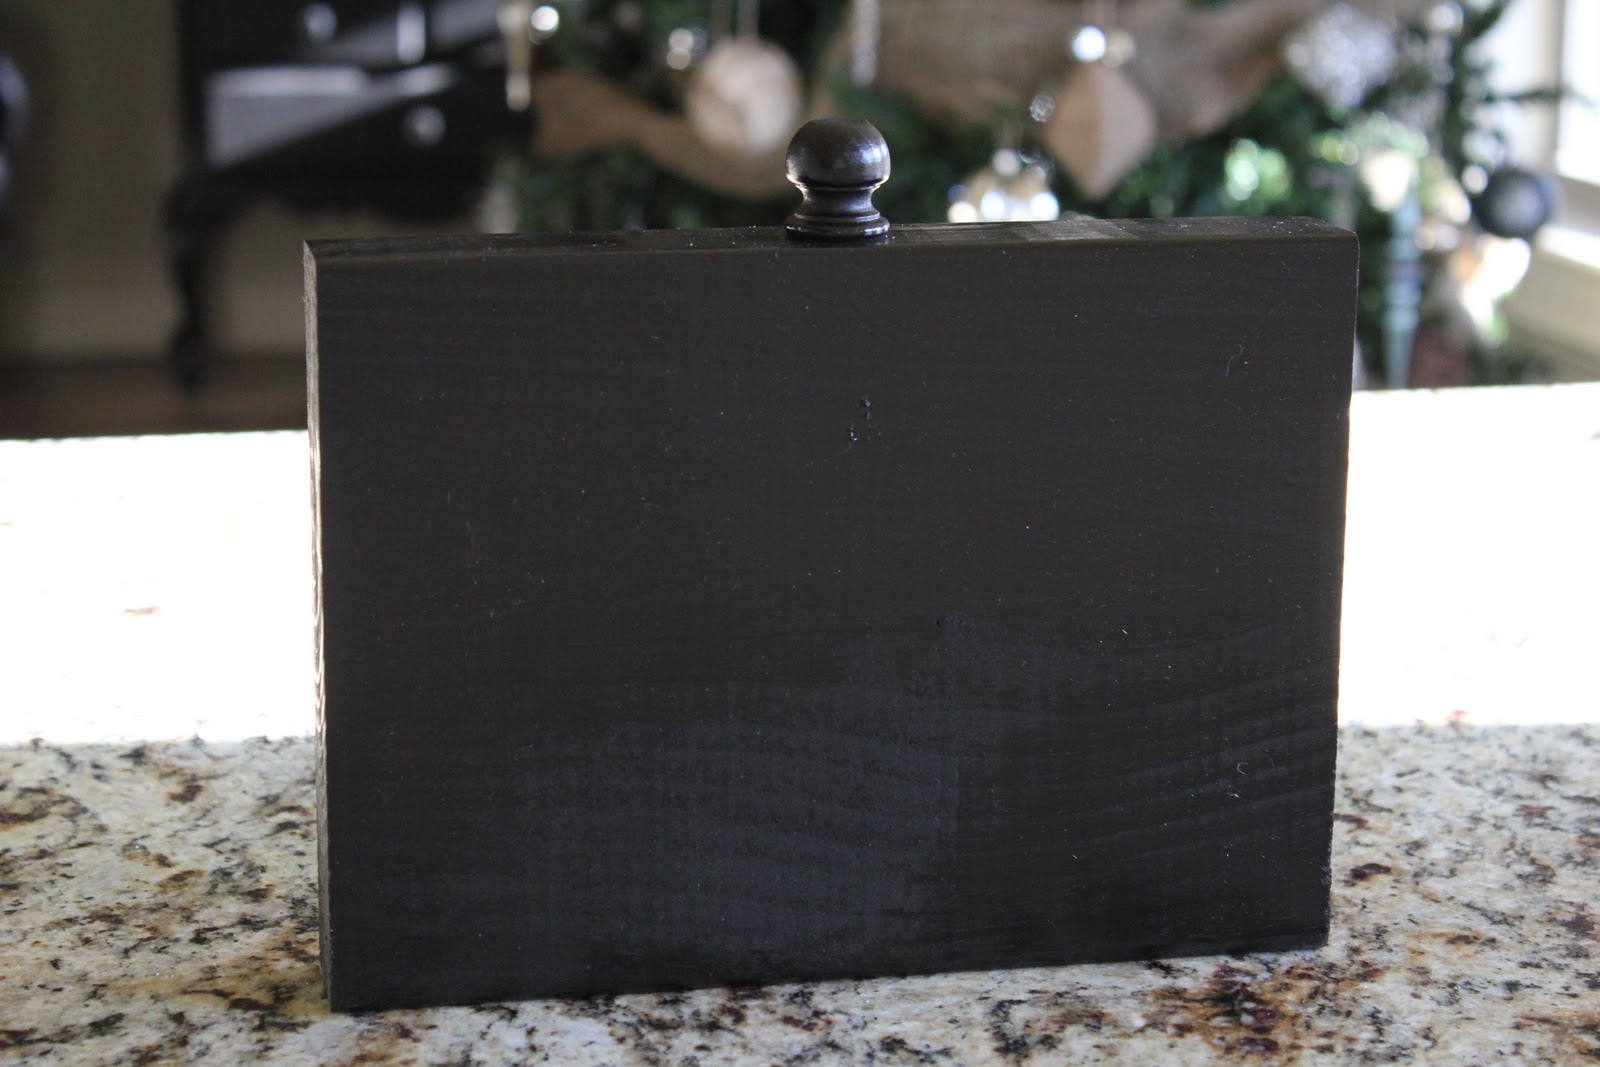
I used my hot glue gun to attach a dowel cap to the top of a wood piece. The picture below shows the added finial but it also has a clothespin attached. You need to wait to attach your pin.
I also found these wood pieces at Joann’s. They certainly were not my favorite color but I saw potential… Especially for $.59 a piece… Whooop!
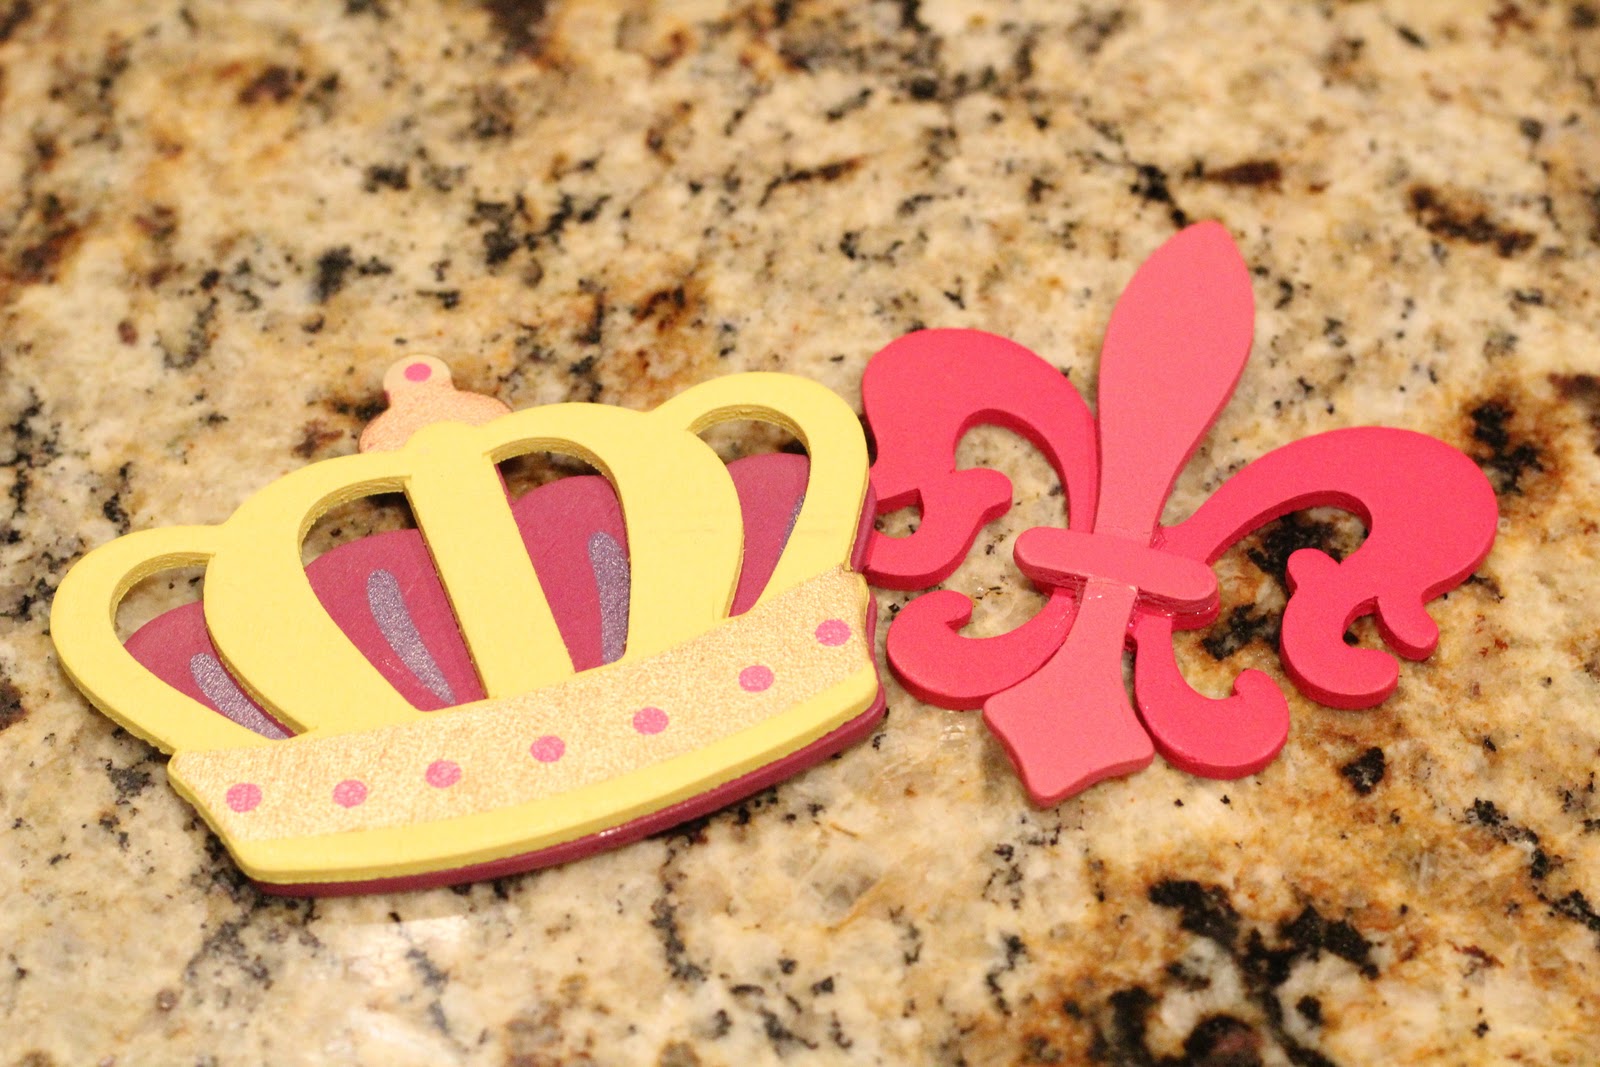
I took my frame with attached dowel cap and my little wood pieces out to the garage and gave them a few coats of our favorite spray paint…

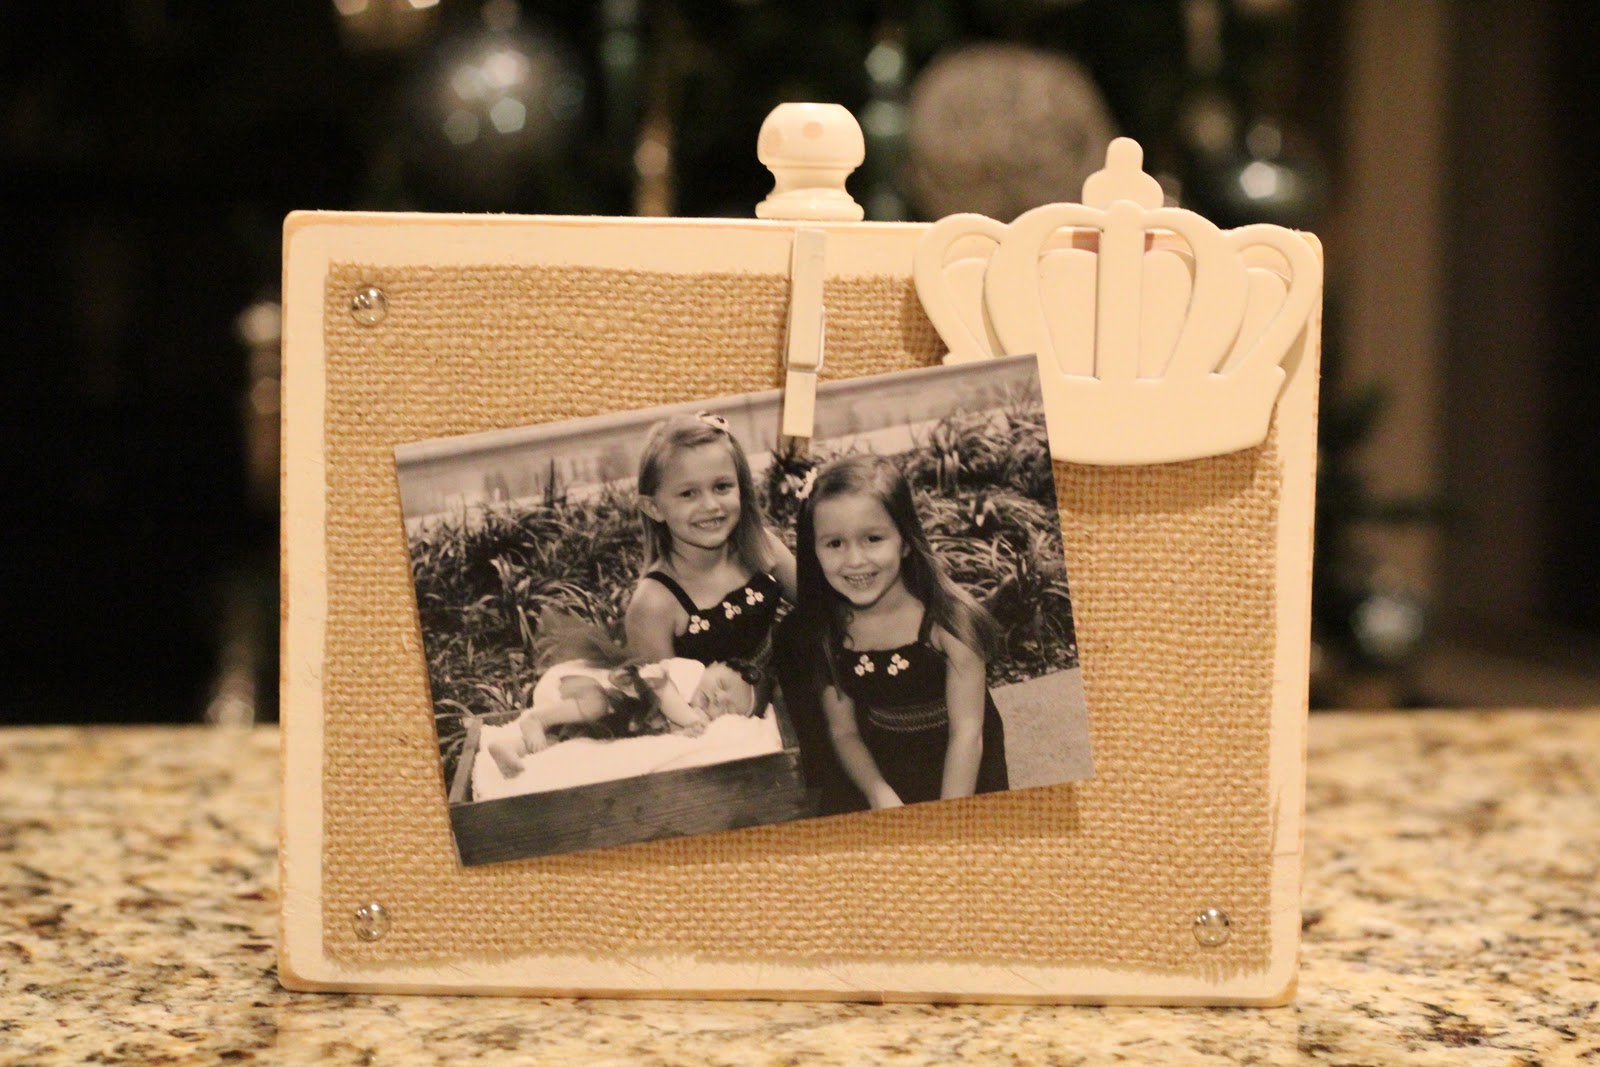
You can find the Rust-Oleum Painter’s Touch cheapest at Home Depot. I painted one frame Canyon Black and one Heirloom White.
Here is my black one dry…
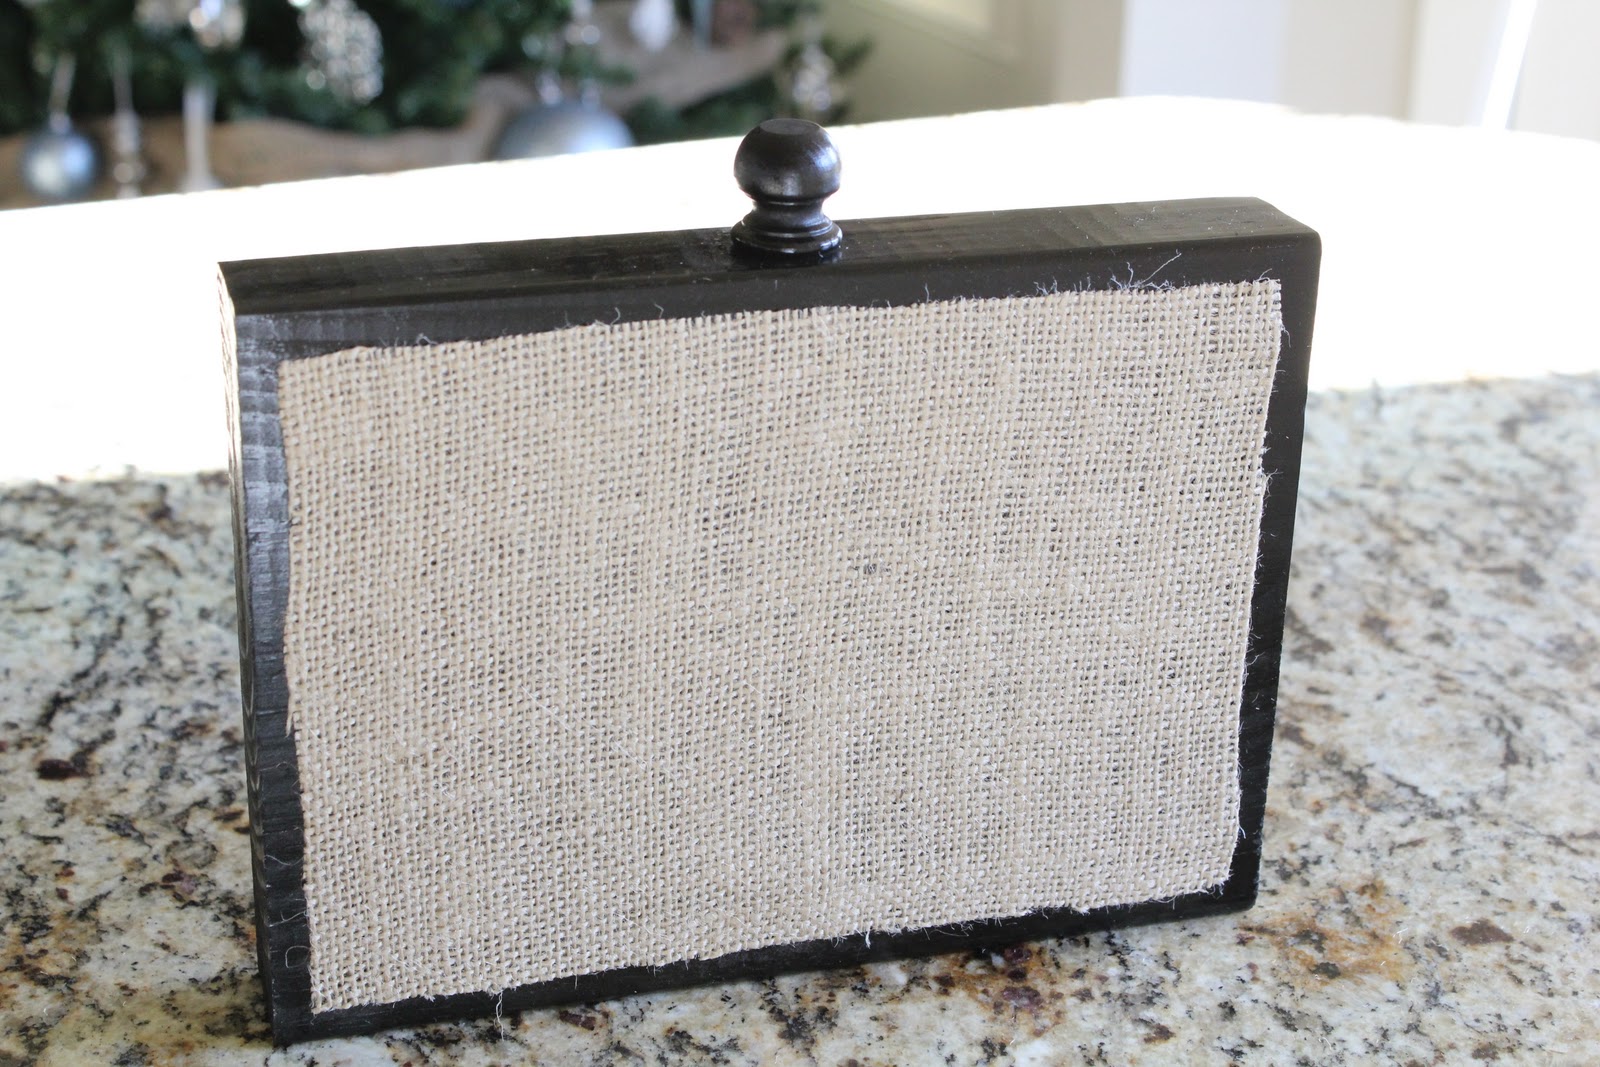
I then cut a small piece of burlap about 1/2″ smaller than my frame. You can get burlap at any fabric store like Hobby Lobby or Joann’s.
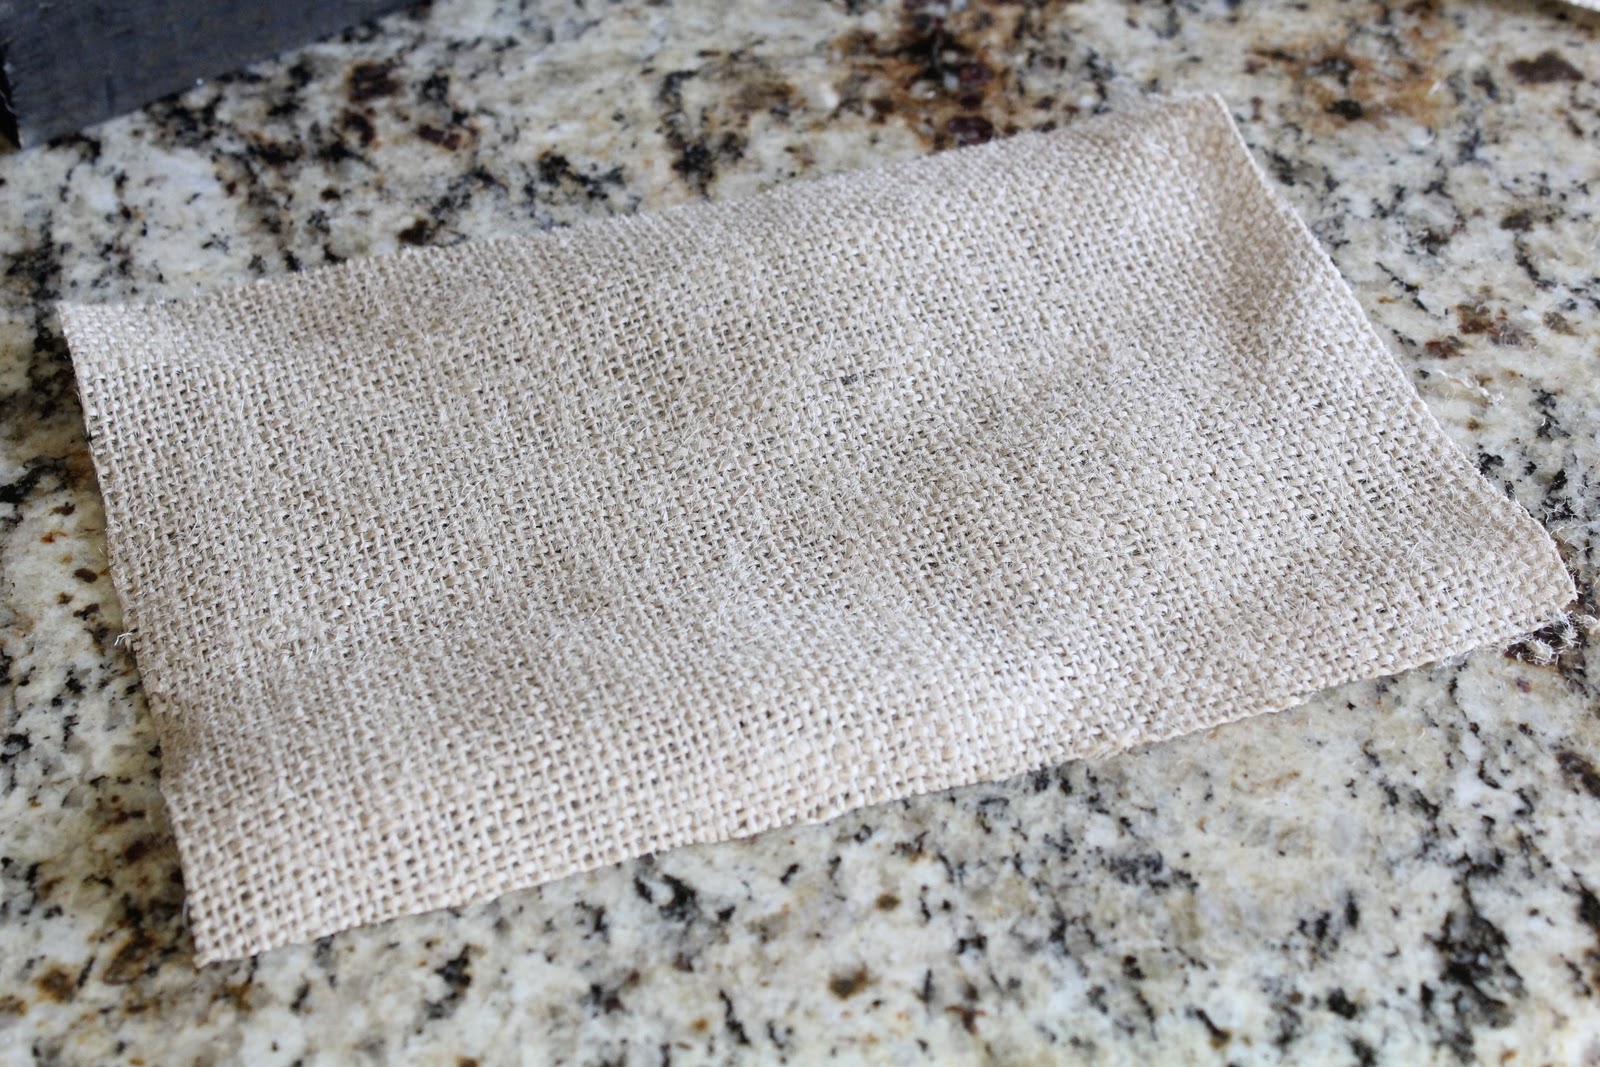
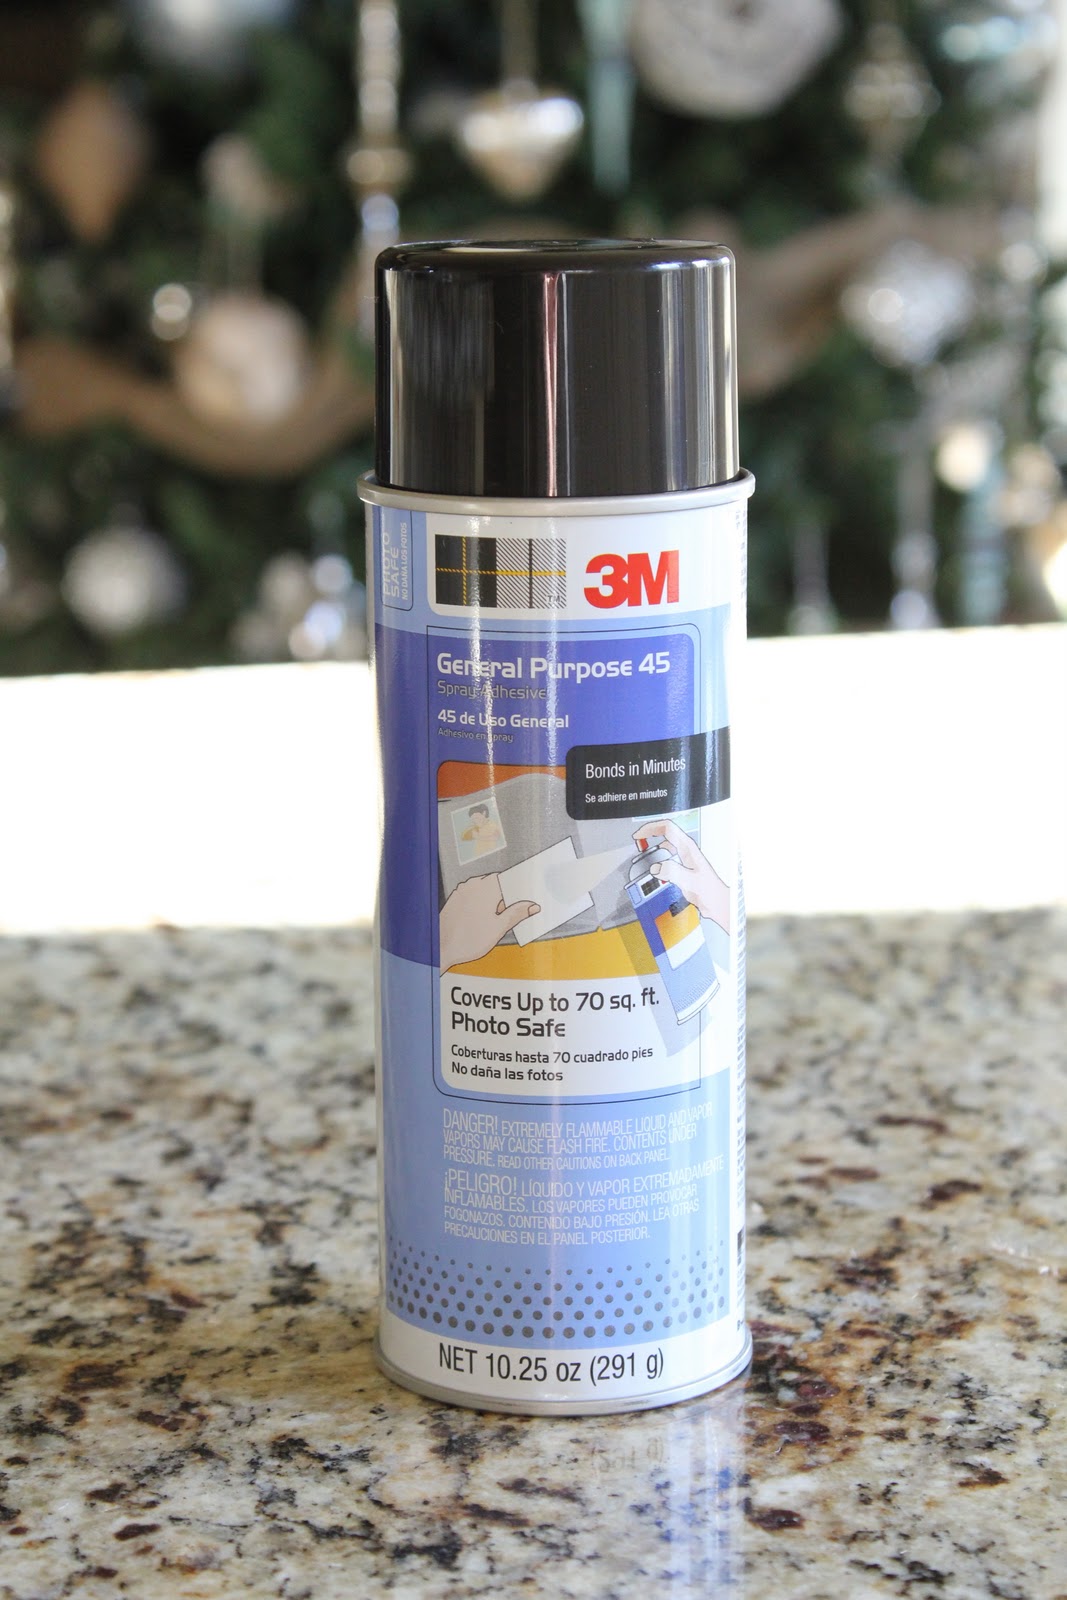
I then used some 3M spray adhesive on the back of my burlap piece and attached it to my frame.
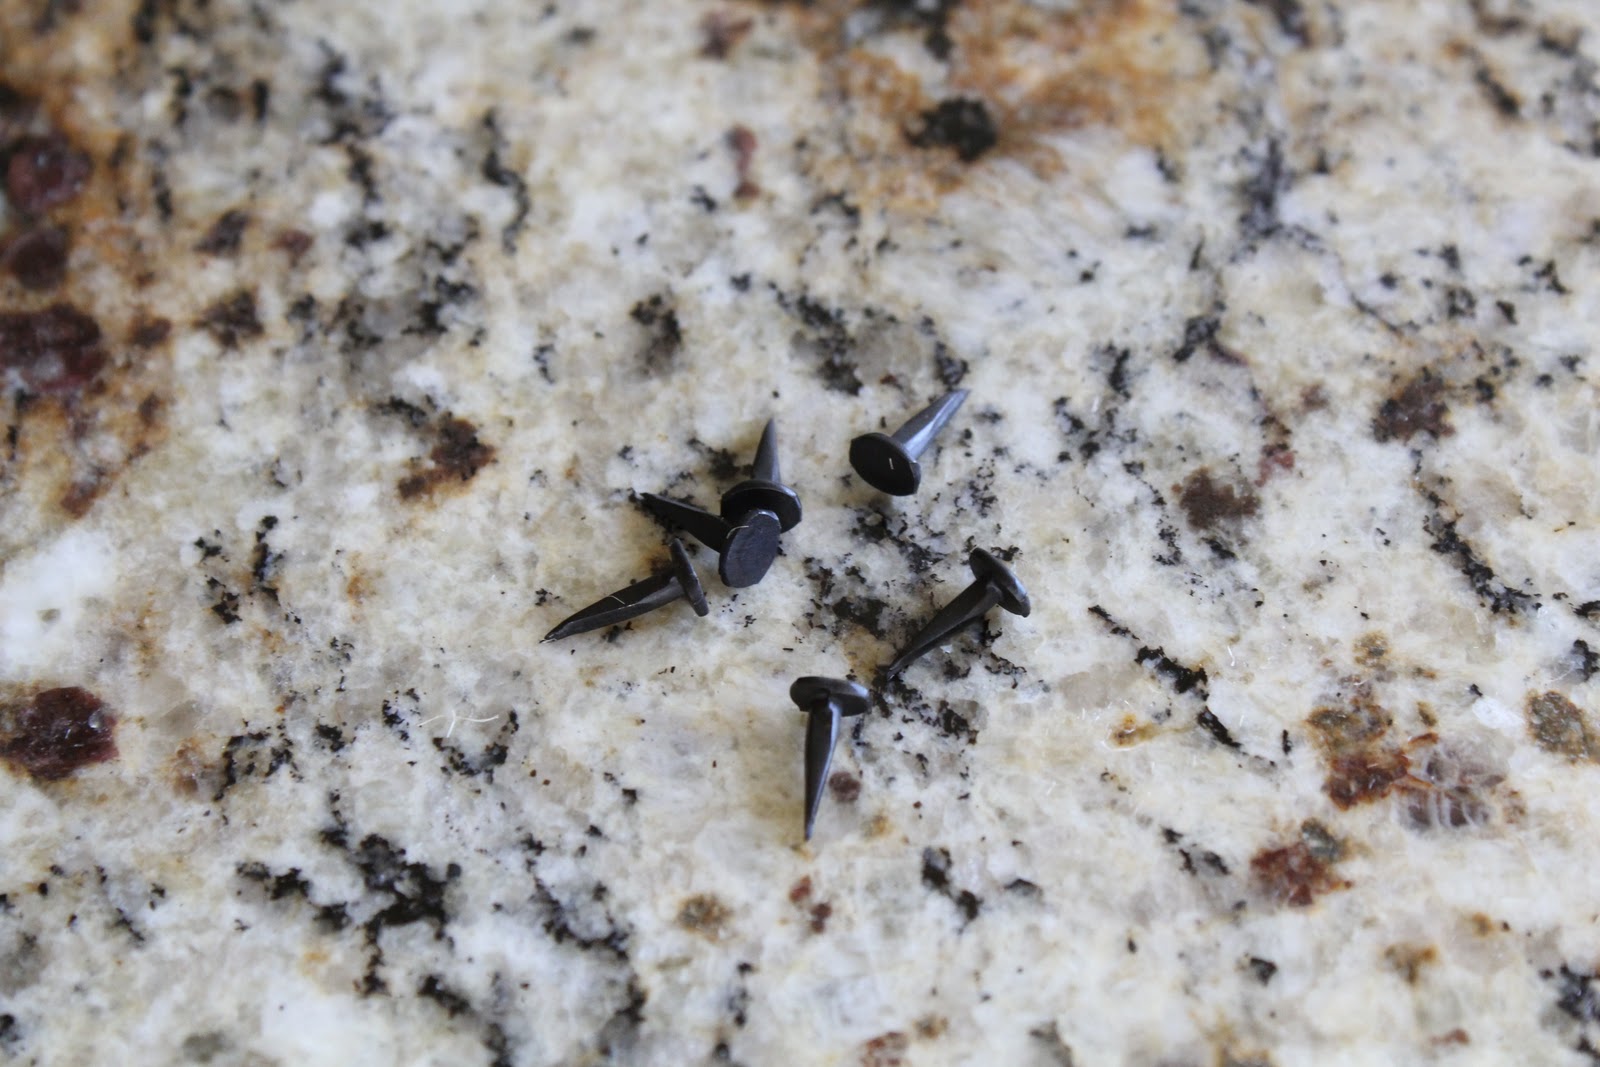
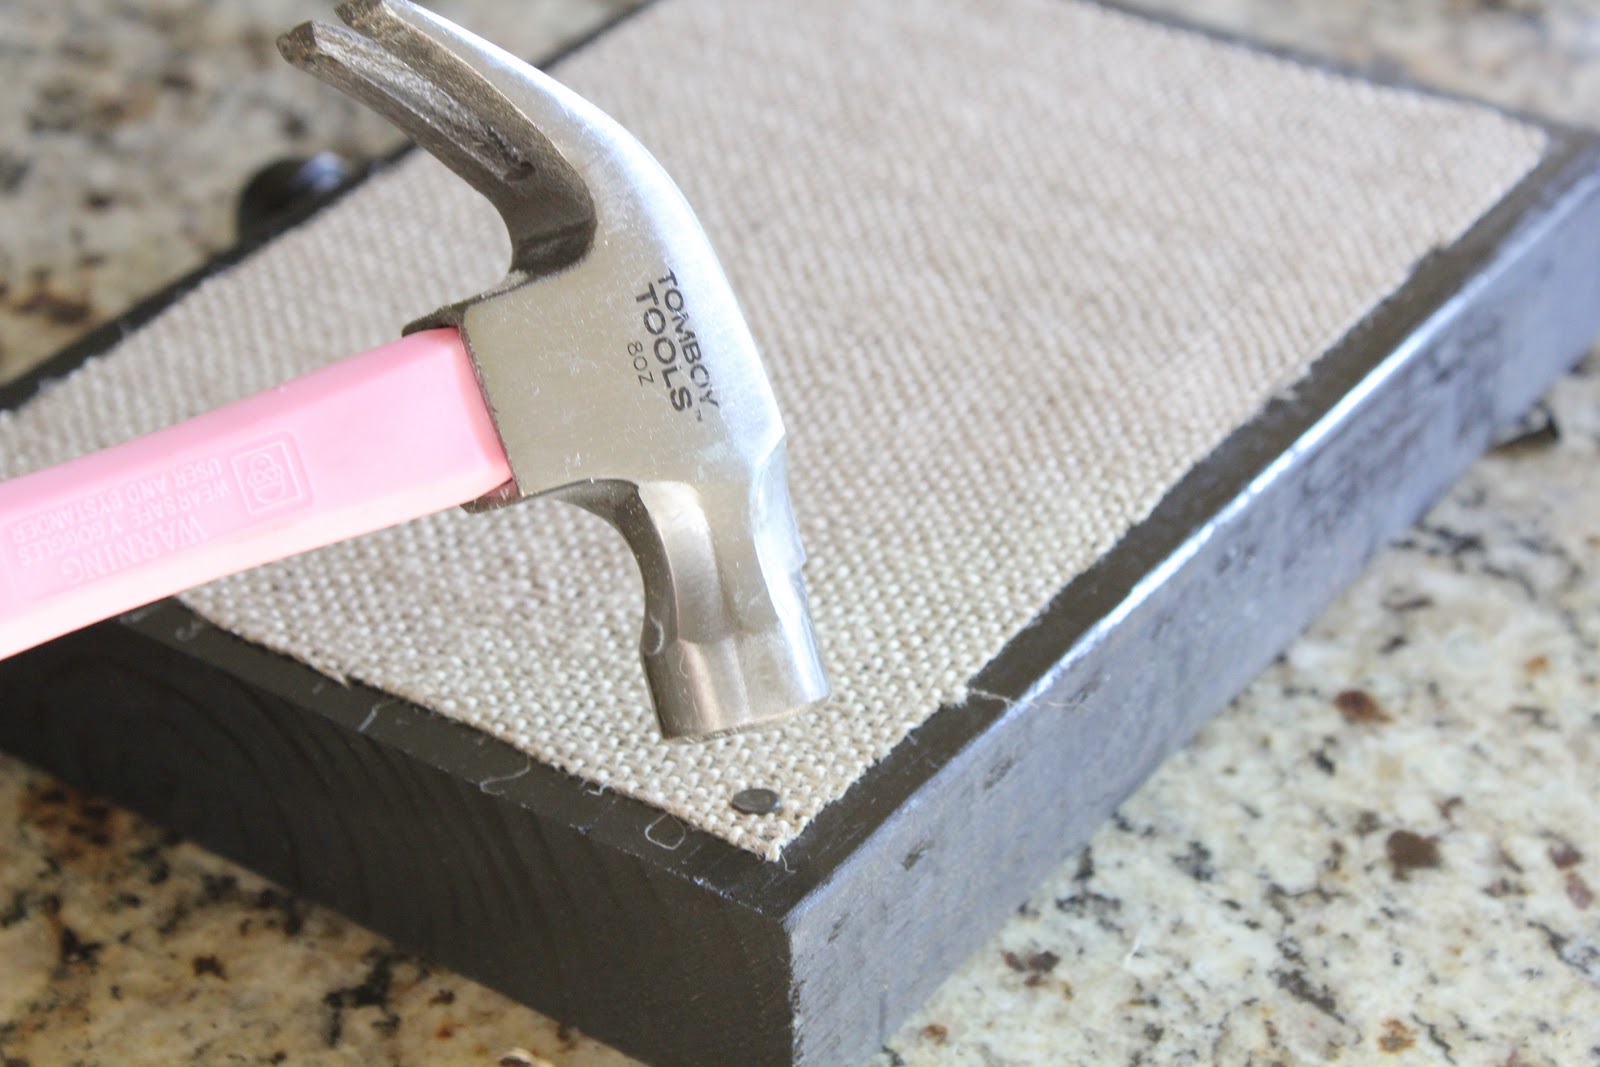
I then used some furniture tacks to add a little detail to my corners. I used black ones on my black frame and silver tacks on my white one. You can get these at the hardware store or craft store.
Finally I added my cute wood pieces and my clothespins. I used my hot glue gun to attach both pieces.

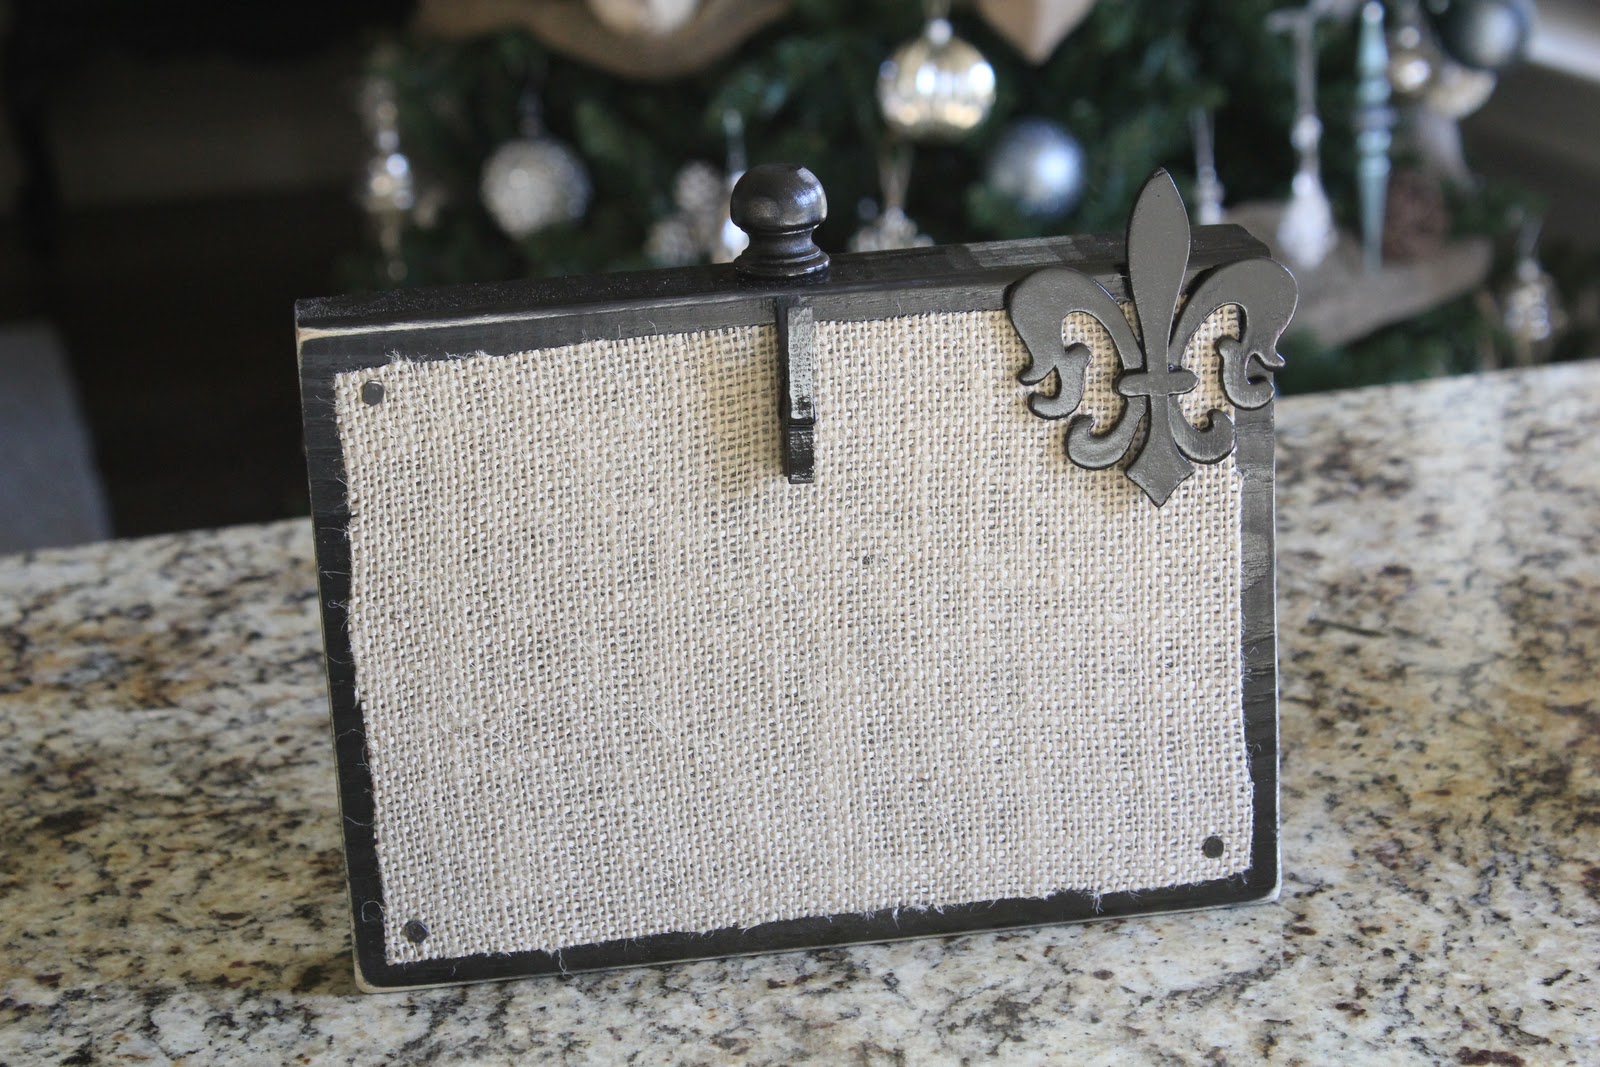
Your final step is to add a picture, recipe or message and wrap it up for that special someone!

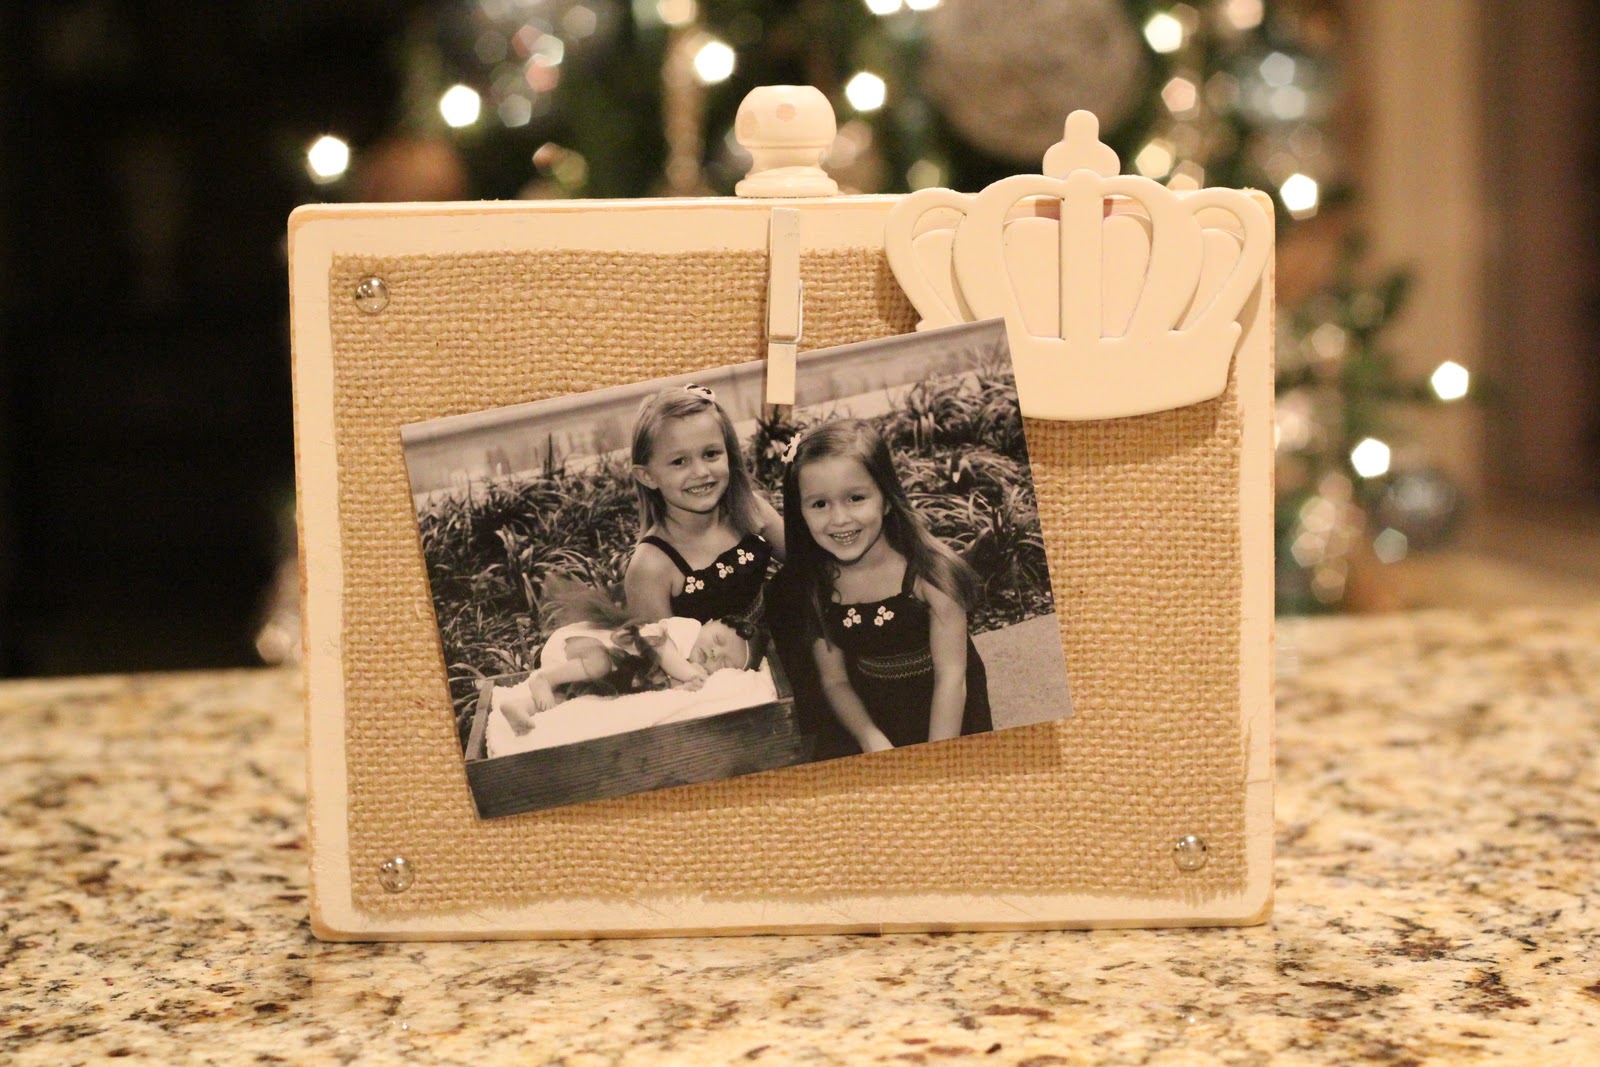
Hope you like them!! These babies can be made for under $4 a piece which makes them ever cuter. I also love that they can be used for more than just photos. Let me know if you have any questions!
Also!!!
Get those projects ready for tomorrow’s I Made It Without My Hubby party!! We want to see any and all crafts, projects, revamps, and gifts you gals have made without the help of your hubs!!
We have a great giveaway lined up so get ready!! We will put the post up tomorrow night. Have a great week!!
~Whitney


Is there something on the back of the wood that helps it stand up ar does it just stay up on its own? Love it!!!
I am wondering the same thing…… What do you put on the back to keep them standing up??????? These are sure cute. Guess you could drill a hole in the back and insert a short piece of dowel rod for a stand or hang it with a picture hanger.
They are almost 2″ thick. They easily stand alone.
Love this project! Thanks so much for sharing, perfect holiday gifts!
I ACTUALLY WAS AT YOUR BLOG LAST NIGHT AND SAW THIS PROJECT. LOVE IT LOOKS LIKE A POTTERYBARN FRAME..
Love it!!! So easy to change the pictures too. Thanks.
These are too cute! I love how you spray painted the wood pieces!
I'm thinking this would be GREAT for holding a recipe card while you are using it! I tend to lean mine up against something, but this would work even better. I am weird and hate working with a recipe card laying flat on the counter for some reason… probably because of my lack of counter space.
These are REALLY cute!!
I am gathering ideas for "craft" time with my nieces. This is great…thanks!
these are just darling-tfs:)
I want to make 20 of these! You are amazing!
Love that one too! Anything is better w/ burlap 🙂
Hi, I am trying to gather up all of the materials for this project and the only thing I am having a hard time finding is the finials for the top. You said you bought them at Lowes. I went there today and could not find them anywhere. Do you remember where about you found those? Nobody knew what I was talking about when I asked : /
If you can help me out that would be awesome!
Thanks,
Leslie Owens
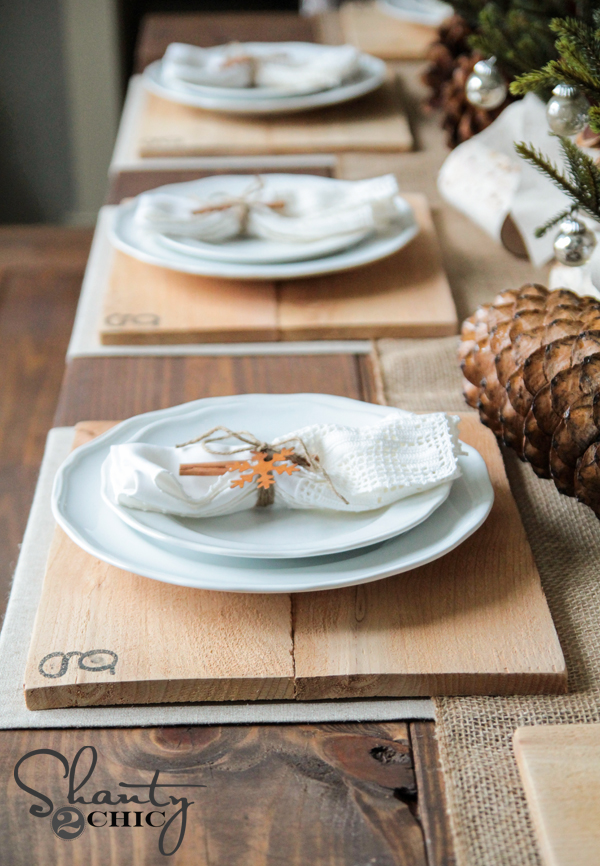
K, this gift idea is super fun, too!!
cute cute!! looks super easy, my kinda craft!
As always, I love this idea! And I think I even have all the supplies. Woohoo!