Hi friends:) I’m back to share a tutorial for the baskets I made for my Washer/Dryer Pedestal!
I can’t sew and don’t intend to learn anytime soon so I made these with my trusty hot glue gun.
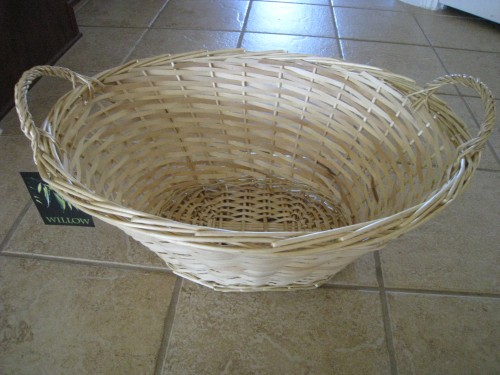
I started by purchasing these Willow baskets from Wal-Mart. I chose them because they were the right size and only $3.00…. so I thought. When I checked out my total for three of them was $1.50! They were on clearance for $.50 each! Whoop!
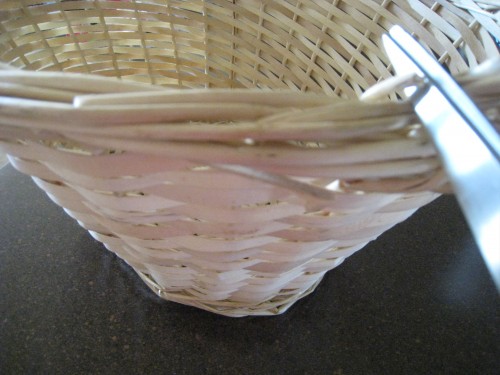
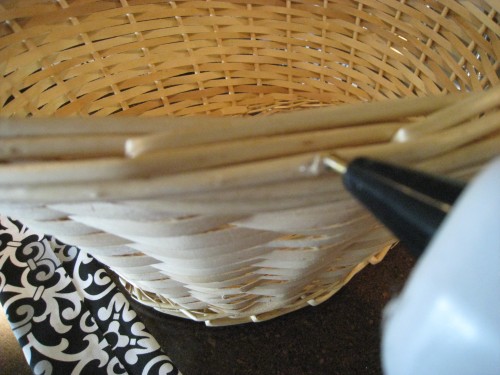
The handles kept the baskets from fitting under the pedestal so I cut them with scissors.
Super easy:) On to the fabric!
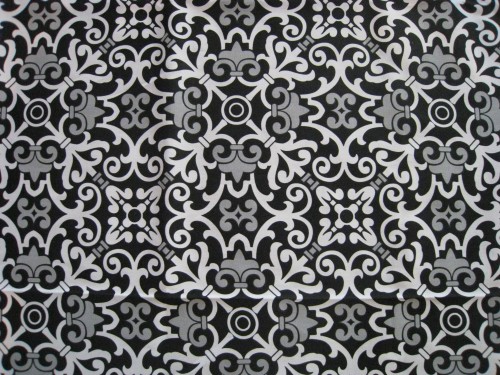
I found this great fabric at Hobby Lobby. It was on sale for 30% off! The print was just what I was looking for and had the perfect grey accent to match the laundry room:)
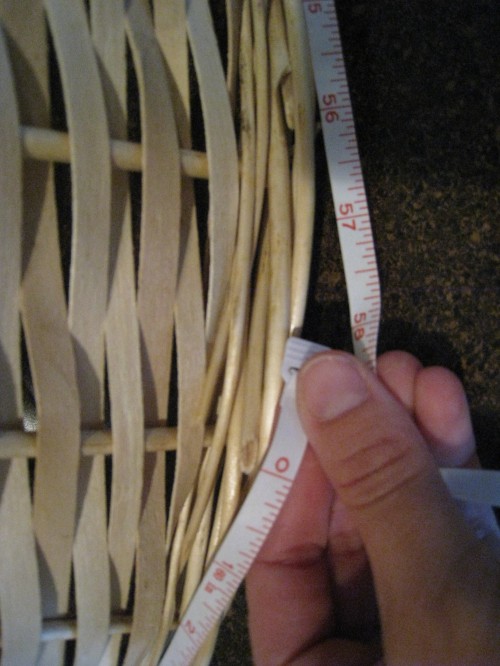
I measured the circumference at the top of the basket. I added 2 inches and cut 3 strips to match at 6 inches wide.
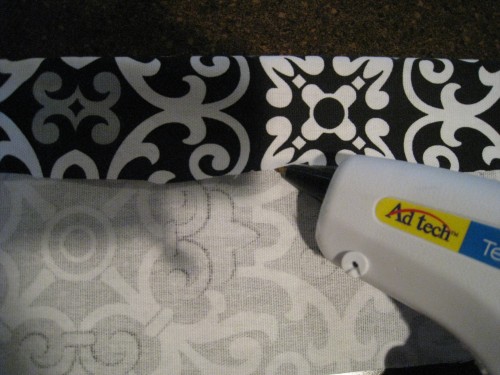
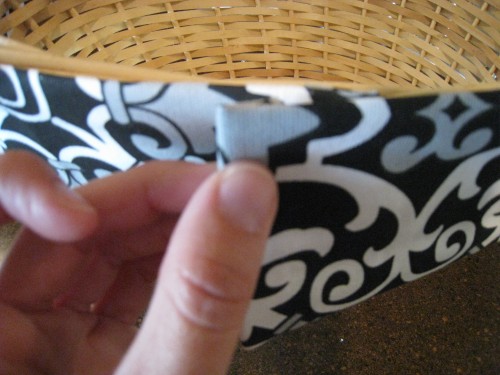
I folded about an inch on the top and hot glued to secure it
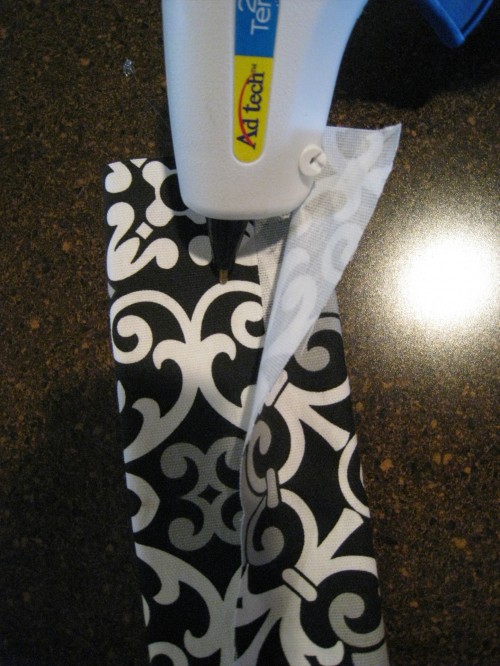
and did the same with the other end.
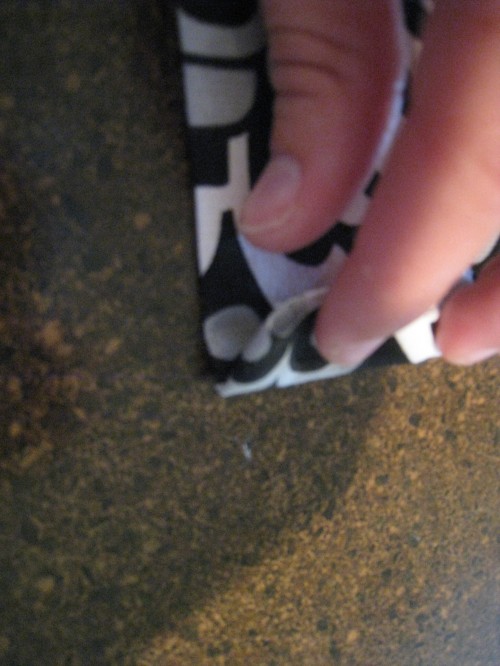
Folded and glued the ends to make them nice and clean.
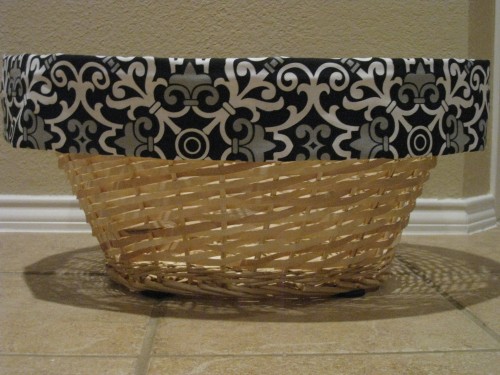
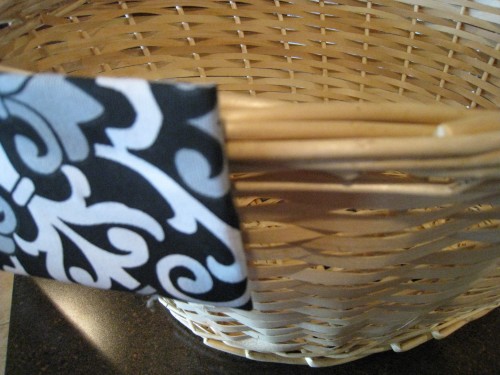
I started wrapping it around the top of the basket, hot glueing as I went. I did let the fabric sit up a little from the rim of the basket because I liked the way it looked:)
I overlapped the edges and that was it! (Almost)
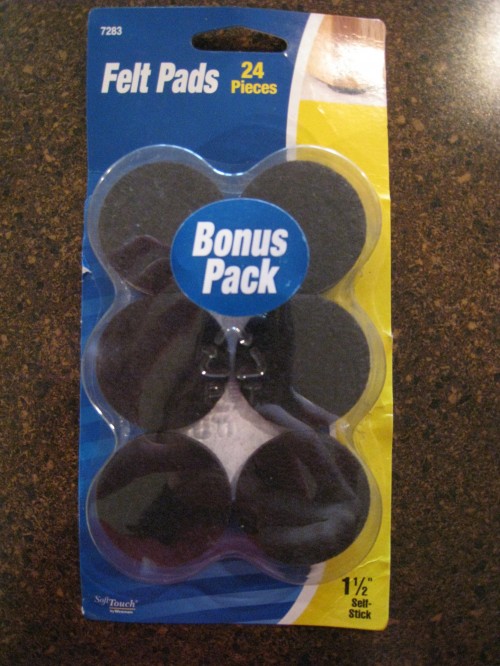
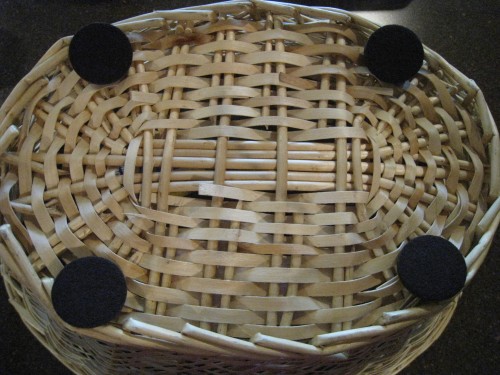
I did use Minwax Polycrylic on the entire pedestal, however, I did not want to take any chances on it scratching so I purchased these felt pads from Wal-Mart. Super cheap:)
I placed 4 on each basket and they stuck very well. We have been using these baskets for a few weeks now and they haven’t fallen off yet! If they fall off I will just epoxy them back:)
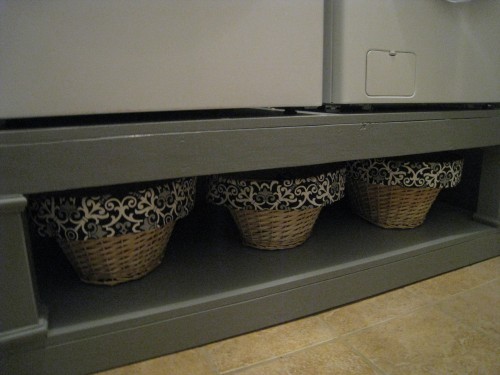
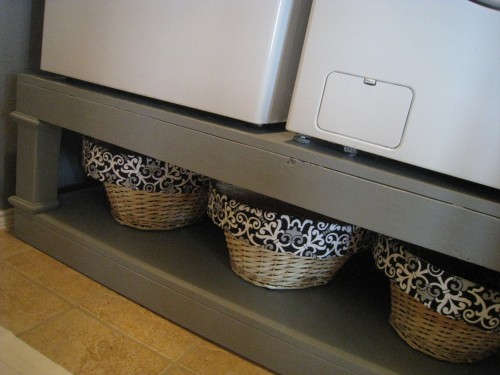
That’s all folks! I spent under $10 total for all three baskets and only about 1 hour of work:) LOVE!
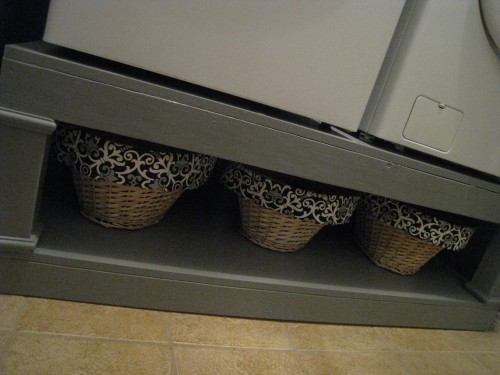
We keep our shoes in the baskets and it is SOOOOO nice to have a clutter-free floor! I’m still working on the rest of the laundry room but what an improvement already! I’ll be back soon to share more:)
Thanks so much for stopping by! ~Ashley





Lovely idea 🙂 Great pattern of the fabric
Thank you:)
Great idea. I never understand why those baskets cost so much when they are just baskets and fabric. Taking the handle off was genius. Who among us does not have some of those baskets with handles that take up too much space. Nice work.
Thank you so much Barbara:)
Thank you. I recently scored for really cheap, 3 large laundry wicker baskets and didn’t have enough fabric to make a full liner. Because of your inspiration, I’m using scraps of designer fabric to make an edger like yours . The inside of the basket, I’m covering just the bottom ( a large oval of felt)
Good thinking Gail!!!! Glad I could help a little:)
Great idea – sure looks good – and what a great way to utilize space.
– Joy
Thank you Joy!!! Love having everything in it’s place!
These turned out great. And just my style, with a glue gun. I love the fabric you used too!
Thank you Bethany! I can’t sew so the glue gun is my go-to:)
genius! it came out fabulous!
Thank you Georgette:)))
I wished I had seen your tute before I made mine over the hard, long way. Way to go, they look great.
I love no sew projects. Not handy with a needle. Love the it!! I look for simple projects all the time for my crafty classes at my shop. This is a great one!!
Great idea! They turned out great, and we’d never know you didn’t sew them.
Thanks so much Kim:)))
Hi from your newest follower/s via tip me tuesday. Now google and facebook following you. Karima, from
www.karimascrafts.com
and
www.karimasblogs.blogspot.com
I love your idea, i too like changing and altering things!
Thank you Karima:)
Love these and what a STEAL you got on those baskets! Thanks for the new-sew tutorial!
Thank you Lauren:)))) I love good deals!
Love the idea! thanks so much for the post. I like that no sewing is needed to complete the project.
Thanks again for the post!
Thanks so much Lee Anne:)
This is so impressive! These baskets look awesome and it is amazing that there is no sewing involved!!
Thank you Alicia:)
Love it!! They turned out so cute!
Thanks so much Emily:)))
great job!!! love these!
Thanks so much Rachel!