Key Hook Decor
This is one of my FAVORITE projects! It’s quick, easy and cheap! Lots of bang for your buck;)
I say cheap because I started with pieces from our scrap wood pile:)
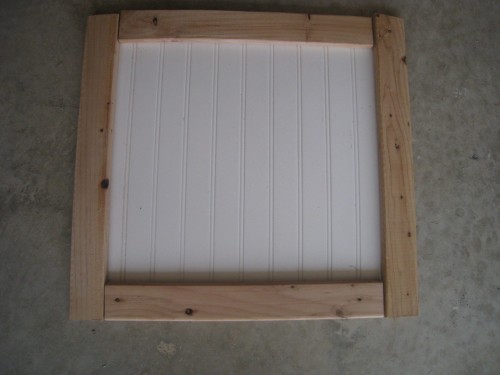
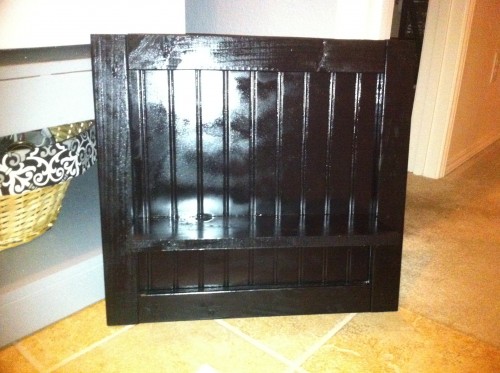
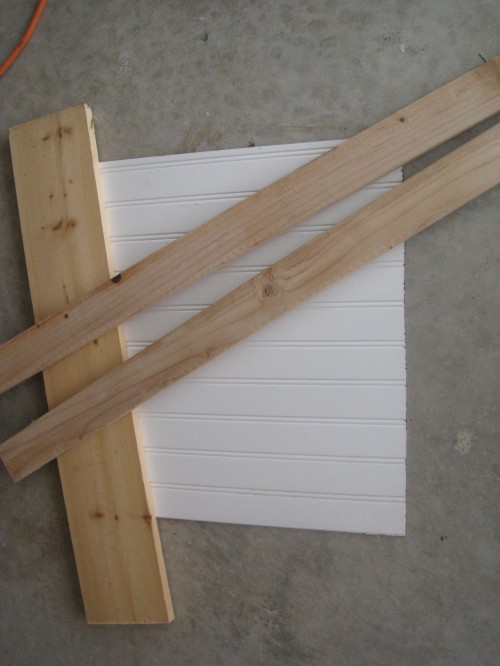
I used an old sheet of bead board, a 1×6 and 1×3’s.
I trimmed out the bead board with the 1×3’s
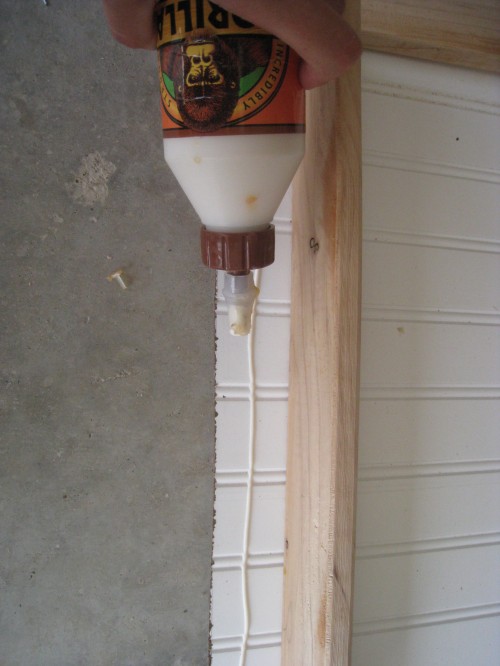
using Gorilla Glue wood glue and a staple gun to secure them.
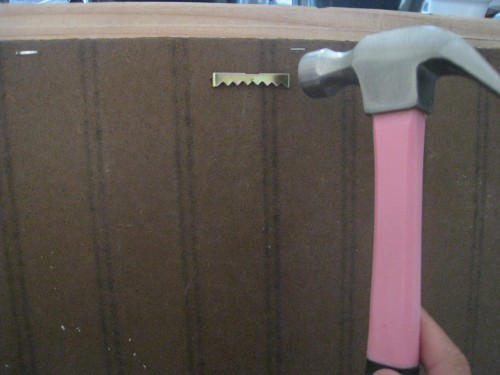
Next, I hammered a saw tooth hanger through the back.
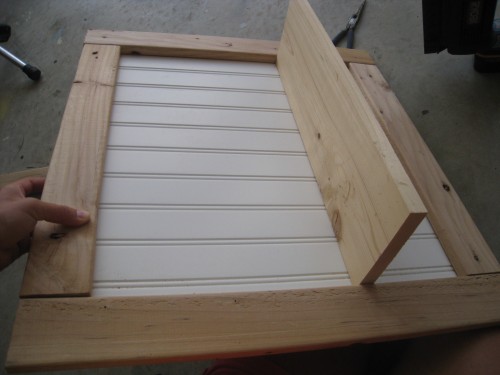
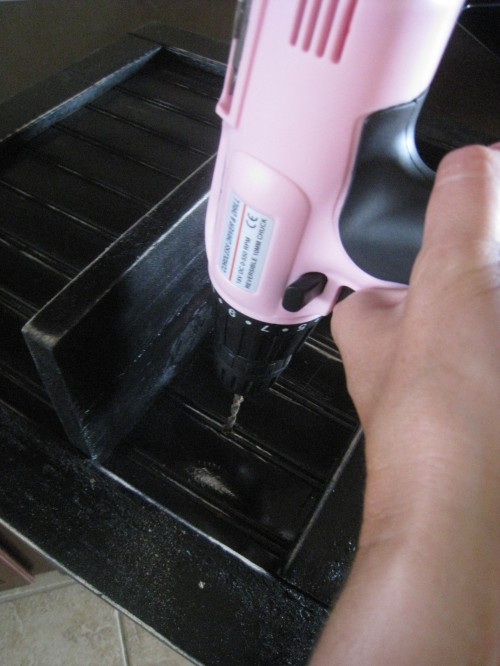
I attached the 1×6 with wood glue and drilled 2″ screws through the back (pre drill so the wood doesn’t split)
I spray painted it with 1 coat of Rust-Oleum black gloss.
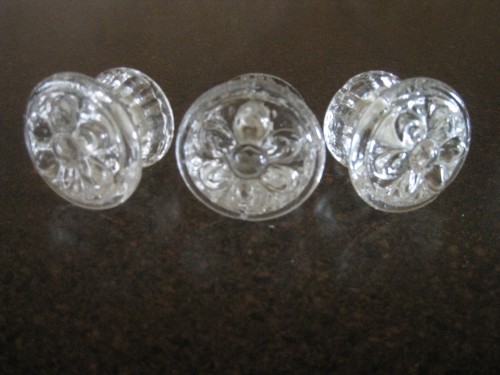
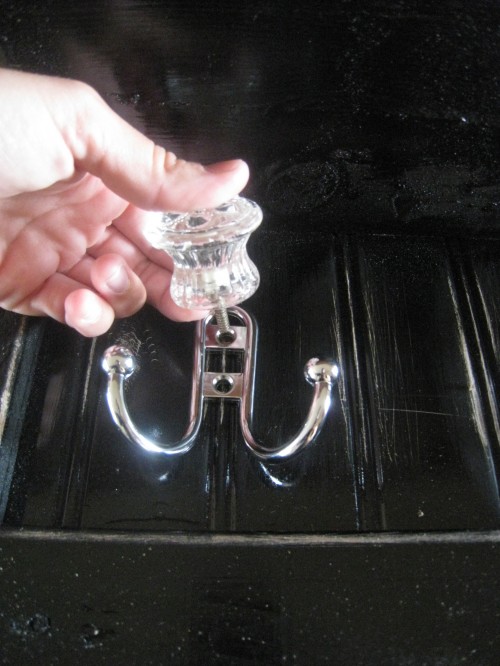
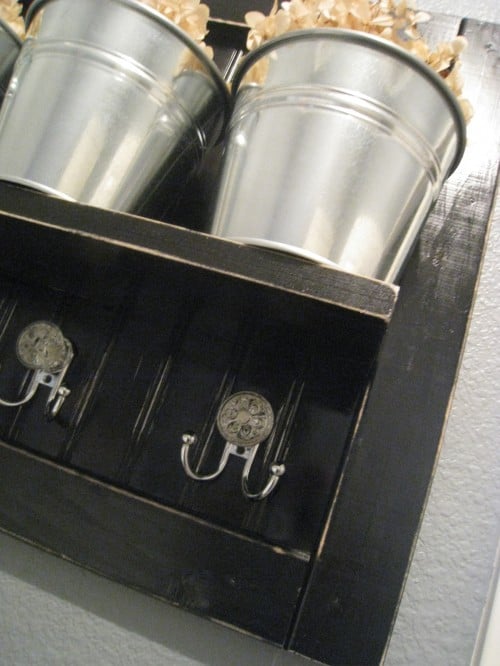
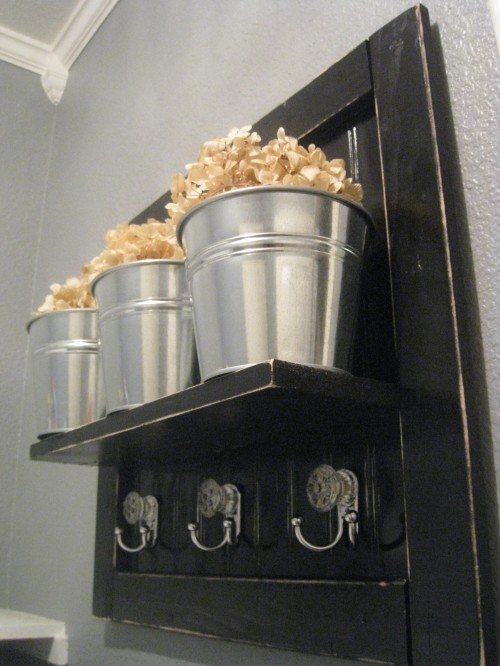
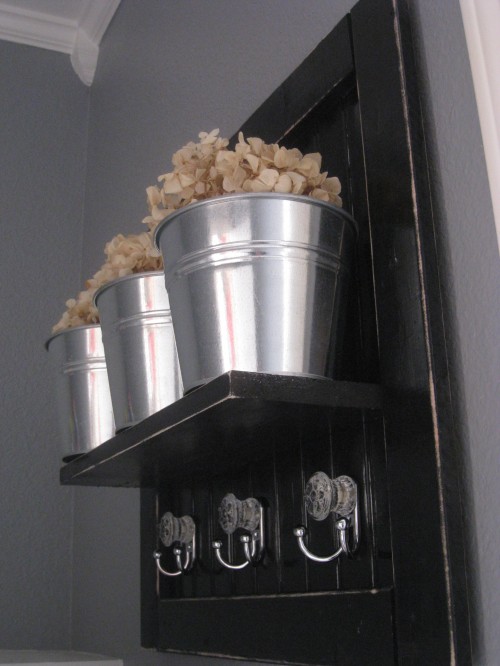
I found these super cute glass knobs at Hobby Lobby (50% off of course;)
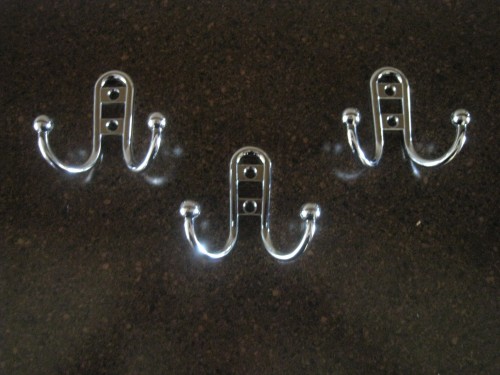
and paired them with these pretty hooks from Home Depot.
I pre drilled holes for the hooks
and put the knobs through the top holes on the hooks then secured them on the back.
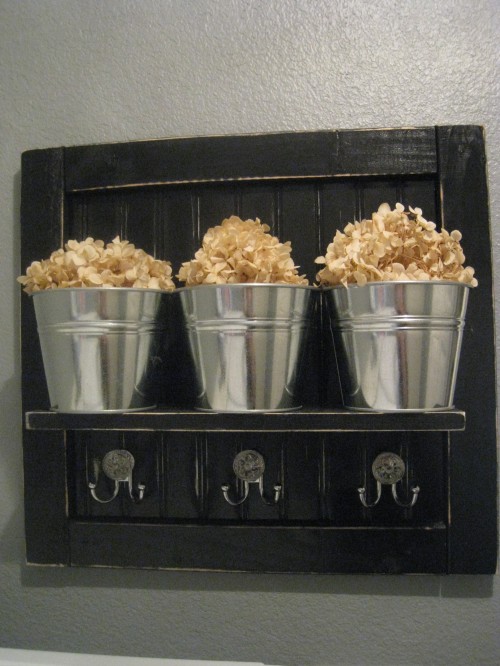
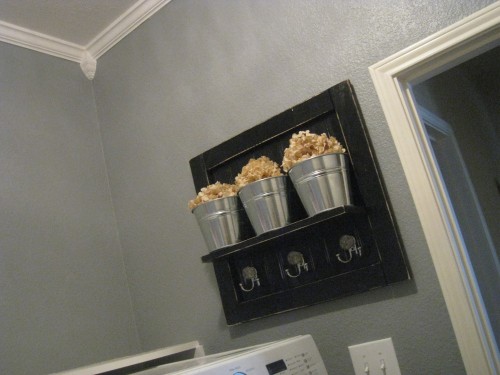
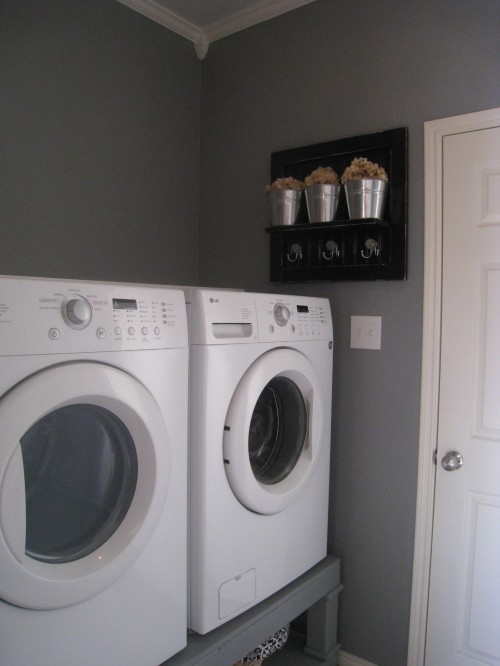
I attached it to the wall, added the metal buckets (purchased at Ikea for $1 each) and filled them with dried hydrangea.
That was it! Time invested was about 1 hour and money invested was about $15! LOVE:)
Thanks so much for stopping by and Happy Friday!
~Ashley
I’m really diggin this shelf and the fact that you say it was from your wood pile is so super cool! I know I’m about 5 years late, but better than never.
Um, my key holder just realized it is the fat friend.
This looks perfect on your wall! How creative to combine the hooks and the knobs, I never would have thought to do that!
I made this a little smaller than yours (16″ shelf) to accomodate my smaller pails but it still came out lovely. Thanks so much for the tutorial!
I love this project! Gorilla Glue? AWESOME! I would never have guessed it!
Hello, new
follower here! I would love to have you link up with my Clever Chicks Blog Hop
this week!
http://www.the-chicken-chick.com/2012/09/clever-chicks-blog-hop-2-featured-post.html
I hope to
see you there!
Cheers!
Kathy
The Chicken
Chick
Girl, that is so cute!!!
I just found your blog, I noticed that your washer and dryer are on a short platform; I’m assuming that you made it, can you post about that or send me pics… I need to unstack mine and use my limited space better. Thanks.
Cute! I am super excited to try something like this in my home. I must hand it to the two of you girls, you both come up with the cutest ideas. I need to get creative. Thanks for the really awesome idea.
What are the measurements for your wood pieces?
Hi Amy,
The main piece is 23.5″ wide by 21.5″ long. The shelf is 18 3/4″ long:)
Sent from my iPad
Thanks so much!!! 🙂
Stunning! I absolutely love this and I’ll make it! Very clever!! Thanks so much for sharing this!
This is such a great idea! I love how you dressed up the hooks with the knobs. Very creative. Love everything about it!
Love this!! I am working on my hook project now with chalkboard paint 🙂 Great for the kids and their “Stuff”! Love the buckets…
Lina
Fancy Frugal Life
This is fantastic! Love it! Will definitely try this one – Pinning on my Pinterest!
Kathy
Thank you Kathy!!!!
This is such a great idea! Our beloved IKEA secretary desk finally met its maker and I’ve been looking for something to use the remaining wood for. This project looks perfect!
Great idea Diana!!!! Love recycling old pieces:)
Wow what a great project from scraps.
I love it.
Thank you June!
Hey Girls!!! Here is my post on the board I made!!! Thanks again soooo much for the great inspiration!!!
http://gatheredinthekitchen.com/2011/07/26/shelfhook-board-decor/
I am going to be here all the time, that is sooo cool!!!
wow i luv luv this you make it so easy to make..
I’ll be honored for you to join our linking party every Wednesday at
http://www.passionatelyartistic.com/2011/07/american-pickers-with-linking-party.html
Have a fabulous week,
Maggie
http://passionatelyartistic.com
Thank you Maggie;)
This is so cute. I love the combo of the glass knobs and the hooks. I don’t thing I would have thought of that on my own. It adds just the right amount of sparkle to the whole thing.
Thank you Lynn!
Very creative! I love how you added the hooks, knobs and shelf. Nice work!
Pam
Thanks Pam;)
Looks sharp! Nice and functional yet has presence to it!
Thanks so much Kelee!!
This is SO cute! I would love something like this in our little entryway… I just might have to try this project! Thanks for sharing!
Thank you Emily! Please share if you make one:)))
Love that project! Super cute and creative!
Thanks Steph!!!
Very cute! You always have the best ideas!
http://lifeofasoutherncouple.blogspot.com/
Aw thank you Brittany;)
so cute!! what were your dimensions? I already went and bought supplies to make one! Thanks for such a great project.. love it!
I’m sorry it has taken me a while to get back to you on this Heidi! My deminsions were 23″ wide by 21″ tall. Random measurements because I just held it up to my wall and marked it;)
Very good! I love everything about that, especially the little tins:)
Thank you Brooke!!!
Oh boy! I just went out to buy some extra wood to make two of these! I can’t wait!!!
It turned out great Stephanie! Thanks for sharing!
That is seriously crafty! Where do you come up with these ideas??!!
Aw thank you Gina:)))
This would be great by my backdoor! Thank you!
Please share yours with us when you finish it Laura!!!
Very cute! Great idea.
Thank you Korrie!
Adorable! Thanks for the tute!
Susan
Thank you Susan!
I not only love your creativity but also that you are budget savvy!
Thank you for sharing your talents and gifts with us!
Thank you so much Reyna!
Looks wonderful!
Thank you Amanda!!!
I love this!!! You girls are sooo creative!
That is awesome!! And so great that you found the perfect spot for it. Go you!=) http://bellesbazaar-heather.blogspot.com
Thank you Heather:)))
Okay I was about to do the mason jar key holder but now which one do I do? Both are too cute. Love!!
Why not both;))) Thank you Bronna!
What a great idea! I’m going to use my handy dandy PINK tools and make a long one for the bathroom! Thank you!
Love the pink tools!!! Thank you Joanie:))
Can I borrow just a little bit of your creativity? I’m asking nicely. 🙂 You girls are awesome! Camille
LOl! Thank you Camille;)))