Hi there new friends! Rayan from The Design Confidential here to visit with you, and share this super quick and fun little project. I hope you guys enjoyed it, and If you would like to see a bit more of what I do, I would love for you to visit my site and hang out with us! There are HUNDREDS of free woodworking plans, DIY decor projects of every variety, crafts, and lot’s of design inspiration along the way! Hop on over, and stay a while!
This is me, just so we can put a face with a name…afterall we are about to break a sweat together and being sweaty strangers would be weird right?

Let’s get started shall we?
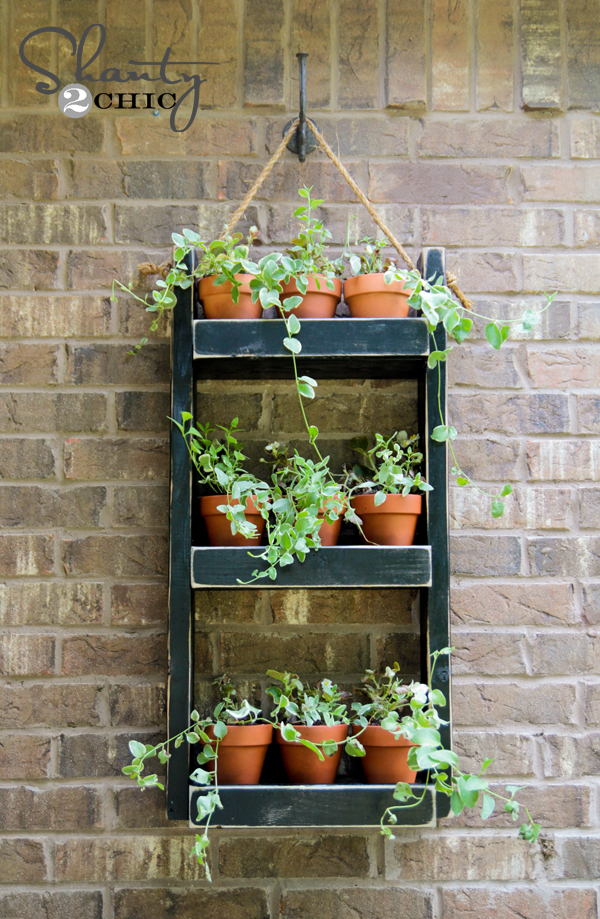
This project took me about 30 minutes to complete…that’s it! And 20 of those 30 minutes was spent letting the glue dry while I chatted with some fine friends on Facebook and Google+! Can I get a yahoo? It’s really that simple, and very inexpensive of course, not to mention the possible uses this baby has, are utterly endless! I urge you to take a peak a the original inspiration for this piece to see how they have used it. Pretty cool over that table…
I decided to use this fine specimen as a fabric storage ladder since space is at a premium in my very small office craft space. The problem I have in this room in particular is that it serves a great many needs without having a great amount of space to do it! Having a place to hang my fabric for upcoming projects is crucial and inspiring since seeing it helps me remember to do those projects and gets those creative juices flowing!
In similar fashion to my craft paints and glitter (I am still a gal after all…and I love me some glitter…), having them on display in color coded order is fabulous for my crazy obsessive mind! It’s orderly and beautiful all at the same time!

For the rest of you, this project would be a fabulous addition to any home decor with a rustic reclaimed finish, especially this time of year (it’s Fall in case you missed it)! Can’t you see this with pumpkins all around, corn stalks and scare crows… ah, decor bliss I tell you!
Estimated Cost: Under $25
Tools:
Saw – optional, unless you have your local lumber supply make cuts for you.
Drill
1″ Spade Bit or Hole Saw Bit.
Lumber:
Saw – optional, unless you have your local lumber supply make cuts for you.
Drill
1″ Spade Bit or Hole Saw Bit.
Materials:
Wood Glue
Sanding Supplies
Finishing Supplies
Safety Gear
Cut List:
2 – 2×3 at 7′
5 – 1″ dowel at 15 1/2″
Instructions:
Before beginning to build, always check in on my site (The Design Confidential: Rustic Ladder Prop)to make sure you have the most up to date set of plans, I occasionally update and change the plans to make the building process easier or to allow for less expensive purchasing of materials!
Read through the entire set of instructions and all comments before beginning this project. If you are new to building, read through the GETTING STARTED section and other articles found under the TIPS AND TRICKS page on my site, there is valuable information about how to get started, tools and techniques. If you are unfamiliar with the finishing process, visit my Finishing School for some tips and tricks for painting like a pro and for special finishing practices.
Adhere to all safety standards and guidelines, and be sure you follow safety protocol throughout your build. If you are unsure about whether you are building safely, run a quick online search for the tool or technique you are using, or contact me via email or post to the forum before you move ahead. My contact info can be found in the menu of my site.
Step 1:
Cut your ladder legs and rungs: The legs should be 7′ and the rungs (dowels) should be 15 1/2″ each and you will need 5 of those!

Step 2:
Mark and Drill Your Legs: Starting at the top (or bottom) of your legs, mark out 14″ increments. It divides evenly with 7′ so it should work out perfectly. Mark not only at 14″ but also the middle of each board width so that you know where to drill your holes!
Tape off your Spade Bit (this is the type I used below and I used blue painter’s tape to mark it) or Hole Saw bit, at about 1/2″ from the bottom of the flat part on a spade bit (not the bottom point) and 1/2″ up from the edge of a hole saw bit. The tape will tell you when to stop drilling so that your hole is only 1/2″ deep.
I personally enjoy the spade bit a tad more as I feel like it cuts better and faster, but this is just personal preference, and either will do the job.


Step 3:
Once all of your hole pairs are drilled, you can put a bit of glue in each hole down one board. Pop in your rungs, they should fit perfectly, and then place a drop of glue down the other board in each hole and set that baby right on top of the rungs and lower leg. This should help you put enough weight on the lower leg and rungs and of course the top leg will be supplying it’s on weight.
Carefully let it sit like this, or even clamp it (I didn’t) and let the glue set up for 20 minutes or so

Step 4:
That’s it, you are done! Finish however you prefer. I used a driftwood colored stain on mine, and left all of the markings that were already there. I am not in love with it just yet, and pretty sure it needs a good sanding and another color of stain to really look reclaimed. But, it works for now!

I hope you guys enjoyed this and might even give it a try! If you do I would love to see some pictures so I can share them with my readers as well! Yay!
Take Care, and thanks so much for having me!


Thanks girls! So glad you liked this easy tutorial! I love the idea of it for towels too, so many amazing uses! I recently visted my local PB store and saw they had 3 of these lashed together forming a little indoor arbor, with fall leaves and branches woven throughout it! it was amazing! now I’m thinking about building 2 more for a little indoor fall decor too! yay
Love it., cant wait to check out your blog.. thanks for sharing how you made this ladder. Going to check out your original inspiration too.
Thanks for the tutorial! I’ve been on the prowl for an old ladder to use in my bathroom for towels…now I can make my own. 😉
Such a great tutorial! I might just have a place for one of these when I move! Thanks for sharing! : )
i have one of those laundry organizer frames! Great idea! Love the tutorial!
Kathy