Hey friends!
My girls have been begging for a memo board ever since I made their brother’s memo board a few months back. I love how easy his is to use, and also that it doesn’t leave thumbtacks or magnets laying around for the babies to snack on 😉
I altered theirs just a bit, and I love it!
This was so simple to make!! I did it during naptime today!
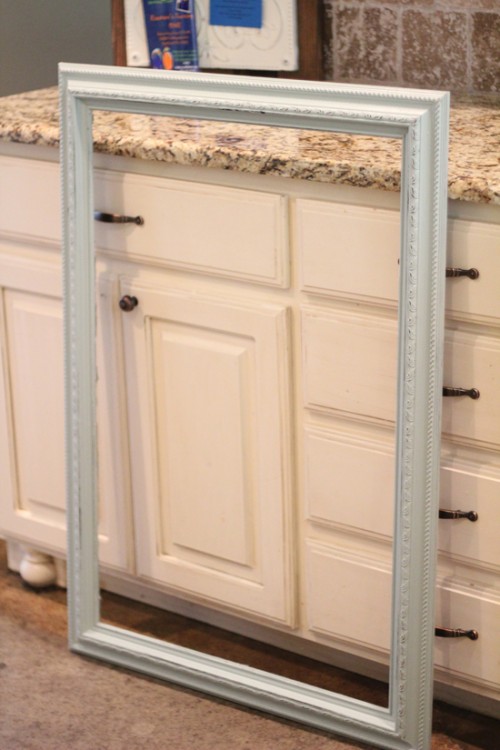
First, you will need an empty frame. I have had mine sitting in the garage for years (literally), but you can also find them at Hobby Lobby, Michael’s or Joann’s on clearance. Goodwill is a great place to look also!
Here is mine before…
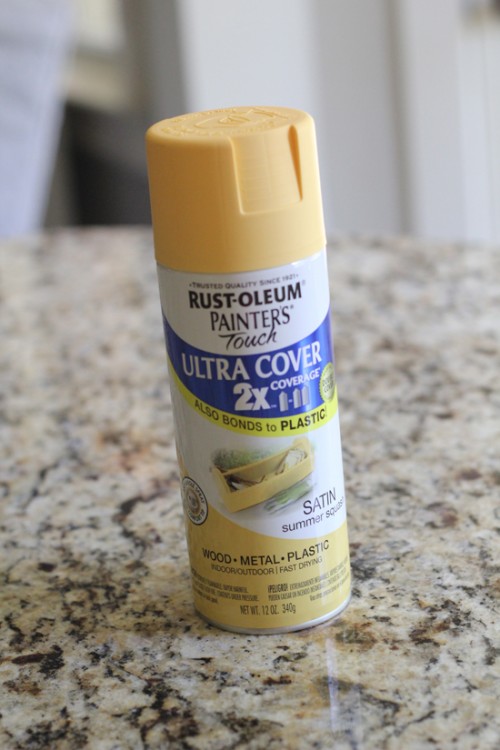
I gave it a coat of Rust-Oleum Painter’s Touch in Summer Squash… The perfect yellow!
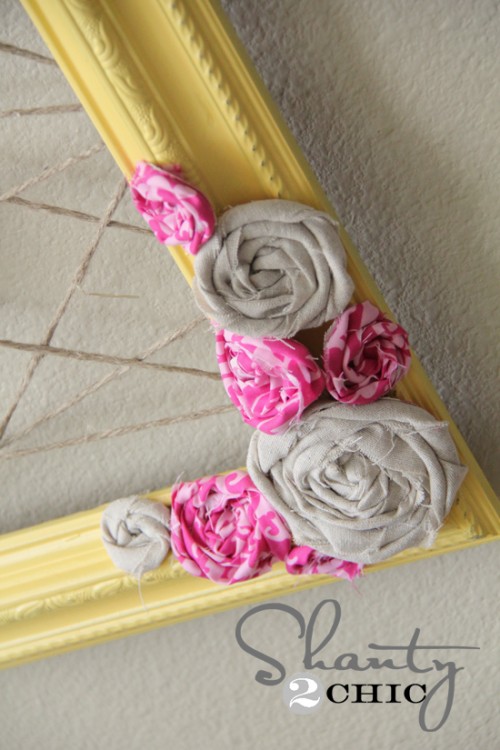
While that was drying, I started on my flowers. You know… if there is an empty space anywhere I like to put a rosette on it ;-)! That’s just how I roll! You can see my tutorial on these HERE.
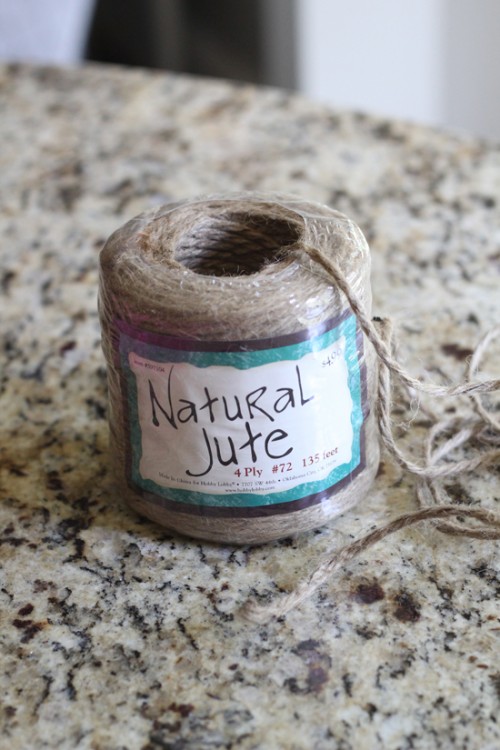
After the frame dried I started adding my twine. This is the twine I used from Hobby Lobby. It’s thick and I love it!
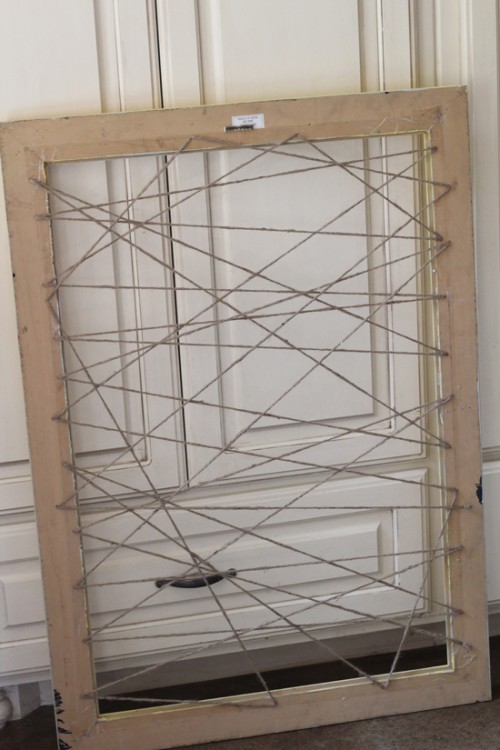
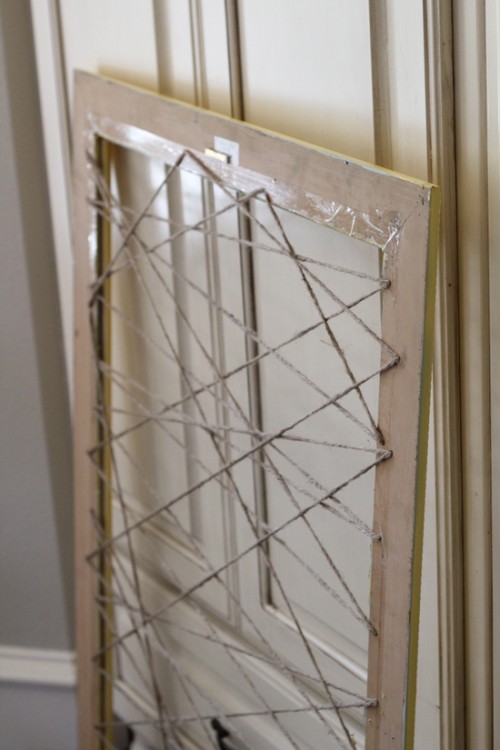
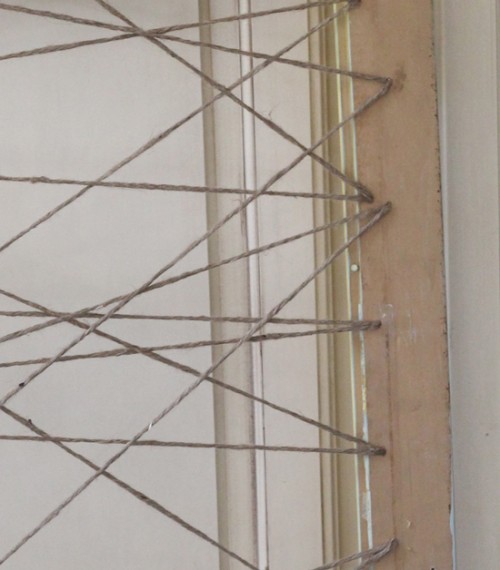
I used my staple gun to attach it to the back in one continuous piece. There was no measuring or planning at all to this part… Just the good ol’ eyeball.
Staple guns are super cheap. I think every woman should own one. Between that and a hot glue gun, you can craft just about anything! Promise! I got mine at Lowe’s.
Here is the back of my frame…
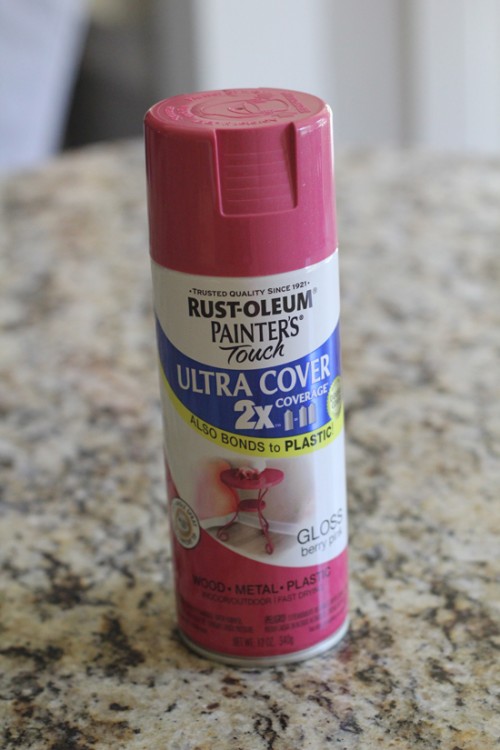
I hot glued my flowers to the front after this step. I also found this cute hook at Hobby Lobby. I gave it a good coat of another Rust-Oleum Painter’s Touch color…
Berry Pink… So cute!
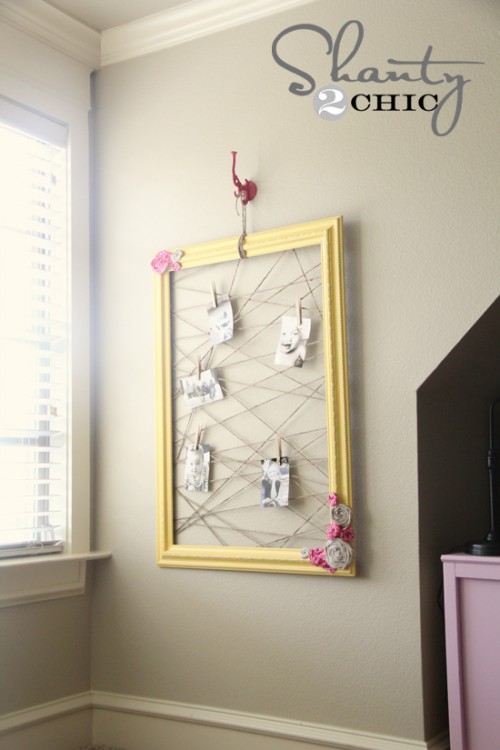
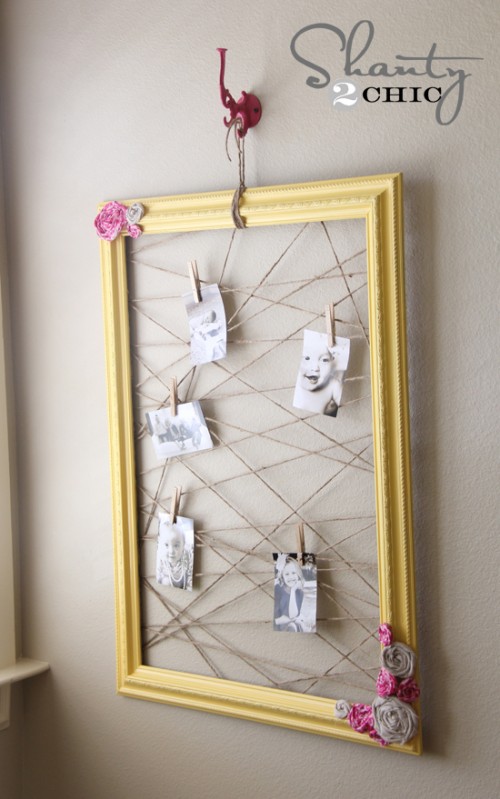
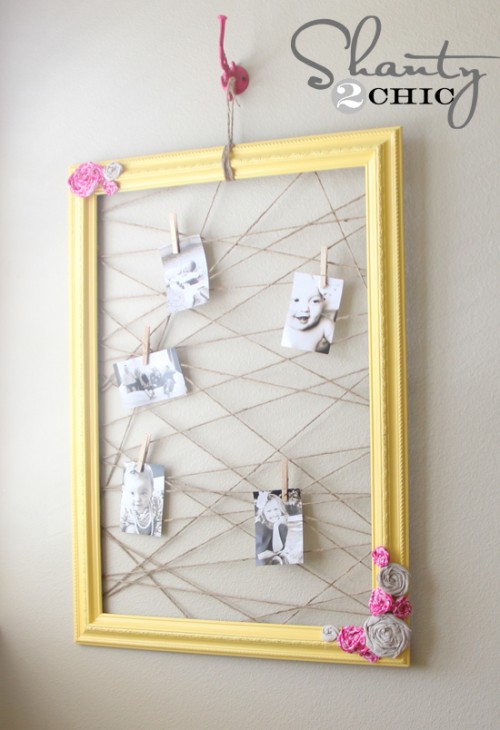
I hung the hook on the wall, wrapped some twine around the top of the frame to hold it and I was done. I used wood clothespins for the pictures. Simple!
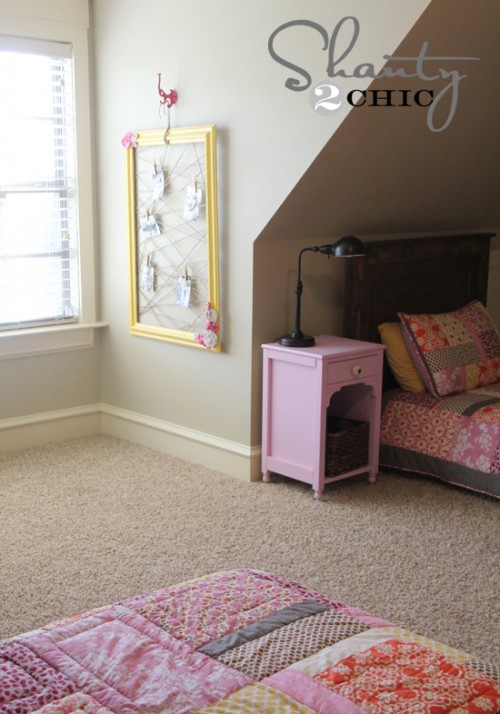
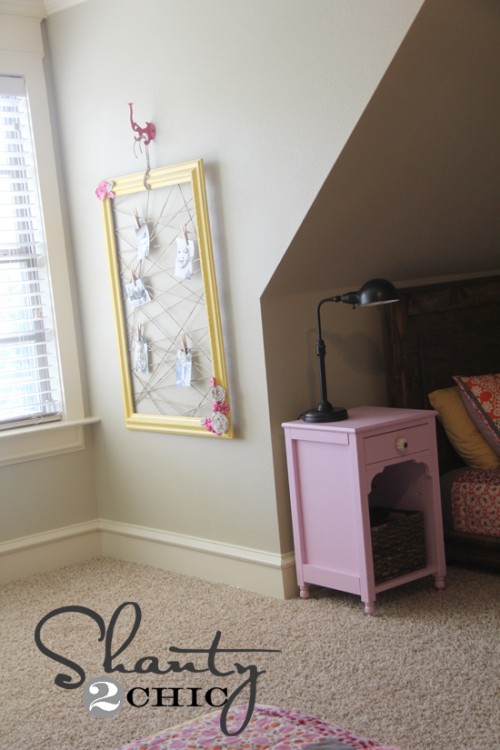
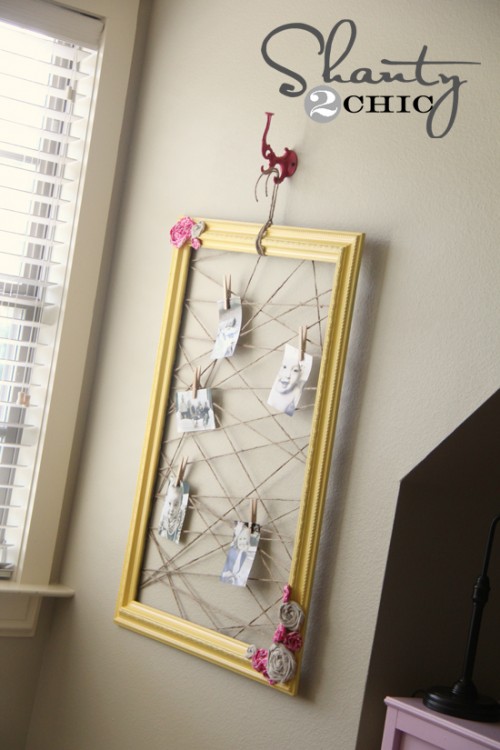
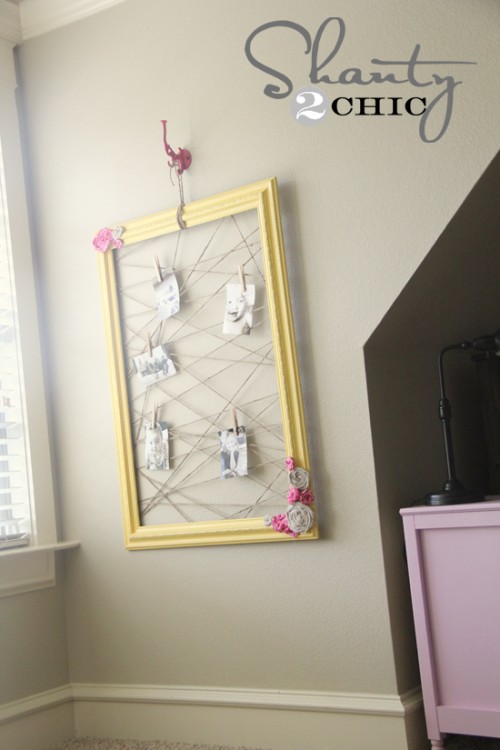
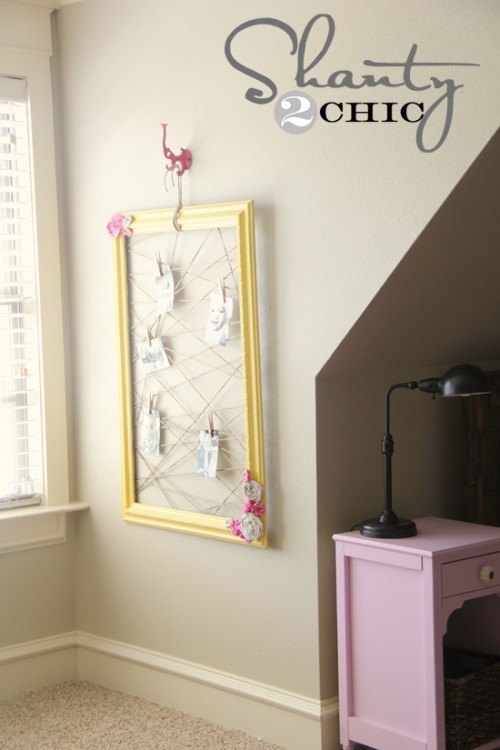
With the free frame I made this entire project for almost nothing! And my girlies love it! Of course in a few days it will be covered with lots of other goodies, but for now I added a few shots of the kids to share it with you!
Hope you like it as much as they do! It’s a fun little addition to their room that cost me very little time and even less money… Woohoo!
I would love for you to Pin my memo frame below and share the love 😉
Thanks so much for stopping by! Have a great night!!





Thank you— this is so cute!! I made my daughter one today.
New reader……brilliant !!!!
let me count the ways I love this!!!!!!
Love, love, love this project…..and I am going to get a couple of these items because they would make great Christmas gifts. What a great idea!!!!!! I have all kinds of notes taped to my computer desk…..and even some stacked under my keyboard. This would be a neat thing for me to have. Thank you!!!!!!
Love the frame…. But I love love love the night stand!!!!!!
Well done, I made a similar frame for displaying prints at a craft fair. But, yours is to die for with the cute little flowers.
That is great Jeran! I would love to see yours! I took a look at your blog and fell in LOVE with your dining room. So beautiful! I want that built in hutch soooo badly… Take care! 😉
I was just in the garage looking at my frames! this is a great idea! love the jute backing…thanks for the idea!
I printed photos off of my cousin’s online album and made this for her housewarming gift. I loved it so much I immediatley dug through my old frames and made myself one. Thanks for the idea!
Too adorable! I can’t help but to put on my copycat list. I’ll be sure to share & mention your the genius behind my inspiration.
Where did you get their adorable quilts for their bedspreads? Did you make these?? Their room is beautiful!
love it – so funny that you mention the stapler – I just bought one YESTERDAY – my hub has one but I wanted MY OWN! two peas in a pod – totally on the hunt for a frame now to whip one of these babies up! thanks so much for the great inspiration! xo
www.NorthernCottage.net
Cute idea… i’ve seen it with chicken wire… love the twine!
This is a very cute memo board and so easy to make. I love it. I just might have to borrow this idea!
hugs
Sissie
I love this and just realized this evening that my yardsale find picture that has been hanging in my bedroom for years is too big to fit over my new bed and the frame is too fab to just let it go, I am thinking Christmas though. White or silver and adding rosettes or something in the shape of christmas trees then displaying all my cards on it. Thanks, I LOVE LOVE LOVE this one!
Good thinking Mary!! I would love to see it when you get it finished! 🙂
Ooooo! I love that idea, too, for the Christmas tree in the frame for the cards!
Thanks for the fun tutorial! It’s very cute and totally doable in a short amount of time!
Cute! And you must share the secret to keeping the floor so clean! 🙂
Haha Jodi… You only see the floor in the picture ;-)!!