Hey friends!
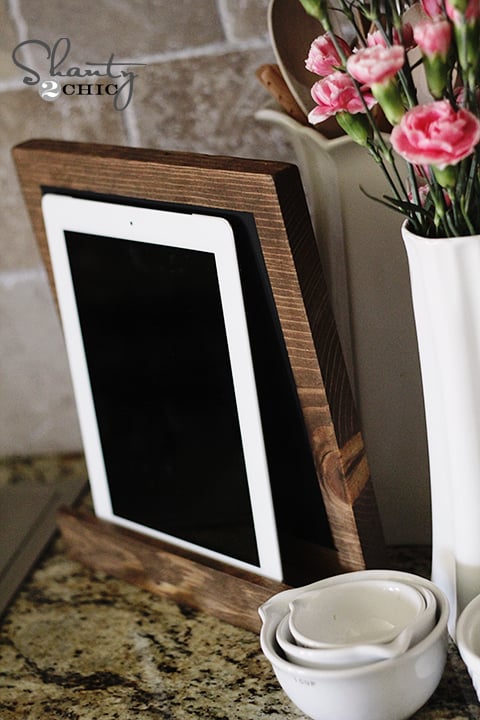
Happy Wednesday! How many of you cook recipes off your iPad like me?? I always have mine when I am cooking in the kitchen, and I was always having to lean it up against the candy jar or coffee maker which led me to create this little guy…
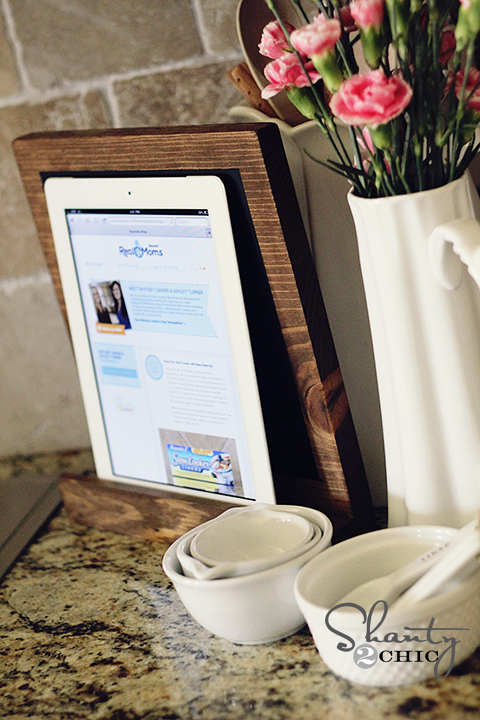
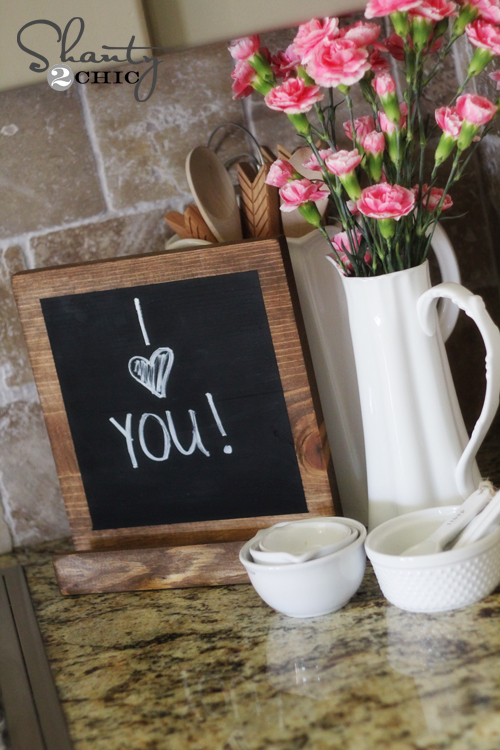
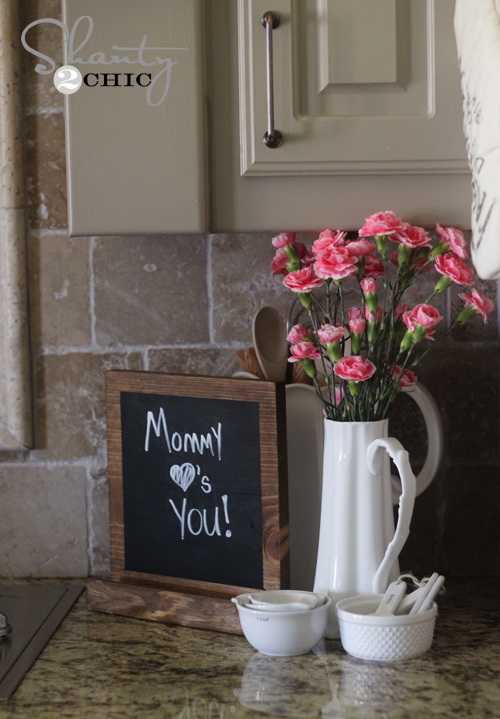
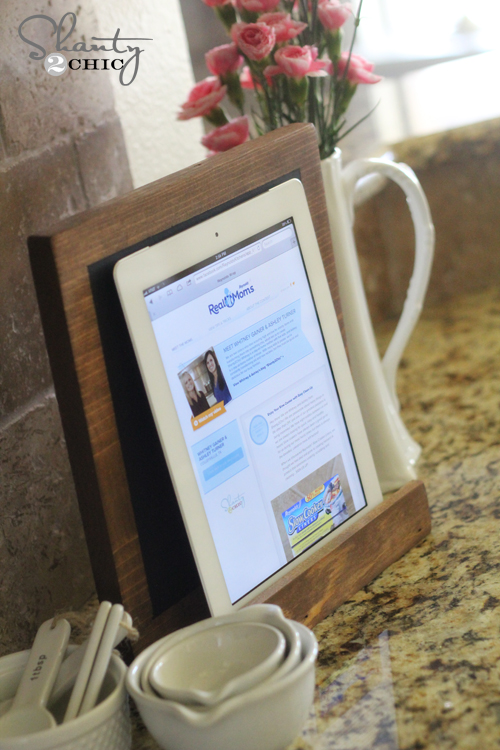
It’s my iPad display! It also doubles as a chalkboard when it isn’t holding my iPad for me…
This is SO simple to make!
Let’s make an iPad display!
This is a PERFECT beginner’s woodworking project! I had mine made during 1 naptime… Start to finish! Here is the wood you will need…
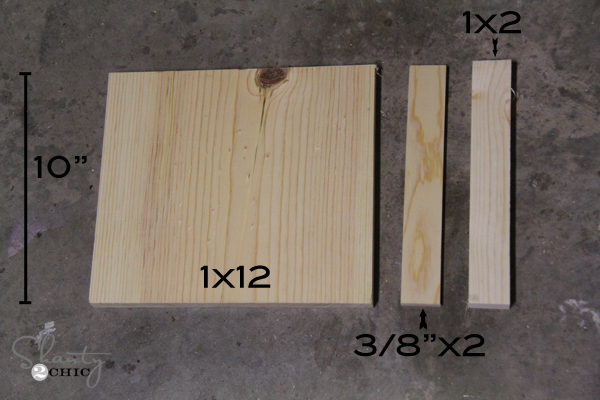
I used all whitewood or pine for my boards… They are the cheapest! You can buy these in 4′ pieces and that gives you enough wood to make 4 of these displays. It also makes each display cost under $3! You can make the other 3 as gifts for friends and teachers, or you can have your friends make one with you.
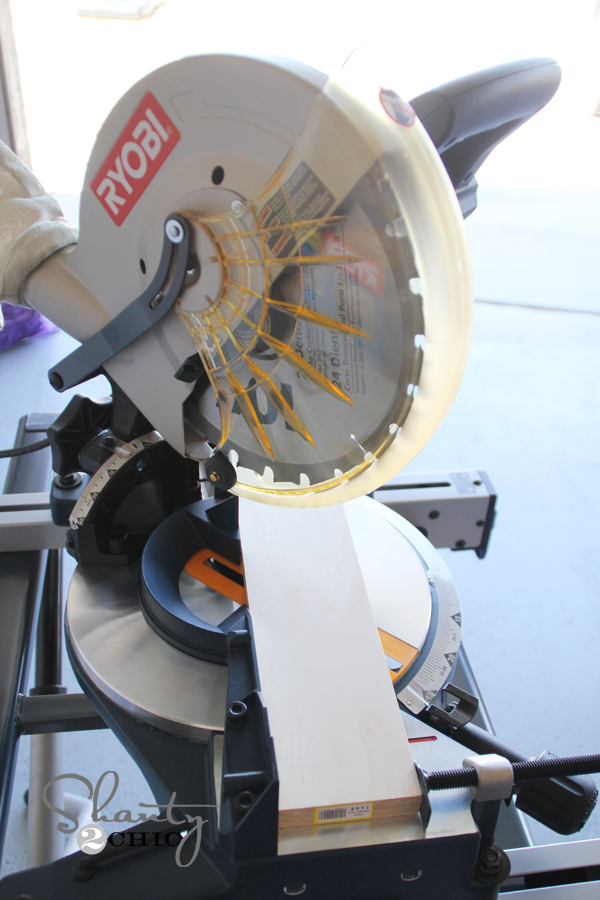
You will want all of your boards cut to 10″ pieces. Home Depot has a hand saw you can use in the store. You can also use a simple hand saw like this one…
Or… For those of you that are ready to make LOTS of Shanty projects, Ryobi has a great compound miter saw that doesn’t break the bank a bit!
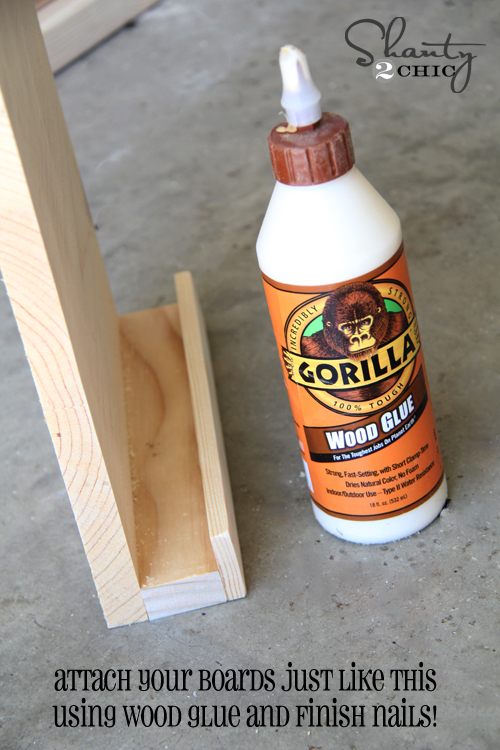
Now… Once your wood is cut you attach it very simply just like this!
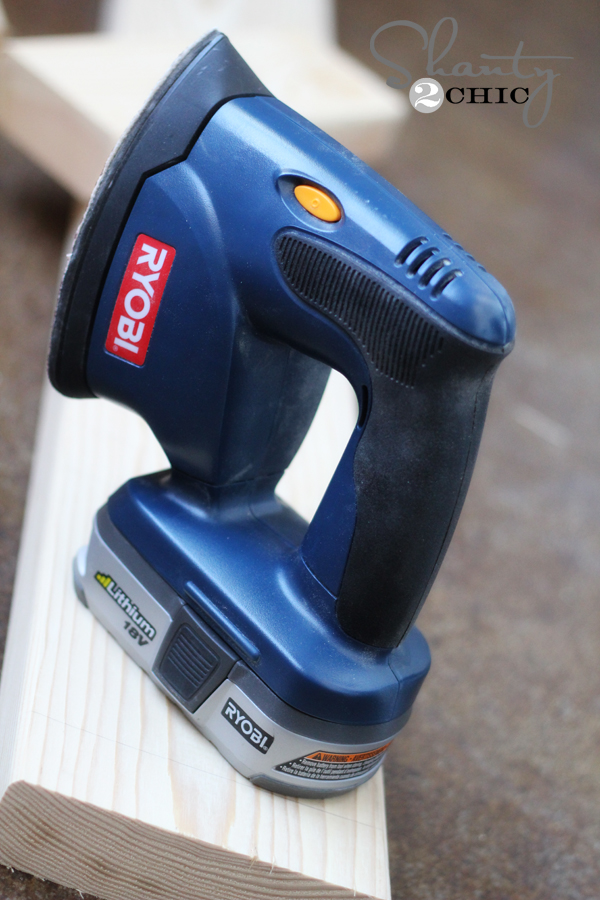
Before finishing mine, I decided to sand my corners and edges a bit. I love the finished look this gives just about anything. All of you need to get a Ryobi Corner Cat. This little guy is the bomb. It has become the only tool I sand with. It’s lightweight, easy to use and again… So cheap!
Once that was done, I gave the whole display a coat of my very fav…
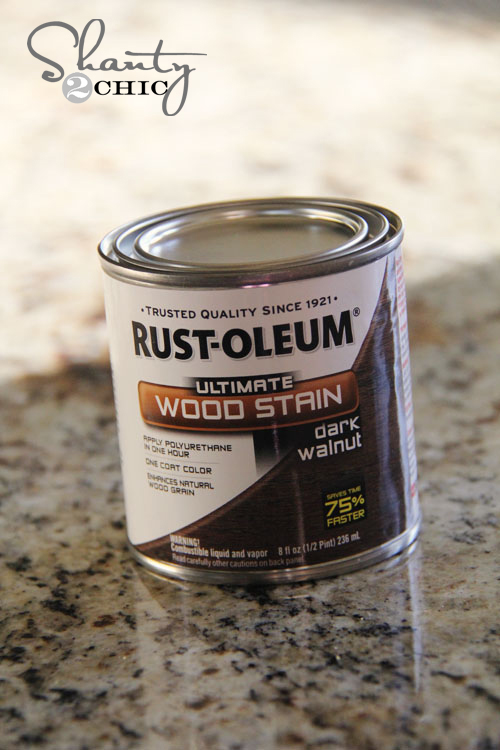
Rust-Oleum Ultimate Wood Stain in Dark Walnut
You can find it at Lowe’s!
After the stain dried (in under an hour baby) I taped a square off like this…
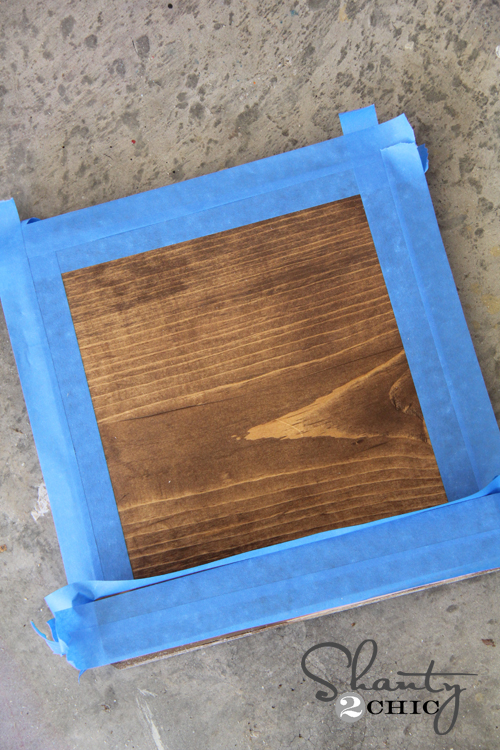
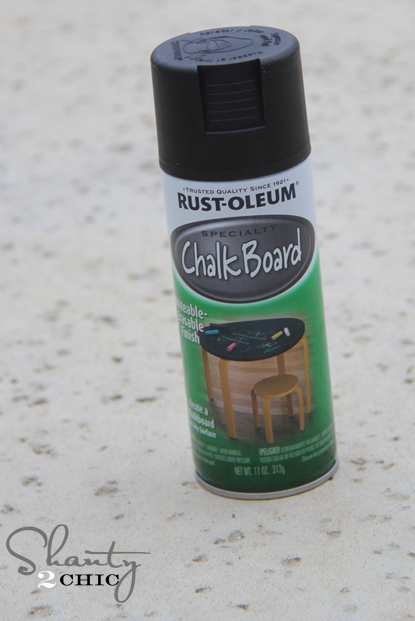
Now spray that square with 1-2 coats of this stuff…
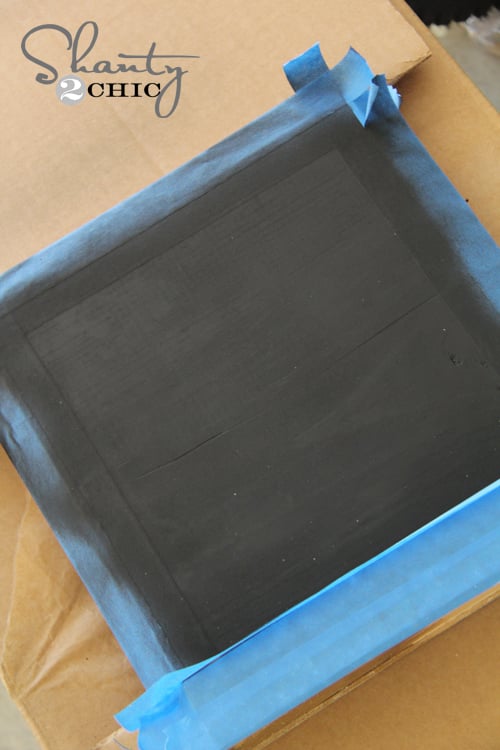
Once that dries you are set!
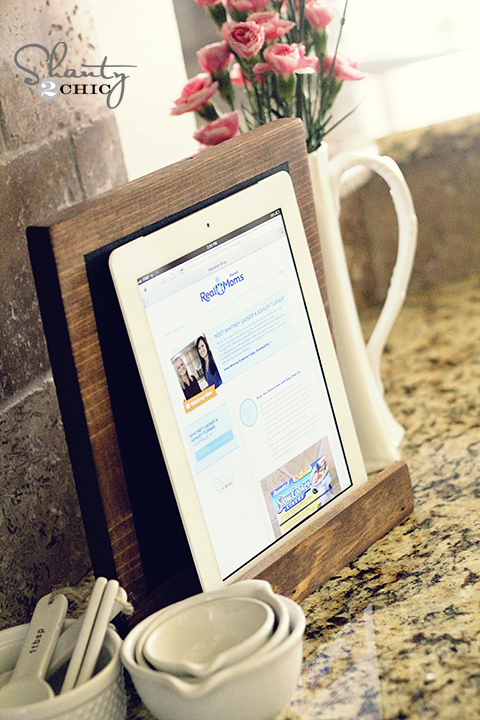
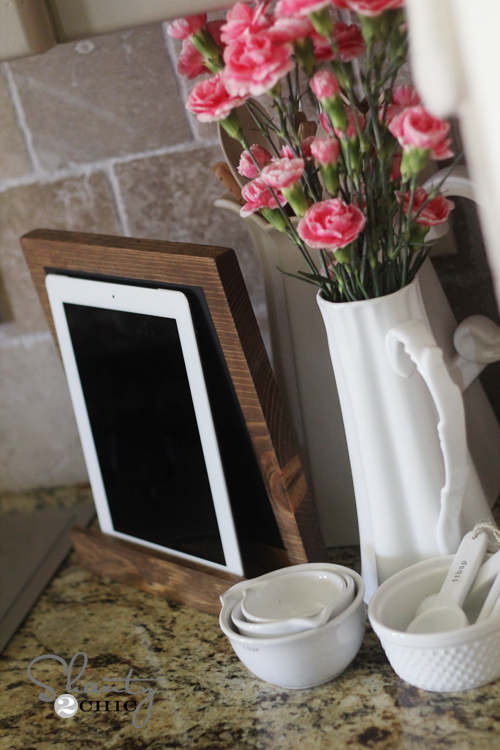
Here is mine in my kitchen…
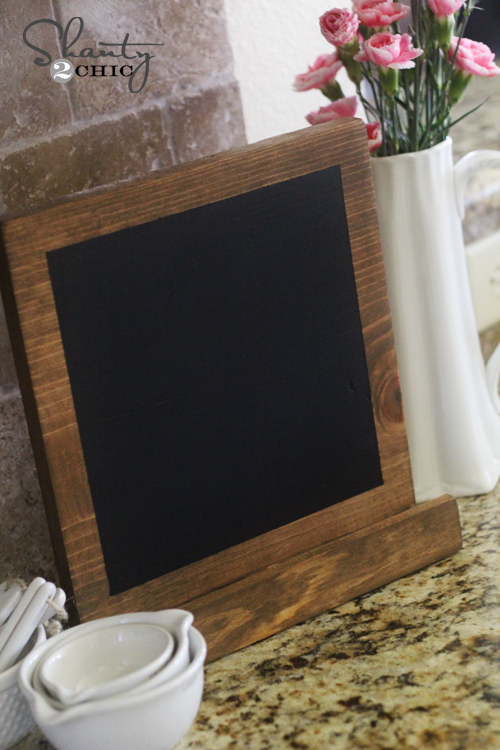
I can set it just about anywhere I need it…
Do you guys like my subliminal hint above to go vote for Shanty?? 😉
Hope you guys love it! I have already put mine to use quite a bit! Oh… And did I mention you can make these for $3 a piece? Yah. That makes me love it even more!
Thanks so much for stopping by! I would love for you to share this and PIN it below.
Have an awesome Wednesday! Thanks again!
~Whitney


Hello.This post was really remarkable, especially since I waas searching
for thoughts on this topic last week.
I thhink this internet site has got very superb composed articles content.
Thanks foor sharing your thoughts on wooden ipad holder.
Regards
What is the easiest way to get a 3/8″ x 2″ x 10″ board? Like someone else mentioned, the board we buy for this project is 1″ thick. What tools to use or do you buy a separate piece?
a 5 gallon paint stick cut to length should do the trick…….
You are actually buying 3 boards: a 1″ x 10″(the back), a 3/8″ x 2″(the front), and a 1″ x 2″(the bottom)
Maybe a silly question here but where did you find a board 3/8″ x 2″? Is this in the lumber or is this trim work? I have checked HD’s site and see nothing. 3/8″ is the thickness, correct? Is this the actual thickness or the measured thickness?
Thank you so much for any insight you can give me.
You’ve probably figured it out by now, but I think 3/8″ may be a plywood size, so she may have used plywood scraps for that. A 1×2 should work too, just be chunkier.
search for a lath….no “e” as in lathe
also, paint stirrer sticks should work
Love your stand. I mentioned it on my blog!
Check it out here: http://laurmelashouse.blogspot.com/2013/04/a-stand-for-ipad.html
Toodles,
Laura
Amazing idea!! Finally got the hubby to walk/guide me trough Home Depot and Lowe’s. I was as excited as when im at a MAC Makeup Store! IM currently working on this project as well as the Bathroom Towel Hooks.. Thank you!
I would love to give this a try, but I am a complete newbie and have an iPad mini. How would I need to change up the dimensions? Thanks!
This is genius! I’m going to make one for sure!
Yay for rustoleum! Great idea for the spray chalkboard paint!
This is another fantastic idea!!! I love the simplicity and functionality, not to mention it is so cute!
Thank you so much Wendy! I appreciate it! 🙂
Now this………LOVE LOVE LOVE!!!!!!!!!
So glad! Thank you so much for your sweet comment!
You could also modify this slightly to double as a recipe book holder. Maybe make the ledge slightly deeper? Thanks!
Good thinking Kelle! Send me a pic if you get one done!