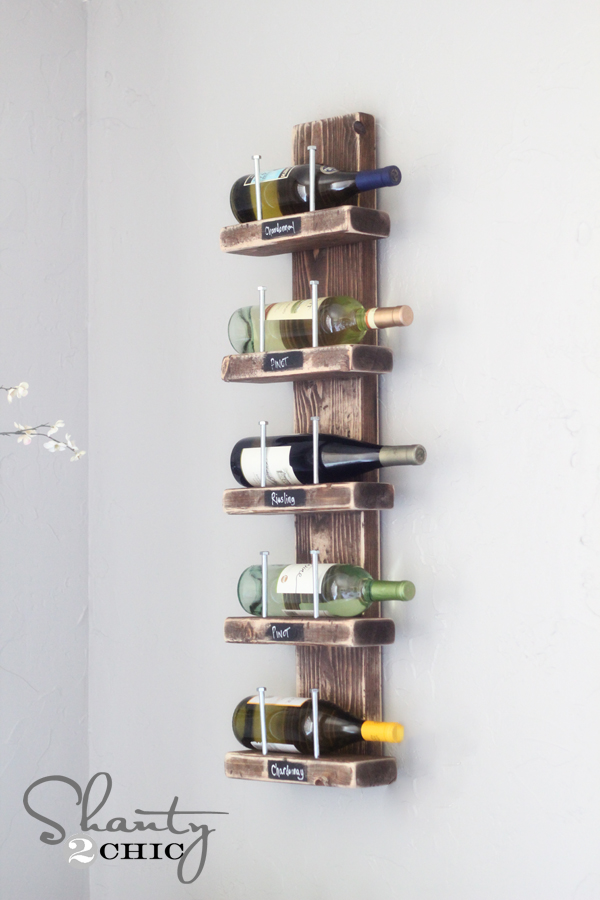
Hey guys! We love a quick and cheap project and this Wine Rack – DIY might be a Shanty Fave!

Today we will be showing you all how to make this simple rustic chic wine rack for under $15. Can’t beat that!
Here are the supplies you will need for this project…
1 – 2×6 cut at 38″
5 – 2×4 cut at 10″
10 – 5/16 x 4 1/2″ hex bolts (we found ours on the hardware aisle for $.38 a piece)
10 – 2 1/2″ wood screws
wood glue
finishing supplies
Now let’s get started!
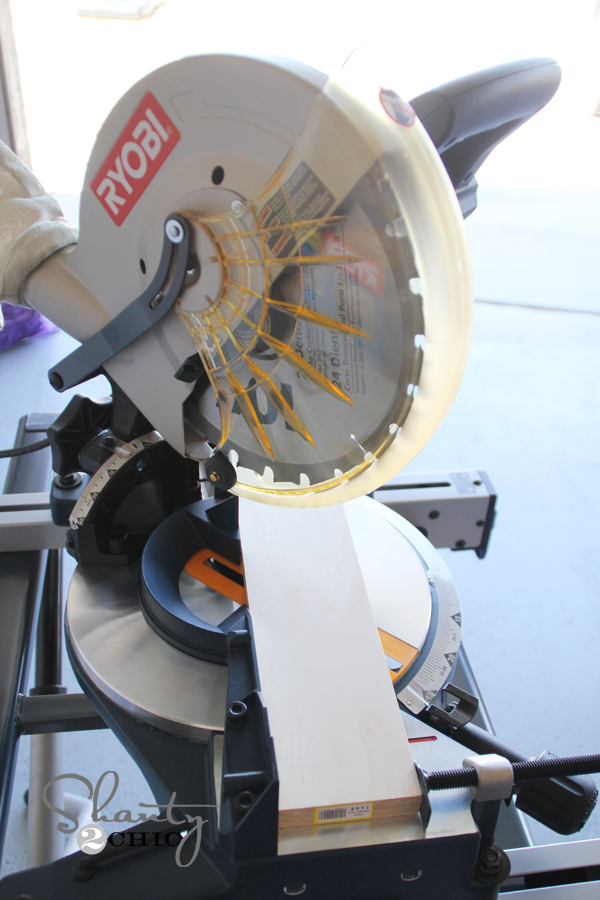
We used our miter saw to make all the cuts. This saw makes it simple and quick! We had them done in no time!
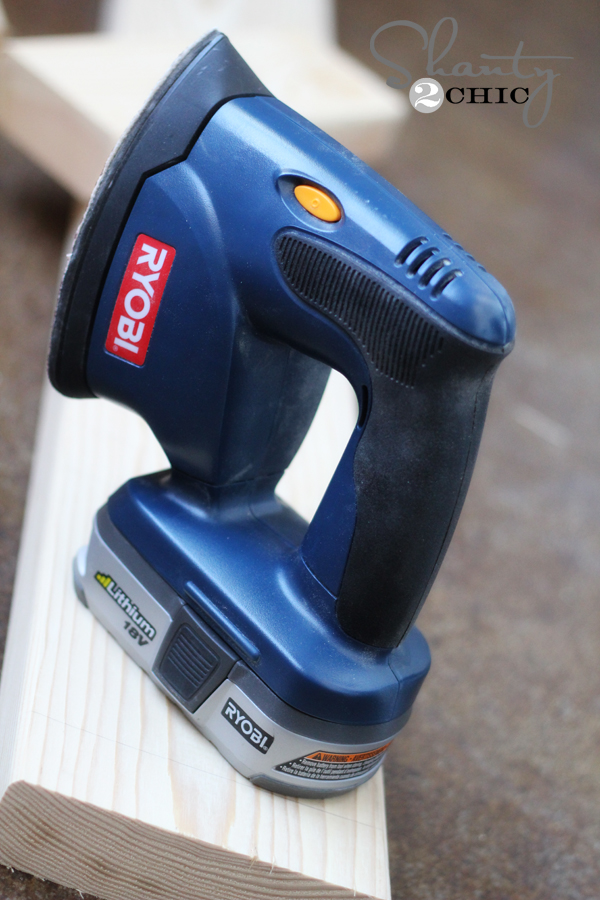
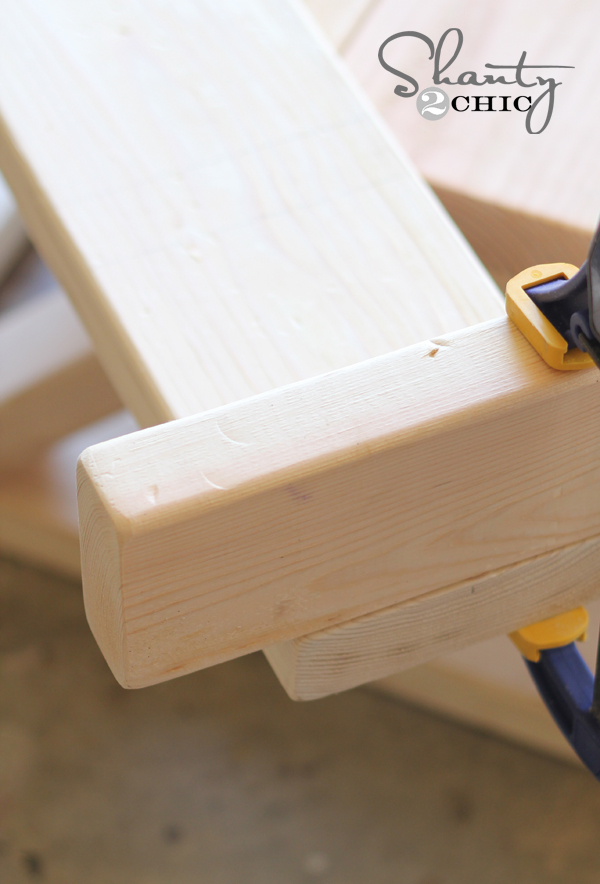
Before attaching all of our pieces, we like to sand all of our corners and edges down a bit with my corner cat sander. We love the look it gives the finished piece! We use it all the time and it’s perfect for this job.
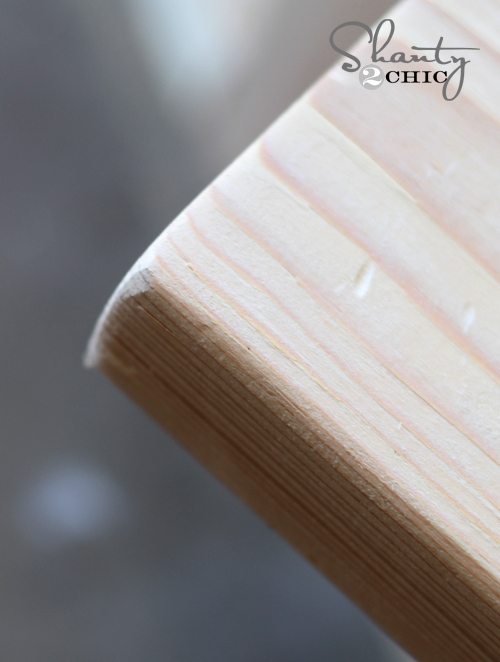
This is what the edges look like after we finished sanding.
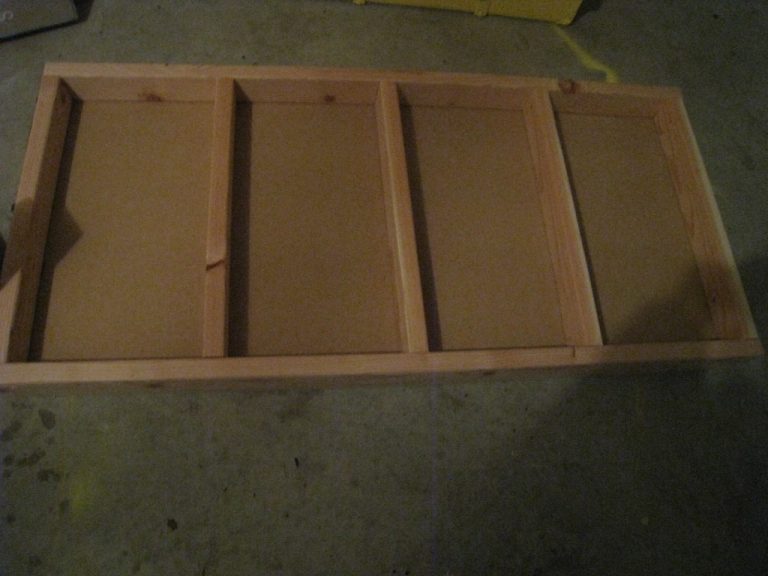
We started by marking our 2×6 board. Then we lined up our 2×4 piece every 6″ and marked lines on the bottom and top of the 2×4. We did this to both sides of the 2×6 board.

Before attaching our 2×4’s to our 2×6, we put 2 holes in the top and front of each 10″ piece. You want them really close to the front. Ours are about 1/4″ from the edge.
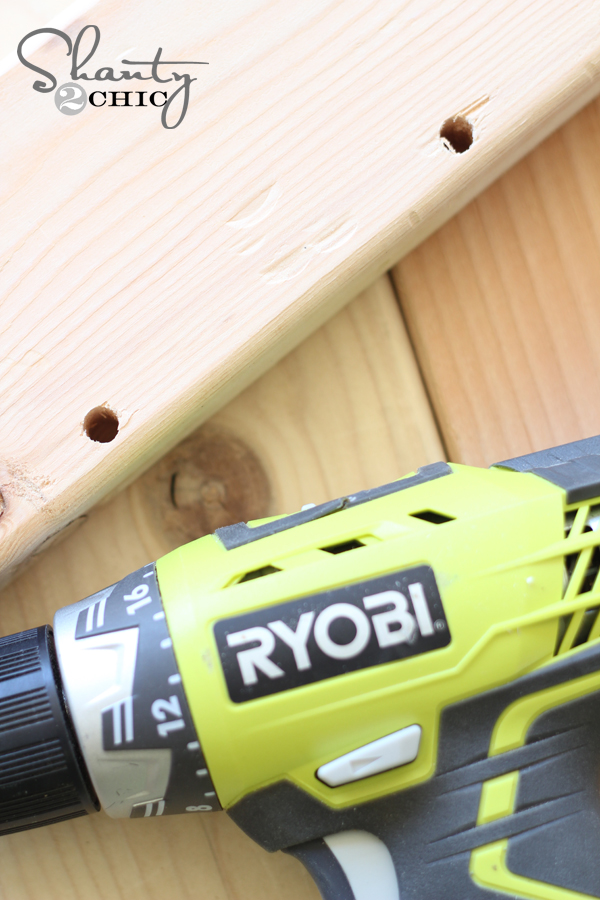
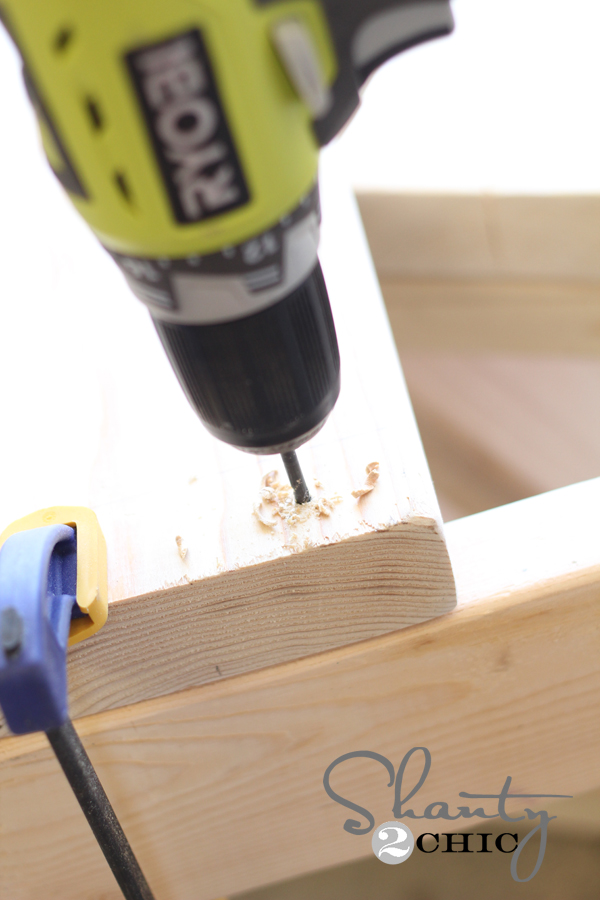
We used our cordless drill for this part! This is hands down our favorite drill we have ever used! It has so many cool features that set it apart from others, and it’s lightweight.
Next, we added a line of Gorilla wood glue onto our 2×4 pieces and clamped them to the 2×6 where we made our marks. Easy!
We used our drill to pre-drill 2 small holes where each 2×4 piece would sit.
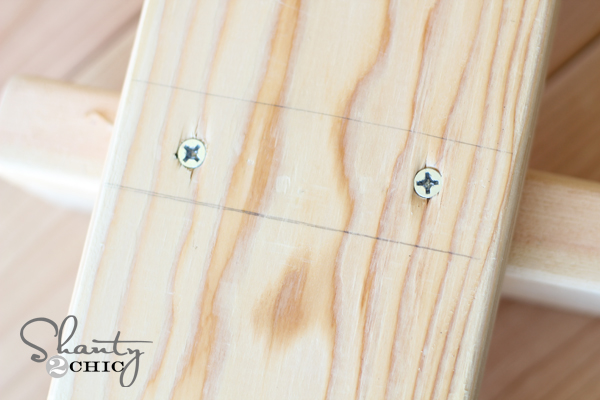
Now we used our drill to insert our wood screws through those holes. This is what the back of the 2×6 looks like where each 2×4 sits.
After we had all of our boards attached, we gave the whole piece a coat of our favorite…
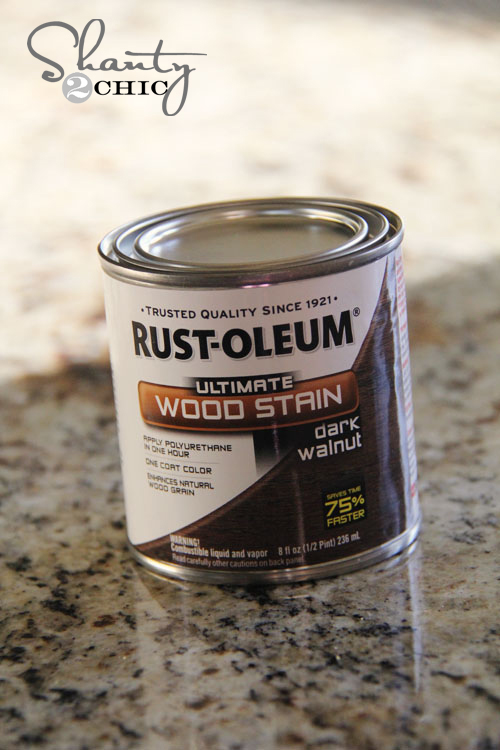
We use Dark Walnut Stain.
After it dried we went back over the edges and corners again with our Corner Cat to give it a worn finish. Love it!
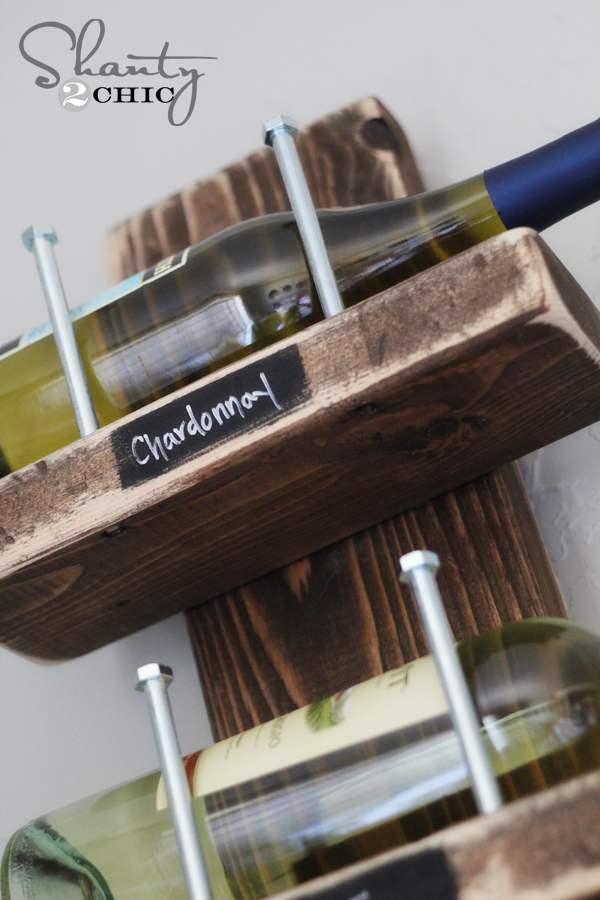
We decided to ‘shanty’ it up a bit by adding a small label on the front of each board using chalkboard spray paint. We just taped the area off with blue tape and spray painted the chalkboard paint on. Totally optional!
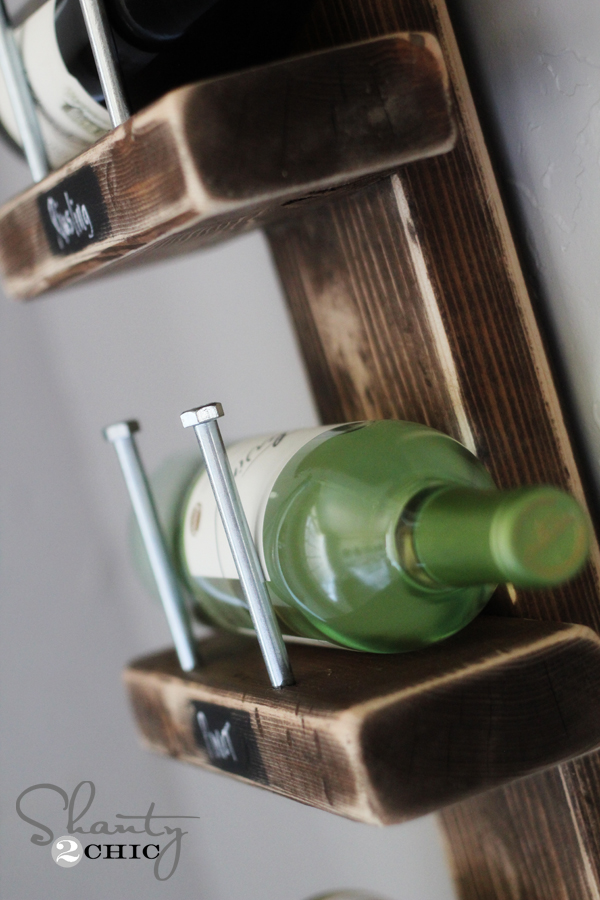
Our final step was adding our hex screws. Just insert 1 into each of the holes and you are set!
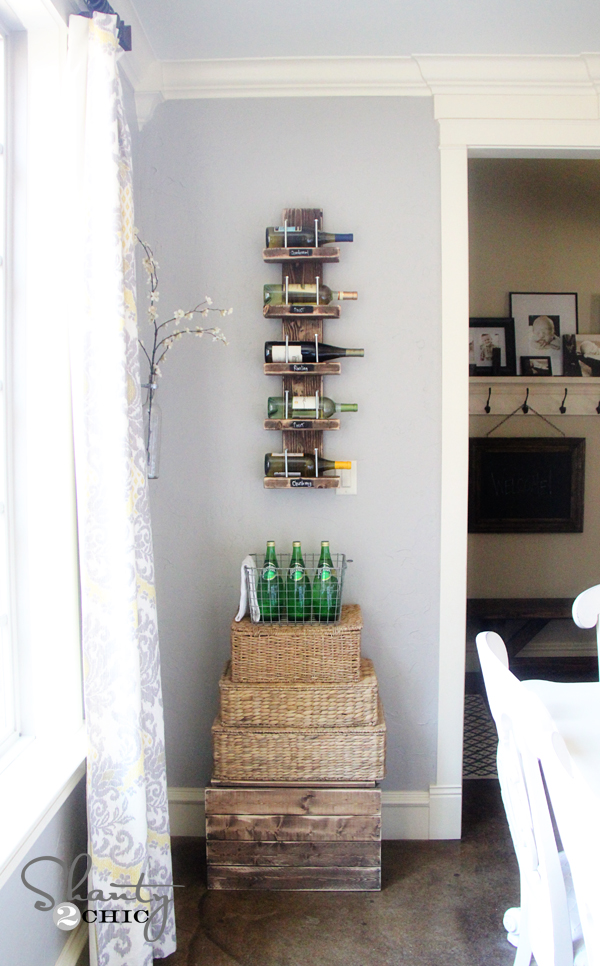
Make sure to use anchors on the wall if you can’t attach yours to a stud.
Here is ours all finished up!
Hope you love this wine rack as much as we do! Ash and I had so much fun working on this one together!
Thanks so much for stopping by! We hope you guys have an awesome weekend! Make sure to share your Shanty inspired creations with us over on our Facebook page! We love seeing and sharing them!


One of my favorite things that we’ve made from you! Thanks for the cute plans!!
Can’t wait to make this this weekend! What grit sandpaper do you use when you are roughing up your boards before staining? Thanks!!
Verry nice. I will make one and i post one photo. Good Job!
This is sooo cute i want to make the same 😀 thank you for inspiration!
I made two of these this afternoon with scrap wood left in my bin! I gave one away for a house warming gift and hung the other in my dining area. I love them. Thank you for sharing!
Hi! We just did this project and it turned out great!! Except for one this, the wine bottles don’t fit! All but one bottle we purtchased are too wide and don’t fit behind the screws. We did tall nails instead of hex screws, but they are still inserted as close to the edge as possible. We could take the 2x4s off but I’m worried that with the wood glue it will mess up the 2×6. Do you have any suggestions on how to fix it? Thanks so much!!!
Ditto issue. I preemptively put them closer to the edge than mentioned which means all standard bottles now fit. If I were doing it again I would definitely go with different bolts. To fix it you may have to try wood putty and redrilling smaller holes for smaller bolts. Or you could try to go fancy and get some type of artisan bolt/do-hicky that bows outward slightly so it would accommodate the fact that the bottles are round at their largest point.
Book – Many books on coping with grief are available. Some people may prefer journals to
capture their feelings and memories, and assist them through the grieving process.
Keepsake Box to store pictures or mementos of the deceased
This is a great project! I can’t tell from the pictures. How did you hang the wine rack? Is there a hanger on the back, or did you screw through the 2×6 into a stud?
I hung mine with 3 inch screws and hid them behind one of the bottles
Hi. I just discovered your blog and I am so impressed and inspired. Such beautiful things you create! I really want to try to make this wine rack as my first woodworking project. But, can you tell m how you attachd it to the wall? Did you just drill directly through the 2×6 into the stud? What size of screw would you use to attach it to a stud? Thank you so much! -Melissa
OMGOMG! My dad just got some saws today. He’ll be happy to cut some wood for me. Then I’ll make my boyfriend do the rest. He would be happy to, i’m sure. 😉 😛
This is a great idea and really cute! Nicely done 🙂
Brilliant idea! I love those labels – cool! Thanks for sharing this project!
This is really a fabulous project I love how you used the hex screws! I don’t drink wine, but I am sure I could use this cool design for something else…Great job ladies!
I LOVE this! I probably missed it before — but do you have concrete floors?? They are amazing.
You did a great job. It looks so good on your wall with the crate and baskets below