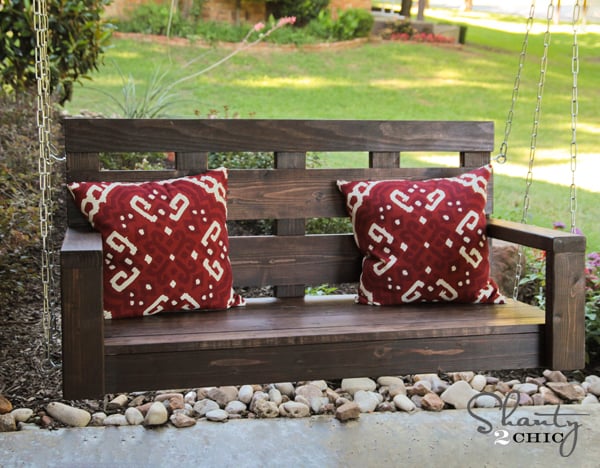
I hope you guys are having a great week! I am SO excited to share this last build with you! Today I teamed up with my good friend, Miss Ana White to design and build this porch swing!

How cute is she??
I have wanted a porch swing for FOREVER. My Meme and Papa have one at their house that we grew up on… So many memories on it! I wanted to give my kids and home the same thing. This is a VERY basic build. It really is a great beginner Kreg Jig project.
I will share some tips and photos here, and you can get the full set of plans at Ana White’s site!
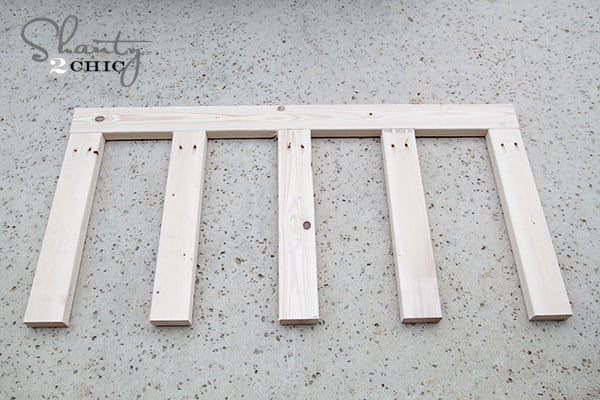
So… Let’s start with the base! Here it is…
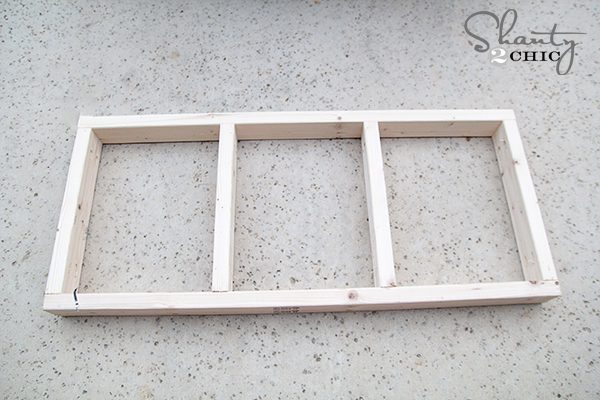
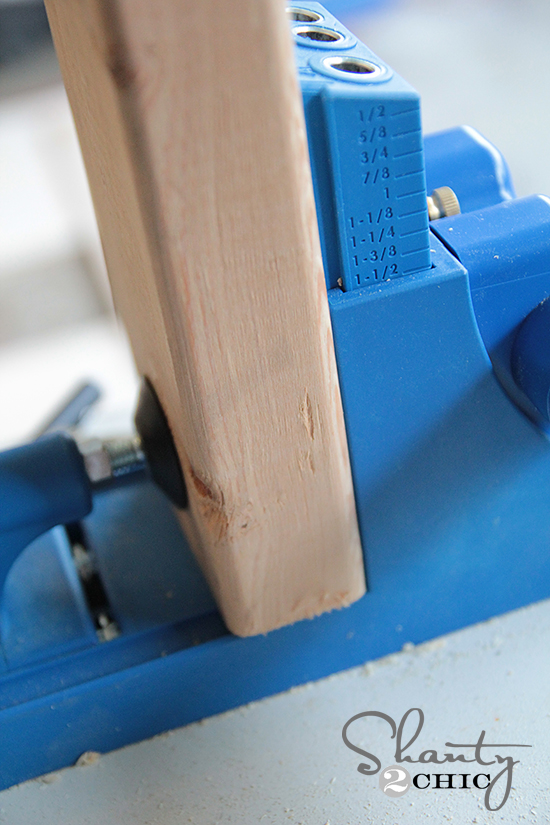
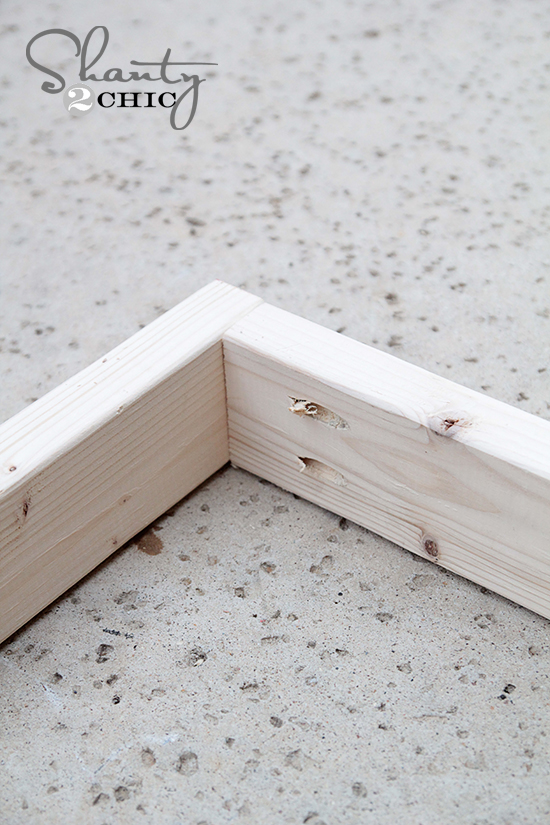
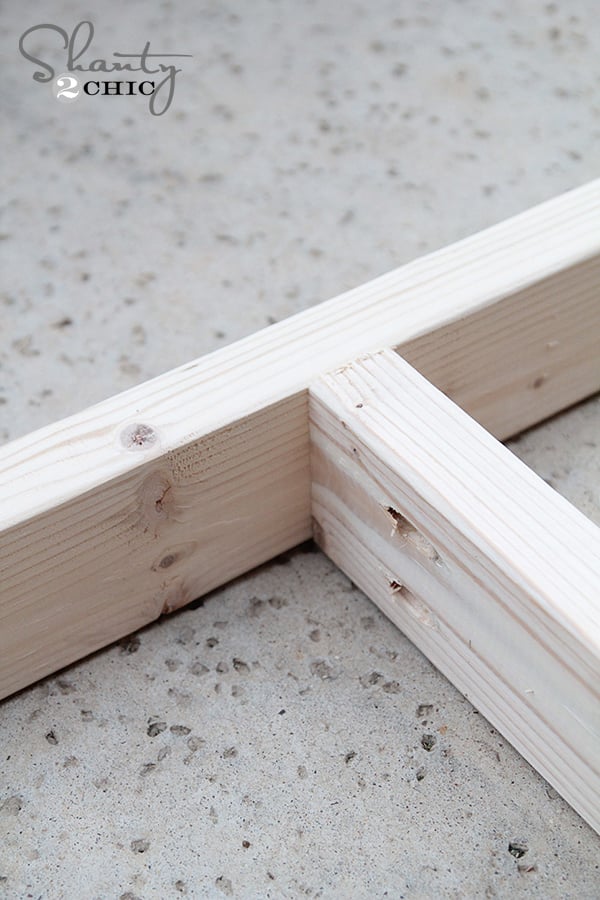
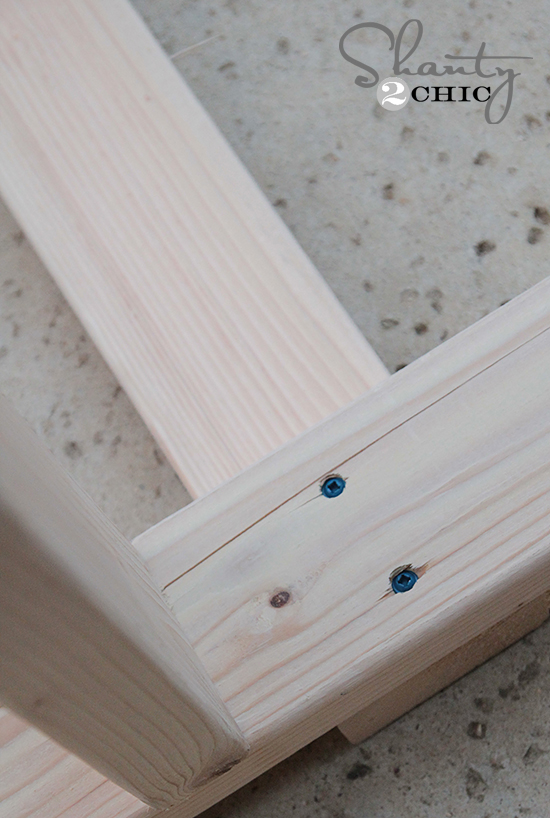
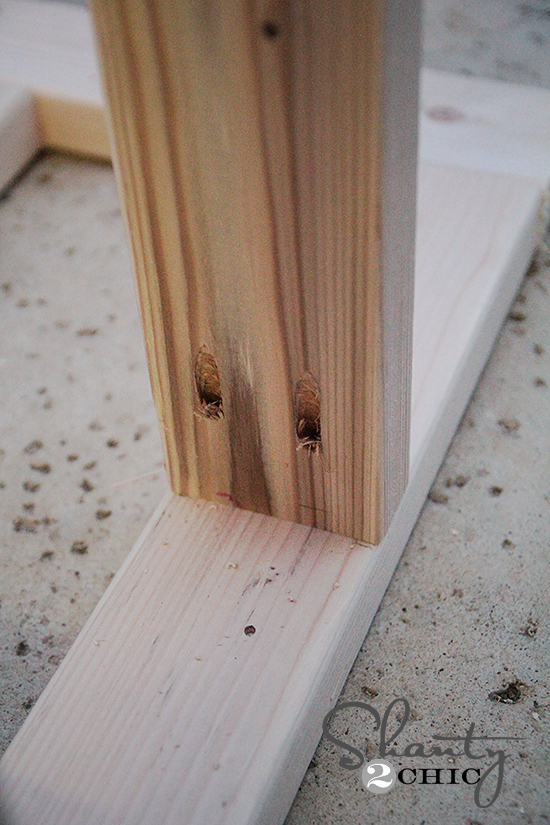
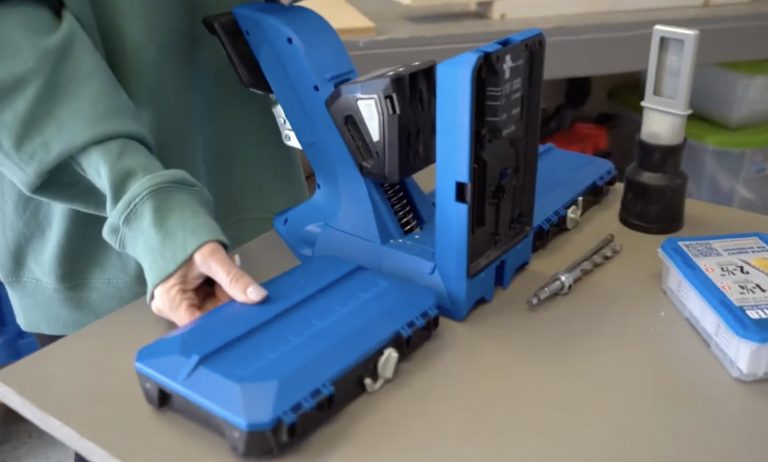
I attached all of my short pieces to the long pieces with 1 1/2″ pocket holes and 2 1/2″ Blue Kote pocket hole screws. I put 2 pocket holes in the ends of each small board like this…
Next I built the back support of the swing. Again, I used 1 1/2″ pocket holes and 2 1/2″ pocket hole screws just like this!
To attach the back support of the swing to the base, I used the same Blue Kote 2 1/2″ screws but did them through the 2×4 on the base and into each brace. I also used Gorilla Wood Glue in between every joint!
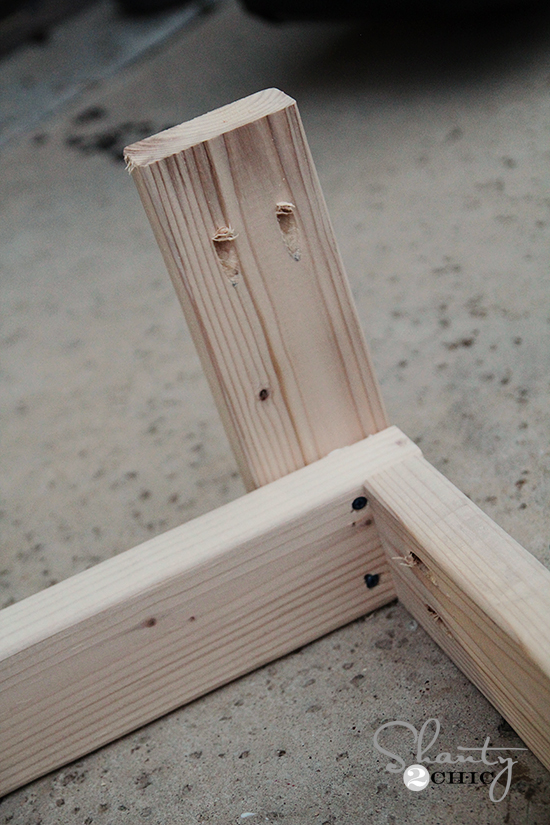
Now for the arm supports!
Before attaching the arm supports, I did 2 pocket holes at the top of each piece. This is how I will attach the arm.
I used the same screws to come through the base and into the back of the arm support like this…
Another view…
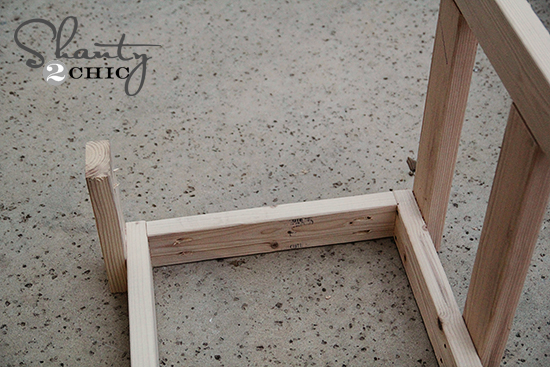
For each arm I also did 2 pocket holes on the side that would attach to the back support of the swing. Then I used pocket holes to attach the front and the back. Easy peasy! (thanks to the Kreg Jig!)
This is a shot of where the arm attaches to the back support of the swing.
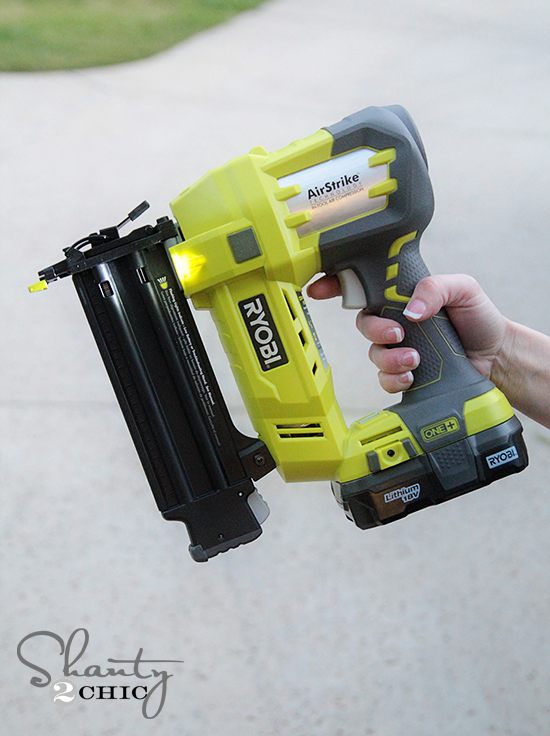
To attach all the 1x boards on the seat and back rest I used Gorilla Wood glue and my Ryobi 18v Cordless Airstrike Nailer. I LOVE this tool. So easy and cheap too! You can find it at the Home Depot.
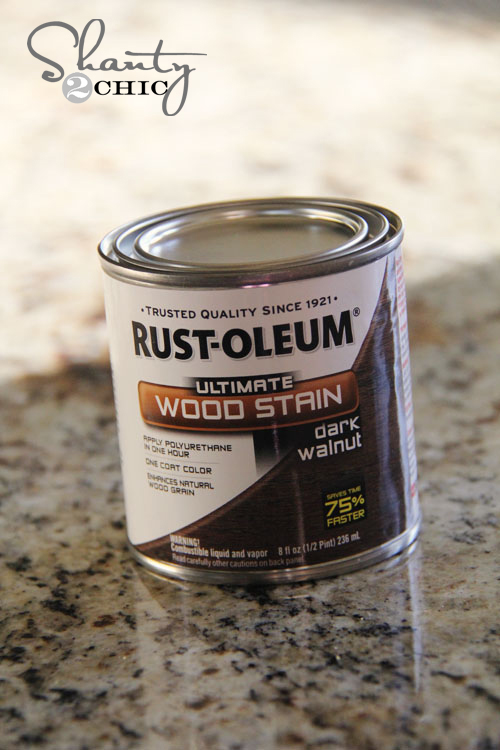
DONE! My final step before hanging it was to finish it. I used the same stain I used on my outdoor dining table to finish my swing.
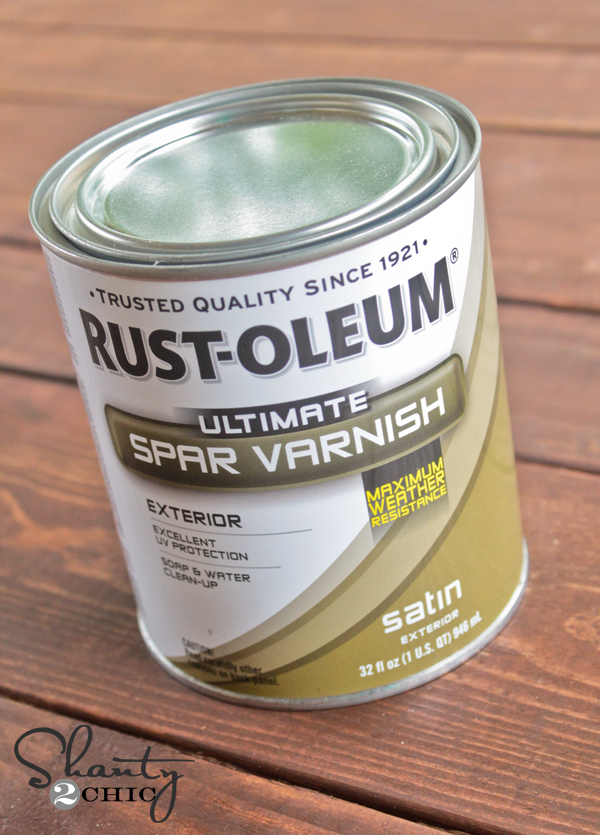
Because this swing needs to stand up to the elements outdoors, I used 3 coats of Rust-Oleum Spar Varnish on top of the stain after it dried! This stuff is super easy to apply and doesn’t smell strong. It goes on white and dries clear.
After that dried it was time to hang!
Before giving you tips here, I must say this….
I am telling you how I hung my swing. I am doing this to provide tips. Every house is different and each swing will be attached in different places. Consequently, I am in no way responsible for any injuries that may occur from you hanging your own swing improperly.
Ok… That’s it.
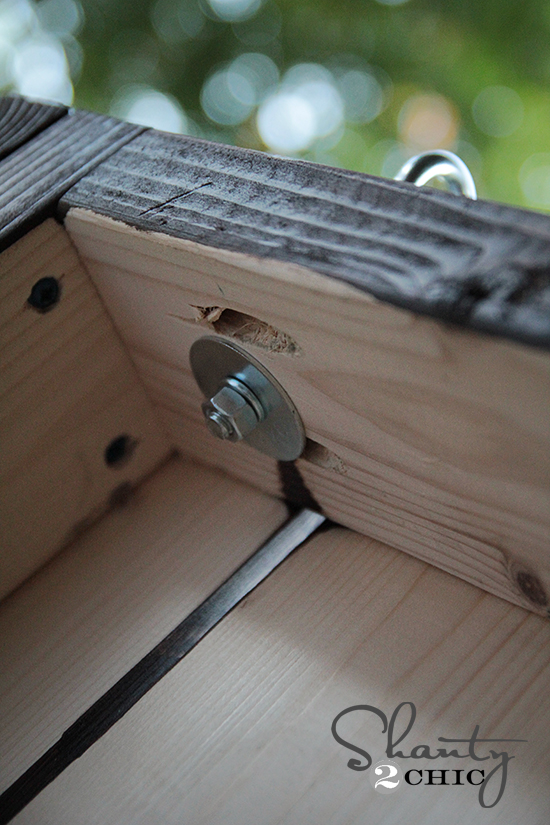
I knew that I would have precious cargo swinging in this. So I did a lot of research on tips to hang my swing. I met a great helper at the hardware store who pointed me in the right direction. This is the hardware I used on my porch swing.

I originally added 2 on each side of the base, but found it to be a bit tippy. I added a 3rd to the top of the back of the swing. It may seem like overkill, but you haven’t met my kids 😉
This is how these look on the inside of the swing…
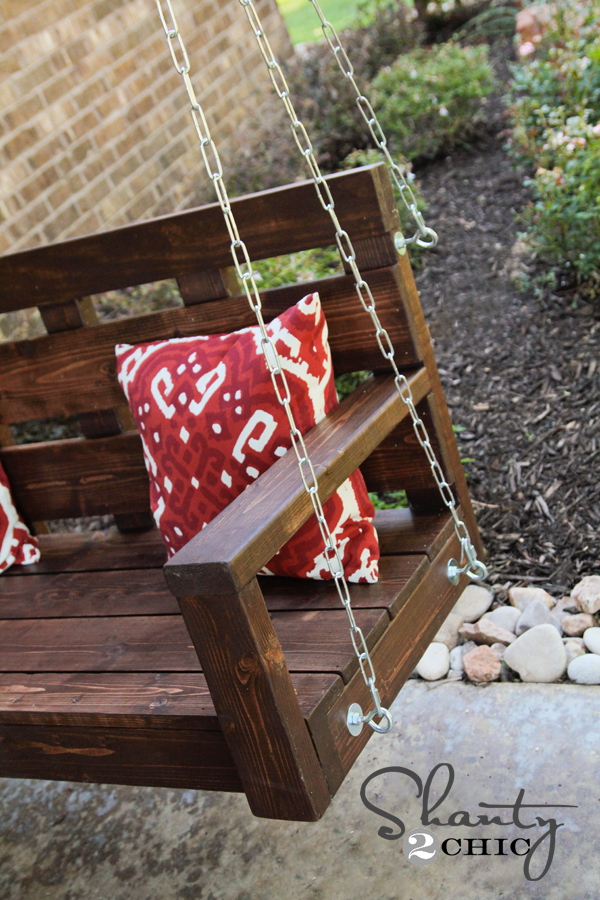
And this is what they look like on the outside…
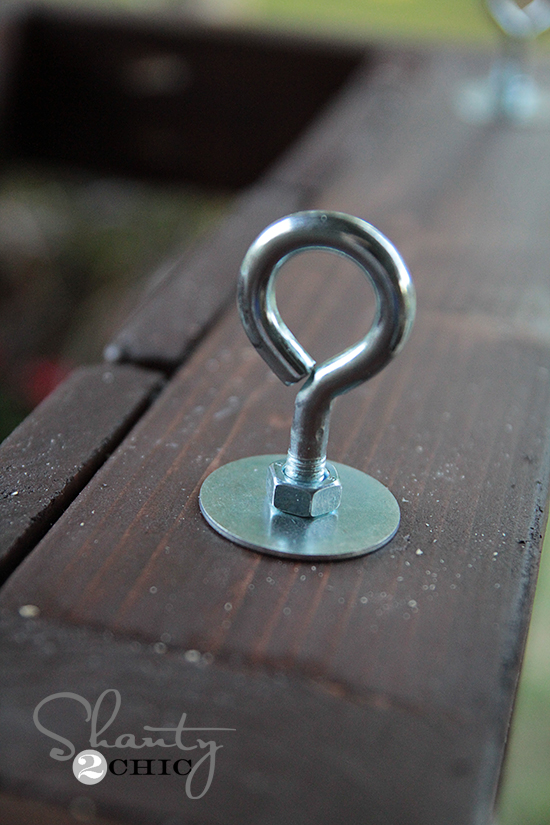
I used chain to attach it to 2 S pieces and then up to the ceiling.
To attach mine to the ceiling, I found heavy duty swing hangers. You can also use eye screws with a large enough weight limit. We also made the back hang just a tad lower (like 4-6 chain links) to give it a slight recline. It’s perfect!
That’s it! Now it’s time to swing 🙂
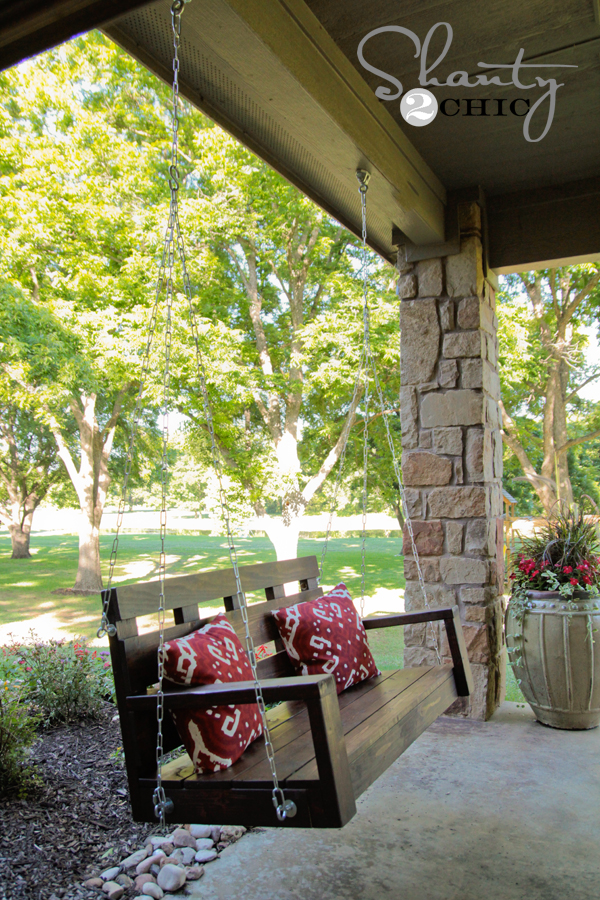
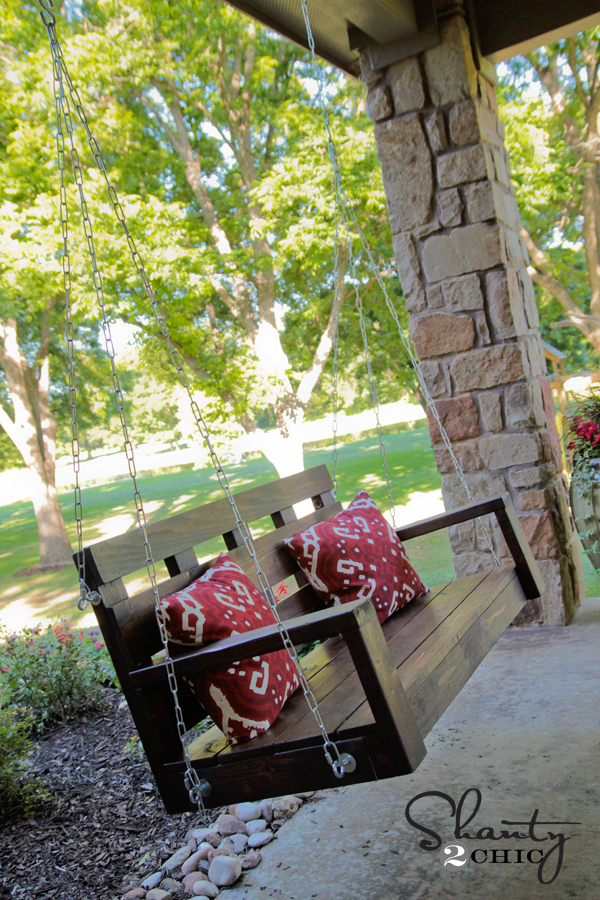
Oooooh I do love it! My kiddos do too!
I would LOVE for you to share and PIN this swing below!
Make sure to check out the full set of free plans over at Ana’s site! Thanks so much for stopping by! I’m off to swing ;-)!
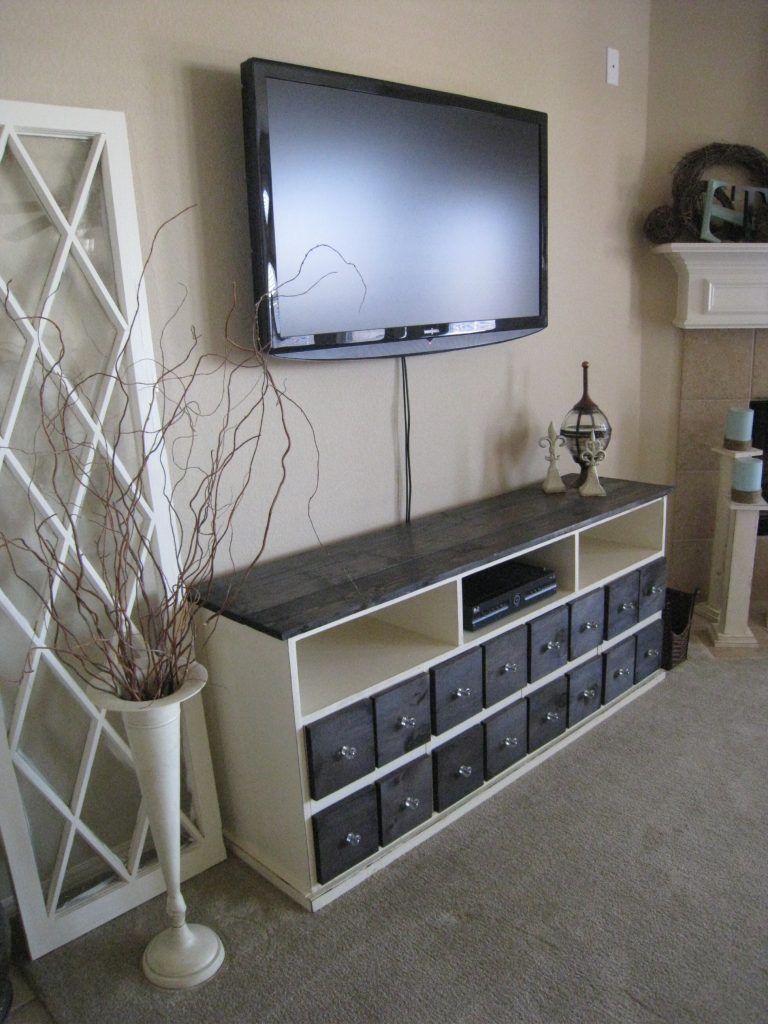
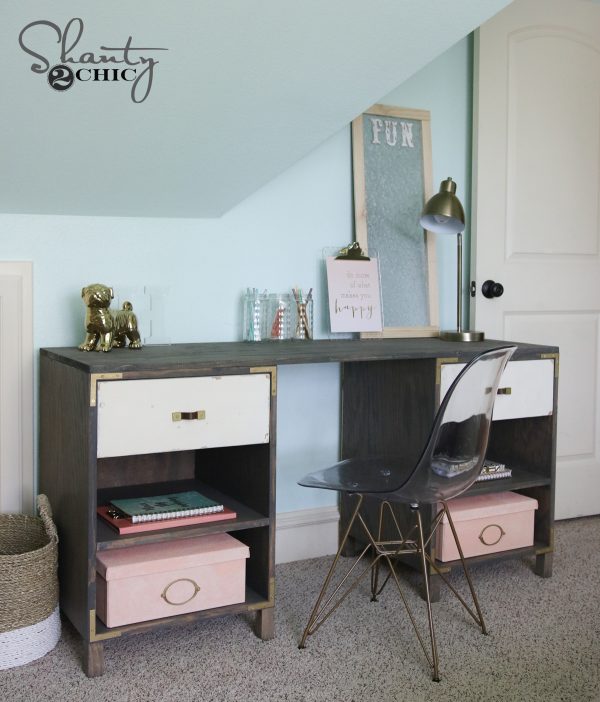
Make sure to check out my other outdoor projects as well!


Loved these, easy to build and went perfect with our project!
I know this is two years old, but I love it! We are redoing our fire pit next year. Did you cement this into the ground? Or just set it on the patio bricks? What was the cost estimate?
We cemented the posts in ground. Rough estimate as I don’t fully recall is $2500-3000. Depending where you are, you may be able to do a bit cheaper (We live in a small city in Alberta)
Majority of cost was the tiles and fire pit.
We added on last year
Oh my word I LOVE IT! We have a corner of our yard that we can’t get anything to grow – its near a wooded area behind our house. We have a fire “bowl” out there now, but would like to change it this summer. I LOVE your ideas! Thank you! do you have a blog also?
No I don’t. Just look for ideas on pinterest and combine! BBQ area was an idea we wanted to add and my husband came up with what he wanted and built. We will eventually work on lawn once we replace our deck, hopefully it’ll grow in ….Its a very slow process for us (-:
We used our store bought metal fire bowl pit inside the bricks, so we wouldn’t have to build a large fire to feel the heat and it is also easier to clean out.
We are using a fire bowl now, but want to expand it and your idea is perfect. We have kicked it around for a while, but now seeing yours we love it! It is exactly what we had ideas about but couldn’t quite pull together. Now seeing it we will follow through. I would be out there everyday! We also are slow in our process and can mainly grow only weeds not grass in our backyard….
BTW – I love your color choices on the swing. The two tone stain adds so much.
I’m “nesting” hardcore before this baby arrives in the next 5-ish weeks. Instead of wanting to work on the nursery or moving my son from the nursery to his big-boy-room (which I haven’t even started)… I’m itching to build! This is definitely my next project! (what is wrong with me?!)
What was your total cost for this project?
Rough cost?
Quick Question – do you recommend using untreated pine for this build?
Mine is untreated and still looks great!
This is great! Do you know an approximate weight limit?
Great project! Can I ask where you found the pillows? I really like them.
I love how you show where the pocket holes and screws go. That is such a big help. I built the bench from Ana White but it didn’t show where to place the screws. I love my bench and it turned out beautiful. I love this swing too. I wish I had a place to hang one, but I could certainly turn this in to a bench with the back on it. Thanks for the great detailed photos. Looks beautiful.
My husband is making this for my birthday! It is almost all done. Thanks for the tutorial 🙂
Oh yeah! What a great gift!! 🙂
Wow this is beautiful!
Loved it. Great job.
What kind of wood did you use? I was looking at the 1×6 boards and there were so many options!
I love this swing! It looks great!
I love the swing. I have a super mini version of this space on my porch. I wonder if I could modify the plans to be a swinging chair? Anyway your projects are so inspiring, thanks for sharing!
I’m interested in the same thing. I’m trying to figure out the measurements on a small one.
Awesome build! Your porch area is so elegant, yet comfortable. Love your table, too!