Hey hey! Happy FRIDAY!
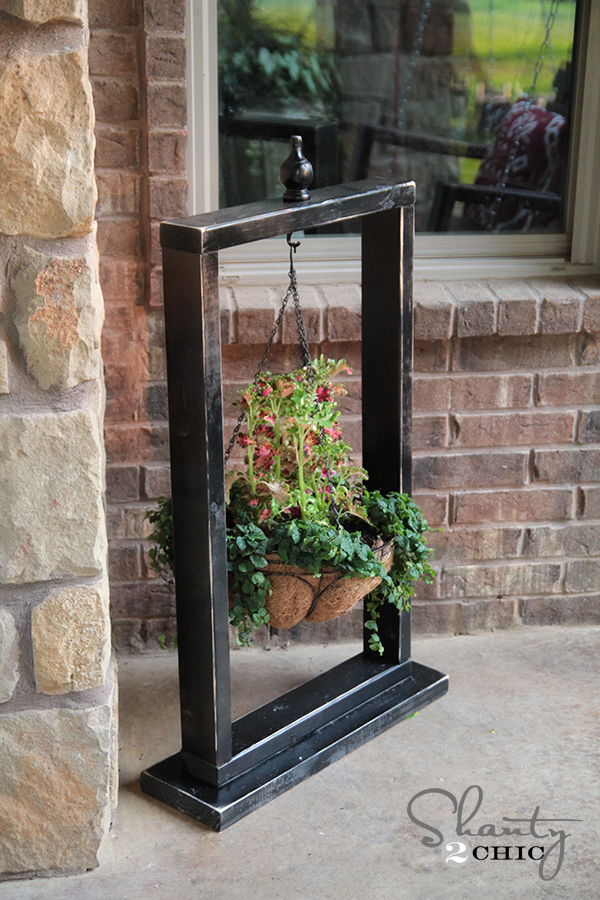
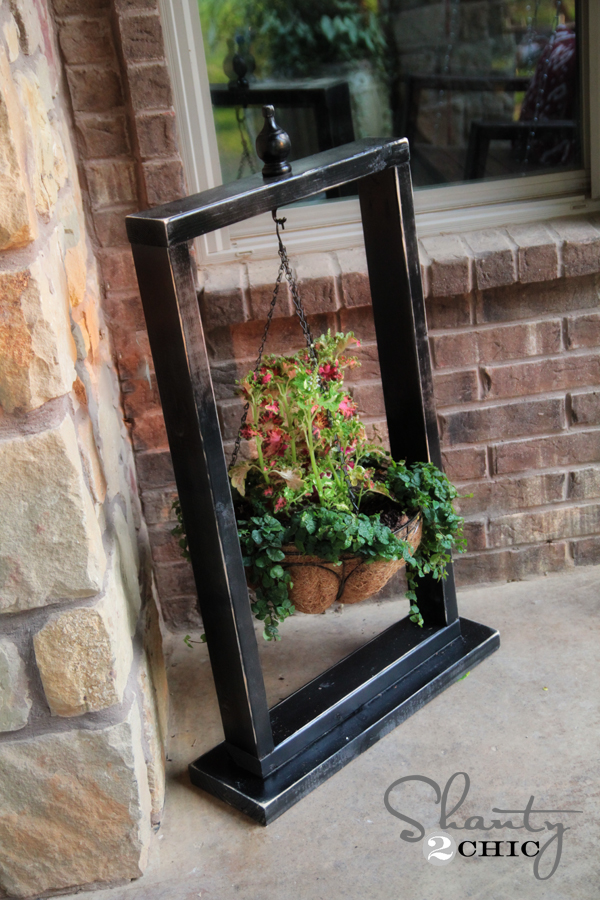
Have I mentioned that I am kind of on an outdoor kick at the moment? Yup… I want to plant something almost daily. It’s a sickness. I LOVE hanging baskets. I think they are so pretty and add so much character to the spaces they are displayed. I really don’t have any space on the actual outside of my house to hang them, so I thought it would be fun to create a stand to hold it for me. This is such a simple project! Here is how it turned out…
This is so easy!
Let’s get started…
You will need 3 pieces of wood.
2 – 2x4x8
1 – 2x8x8 at least 24″ long
This is a great scrap pile project for you hoarders like myself!
Here are my cuts for the 2×4…
Hanging Basket Wood Stand
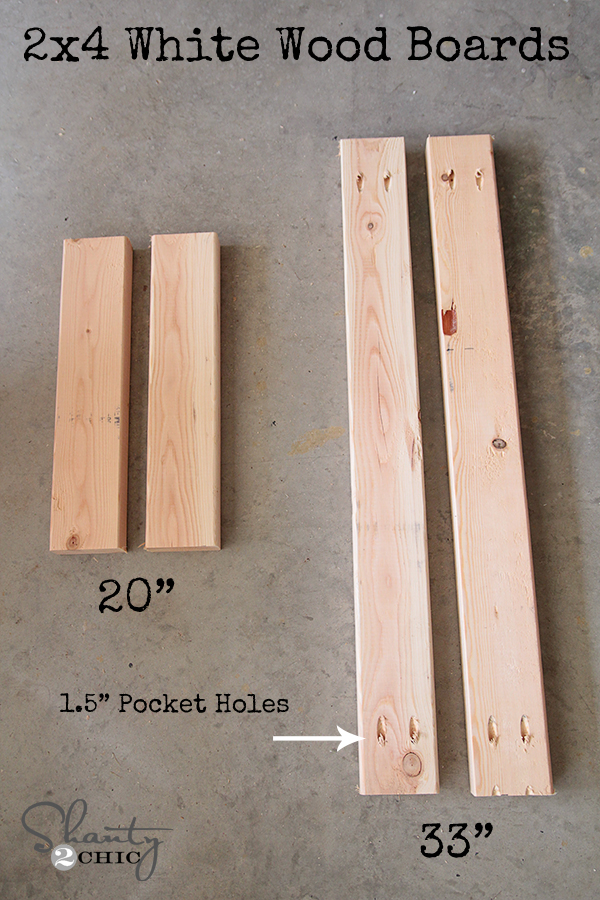
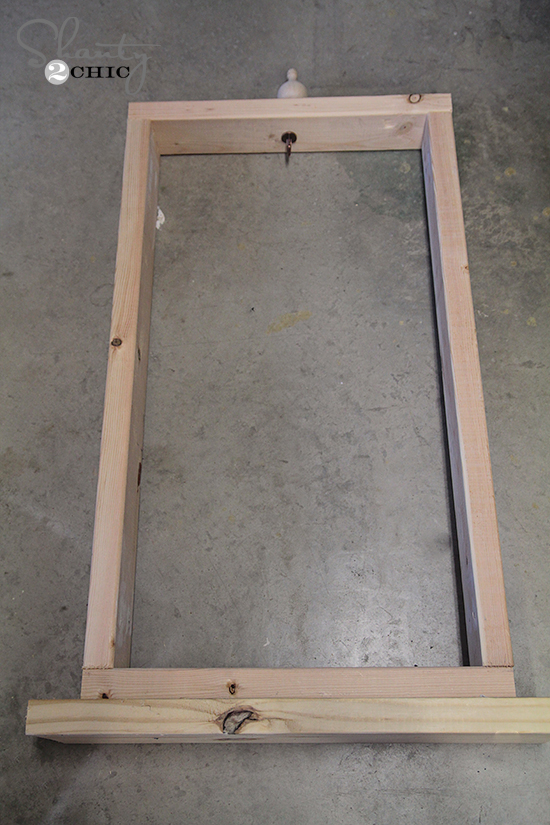
I used my Kreg Jig to make the pocket holes on the longer boards. Then, just attach them like this…
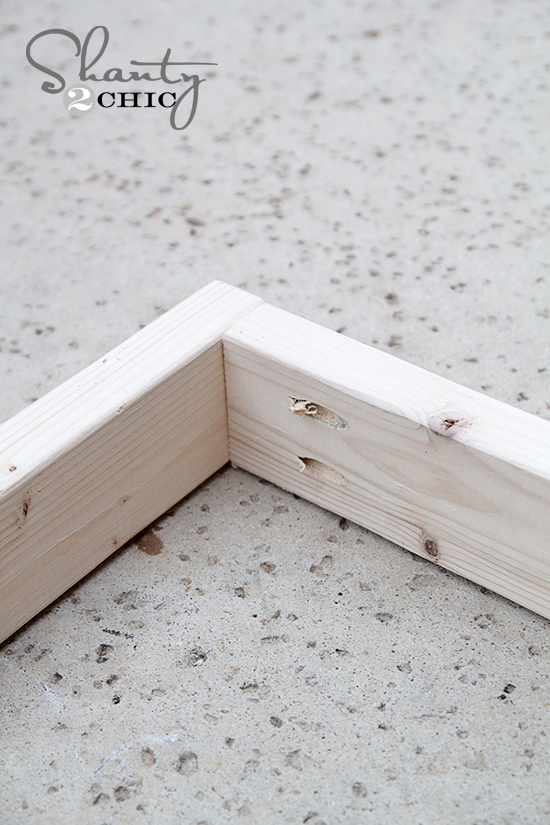
Are you wondering what the heck a Kreg Jig is? Just check out our video here! We have tried to explain it in very simple terms!
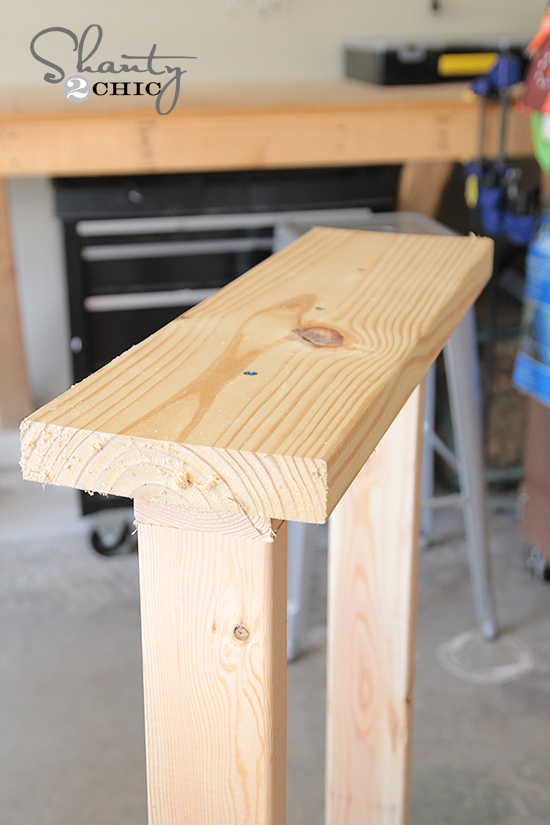
Now for your 2×8… This will need to be 24″ long and I attached it using wood screws from the base into my rectangle like this…
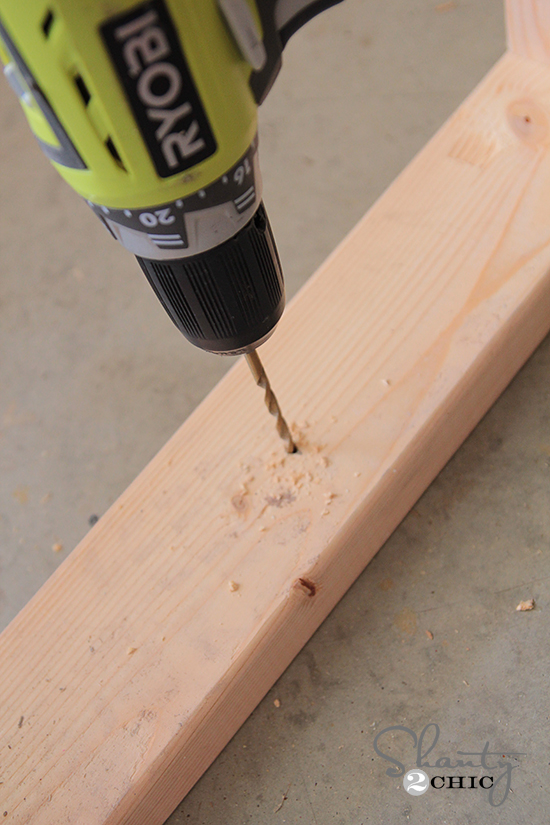
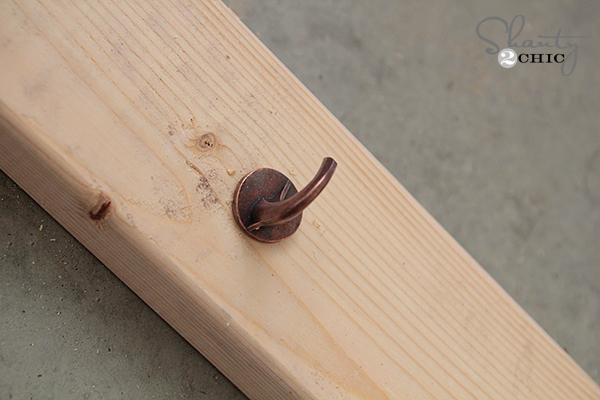
Now for the hook… I found these great 50lb utility hooks at Lowe’s on the hardware aisle. Just drill a small hole in the center of the top of your rectangle…
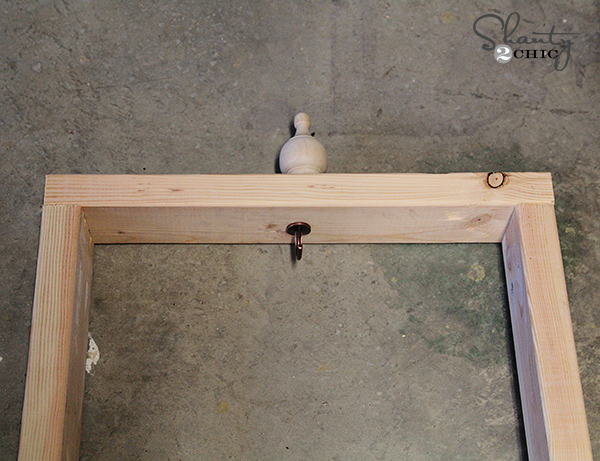
And twist your hook in!
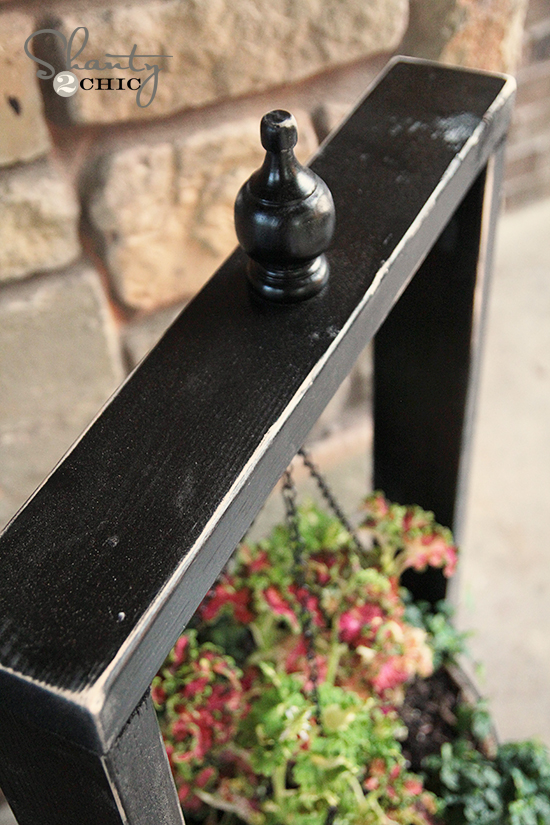
I used a finial from Lowe’s to fancy up the top a bit… I think it’s the perfect touch!
And a really bad full shot…
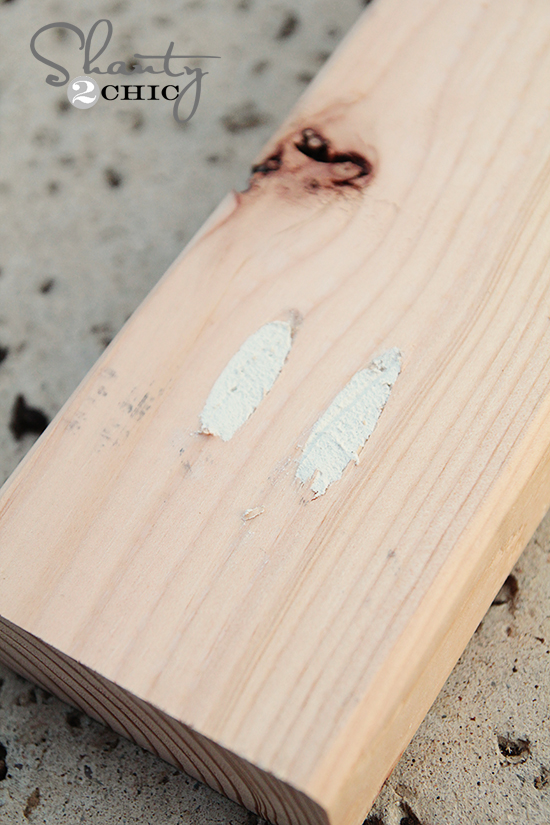
I filled my pocket holes with wood putty like this…
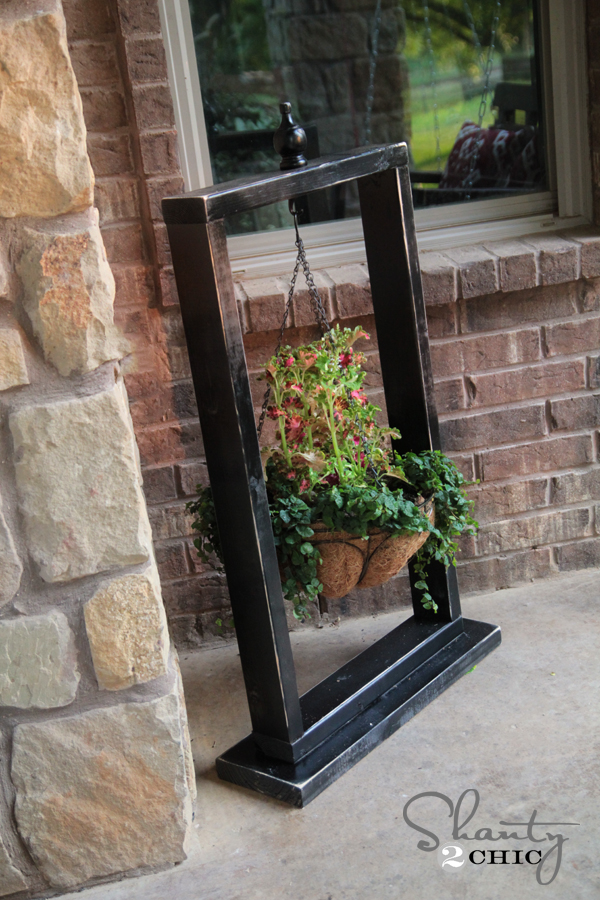
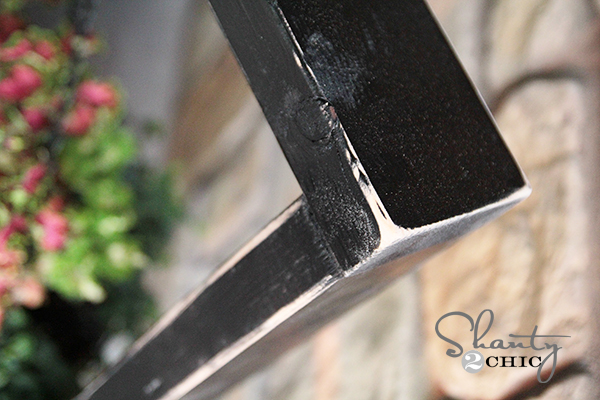
Finally, I gave everything a coat of Rust-Oleum black spray paint and let her dry! I used a sander to rough my edges up a bit after! So shanty!
I found the basket at Lowe’s along with the Creeping Fig and Coleus. I filled the basket and hung it up! That’s it!
What do you think??

Thanks so much for stopping by!
I would love for you to share this and PIN it with your peeps below!
Have an AWESOME weekend!
~Whitney

I live in the Midwest, northern plains, and right off I can see the base isn’t going to withstand the gusts of wind here. A wider base, in such cases, would help.
I love this! I have a feeling my husband will add this to his many projects, but I think maybe I can do it! Such a clever idea! Thank you! So Pinning this!
Thank you so much Sherry! Happy to grow your list 😉
So pretty. I don’t have a covered porch here. Would it be okay to have this uncovered to the weather elements? Rain won’t ruin the stand or anything?
You should probably use treated wood if you want to use it in the elements…. it would last longer 🙂
This is SO dang pretty. I really love it. But I think I’d need it to be more stable at the base, I live in Florida and we have strong winds and rains a lot. I thinking of adding some type of stabilizer feet….
Great idea & looks so nice.
Thank you Dee!!
Love this! If you did some tall and some shorter you could make a divider between villa homes or apartment patios for privacy!
That’s a fun idea Linda!!
This is such a neat idea! I love it. Now if I just had something besides a hammer and a hand saw (did you hear the words “power tool” there?) it would make me think it might actually happen here. Anyway, it’s a cute idea and you can stick it anywhere…here a day, there a day…
You can totally do this without the power tools! They make it easier, but a hand saw works like a charm too 😉
I lack the Kreg Jig. Any tips?
Love it!! Love your outdoor kick!! 🙂
Thanks so much Amanda!
Love this! Great for renting decorators! Thanks for sharing!
Great point Terri!!
This is awesome, I also have a huge scrap pile, this is the perfect project for it!
Yeah! You have to love a good scrap pile project!! 😉
I love it what a great idea and so creative. Hugs, Marty
Thank you so much Marty!
I love this idea, I will have to try this.
Yeah! Send some pics on Facebook if you get it done! 😉
You are SO RIGHT! I DO need one of these! SO Easy, I will be trying this!
Yeah! Maybe you need 2 😉 Thanks!!
Love this so much! Thanks Girls! Pinned!
Thank you Gail! We appreciate it!
Lovely!!
Thank you Lori!! 🙂