Happy Friday! I’m excited to share the easy DIY Picture Frame that is perfect for an easy project this weekend!
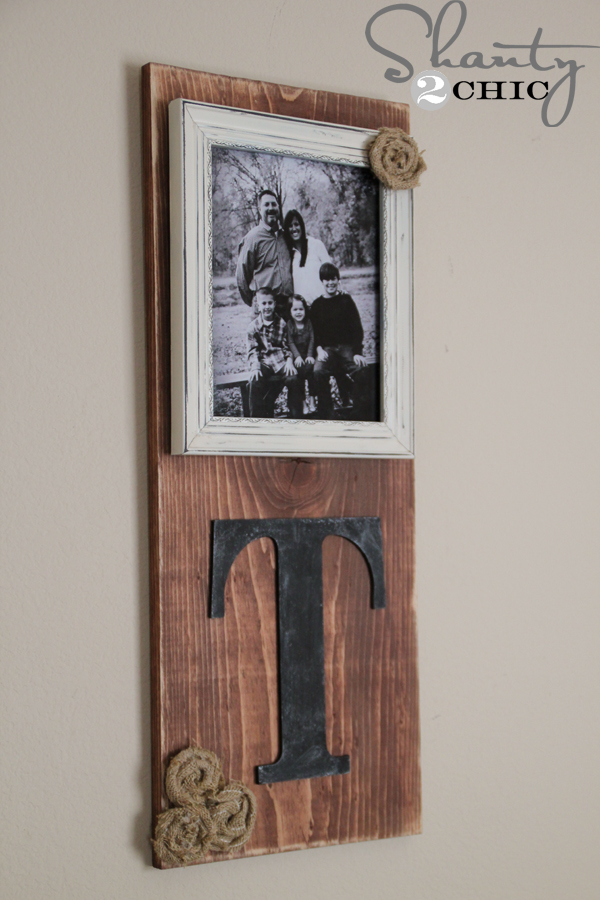 It’s not only super easy, I made it for under $10! Whoop!
Here’s how:
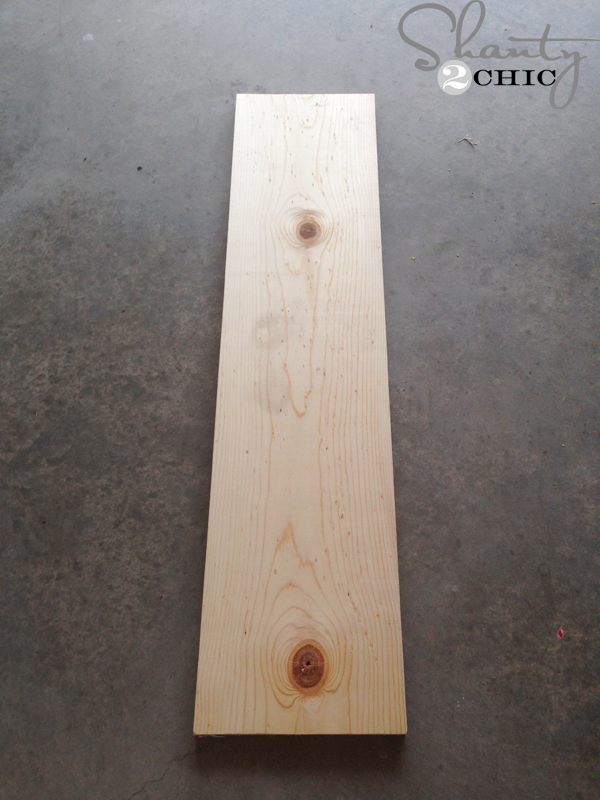 I purchased a 1×12 @ 4 ft. and cut it in half. You can make 2 of these frames with one board!
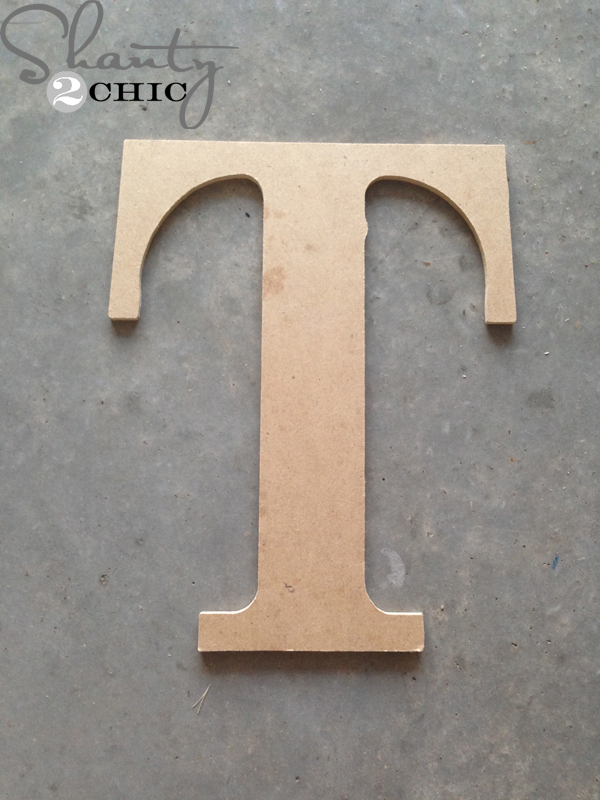 I bought an MDI letter from Hobby Lobby for about $1. (pick them up when they are one sale)! It’s the initial of our last name 🙂
 I wiped on one-coat of Light Walnut stain, with a foam brush. Then I let it sit for about 5 minutes and then wiped the stain with a clean cloth. Don’t wipe the stain away, just blend it.
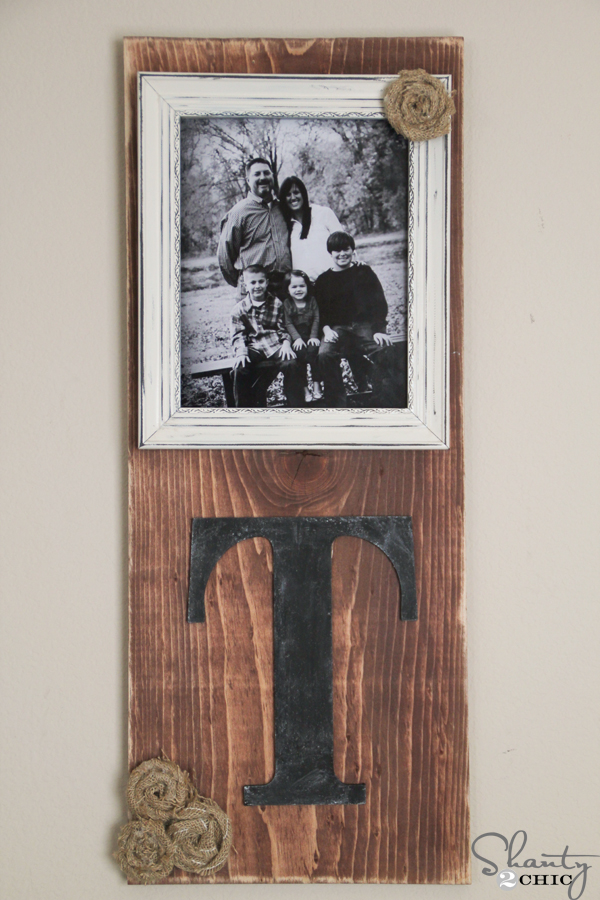
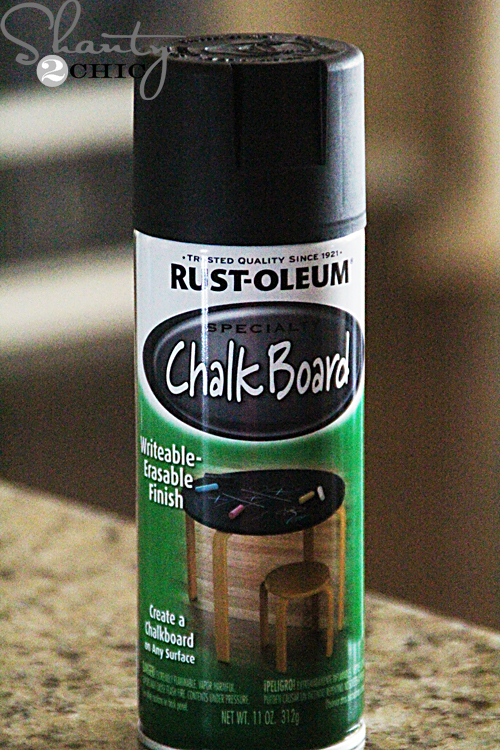 While the board was drying, I sprayed 2 coats of Chalkboard Spray Paint on the letter T.
 I love how the letters turned out on my Fall Chalkboard Sign, so I used the same technique. Just rub a piece of chalk all over the letter and wipe it off. It gives the letter a true chalkboard look.
 I picked up this 8×10 frame from Wal-Mart for $3! Score 🙂
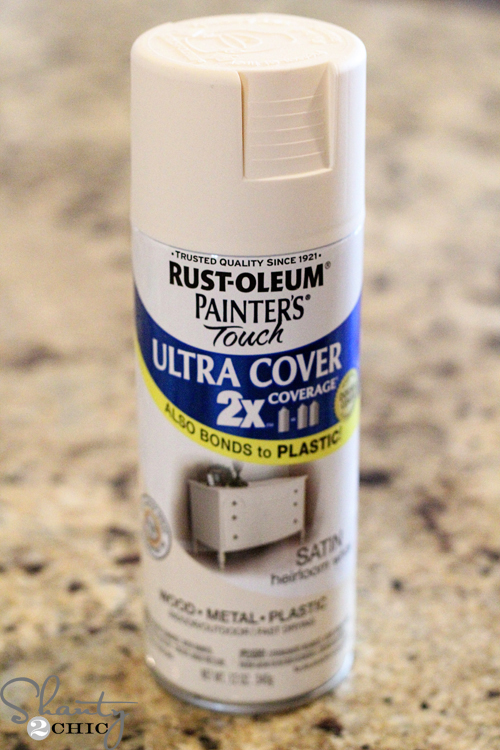 I sprayed about 2-coats of our favorite, Rust-Oleum Heirloom White on the frame
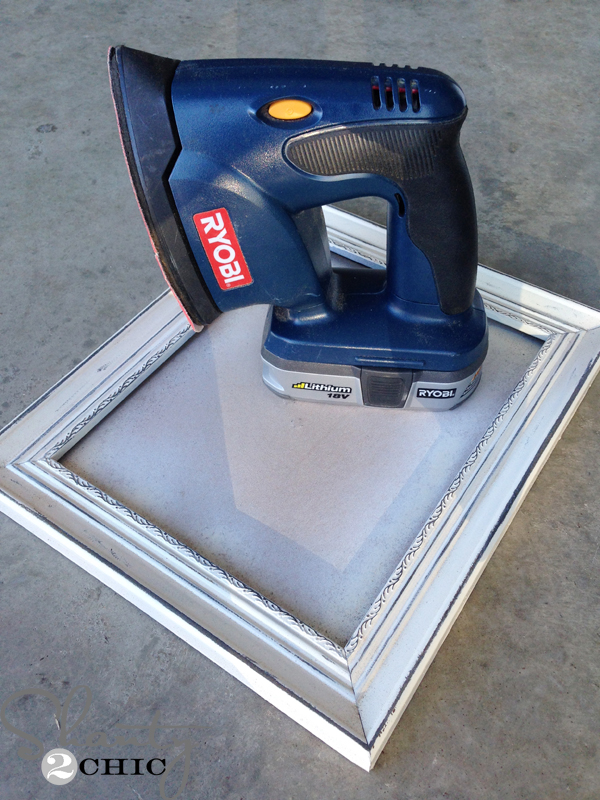 and distressed it with my Corner Cat Sander. Loved using this sander on the frame. The point on the end made it so easy to get in the corners of the frame.
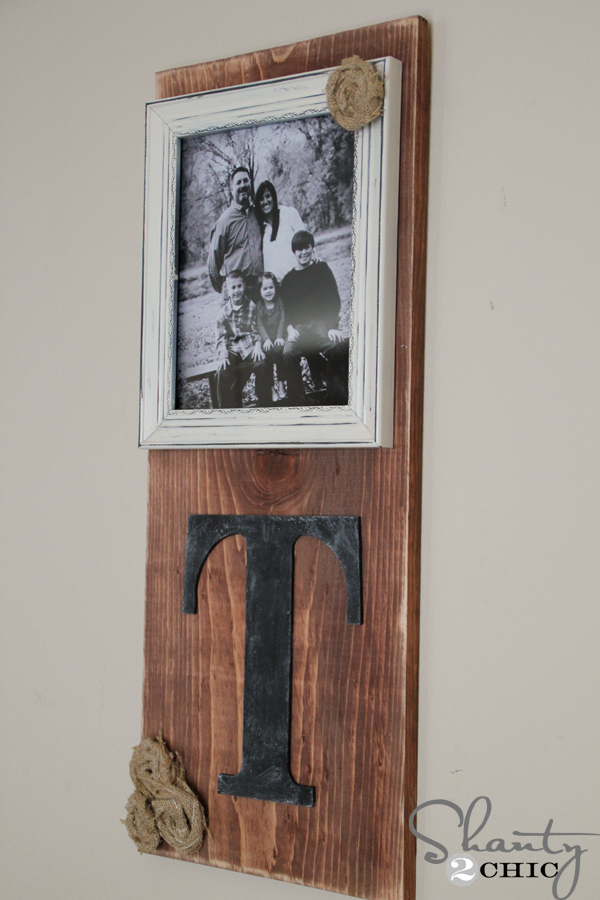
 To hang the frame, I put a screw about 2 1/2″ from the top of the board (just eyeball it)
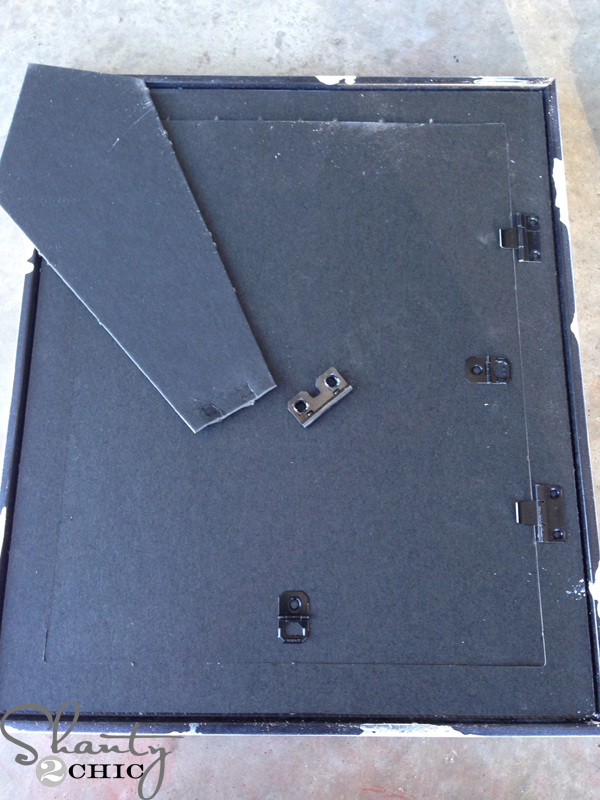 Now, rip off the thing on the back of the frame that makes it stand. I just bent it backwards until the hinge popped off. Now you can just hang it on the screw.
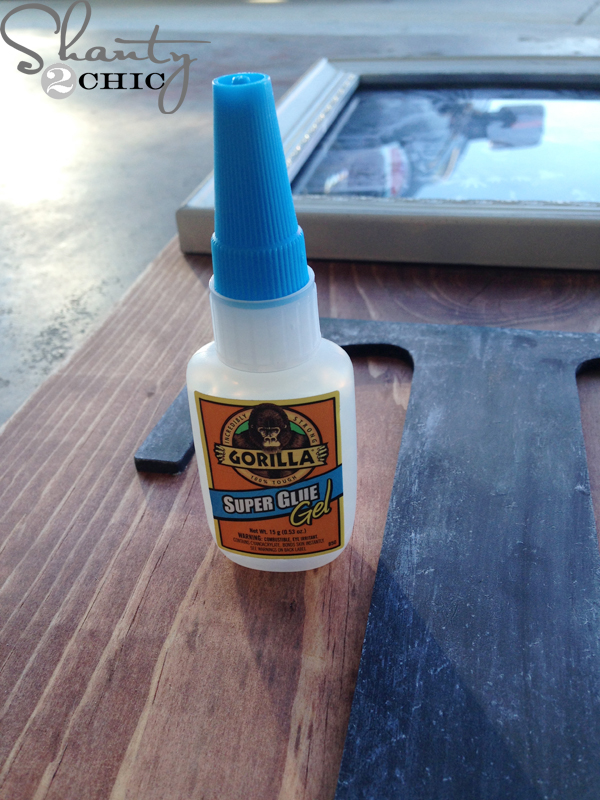 To attach the letter, I used Gorilla Glue Super Glue Gel. I just centered it on the bottom half of the board.
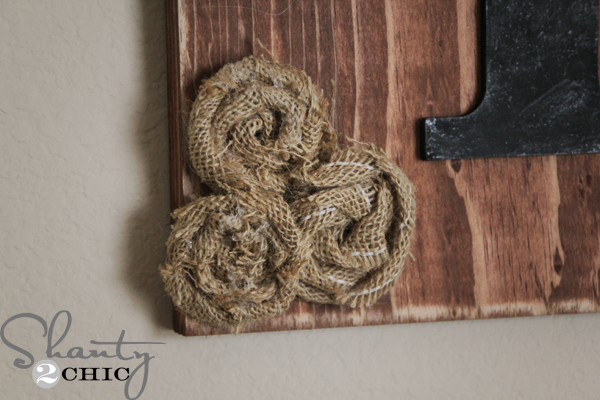 To finish her off, I added a few burlap, flat-rolled rosettes. Three on the bottom left corner and one at the top right corner of the frame. You can check out the tutorial for these cute rosettes HERE.
To hang, I just used a sawtooth hanger on the back of the board and an anchor in the wall.
 LOVE 🙂

I’m thinking Christmas gifts 🙂 You could also glue the frame down but I like to be able to swap the pictures out 🙂
I hope you love my cute, DIY Picture Frame 🙂
We always appreciate your shares and pins!
Thanks for stopping by!
~Ashley

I found this on Pinterest and made 2 of these as Christmas gifts. They were such a hit! Thank you so much for the idea 🙂
What type of sandpaper did you use on the picture frame?
You are very talented! Thank you so much for sharing this. I can’t wait to make these for christmas presents. Do you have a specific technique for the staining? I love the way you made it look!
Recently I was REALLY low on money and debts were eating me from all sides! That was UNTIL I decided to make money.. on the internet. I went to surveymoneymaker dot net, and started filling in surveys for cash, and surely I’ve been far more able to pay my bills!! I’m so glad, I did this!!! – 0ya6
What is the size of the letter and what is the exact length on the 1×12? Thanks!!
The board is about 2 ft. I cut a 4 footer in half. The MDI letter is 9″ I believe. Hope this helps!
I cut a board 27 inches and used a 8×10 frame and an 9in letter and didnt have near the space you did. Something is off somewhere.
This is mine! 27 inch board with 9 inch letter from Hobby Lobby and a dollar store frame. See I dont have the same about of room as you did! I thought maybe your board was longer than 24 inch.
That looks great! I know mine is 24″. They look like they have the same space left to me. Mine may look like it has more dove because my letter is a “T”??
Ok Thanks!! 🙂 Happy Crafting!!!
LOVE! Definitely on the Christmas list to make for the grandparents! Question: My fiance and I aren’t married yet but we have children together. Can you think of something I could use instead of an initial for the bottom half?
You could use cork board, paint the wood with chalkboard paint and make the border with burlap roses in the corners. Or even make it a key ring holder on the bottom half!
Hi there! I can’t wait to make this for Christmas gifts this year! I just got married and I know this will be awesome! Can you point me in the direction for the link for the how to make the burlap rosettes? It seems the link is not on here. thanks so much!
If you google burlap rosette tutorial on youtube, there are several good ones.
Love it ! 🙂
Thank you for sharing 🙂
Love it, what size is the MDI Letter
This is so cute!
I have another general question. I love all your projects but wonder if you have problems ever hanging stuff that is made completely out of wood, just seems like sometimes your projects are really heavy and I don’t like to use a lot of anchors in the walls bc of the holes they leave… Anythoughts?
Love this! Yet another project of yours that is going on my to do list 🙂
Fantastic!
Thanks Kim 🙂
Our Home Depot doesn’t have the Rust-Oleum stain… I finally found it at Hobby Lobby after checking several stores. Where do you find yours?
We get the Rust-Oleum stain at Lowe’s but Home Depot carries Varathane brand which is also made by Rust-oleum!
I love everything you girls do!! One question: Do you ever have issues with the width being just shy of what it is supposed to be? ie 2X6 being less than truly 6 in? I had issues when i tried to make the mason jar hanging sconces and I worry that this might be the same thing? or do you get your wood somewhere other than lowes or hd and this isnt a problem? let me know!
thanks!
casey
Hi Casey! Great question! Boards are rounded up. So, a 2×6 is actually 5 3/4″ wide..a 2×4 is 3 3/4″ wide etc. This does vary but this is a good rule of thumb! Hope this helps:)
Where did you find the Rust-Oleum Chalkboard Spray Paint?
At Home Depot Kristie:)
They have it at Walmart, too. I just bought some for another project.
Good to know Heather!!!