Hey friends! Happy Friday!
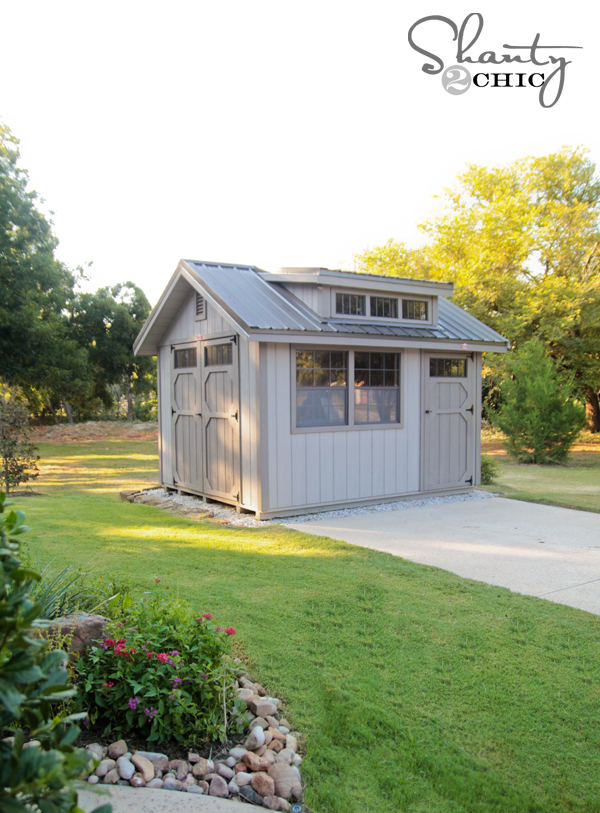
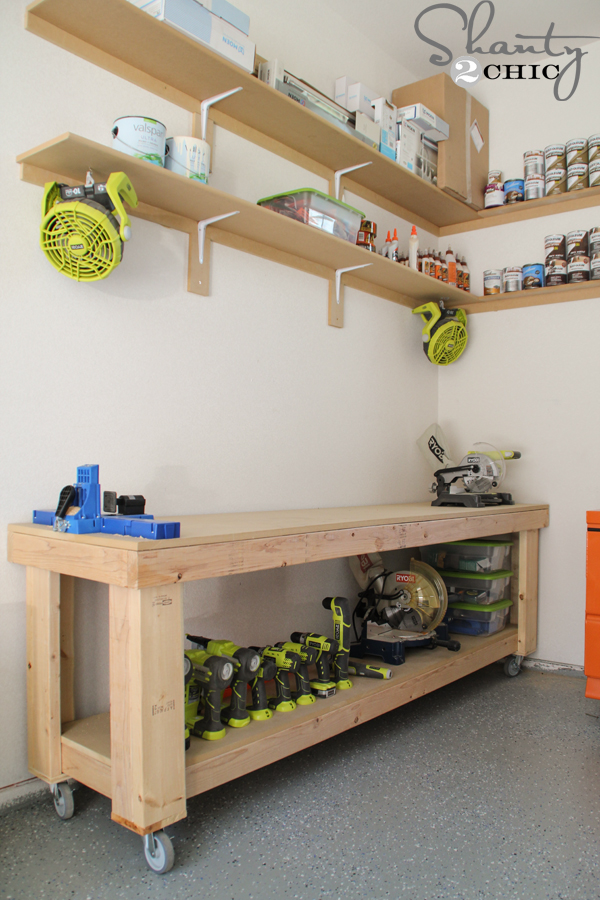
We are finally getting temps under 150 degrees here in Texas, so I got an itch to get started organizing my new WoodTex Shed! My goal in this shed is to maximize every inch of space I have! So… I started by building these great shelves along the walls…

These are so simple to make and this entire section here cost me under $10 to build. Yeah! Many of you may have exposed studs in your garage like I do in the shed…. These also make great shelves for the garage as well!
Let’s get started!
You will need 2 pieces of wood…
1 – 2x8x8
1 – 1x2x8
First, measure the space in between your studs. Mine was right around 14″.
Cut your 2×8 board into 4 pieces each at 14″ long, or whatever the width of your space is.
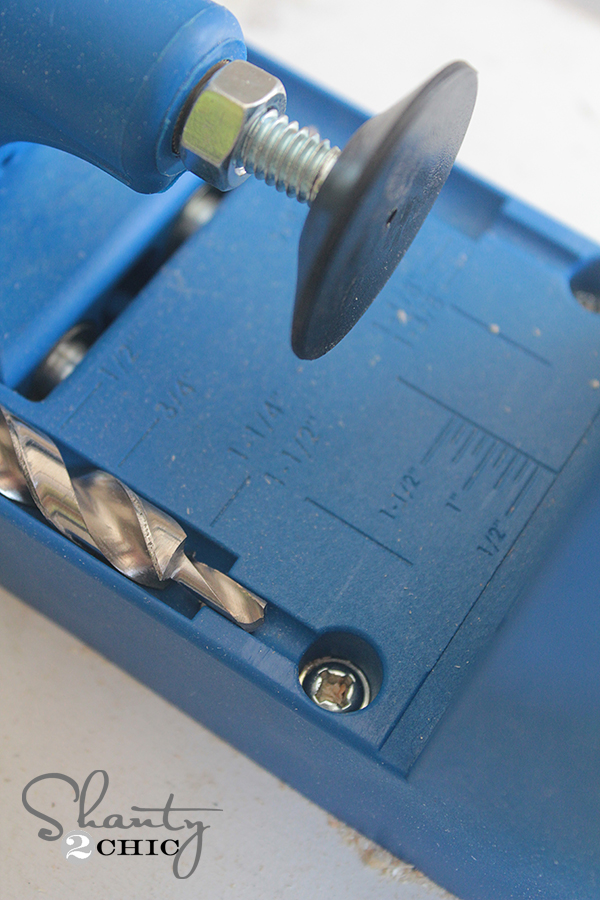
Next, I used my Kreg Jig to drill some pocket holes to attach them to my studs. For those of you that don’t know what the heck a Kreg Jig is, you can check out our quick video HERE giving a basic rundown of this awesomely amazing tool!
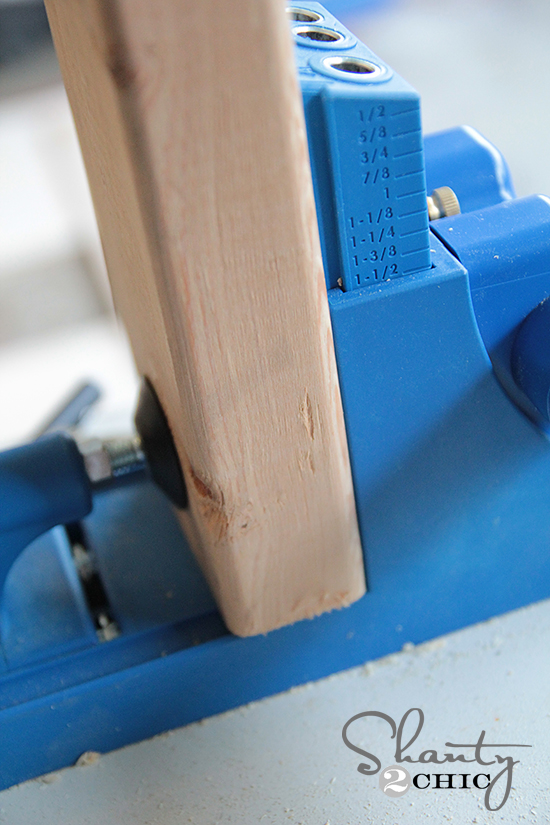
I made two 1.5″ pocket holes on each end of the 14″ boards like this. This is showing how I set the length of my drill bit at 1.5″.
And this shows how I have set the pocket holes to be at 1.5″ as well…
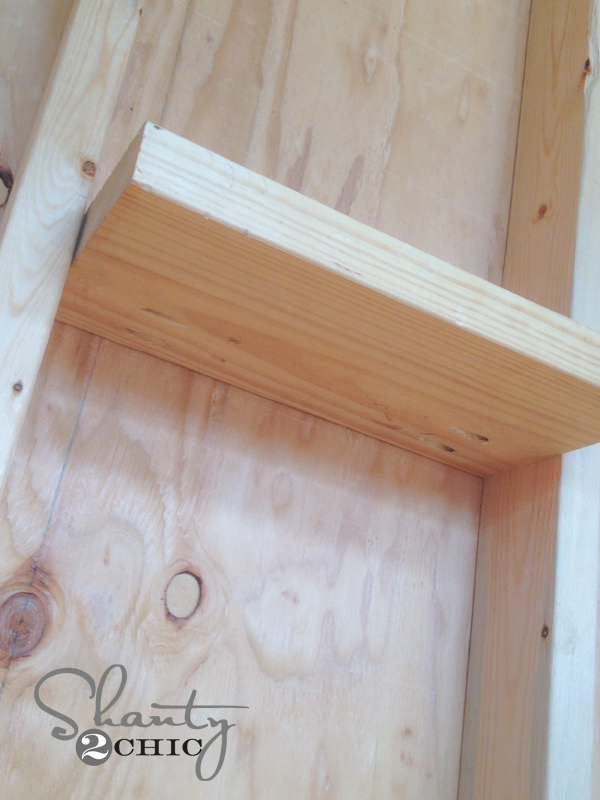
Here is what each of my boards looked like before attaching them to my studs.
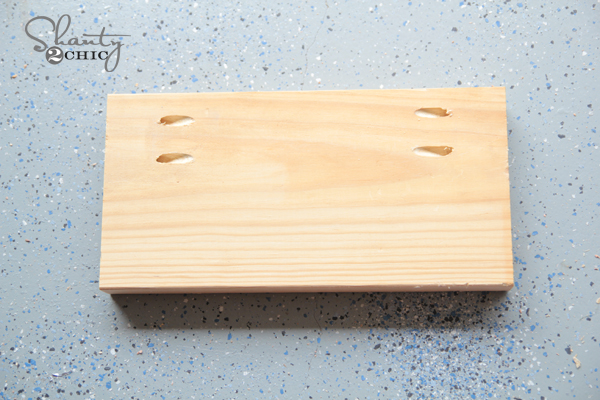
Notice how I kept the pocket holes on one side. That is because we are attaching it to a 2×4 and you want to make sure you don’t put them any further than that on your 2×8.
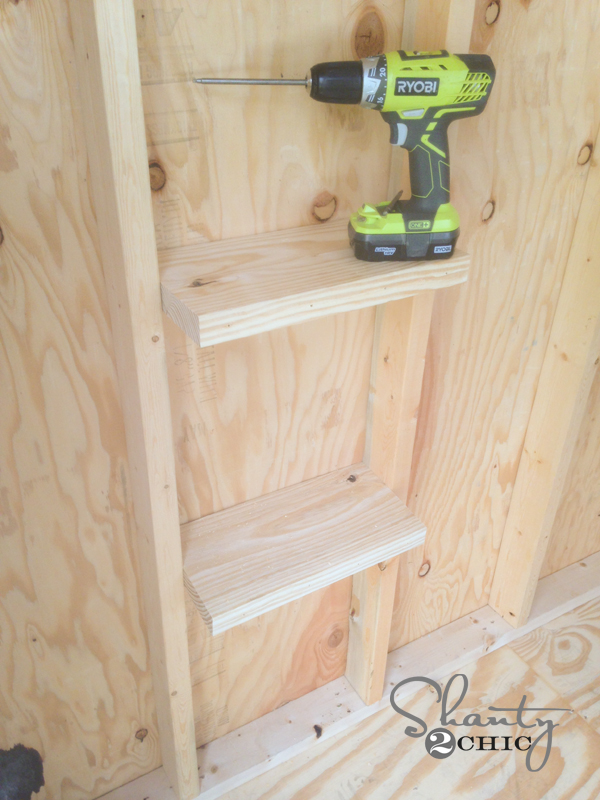
Now to attach them! Using my Ryobi drill, I attached the boards into my exposed studs using 2.5″ pocket hole screws. I also ran a line of Gorilla Wood glue along the edges of my shelves that would touch the shed. I kept my pocket holes facing down so you can’t see them.
I spaced my shelves about 16″ apart, but you can line yours up at a length that fits your storage needs. I plan to make many more of these and will probably put them at all different lengths.
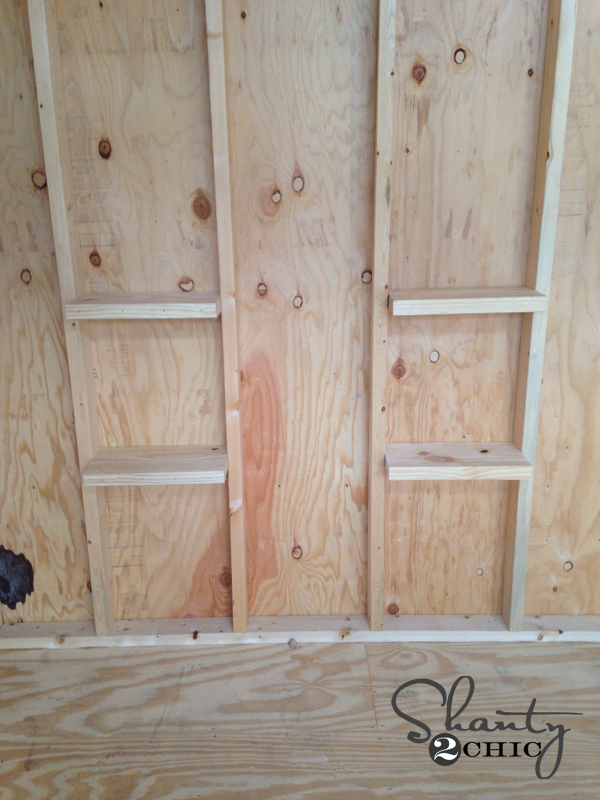
Now to attach the next set of shelves. You will skip a space between your studs to leave room for brooms, shovels and other taller tools. Make your second set of shelves the same length and distance apart as your first two. When you have them all attached they will look like this…
Almost done! I measured the distance from the end of one shelf and across to the end of the other shelf. Mine was right around 46″. I cut two pieces of my 1×2 board at this length and ran a line of Gorilla Wood glue down each piece.

Finally, I used my Ryobi AirStrike nail gun to attach the 1×2 to my shelves like this…
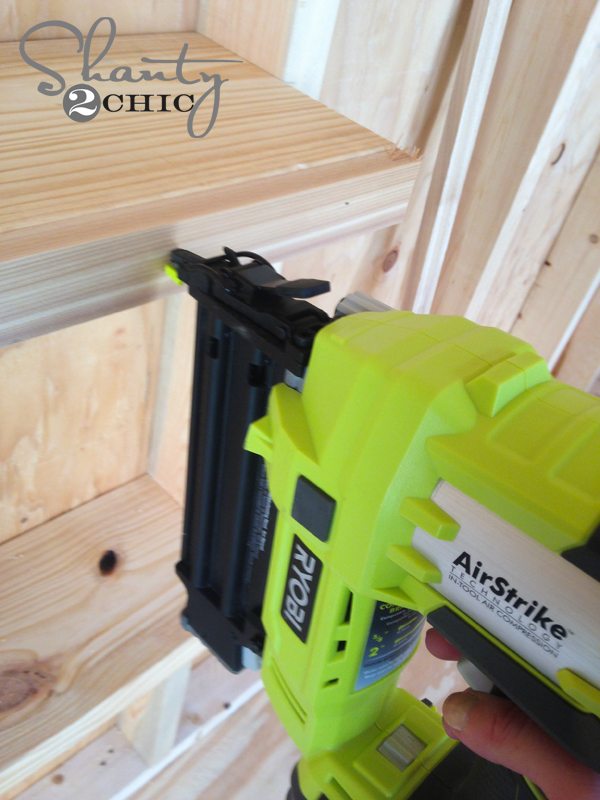
I LOVE this tool. It has all the power and greatness of an air nail gun, but it runs on the same lithium-ion battery that my drill does.
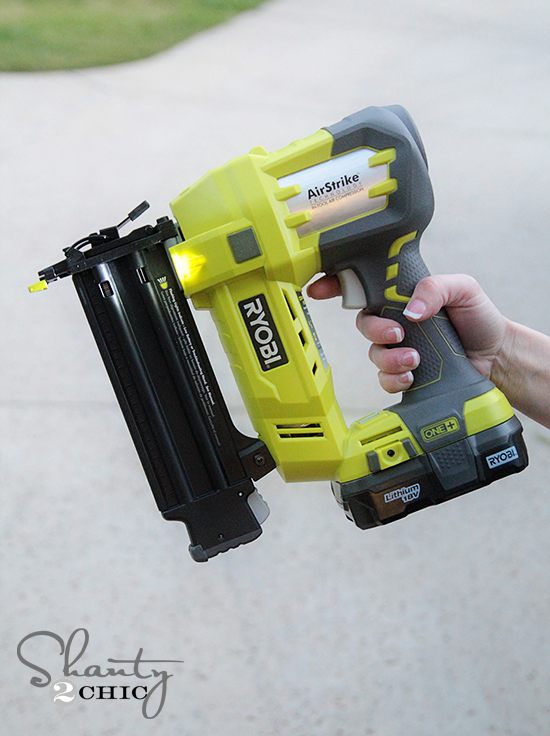
That keeps me from carting around an air compressor and being attached to a cord. Since I was working between my garage and my shed on this project, that saved me a ton of time! This is a great tool to add to your list peeps… You will thank me. And you will probably want to put a brad nail into everything in site. 😉
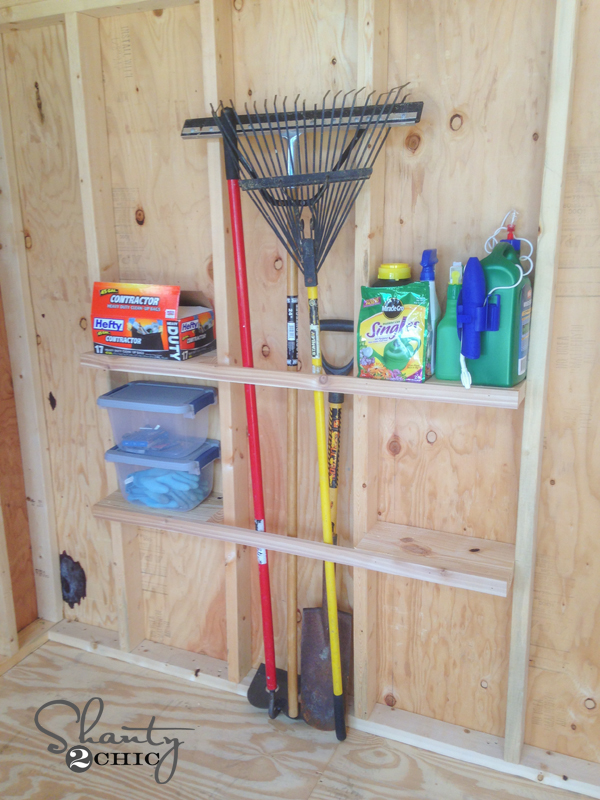
That is it! We are done! My final step was loading them up with stuff that has been cluttering up my garage. I think that was the best part! Here it is all finished up!
And for those of you that missed my AWESOME WoodTex Shed reveal, be sure to check that out HERE! This is my new favorite place in my home. My babies call it ‘mommy’s little house’… Haha! 😉
I hope you love this cheap and oh so easy storage solution! I would love for you to share this idea and PIN it with your peeps below! I hope you all have an awesome weekend!


I like it but where are the shed plans? lol
Great idea!