Happy Monday friends! Welcome to day 2 of our 12 Days of Christmas series. To keep up with all of our Christmas projects and posts, be sure to FOLLOW us on Instagram!

I am so giddy with how this latest project turned out. I LOVE gifting and receiving photos each year. My fam loves receiving them, and they really do make the best gifts! I always like to come up with a fun and cheap (of course 😉 ) way to display them, so I came up these cuties…
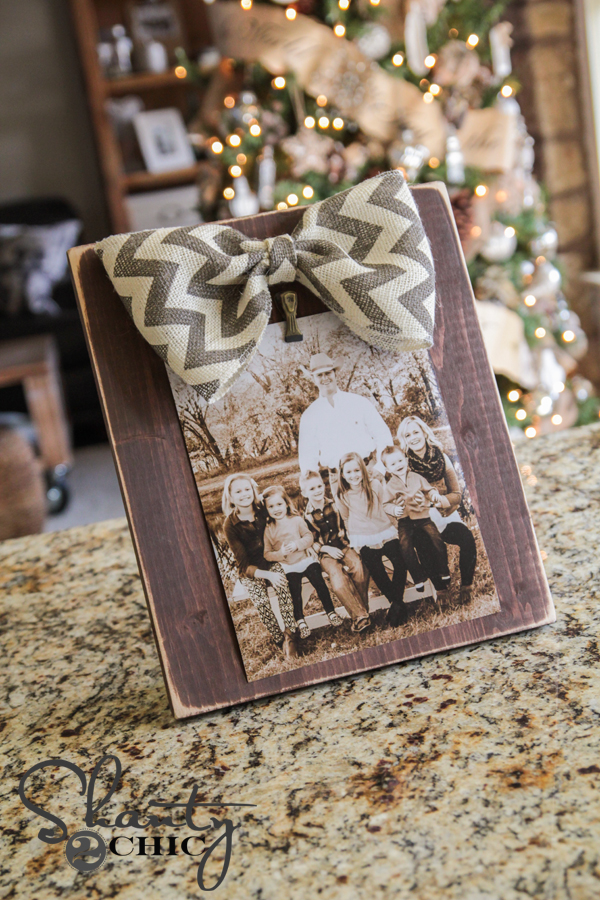


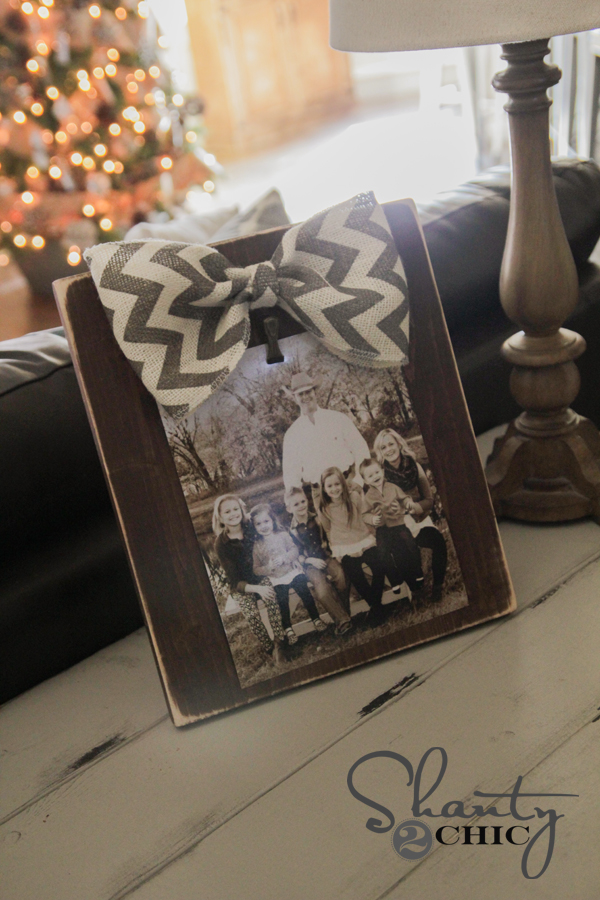
Aren’t they too cute??
My favorite part has to be the price! I made each of these frames for under $3 in supplies. CAN’T BEAT THAT!
This is a super simple project! Let’s get started! This supply list will make 6 frames. You can buy more or less wood depending on how much you need.
Supply List
1 – 1 x 12 x 4
1 – 1 x 3 x 6
Burlap Ribbon
Twine
Metal Clips
Gorilla Wood Glue
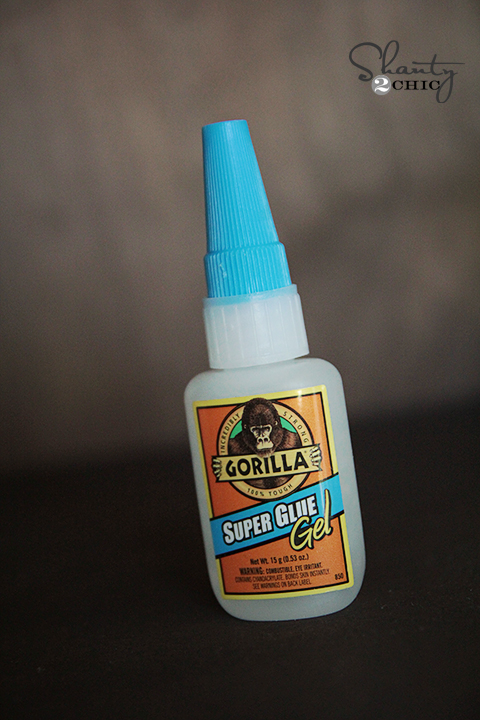
Gorilla Super Glue Gel
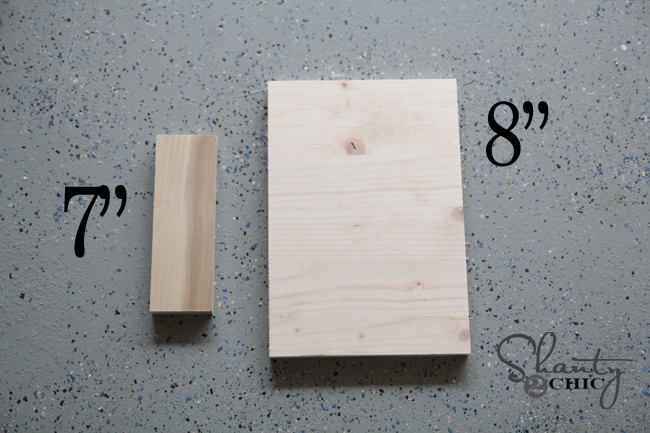
Start by cutting your frames!
If you are making the smaller frames that hold a 5×7 photo, you will cut your 1 x 12 at 8″ and your 1 x 3 at 7″.
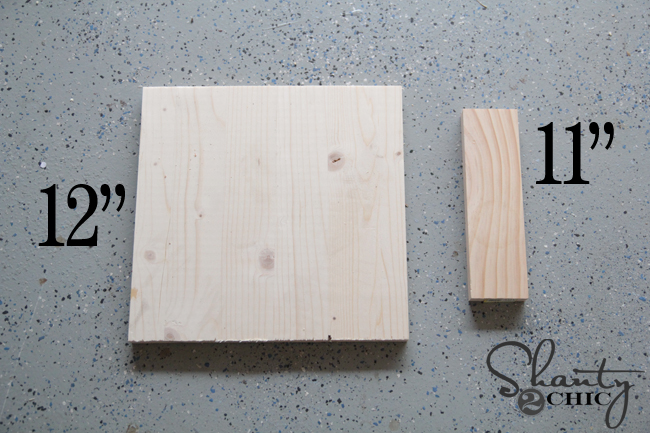
If you are making the larger frames that hold an 8 x 10 photo, you will cut your 1 x 12 at 12″ and your 1 x 3 at 11″.
Time to attach them!
I decided to use my Kreg Jig to attach my pieces. You can totally use just glue and clamp, or you can also use wood glue and wood screws through your 1×3 piece. If you choose to use wood screws, you will need to use 2.5″ wood screws and make sure to pre-drill to keep your wood from splitting.
I would totally recommend the Kreg Jig though. This is a PERFECT starter project if yours is still sitting in the box. It makes building these a total breeze. I used 3/4″ pocket holes and 1 1/4″ pocket hole screws on this project. Start by making 2 pocket holes in your 1×3 piece like this…

I lined up the 1×3 piece at the base and drew a line to mark where I planned to attach it.
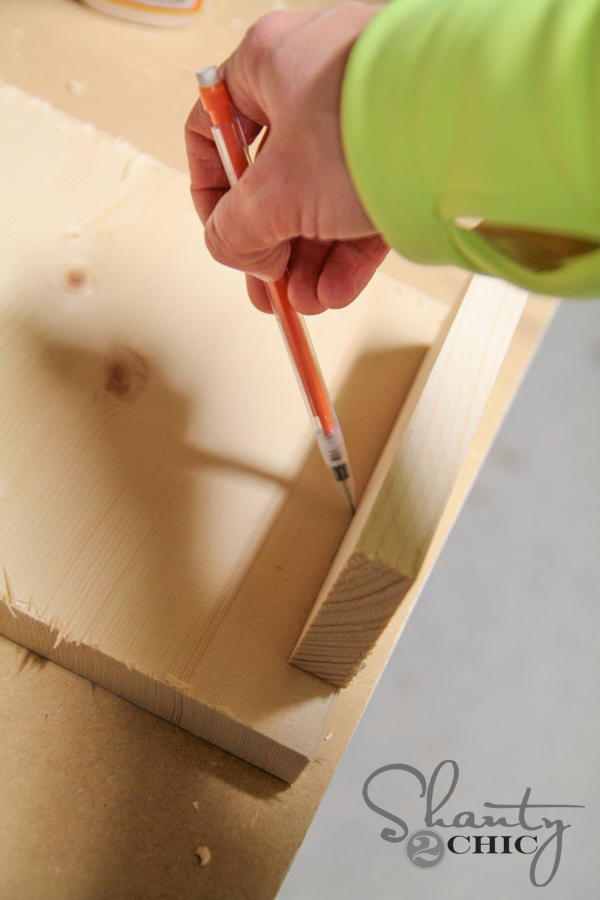
Next I used a line of wood glue and attached the back piece using my Ryobi drill and pocket hole screws. You can see where I lined up the 1×3 on the line I drew in my last step. If you decide to use wood screws on this part, just pre-drill through the back of the 1×3 on this part, and used wood screws through those holes and into the back of the 1 x 12 piece. But I promise… The Kreg Jig gets this part done much faster and easier! You will thank me!
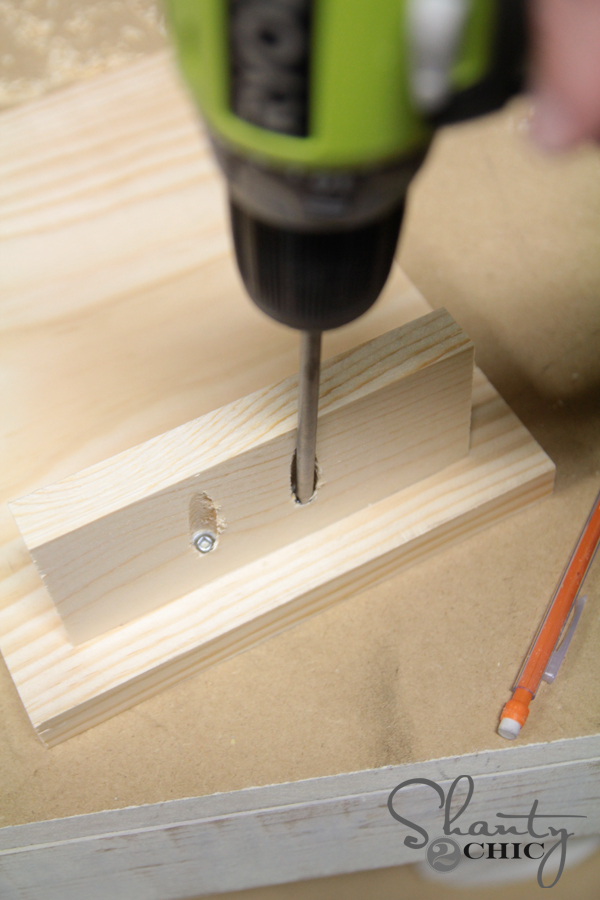
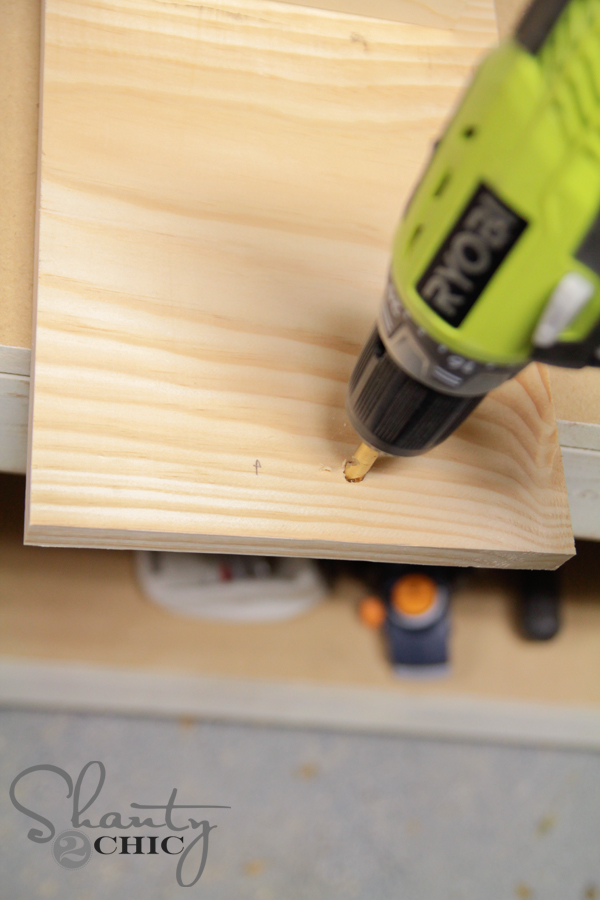
After attaching my back piece, I drilled two holes in the top of each frame. I made my holes about 1.5″ apart. No science here. Just eyeball it. The bow will cover up these holes, so no need for perfection on this part.
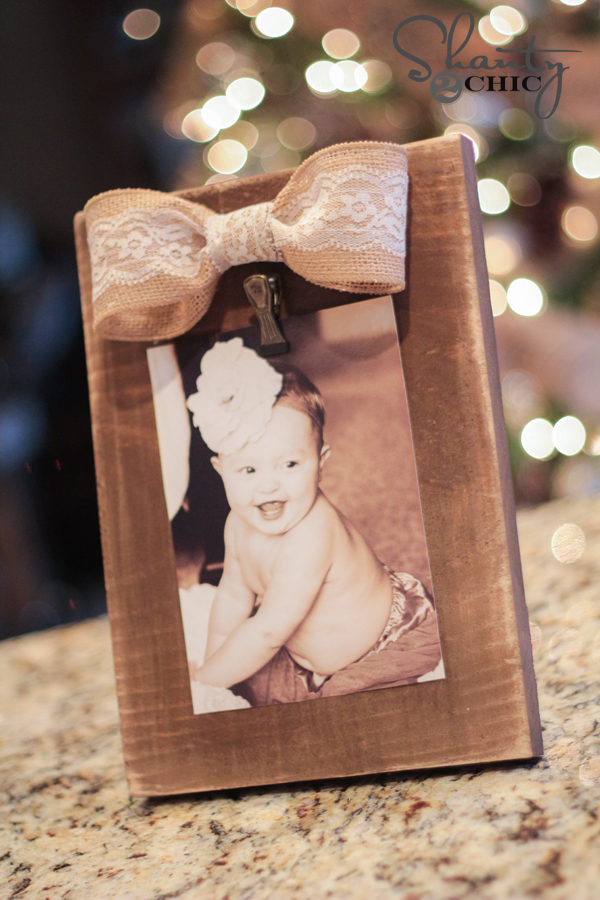
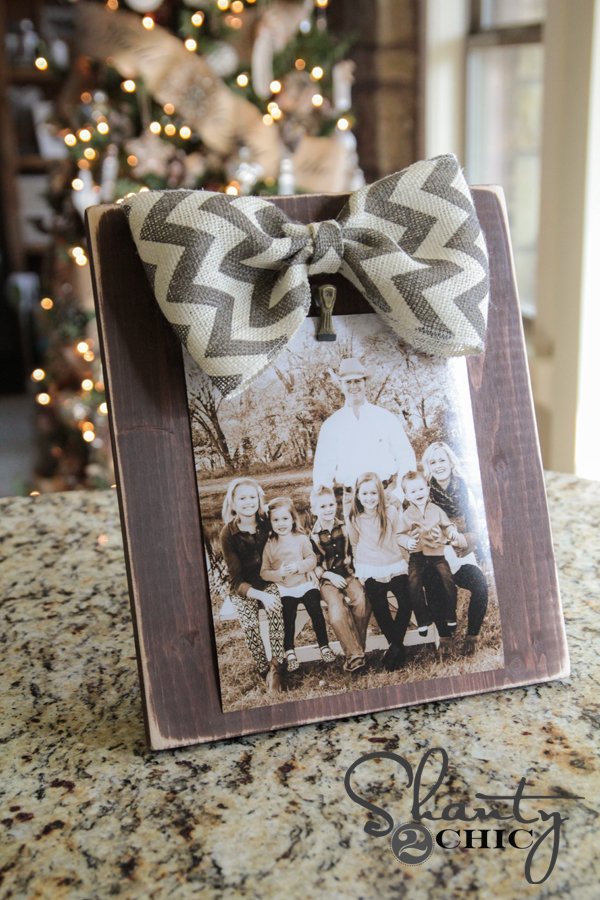
That’s it for the building part. Before making the bows, I stained and painted my frames. For my larger frame I used Rust-Oleum Wood Stain in Carrington. I love this color! So pretty and rich.

For the smaller frame I used Rust-Oleum Painter’s Touch spray paint in Canyon Black.
While those were drying, I started on my bows!
I like to call my bows ‘faux bows’! They are super easy to make. All you need is a hot glue gun.
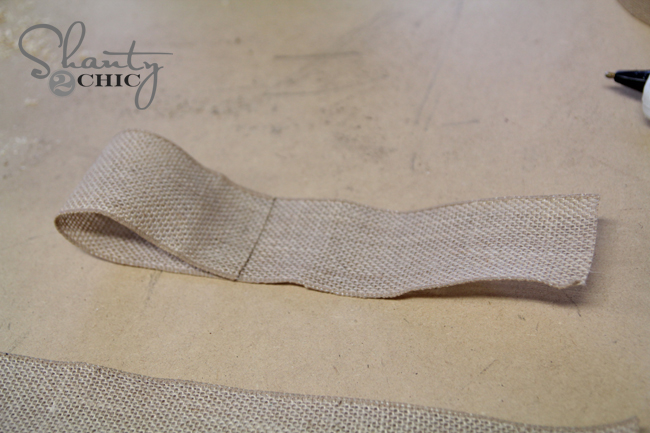
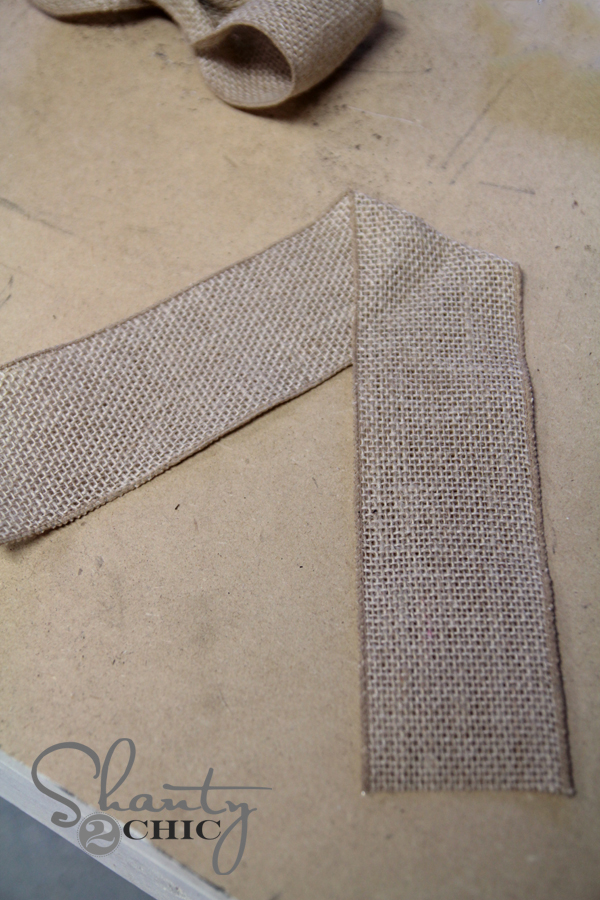
I will show you how I made the smaller bow here. Start by cutting two pieces of burlap ribbon. I found mine at Hobby Lobby. I like to use a wire edged ribbon because it helps keeps the bow’s pretty shape. I started by cutting 2 pieces each at 16″.

I folded one piece to the center just like this and used a few dabs of hot glue to hold it in place.
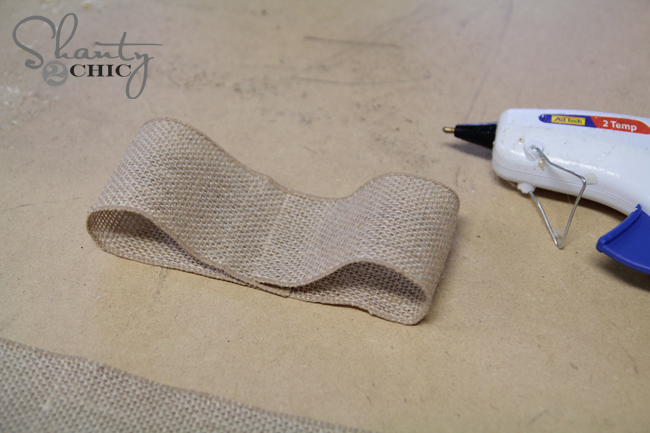
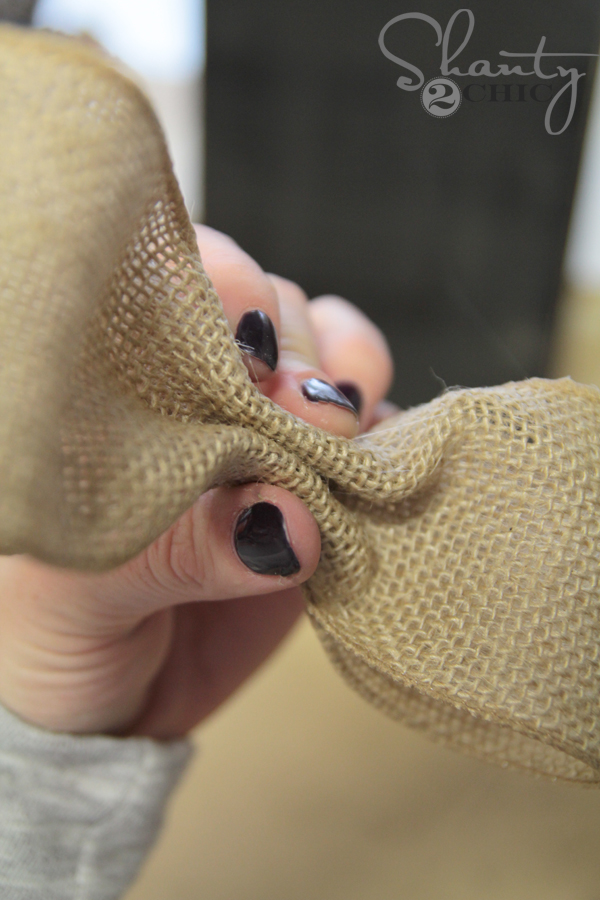
I pinched the center of this together and used a few drops of hot glue to hold it all in place. Be careful on this part! The glue gets hot and I have been known to fry a fingertip or 2.
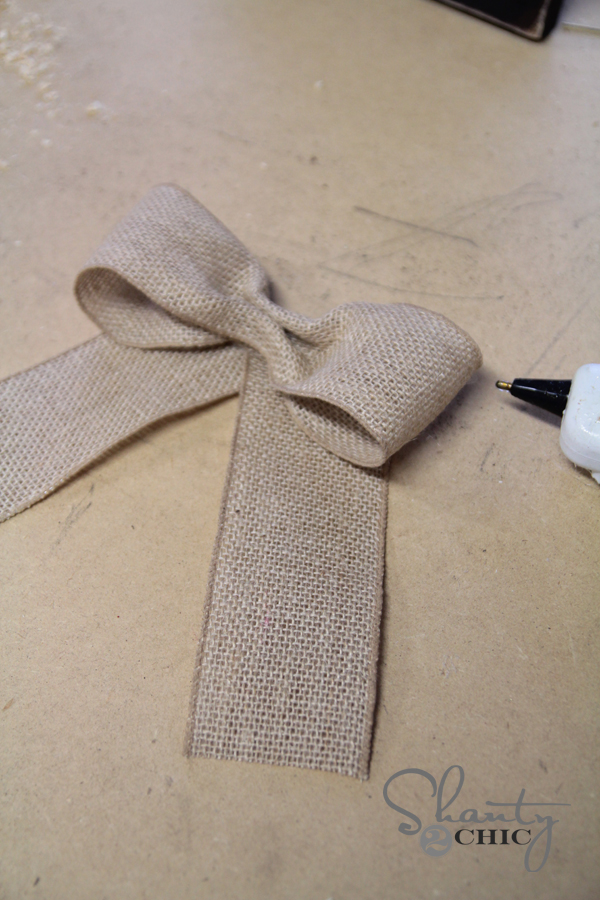
Next, I folded the other piece like this and used a dab of glue to hold it in place.
Then, I glued the bow to the tails with a drop of hot glue.
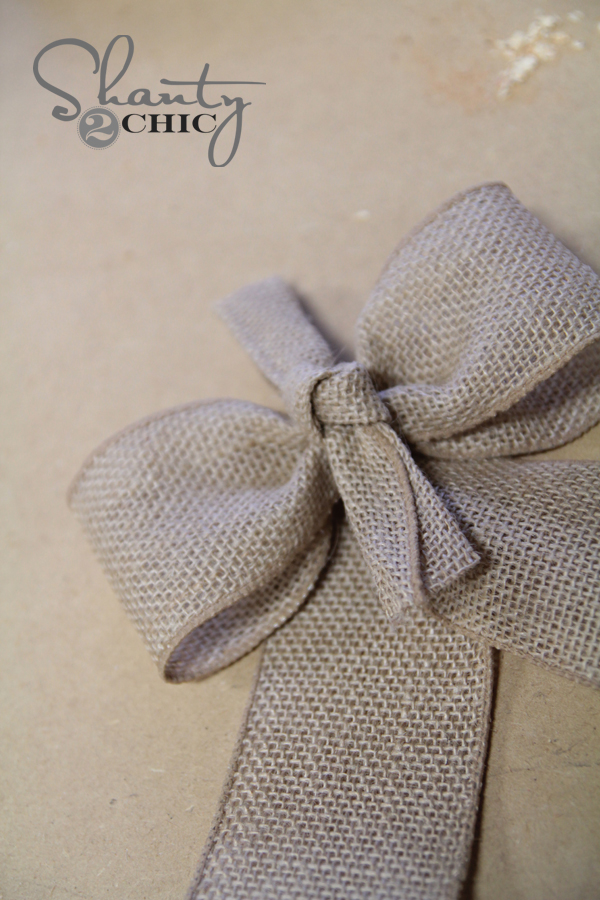
To make my center knot, I cut a small piece of ribbon and folded it two times. Next, I made a knot like this…
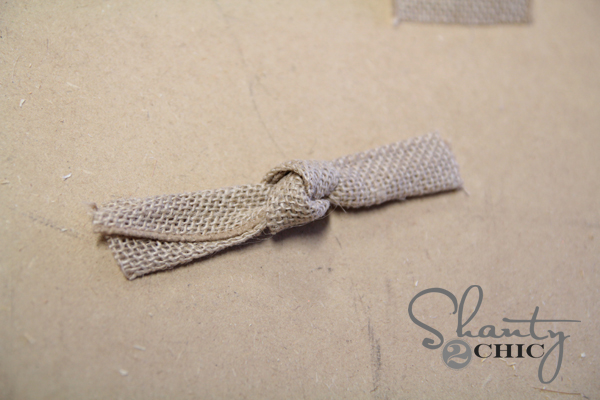
I glued the knot to the top of the bow…
Now, I wrapped one end around to the back and glued it down. Cut the extra ribbon off here. I added a small piece of twine, and then attached the other end of the ribbon and glued it down as well.

Cut all the extras off and you are set!
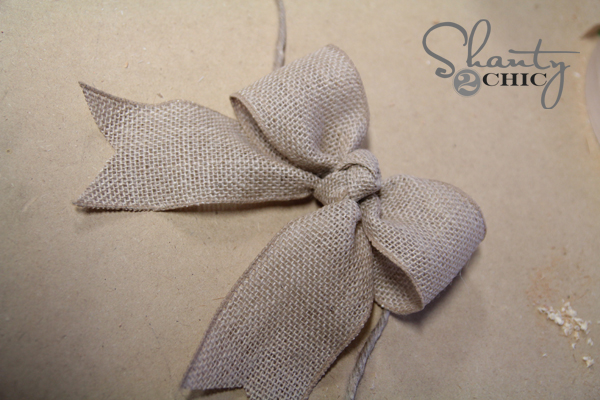
If you are making a big bow, just skip the tail piece all together.
![]()
Also, instead of making a knot for the center, I just folded it two times and wrapped it around the center of my bow. Easy peasy!
![]()
I found these super cute clips to hold my photos! You can also find them at Hobby Lobby. Really any metal clip will do, but these are extra fun! I used some Gorilla Glue Super Glue gel to hold the clip in place.
My final step was attaching it to my frame.
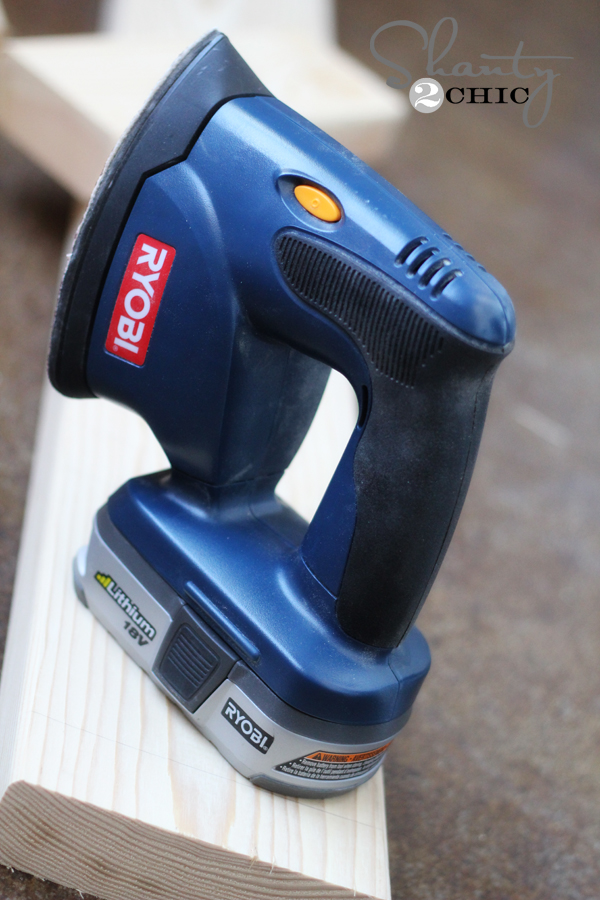
Before attaching my bow, I sanded the corners and edges of my frames down to give them a fun, distressed look. I used my Ryobi Corner Cat sander on this part. I use this bad boy on just about every project I do. LOVE it.
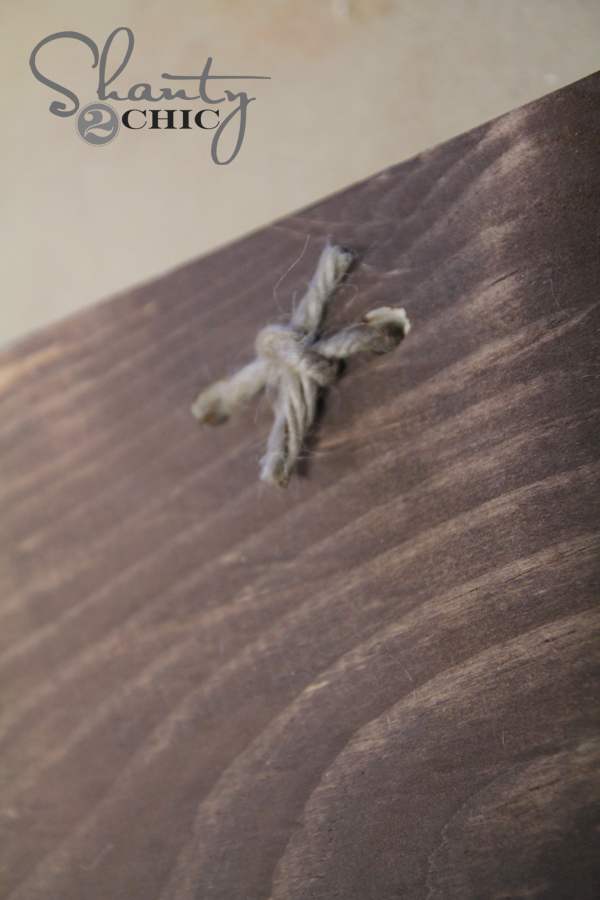
I ran the twine through the holes of my frame and tied a knot on the back. Done!
Here they are all finished up!

Thanks so much for stopping by guys! I hope you love them as much as I do! And did I mention… $3 a piece? Just checking. 😉
I would LOVE for you to share and PIN this with your peeps below!
And don’t forget to check out these great 12 Days of Christmas posts as well!


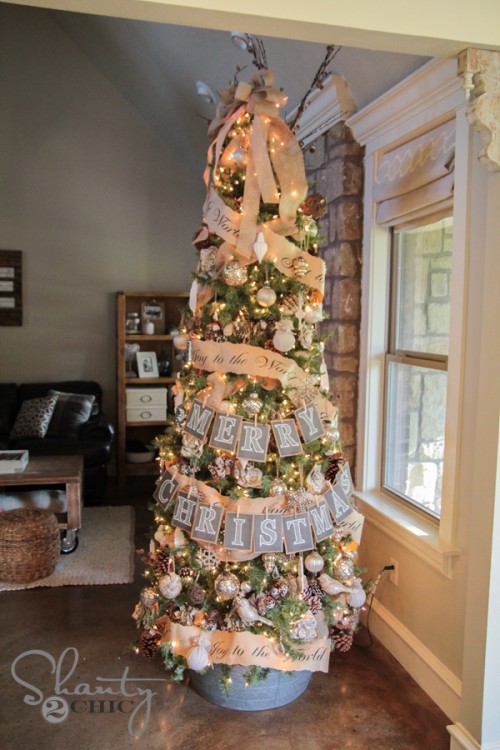
Here are a few projects that we have recently done to help you get your home holiday ready!

 Free Printable Merry Christmas Banner
Thanks so much for stopping by!!!
~Whitney


Where did you find your clips?
Yes!!! Where do you buy your clips???
What kind of wood do you use for all of your projects? Thanks!
So simple but so cute!
Here is how mine turned out!
Beautiful! Where did you get your clips?
Hobby Lobby… in the scrapbooking section
Do you remember what the clips are actually called. I went to Hobby Lobby and 5 other places and couldn’t find them
They are adorable!! Love them! What did you use for stain or paint?
Thank you so much for the wonderful idea. I have already given two away and if I must say so myself… they turned out so cute!
The hyperlink for the clips is not working. Where did you find them?
Beyond adorable! Love this ladies!
xo Michael
Great gift ideas! So, cute. Can you tell us where you found those adorable clips?
Where did you get the chevron ribbon?
LOVE this! And thank you for sharing the how-to!
I always have my eye on these cute frames at vendor shows, and I always think to myself that I could DIY them. Now I know how! These are so, so cute. Great job, ladies!
What a sweet project! I love that everybody can make this and it is so easily adaptable to your own style.
Awesome ideas!!!!! Let`s do it!!!!
I only just realized but do you add a top coat of poly after you stain your pieces? Or is it just stain then ‘shanty’ then done? How do you find your furniture holding up to this process? I would love to cut out a step if possible!
You just managed to make a sweet picture even sweeter! Love this!!