Hey guys! We are back for Day 5 of the 12 Days of Christmas! We’d love for you to keep up with all of our latest projects on our Instagram and Facebook accounts 🙂

I’m loving the project I have for you all today! It’s serves so many purposes and it’s just so darn cute!
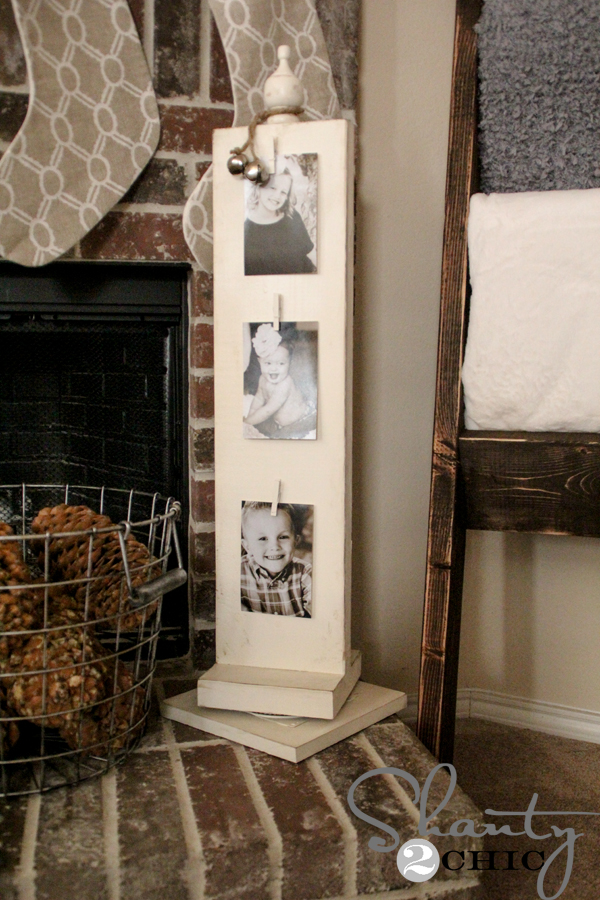
This cute little Photo Carousel was super easy to make and only cost me about $10! It’s also perfect for displaying greeting cards 😉
Here’s how I made it!
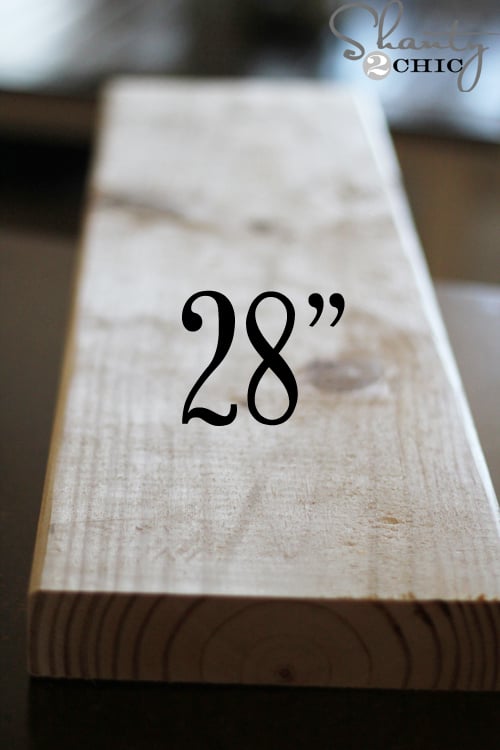

I started by purchasing 1 2×8 @ 8ft. and cut 1 piece at 28″ and 1 piece at 7 1/4″. I also used a scrap 1×10 and cut it at 9 1/4″. You can use any size scrap as long as you can cut it down to a 9 1/4″ square.
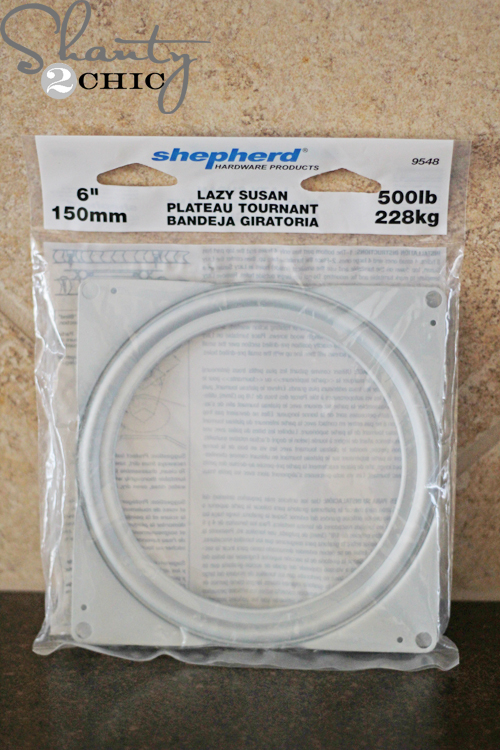
I purchased this lazy susan at a hardware store and attached it to the 9 1/4″ board and the 7 1/4″ board with Gorilla Glue Epoxy.

Once the epoxy dried, I used Gorilla Glue wood glue to attach the 28″ piece to the top of the 7 1/4″ board. Just center it on the board.
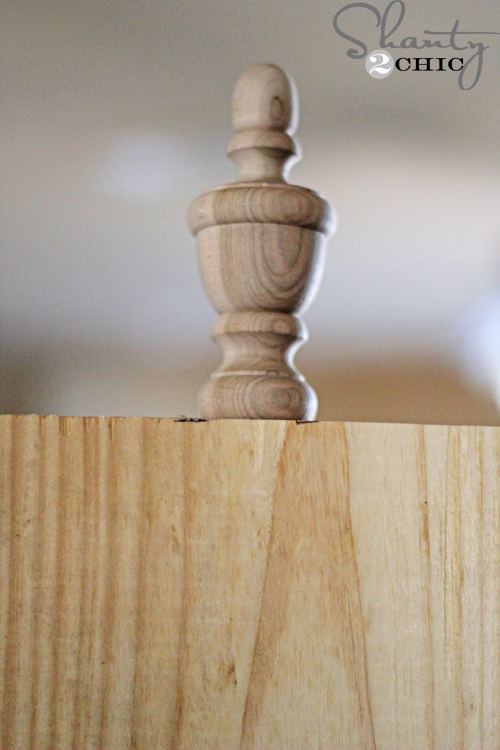
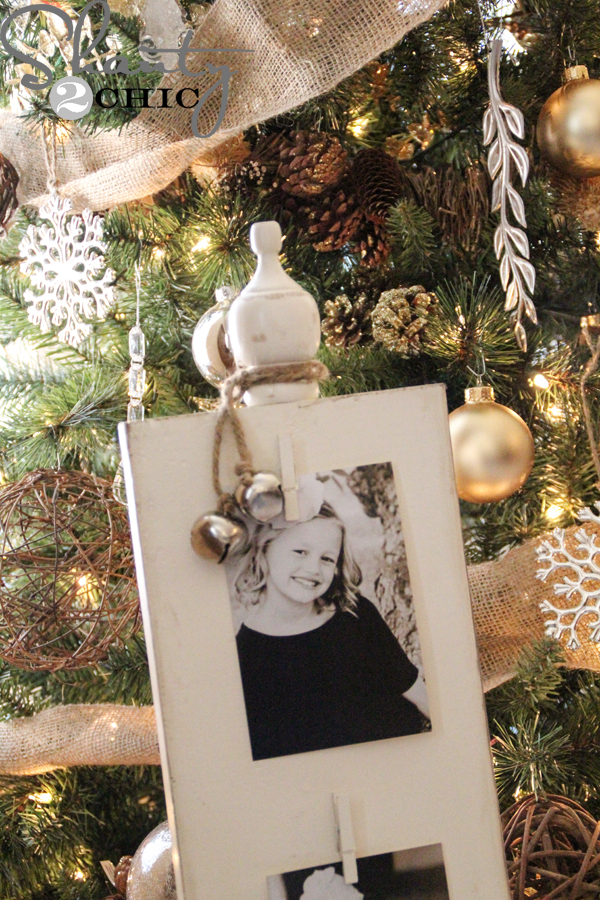
Next, I attached a wood finial to the very top of the 28″ board. You can find these wooden craft finials at most of the craft stores.
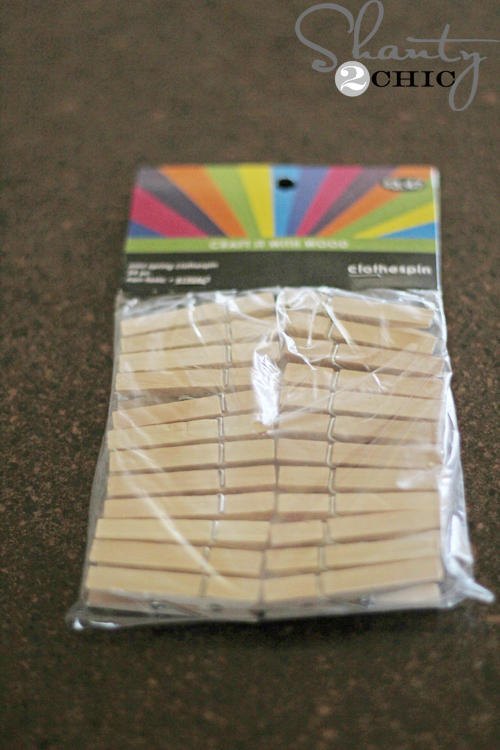
I then hot glued 3 wooden clothespins to each side of the carousel. This will hold our pictures 🙂
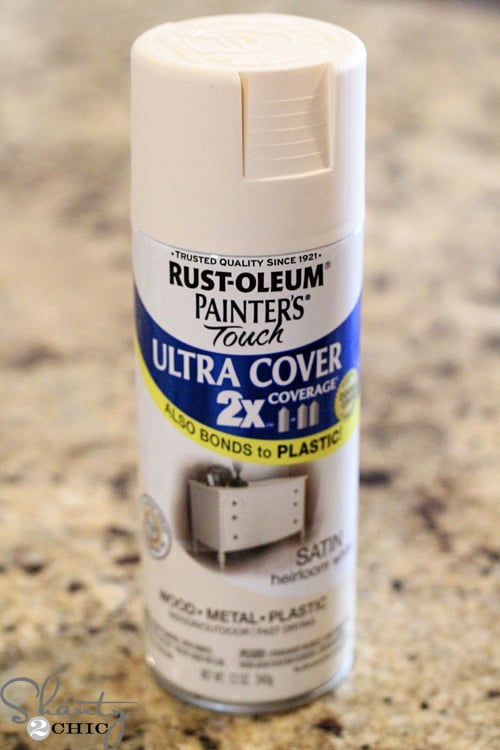
Once the glue was dry, I sprayed two coats of our favorite Rust-Oleum Heirloom White spray paint, in satin, to the entire piece.
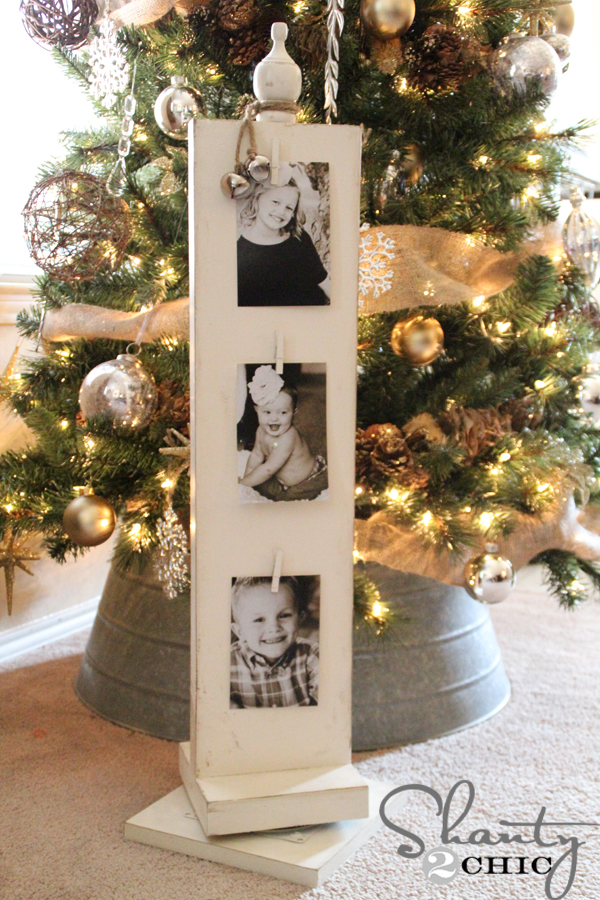
That was it 🙂 Because I am giving these as Christmas gifts, I just tied some jingle bells to twine and wrapped it around the top finial 🙂

There you go! A simple, inexpensive DIY that will help decorate your home for Christmas! We always appreciate your pins and shares!
Don’t forget to hop on over and see what our friends have been up to for Day 5 of this series!! They have some serious talent and great idea!

Michael of Inspired by Charm

Marianne of Songbird

Cassity of Remodelaholic

KariAnne of Thistlewood Farms
Donna of Funky Junk Interiors
In case you missed our previous 12 Days of Christmas posts, catch-up below!
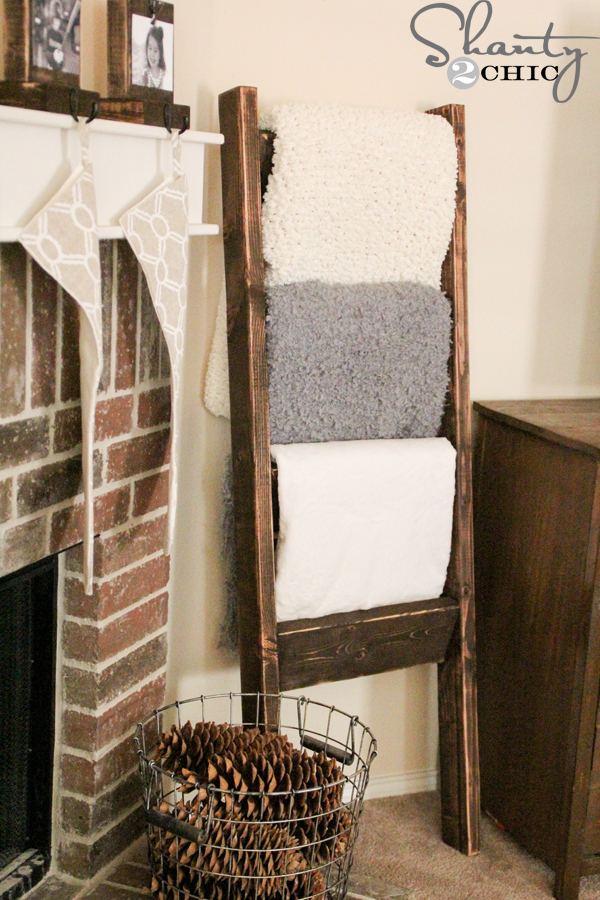
Day 1 – DIY Blanket Ladder
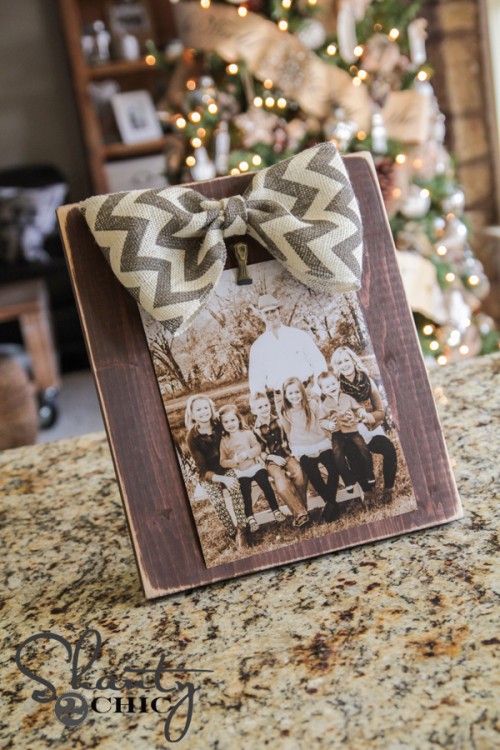
Day 2 – DIY Bow Picture Frame
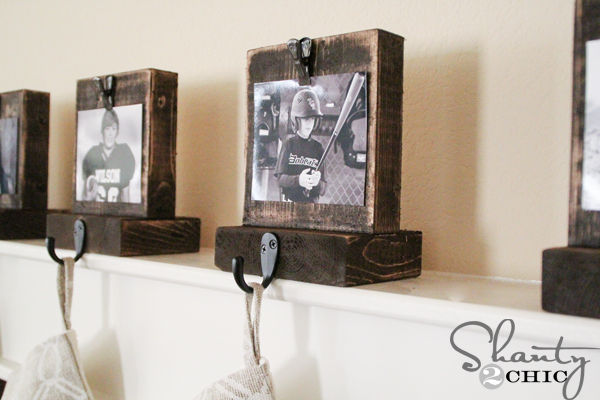
Day 3 – DIY Stocking Holders
Day 4 – Picture Frame Ornament


Prices either went WAY up or this estimate was far from accurate. Even skipping the carousel and already owning clothes pins I spent almost $40 ?
One more quick question….did you just hit up the edges with sandpaper to distress them or did you also use stain after sanded it? I can’t tell from the photo! Thanks in advance.
I can’t wait to attempt this after the holidays!!!
Would you recommend screwing the lazy Susan down or screwing the 28″ board to the 7 1/4″?
I am in the middle of building this and I ran into a problem. When I went to attach my 7 1/4″ piece to my lazy susan it is too small and you can see the lazy susan under my wood. In the instructions it says you used a 2×6 which is what I purchased, i also got the same size lazy susan as you show. I am confused!!! Any suggestions?
Krista I am having the same issue. My husband says that the 2×6’s you get out of the store are not true to size and mine is more like 5 1/2…but I found some lazy susan brackets that are 4 inch that should be perfect with my boards. Maybe you could find some that size where you are located.
I have all ready glued mine down:'( but I was looking on their facebook page and someone else commented about this same issue and they replied that we should have used 2×8’s instead. I guess I will be buying some new wood.
Guys! I’m so sorry this was a typo! It is a 2×8 that I used. I edited it in the instructions and again, so so sorry! -Ashley
I just love your blog!! You’re home is amazing and i love the projects you post about and the step by step details! I have made several of your diy projects myself and I love each piece!!
Jenn
How did you distress the edges once it had been painted?
What size of Photos did you use? 5×7?
Yes Amy!
Thanks!!
What a great idea for displaying more without seeing it all at once! The lazy suzan part is so cool! Beautiful project and build as always!