Hey friends! Welcome to Day 8 of the 12 Days of Christmas! To keep up with all of our projects, make sure to follow us on Instagram!

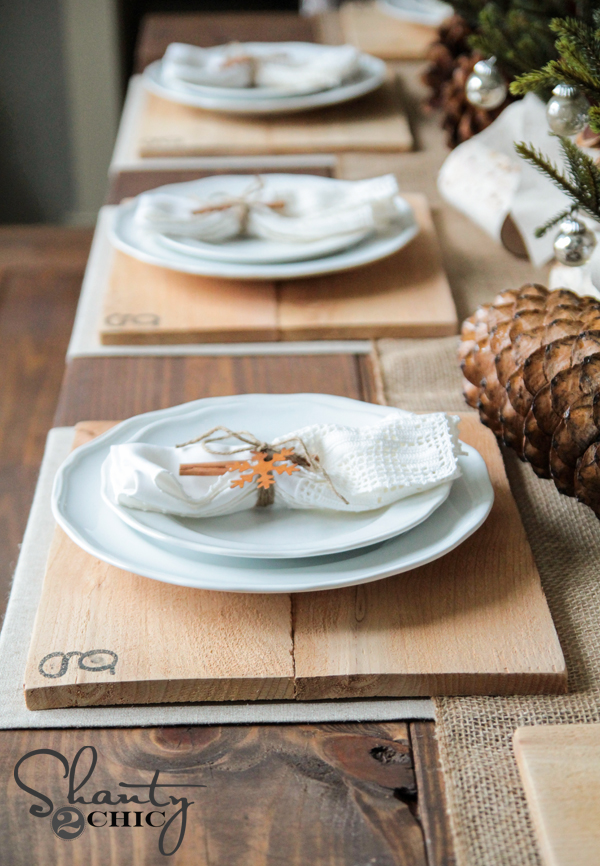
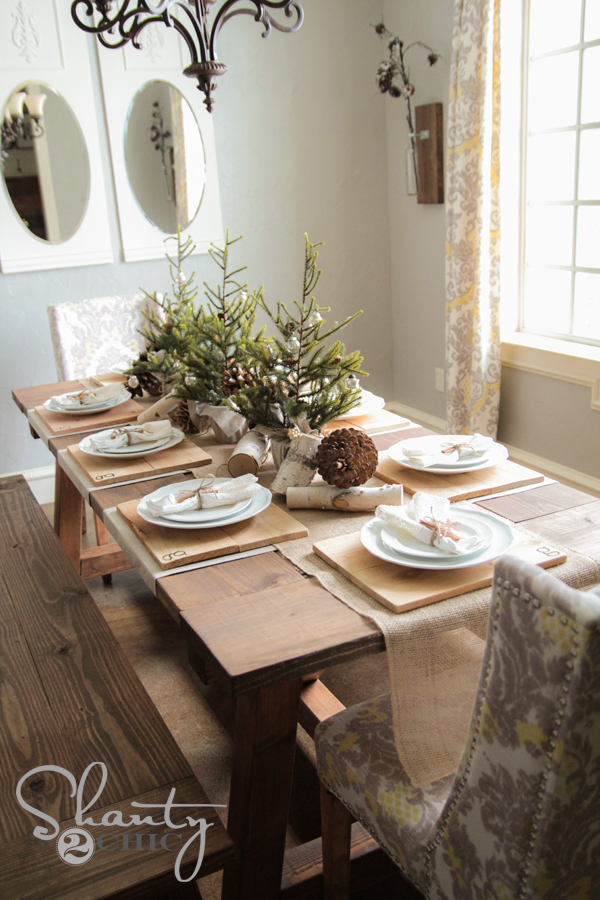
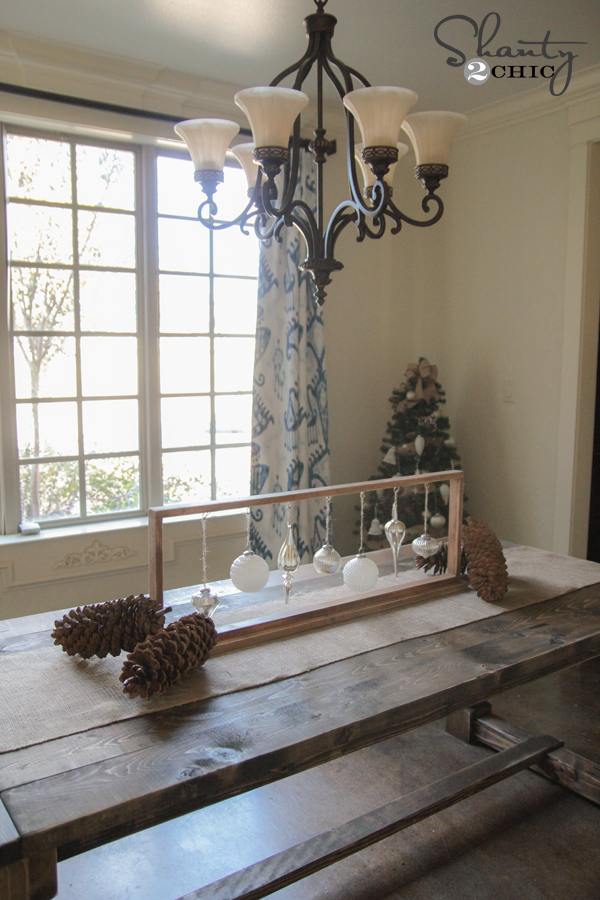
I am LOVING how these babies turned out! I decided to make a little something fun for my dining room. These will be great at Christmas time, and I love that I can use them all year long. I also think a set of 8 would make such an awesome gift for someone! Check out my DIY Wood Chargers! You can make a set of 8 for under $15!
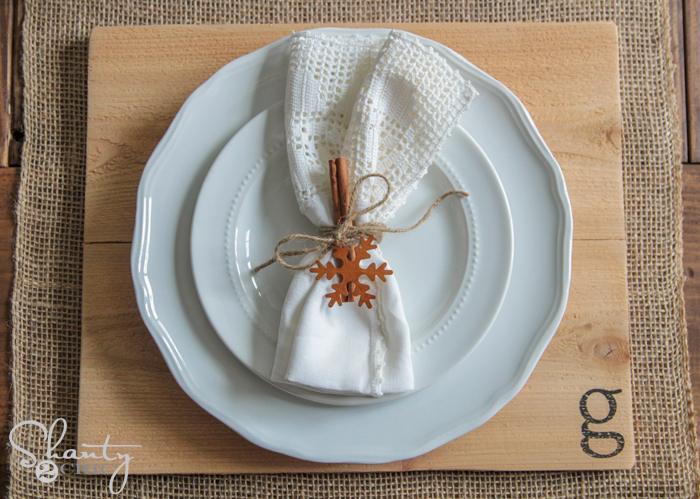
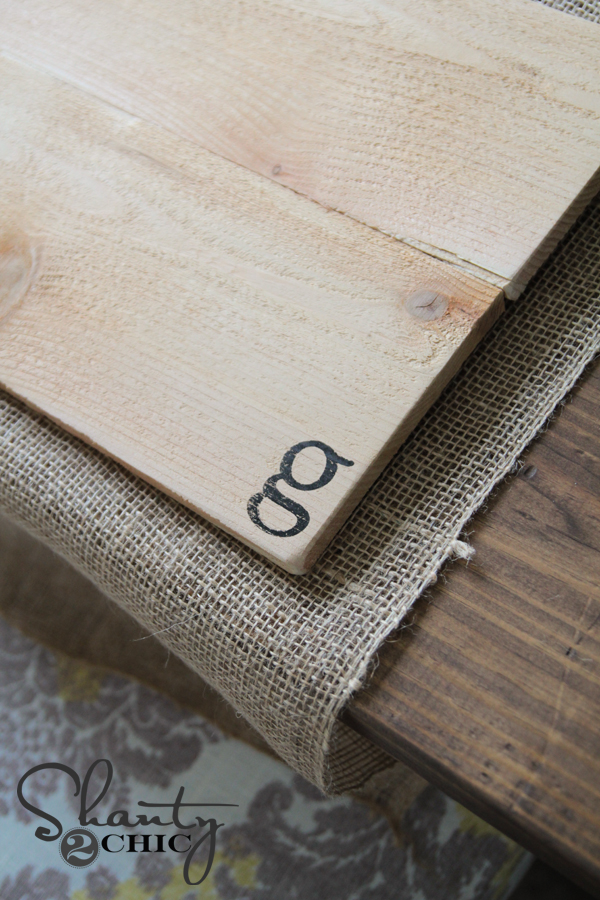
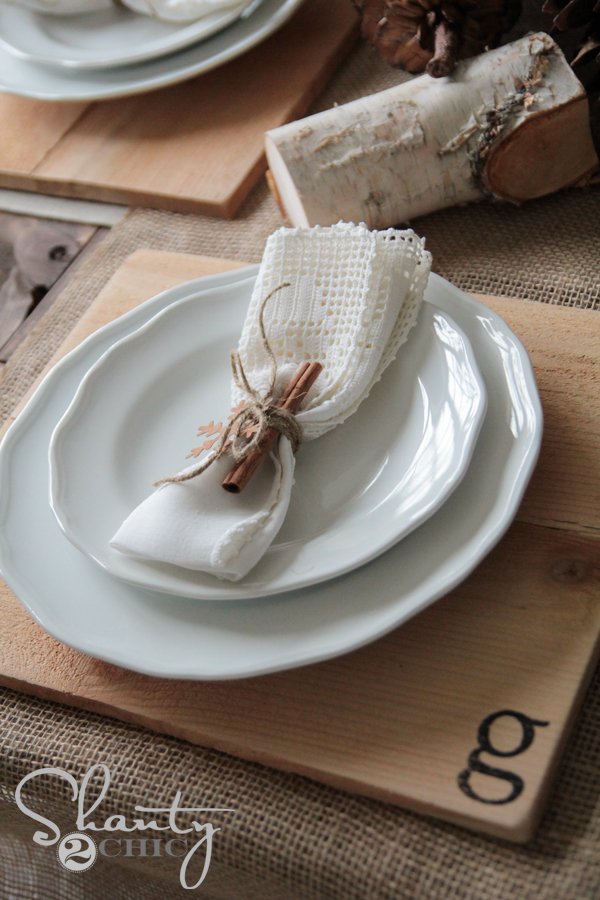
How cute are those? I personalized mine with a ‘G’ for my last name, but I think they would be so great done in the initial of someone as a gift.
These are the easiest things to make! This is probably one of the best beginner Kreg Jig![]()
projects as well! Best tool ever. You all need one.
So… Let’s get started!
Supply List
3 – 5/8″ x 6″ x 8′ cedar fence pickets (these run around $3.50 a board)
Wood Initial Stamp
Black Ink Pad
1″ pocket hole screws
*If you don’t have a Kreg Jig![]() , you can also use wood glue in between the slats, but the Kreg Jig is much easier!
, you can also use wood glue in between the slats, but the Kreg Jig is much easier!
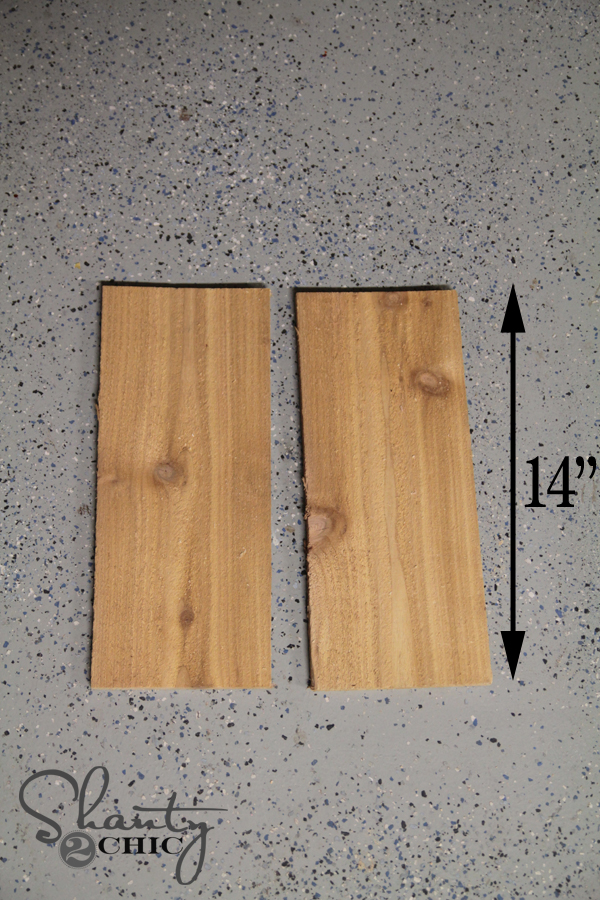
I started by making my cuts!
Each charger uses 2 pieces of board cut at 14″.
Now it’s time to attach! As I mentioned, I used my Kreg Jig to attach mine. I really can’t tell you guys enough how much I love this tool. From simple builds like this one, to beds and nightstands, this thing is the bomb. I set mine at the smallest setting since my board was 5/8″.
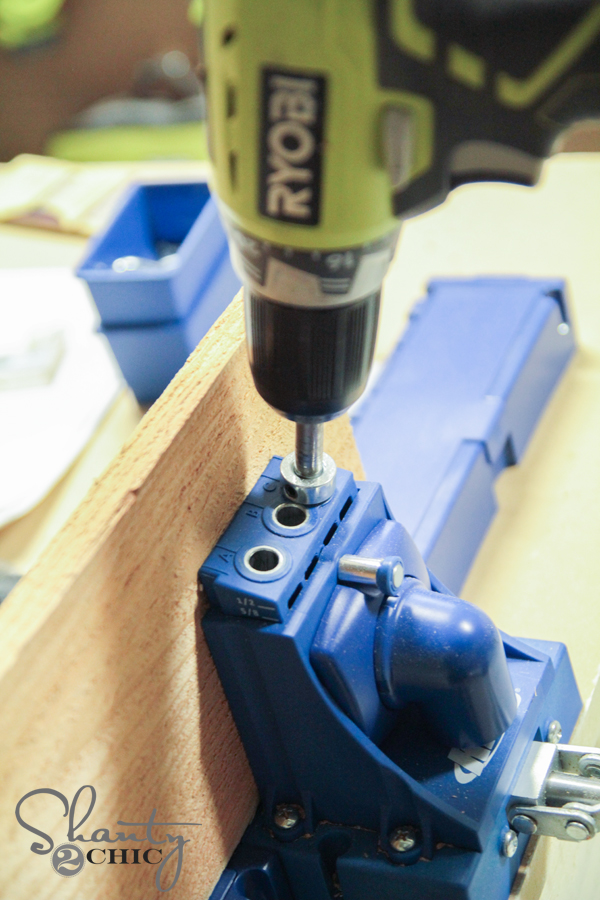
I made two 5/8″ pocket holes on 1 board and then attached them using 1″ pocket hole screws. The bottom of each of my chargers looks like this…

That’s it for the build! Now for the front…
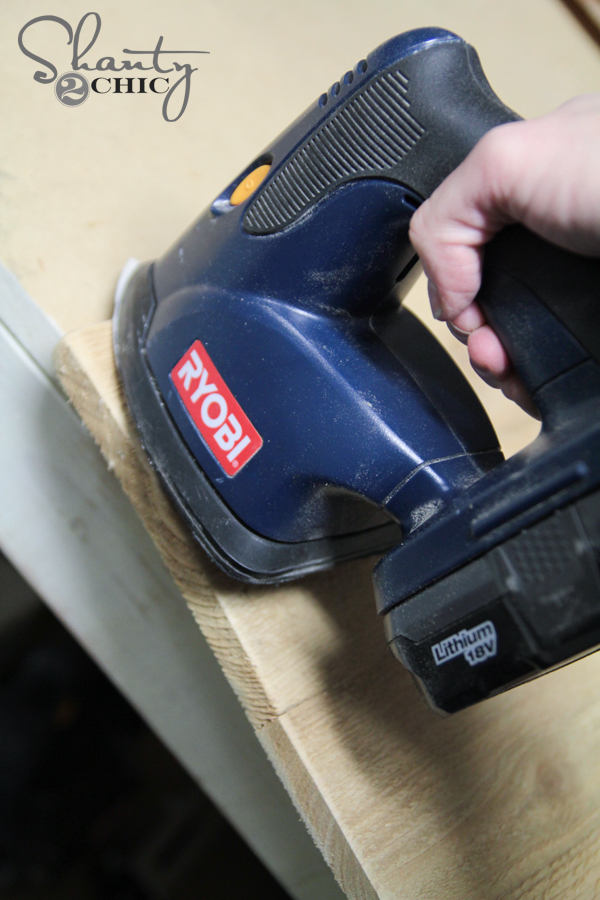
Before adding my initials I sanded the front of each charger using my Ryobi Corner Cat Sander. I also did my corners and edges. This gave it a smooth finish in under a few minutes!
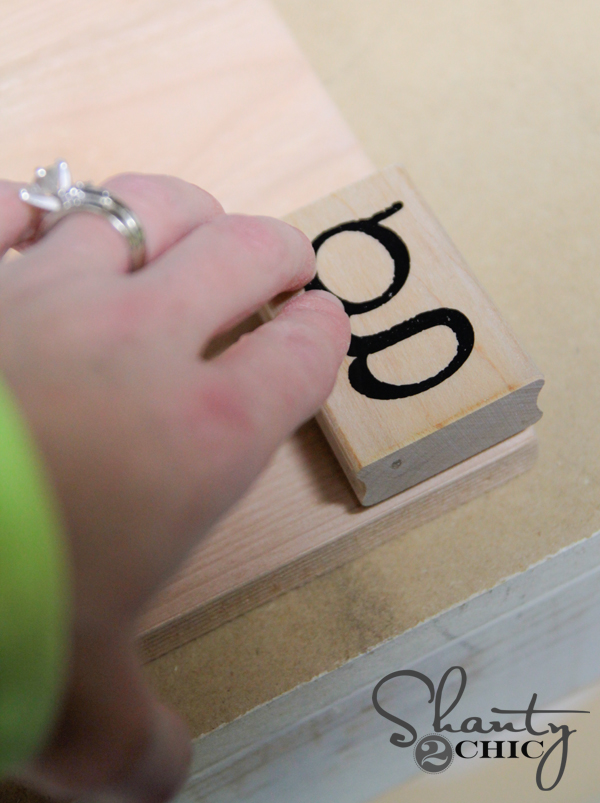
Now for the initial!
I bought this black pigment ink pad…

I used a super cute wood stamp from Hobby Lobby with my last initial. I paid around $3 for it. I just dabbed my stamp on the ink pad, and then stamped the bottom of each of my chargers.
That’s it! All finished!
And here they are all dressed up on my table!
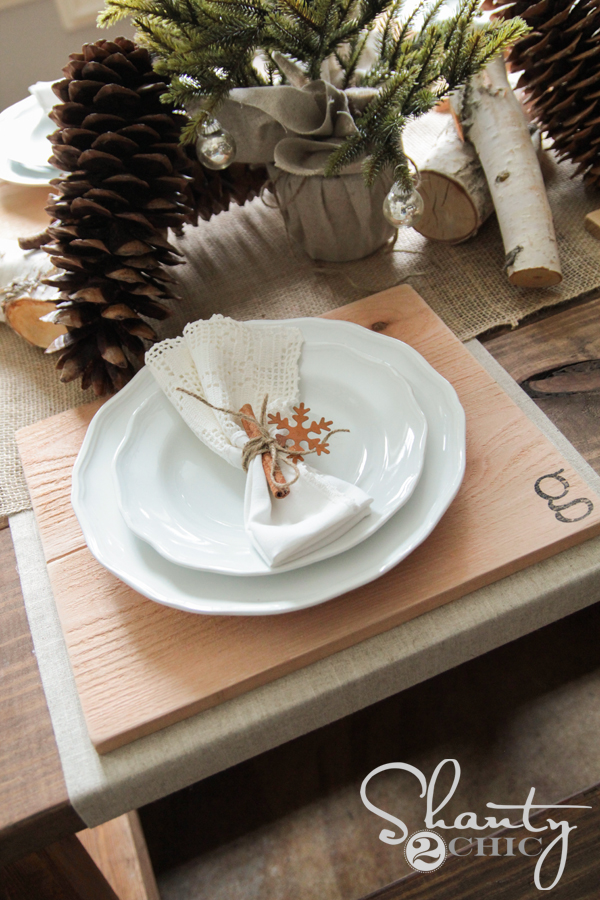
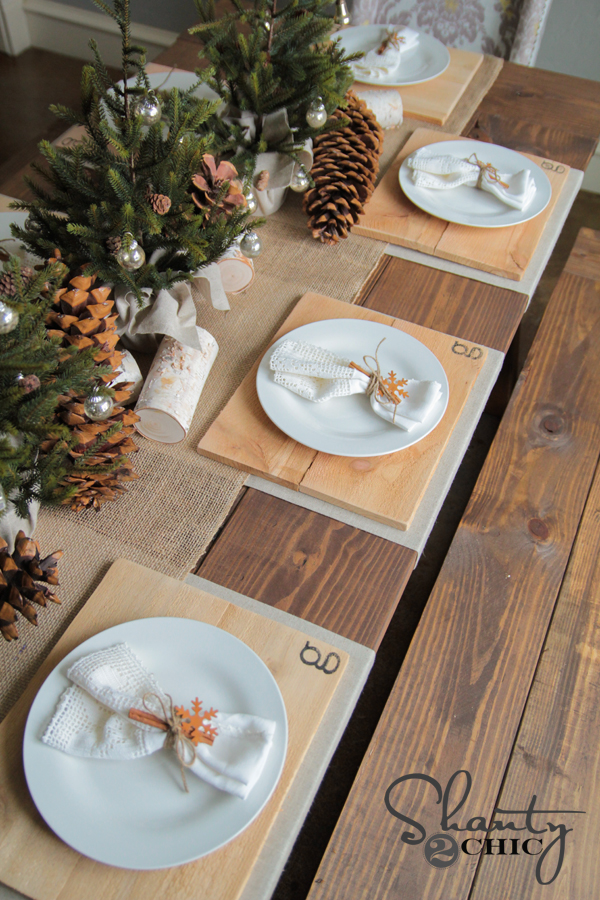
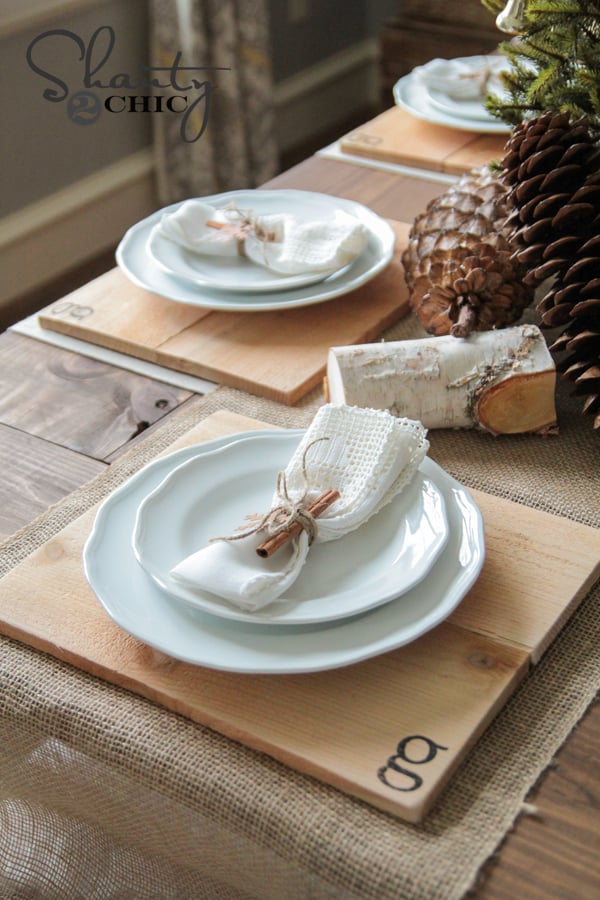
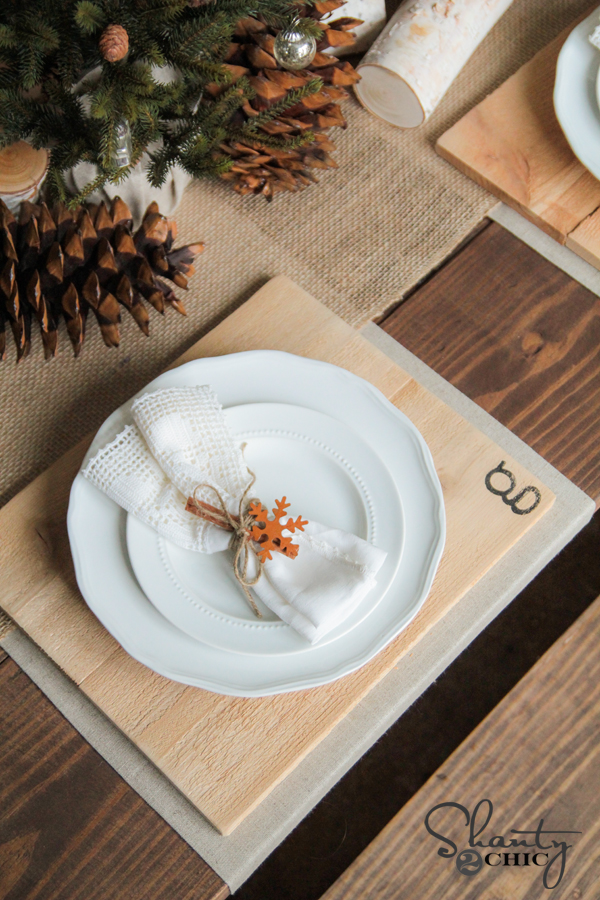
Aren’t they so fun? And I LOVE that I made the whole set easily for under $15… Makes me love them even more!
I would love for you to share my chargers and PIN them below!
Also be sure to check out the other great 12 Days posts from our friends!

In case you missed our previous 12 Days of Christmas posts, catch-up below!
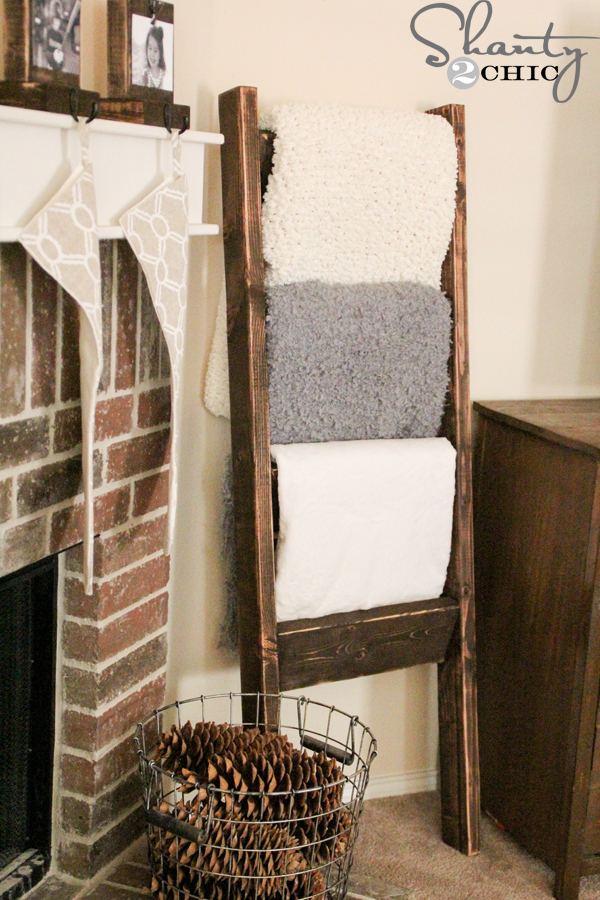
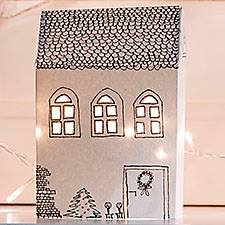
Day 1 – DIY Blanket Ladder
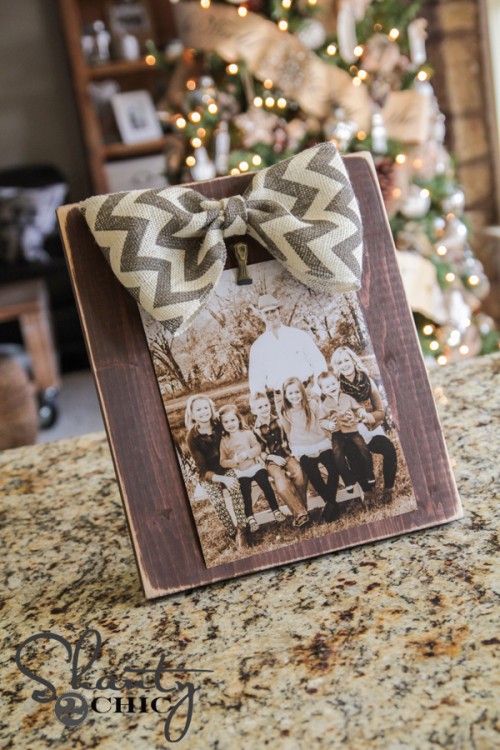
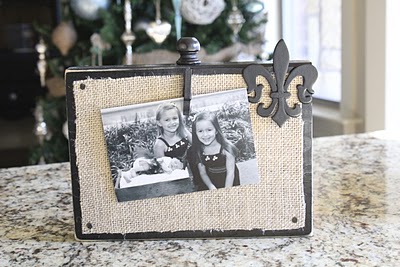
Day 2 – DIY Bow Picture Frame
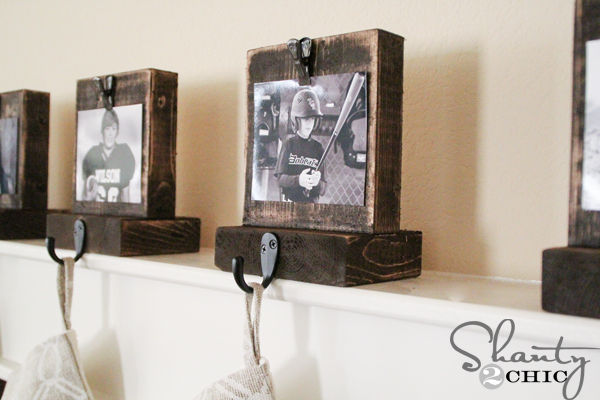
Day 3 – DIY Stocking Holders

Day 6 – DIY Wood Tray
Thanks again!
~Whitney

How did you keep your stamp for smearing? Mine is dry for like 8 hours but will still smear if rubbed.
I’m having trouble simply finding the cedar boards? Could you let me know where you bought them?
lowes ( fence boards)
These are so cute, but I had the same issue with the screws going through. They didn’t stay in place with the wood. I’m going to get around to just gluing them one of these days and hope that works better.
Love these, but when I tired to make them, my screws were going right on through. It was like the wood was just too soft. Could it be the climate in the Pacific NW or am I doing something wrong? I’m thinking of just glueing them, but am wondering if they will really be sturdy enough..
I love these wood chargers! So cool!
Leslie
House on the Way
Love it!!
Oh wow, your table is positively gorgeous! Those chargers are must haves! I’m convinced… Santa needs to bring me a Kreg Jig for Christmas. And wood chargers. Beautiful project!!
Wow, the whole table is gorgeous. Love it all.