Learn how to build this DIY Full Length Mirror with free plans and tutorial by shanty2chic! This is a budget-friendly project that is perfect for beginners!
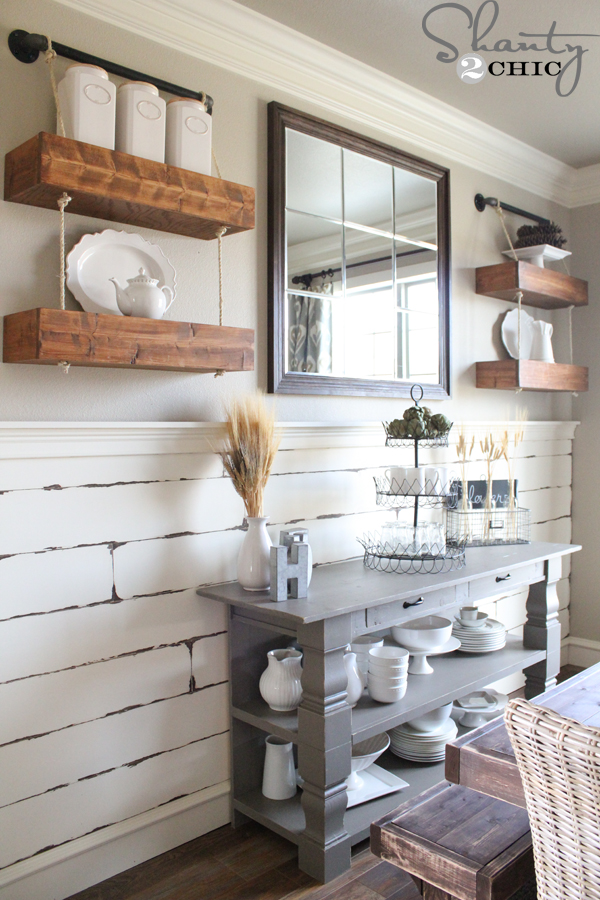
I have been itching to add some new mirrors to my dining room, and finally got around to it. The idea came to me while I was working on my DIY jewelry cabinet. The mirror I used for it was the perfect size for this project. Here is how they turned out!
How cute are those? These are really a simple build! They are a perfect beginner Kreg Jig project as well!
Supply List for 3 Mirrors
6 – 1 x 4 x 6 whitewood or pine boards
6 – 1 x 2 x 8 whitewood or pine boards
1/4″ plywood or hardwood plywood ripped into 3 pieces (all 16″ x 55″)
Frameless Beveled Door Mirror from Target ($14.99 a piece)
Corner Brackets
I built each of my mirrors for under $40 a piece… Fits my budget perfectly! 🙂
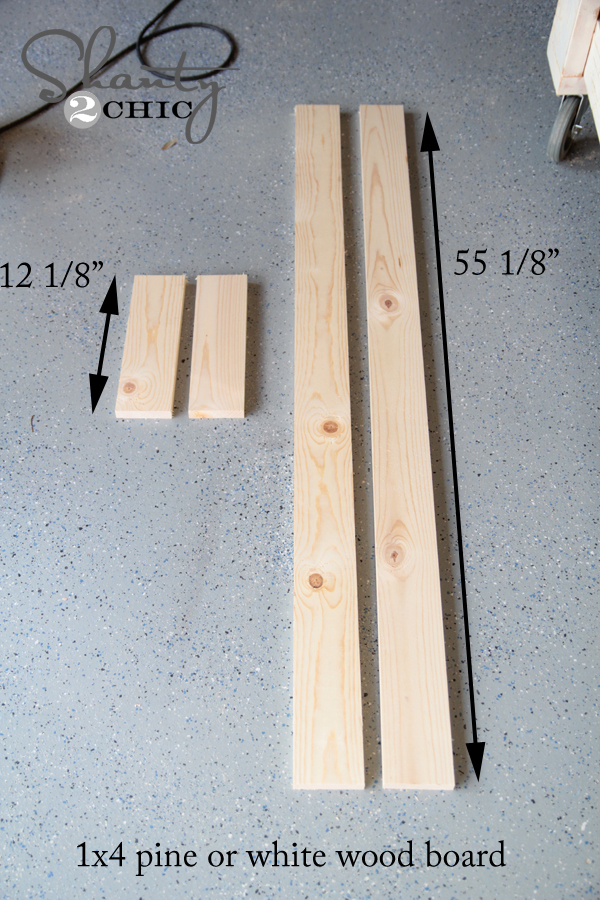
I started by building each of the frames. For these I used the 1×4 whitewood boards. I used my saw to cut them to size. Each mirror uses these 4 cuts to create the frame.

I used my Kreg Jig to add pocket holes to my smaller pieces. Both Ash and I use the K5 Kreg Jig
model… For those of you considering purchasing one, this is the one I would get! If you are currently using another model, I would totally add the K5 to your wish list. It has some really great upgrades and features making it even easier and faster to use.
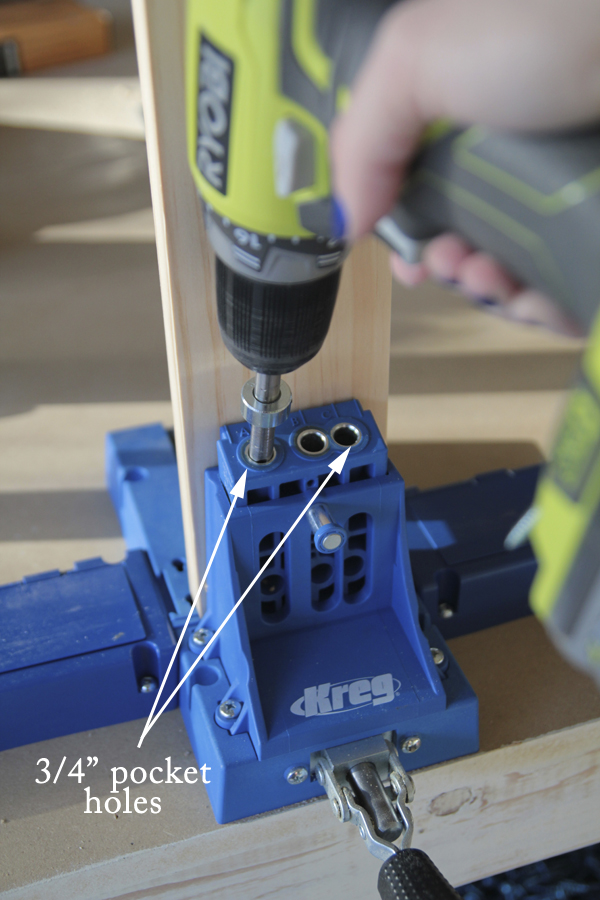
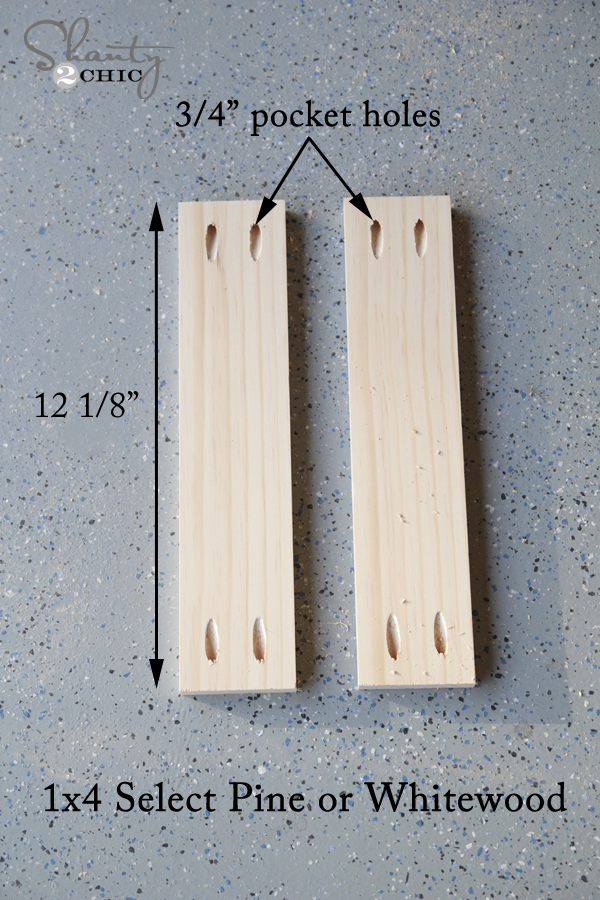
This is what your smaller boards should look like at this point…
Next, I used my Kreg driver bit (comes with the jig) to attach my short pieces to my long pieces using 1.25″ pocket hole screws.
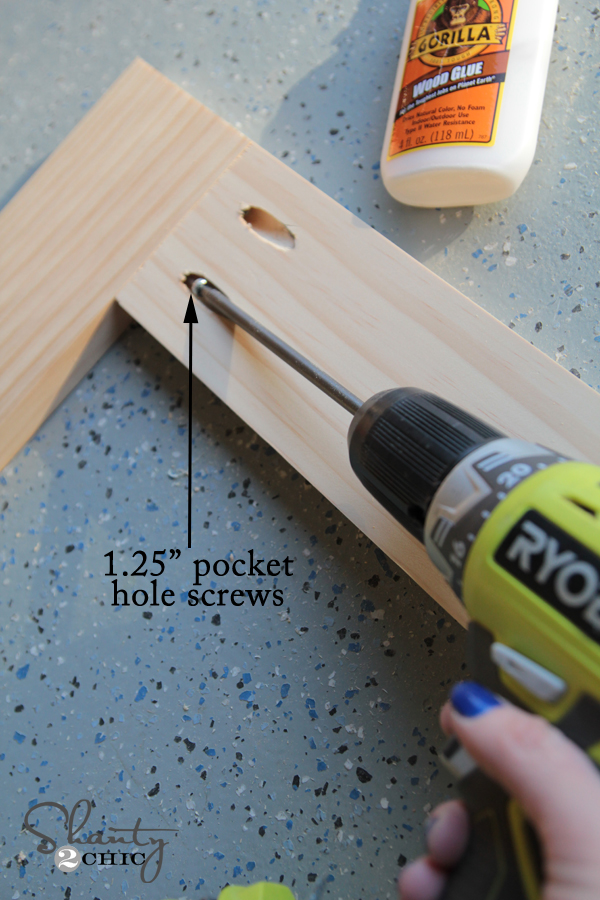
Once I had all of my sides attached, it looked like this.
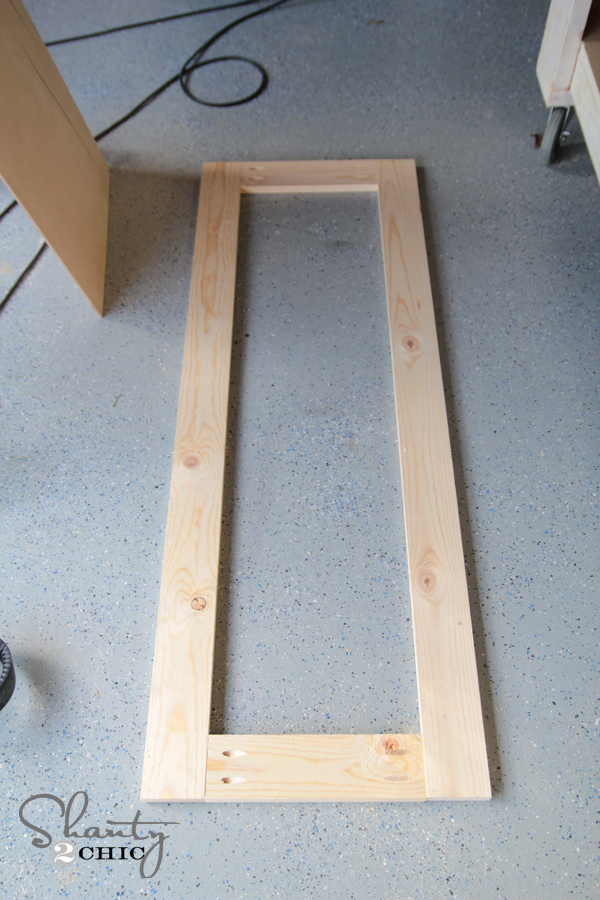
I added wood glue to the back of the frames and placed the 1/4″ plywood pieces on top of each frame. These are the measurements of the 1×4 pieces. I had Home Depot cut mine for me to make is easier to get home. It also saves me a step ;-). I chose to go slightly smaller on the width of the back so that I was able to get three backs from one sheet of 1/4″ plywood.

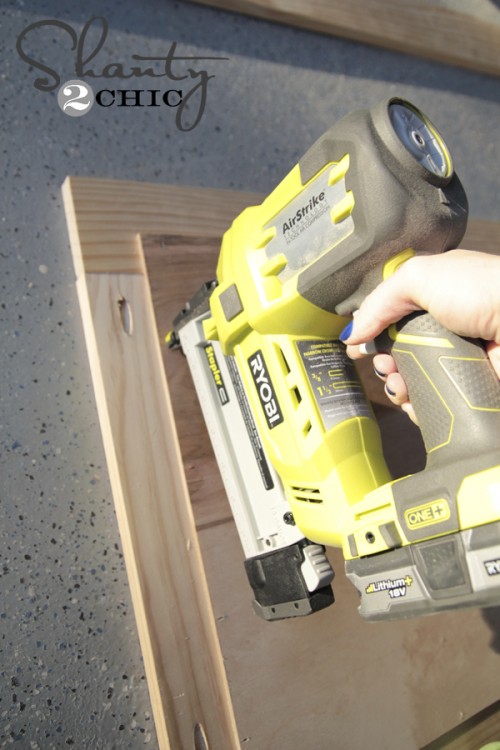
I used my new, totally AMAZING Ryobi Airstrike Stapler to attach the wood to the frame using 3/4″ staples. Yes… This is an 18 gauge stapler that is cordless people! Go read the reviews for yourself… I love this tool!
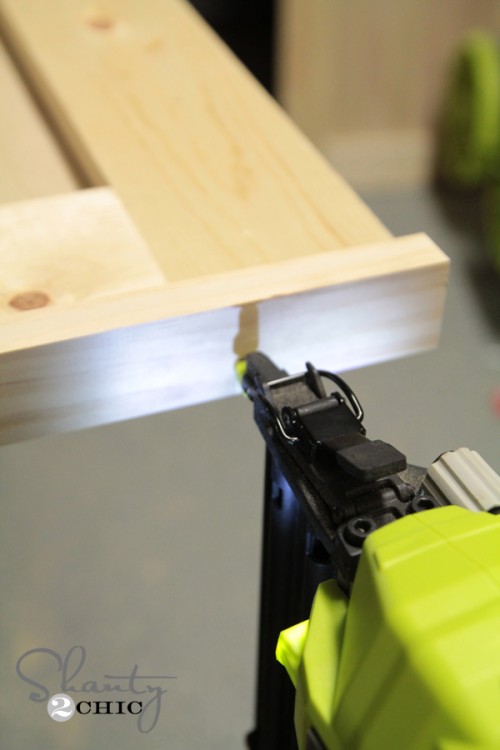
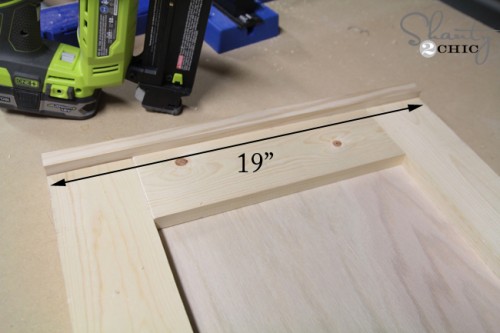
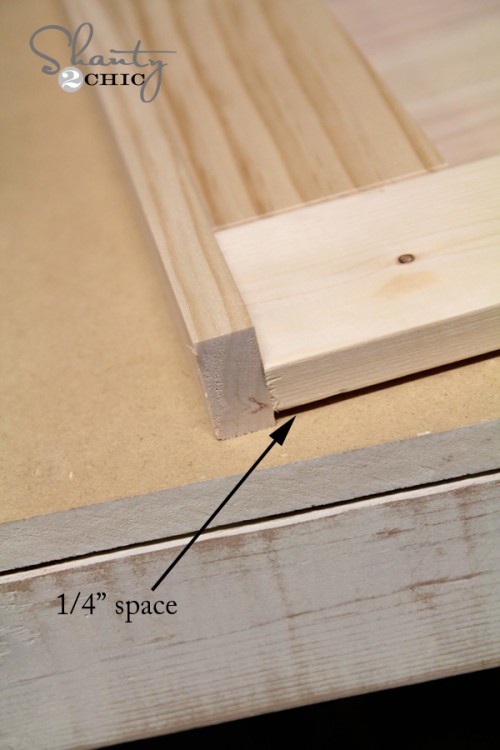
Now to frame them out! I used the 1×2 for this part. I started by adding my top and bottom pieces first. I added a line of wood glue to each of these boards, and attached them using my nail gun.
These pieces are each 19″ long.
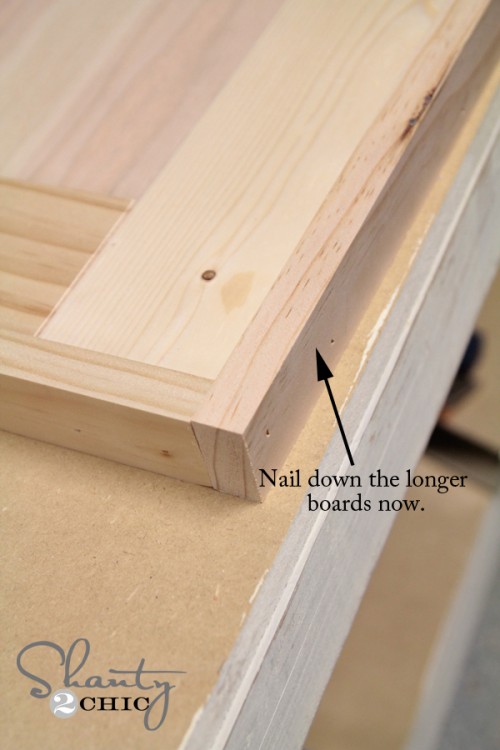
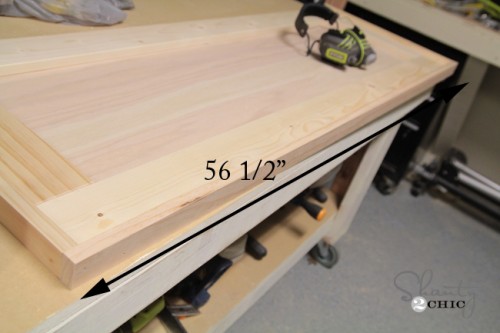
I added the longer pieces next. These were all 56 1/2″ long. You will see a 1/4″ gap under the frame from the plywood back. I lined up the 1×2 pieces flush with the back of the plywood like you see in this pic! I knew it would look better hanging on the wall.
Here it is after I nailed it down.
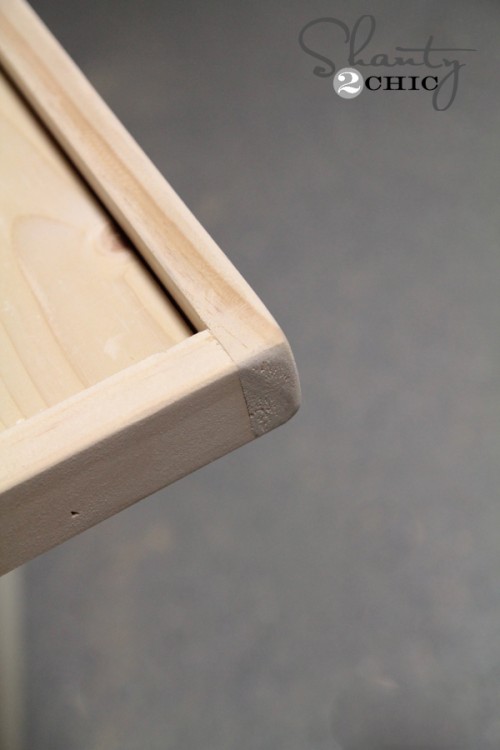
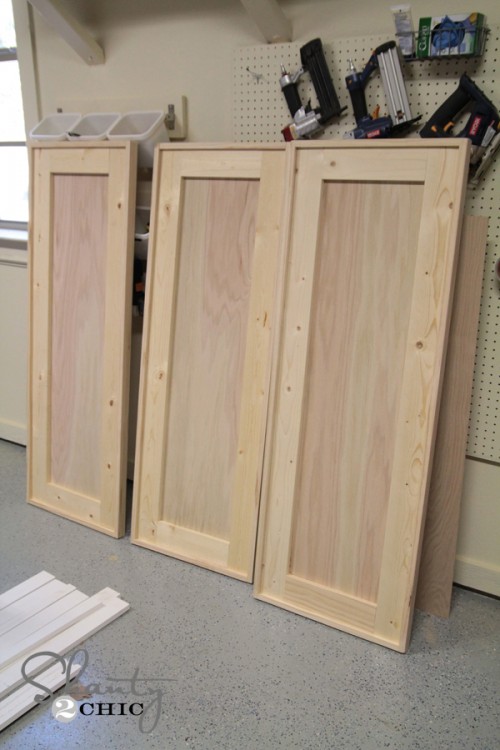
That’s it for the build! Before staining each frame, I used my Corner Cat sander to round out each of my corners and edges like this. I also used my hammer to hit the wood and leave lots of dings on each of the frames. I wanted these to look really ‘shanty’ 😉 !
Here they are ready for stain!
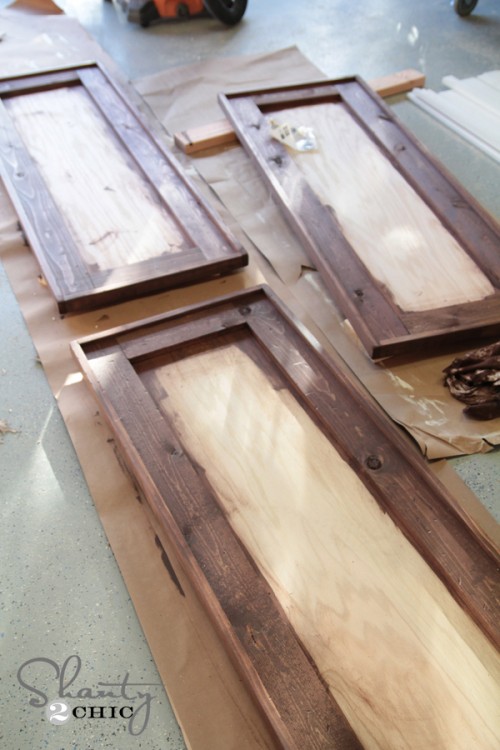
I chose to stain these babies with a new favorite color. It’s a Varathane stain color called Carrington. You can find this stain at Home Depot. It dries in under an hour and only takes one coat… Woohoo!
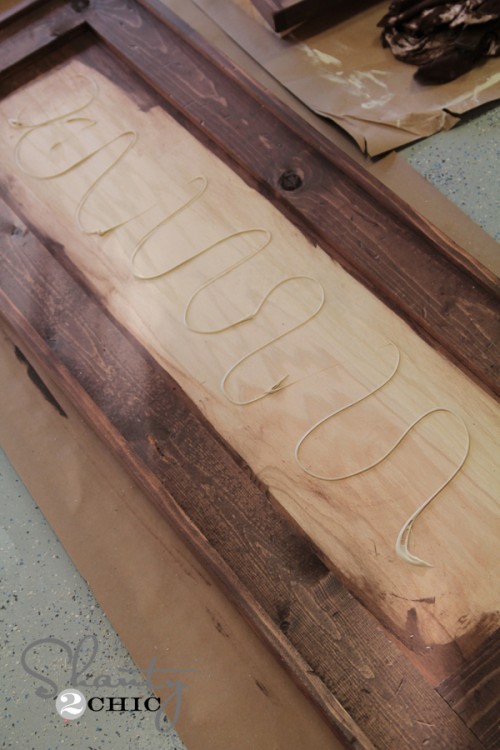
To attach my frames, I used mirror adhesive from Home Depot. You can usually find this on the mirror aisle, or by the other adhesives. It comes in a caulk canister. I ran a continuous bead of it down my frames and attached the mirrors to them.
My mirrors are ones I found in the store at Target. It is the same mirror I used for my jewelry cabinet, and I have noticed since posting that project, the mirror can no longer be found online. All of the stores around me carried lots of these though. You can go with a different mirror. You will just need to change up your wood cuts to match the size of your mirror.
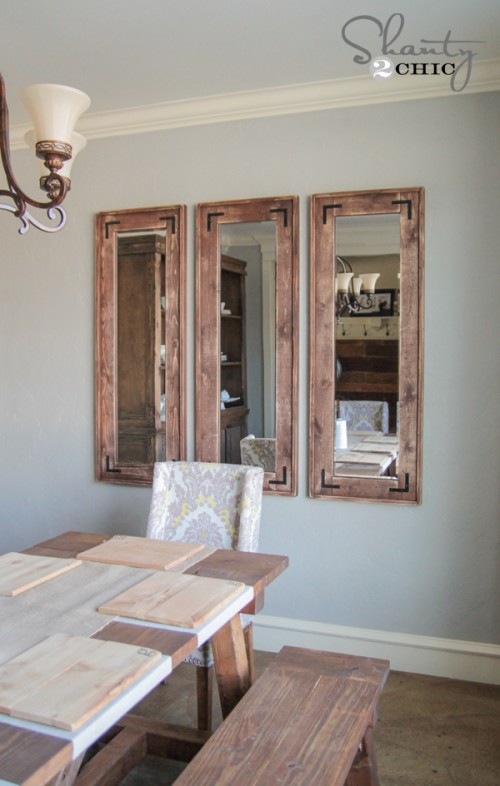
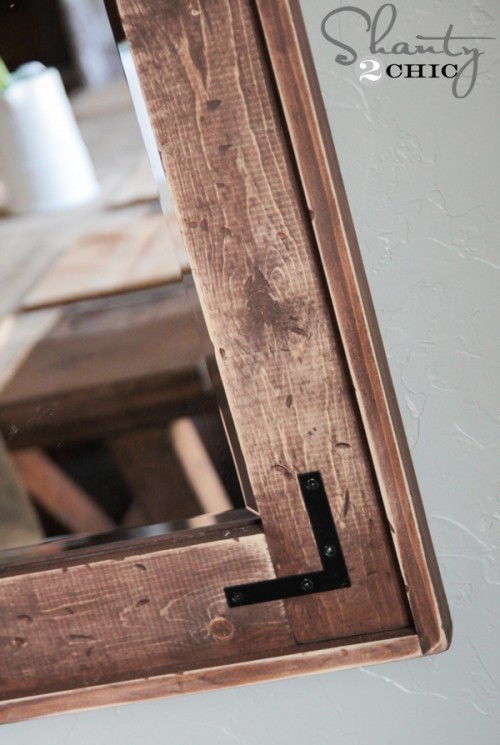
I wanted to add a little something extra to these, so I found these corner braces at Home Depot.
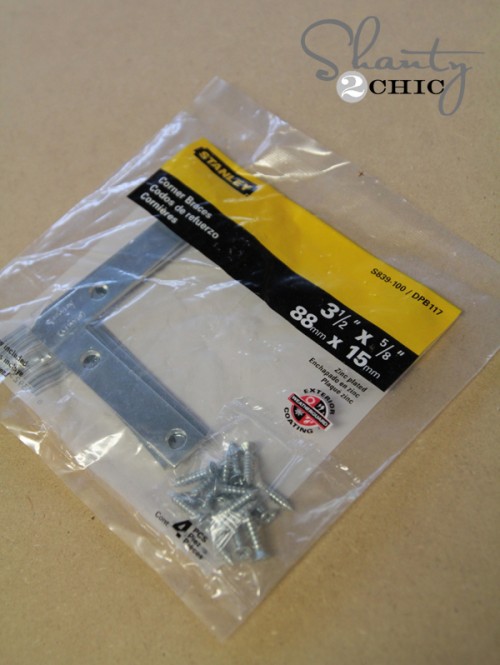
I sprayed all of them with a coat of Rust-Oleum canyon black spray paint.
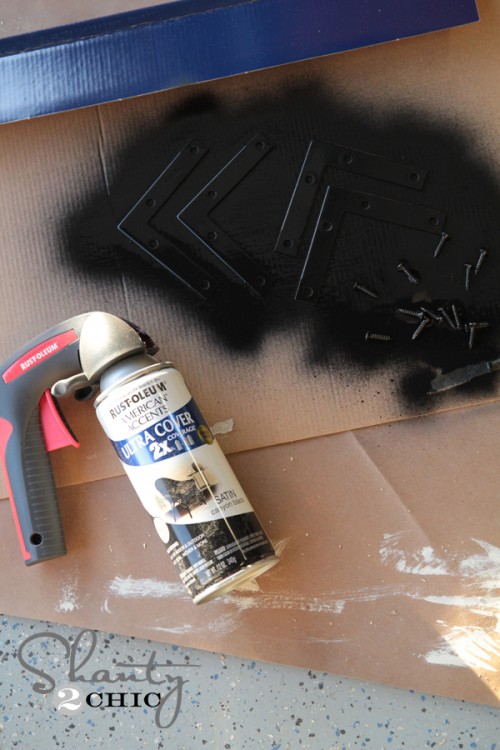
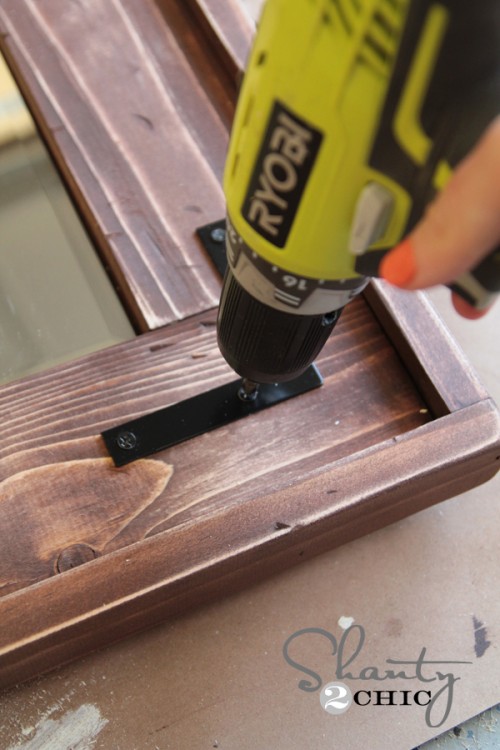
Then, I attached them to my frames!
My final step was hanging them up! None of mine were going into studs, so I used my very favorite anchors for this part. You guys will totally thank me for these when you get them. They totally kick the other kind of anchors in the booty (just my honest and accurate opinion 😉 ), mainly because they are so easy to install!
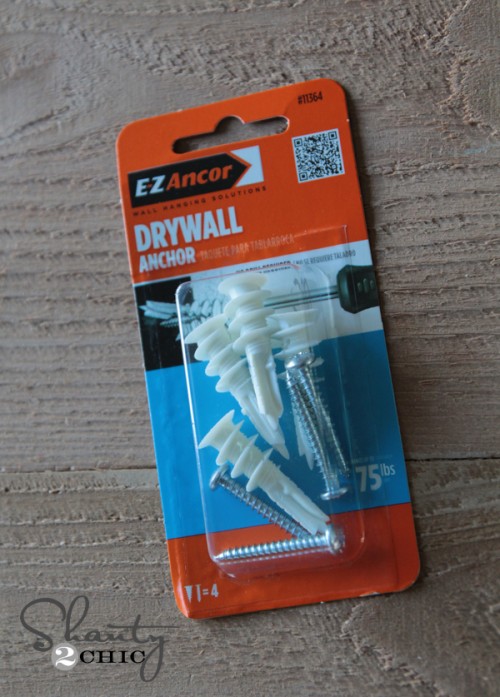
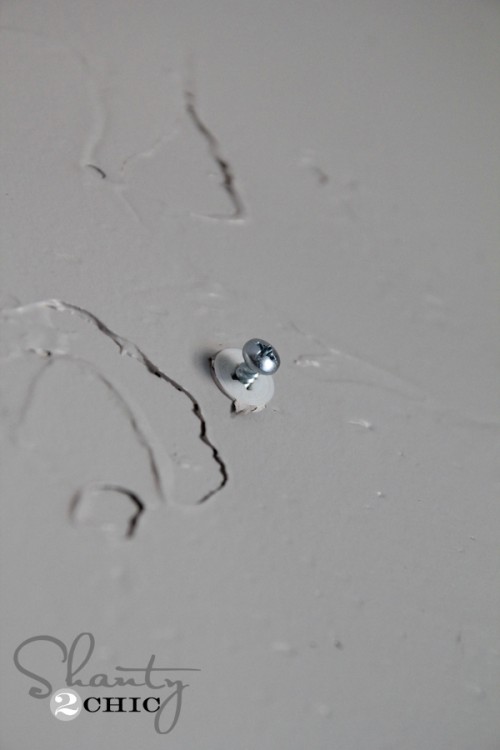
These are self-drilling drywall anchors. That means they require very little work on your end. All you do is drive the plastic anchor in the wall first.

Stop when the anchor is flush with the wall…
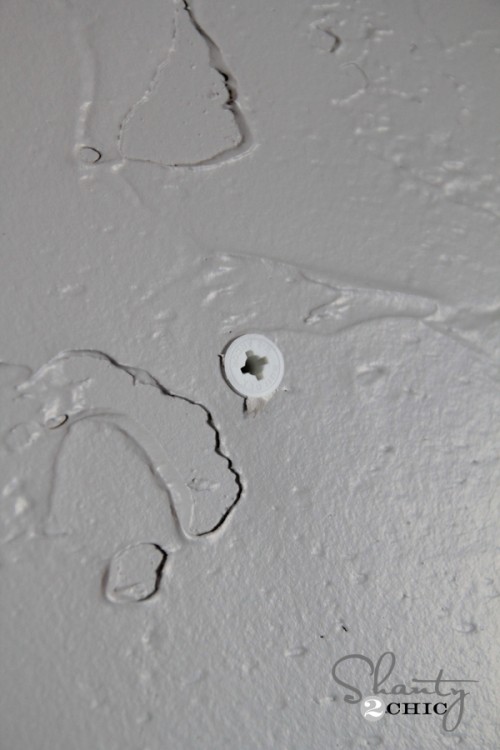
Now, drive in the screw…
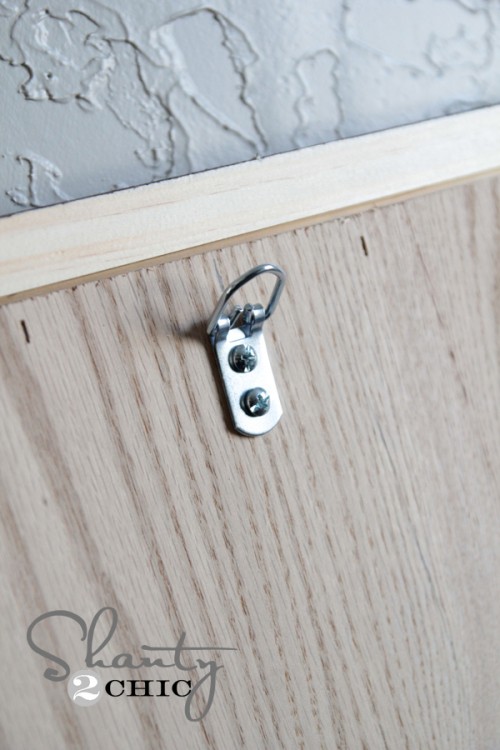
I added a heavy-duty D ring to each of my mirrors and hung them from the screws on the wall. I hung the D ring directly on the screw. Easy!
Here they are all finished up!
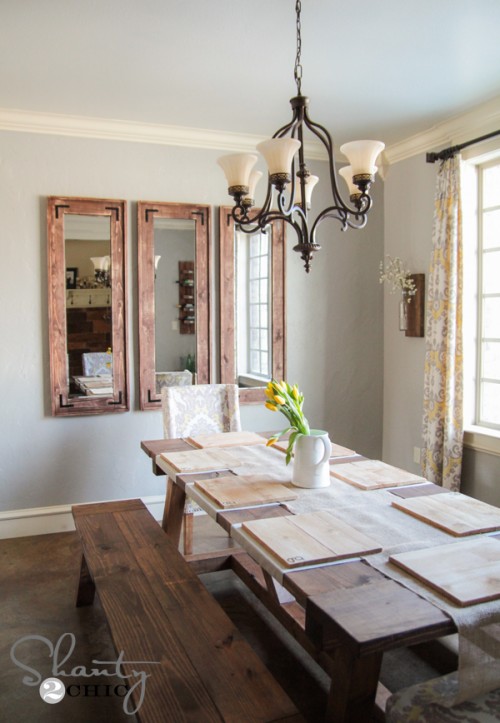
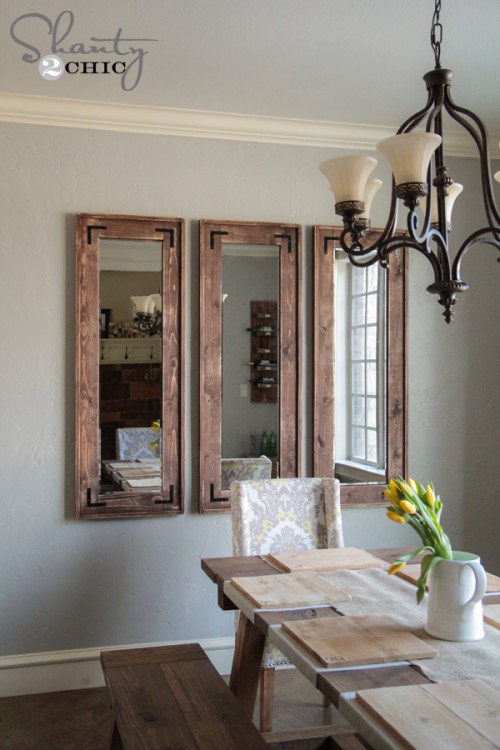
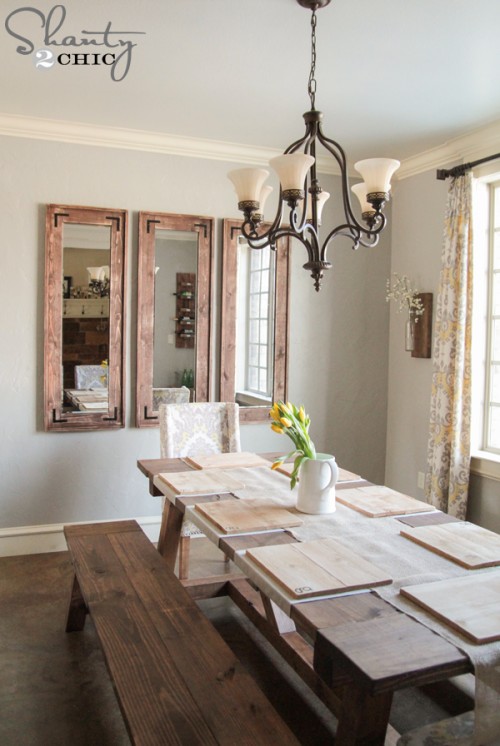
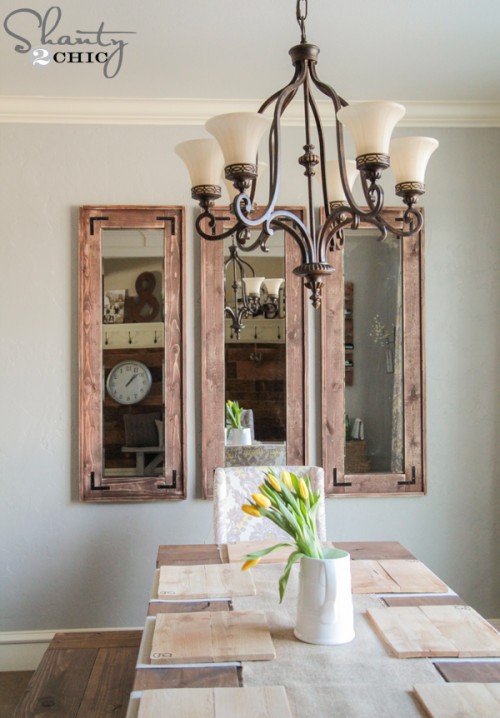
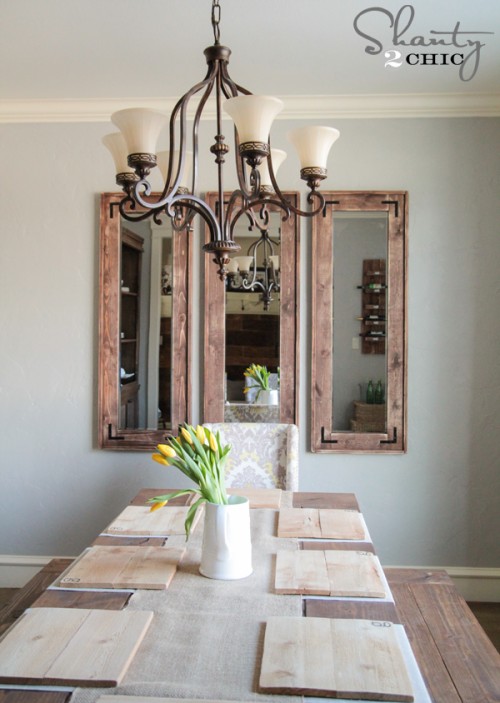
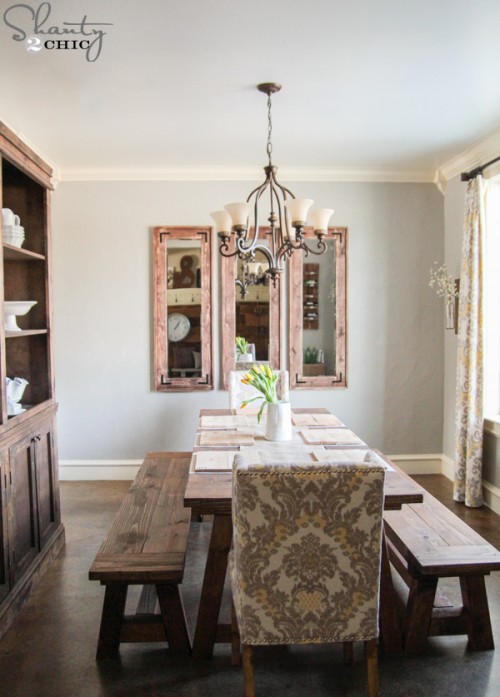
Hope you love them as much as I do! I think they much such a big impact on that wall when you first walk in the house. Thanks so much again for stopping by! Let us know if you have any questions at all.
I would LOVE for you to share and Pin this project with all your friends!
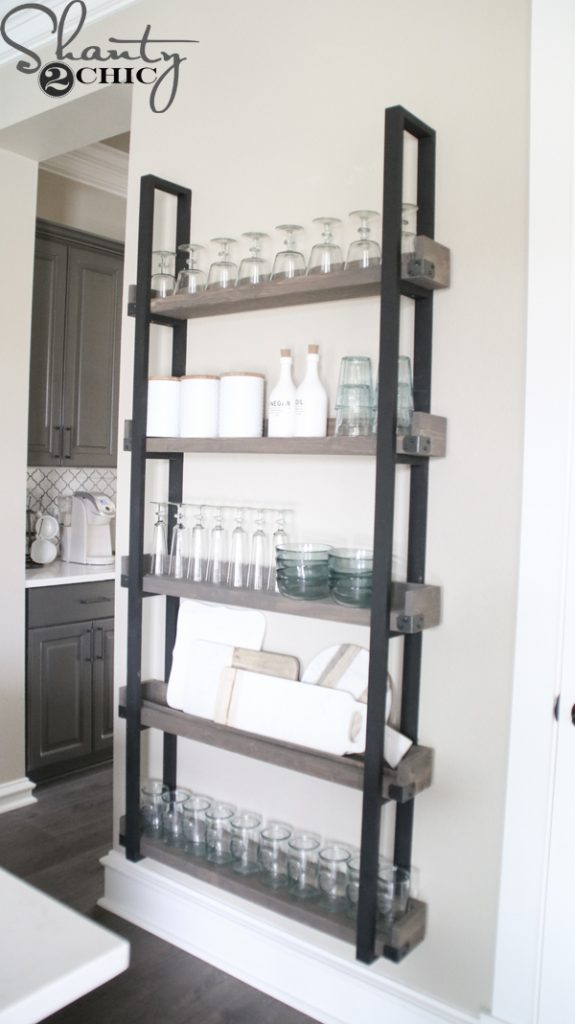
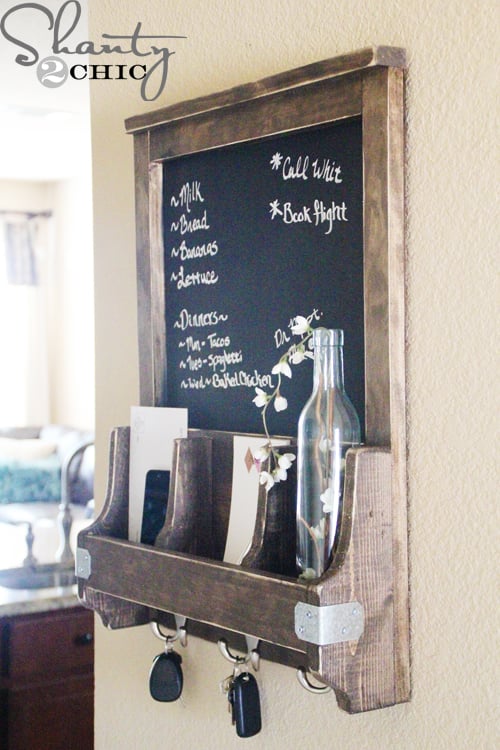
Here are the other projects I have done in this room!

Restoration Hardware inspired Sideboard and Hutch


I just made one of these for my living room. I hung it above my couch. I love it. Thank You for the tutorial!!
HI Kristina, i have a few questions before I go to home depot to buy/cut my wood.. DId you use a 12×48 mirror? did you use the same exact measurements that are in this tutorial?
I bought my mirror from Target.. ” frameless 12×48″ it was $15. I did use all measurements from this tutorial. however the 19″ 2×1’s needed to be a little longer, but I think it had to do with the boards not being perfectly straight. I used a rough cut maple. also, you are going to see that there will be a gap along side the mirror(when in the frame), so be sure to stain the plywood an inch in before you glue your mirror down.
Thank you, Kristina for all your information.
Has anyone tried making the short pieces run the entire length of the top and bottom and having the longest pieces connecting to them? In a similar style as the table?
I know Target no longer carries this mirror but do you have its dimensions?
Target does. I just bought one 14.99 on 3/23/15. It is 12×48 look up “frameless Mirror”
I just by 3 at Target in SC $14.99 each 9/25/18 🙂 12×48 dimensions.
I love the mirrors! I also love the table is set. Are those burlap table runners? How did you hold the sides up under the table? And are the placemats two pieces of shiplap wood glued together? If so, did you finish them with anything? Lots of questions! Haha
I am loving these mirrors! I also like the color of your walls… Do you know the name of that color?
What is the wall color!?
What is the wall color? Beautiful room!
Very cute! Did you put two D rings on each mirror? and if so, how do you get them on at the same height and the three mirrors all the same and level? Is this dumb and too obvious? I had a dresser with two mirrors and every time we moved we dreaded the mirrors because it was so hard to get them level and at the same height.
Do you have any instructions or blog post about the glass vases that are hanging on either side of the windrow?? Love it all!!
wow! That’s a complete room. I’m so envious..
Them are Awesome. The brackets in the corners really add a very nice touch to the frames.
I totally love these.
If only this post was a day earlier! 🙁 Just spent $50 on a mirror yesterday and hated it as soon as I hung it on the wall. These, however are DIVINE!
Love these! I plan on making them. Making another one of your projects this weekend. =)
Absolutely love it!! Look GREAT!!
You inspire me with every single post.
Where are the instructions for the white wash mirrors?