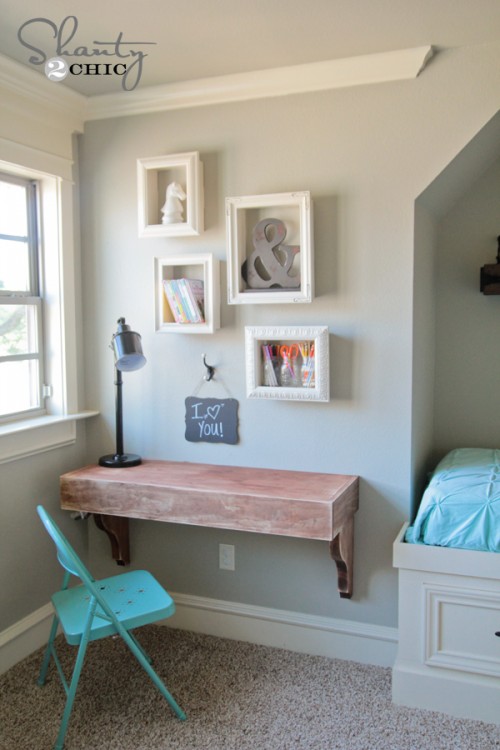
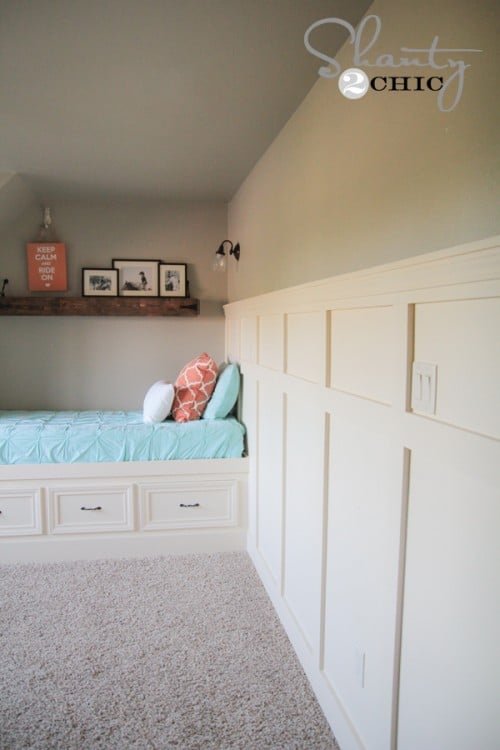
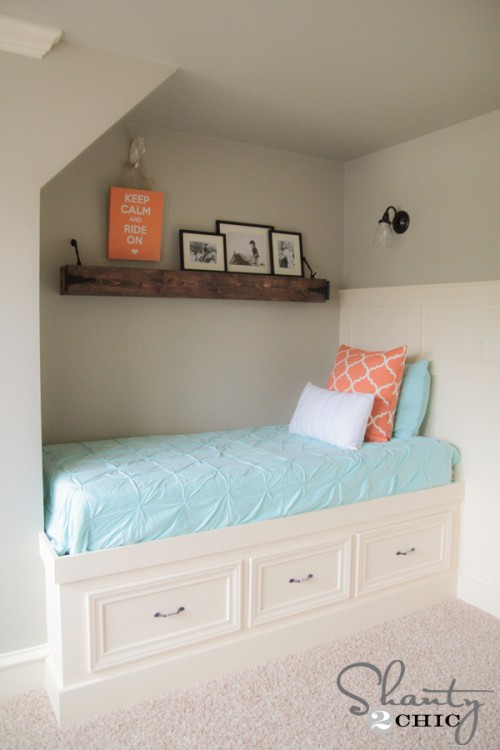
As many of you know, I recently closed off a loft space to create a new bedroom for one of my daughters. I am LOVING how the room is coming together. It is an odd space, so building the furniture for it has been a really fun, creative challenge for me. Today I am sharing her desk I created using a couple corbels and a few pieces of wood. Check out this $85 corbel desk!
How fun is that??
This is such an easy project and is a really perfect way to add a desk to any room!
I worked with one of my favorite companies, Osborne Wood Products to design the corbels for this desk. 
![]()
The best part?? You can buy them HERE on Amazon!![]()

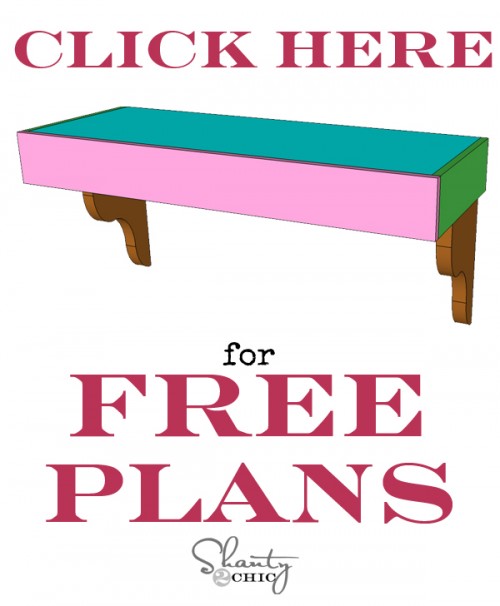
I will walk you through this easy build below, and you can also download and print the FREE PLANS for this desk by clicking HERE or the picture below!
These are SO much more affordable than the corbels found at the hardware store, and they are BIG. That’s my favorite part!
You will also need the following pieces of wood….
Supply List
1 – 2 x 4 x 10
1 – 1 x 6 x 8
1 – 16″ x 48″ pine project panel
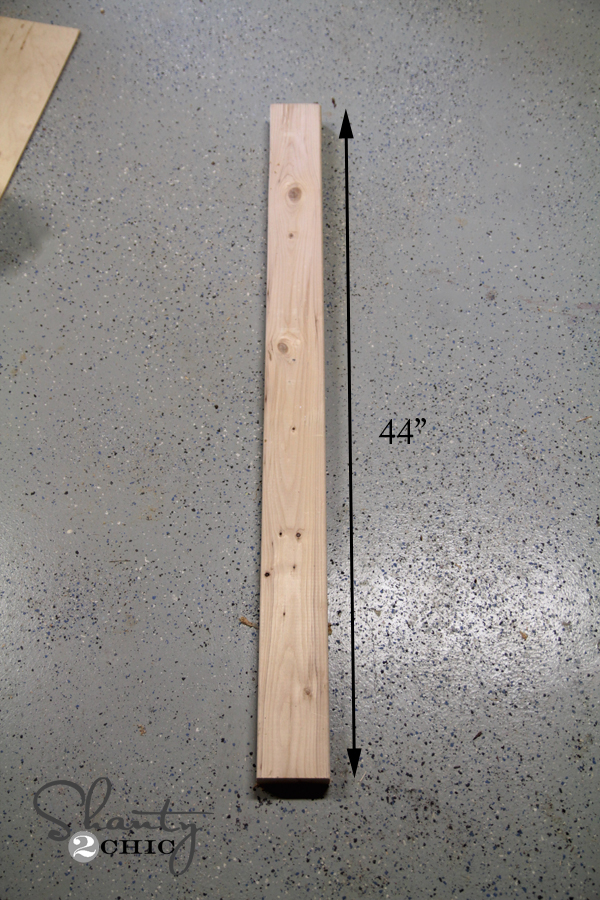
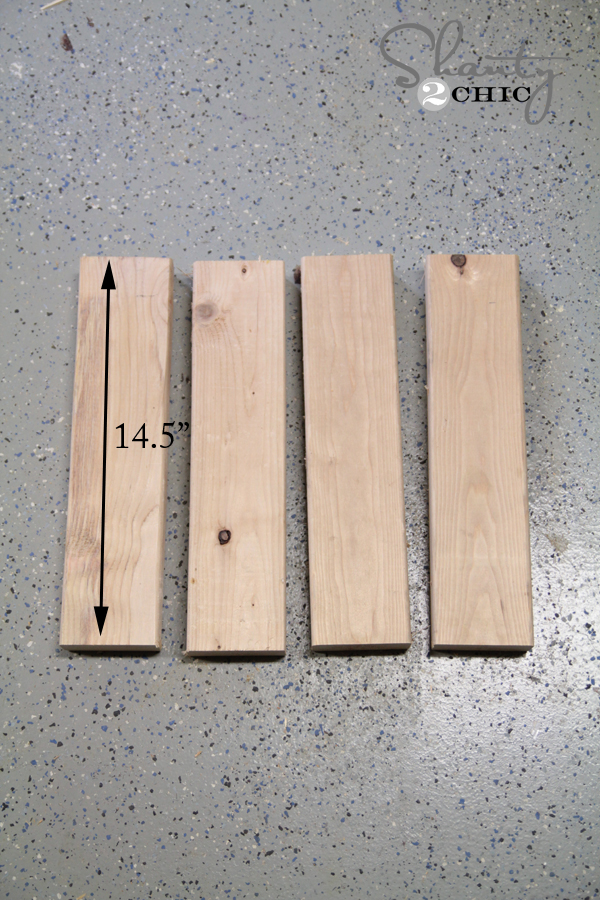
I started by making the cuts for my frame.
2 x 4 Cuts
4 @ 14.5″
1 @ 44″
1 x 6 Cuts
2 @ 16″
1 @ 45.5″
I started by making my pocket holes. I used my Kreg Jig to build this part of the frame. You can see the Kreg Jig model Ash and I use HERE!![]()
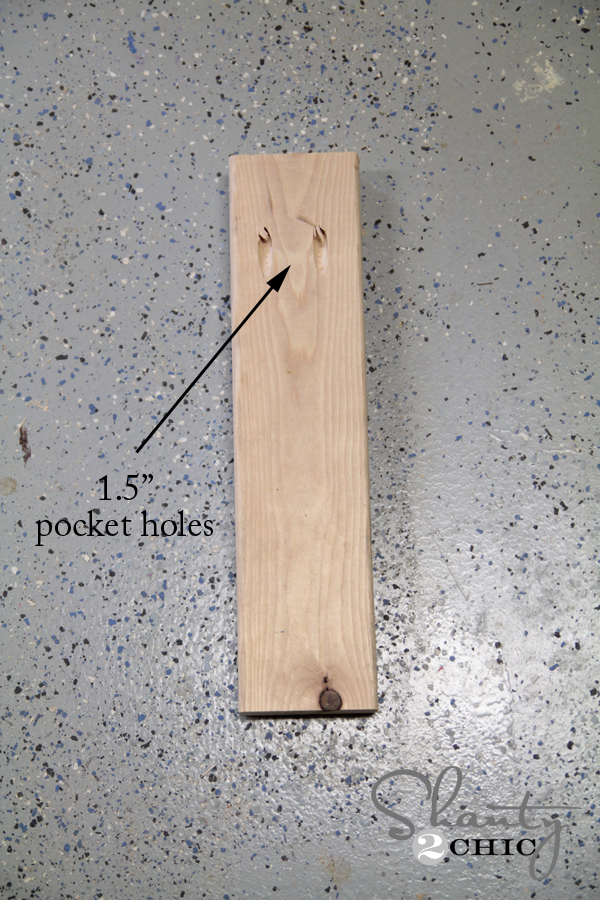
I used 1.5″ pocket holes since that is the thickness of the wood I am attaching to.
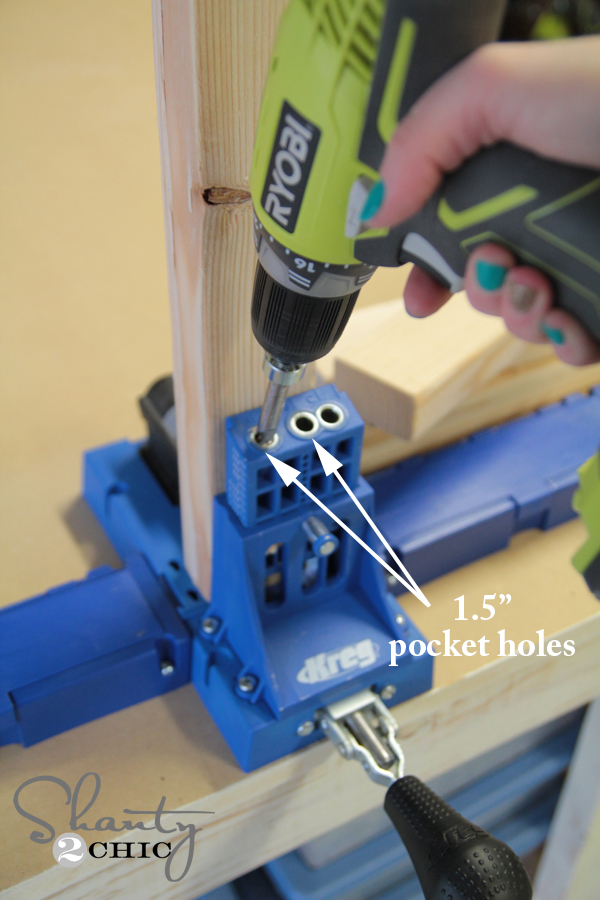
I put two pocket holes in one end of each of my 14.5″ pieces.
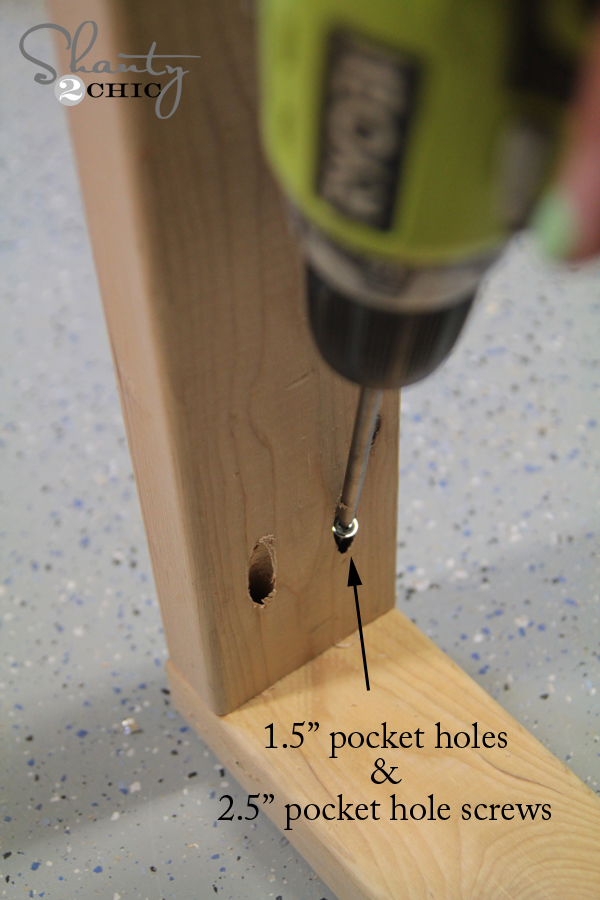
I attached those to my 44″ piece using 2.5″ pocket hole screws and wood glue. I spaced them about 12.5″ apart.

At this point, I started working on the corbels. I decided to stain my corbels before attaching them to the wall. This made the finishing much easier! I will share that stain color later.
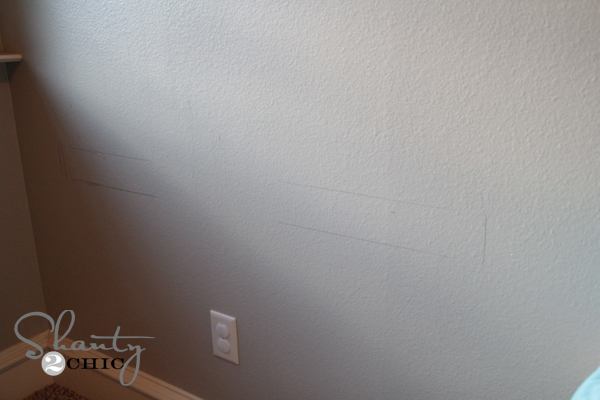
My first step was deciding where the desk top would sit and drawing it out on the wall. I used a level for this part, and held the frame up to the wall. I used a pencil to trace the frame of the desk. I decided to place mine 30″ from the ground.
Next I measured the hardware on the back of the corbels. These corbels come with hanging hardware already attached…. Easy!

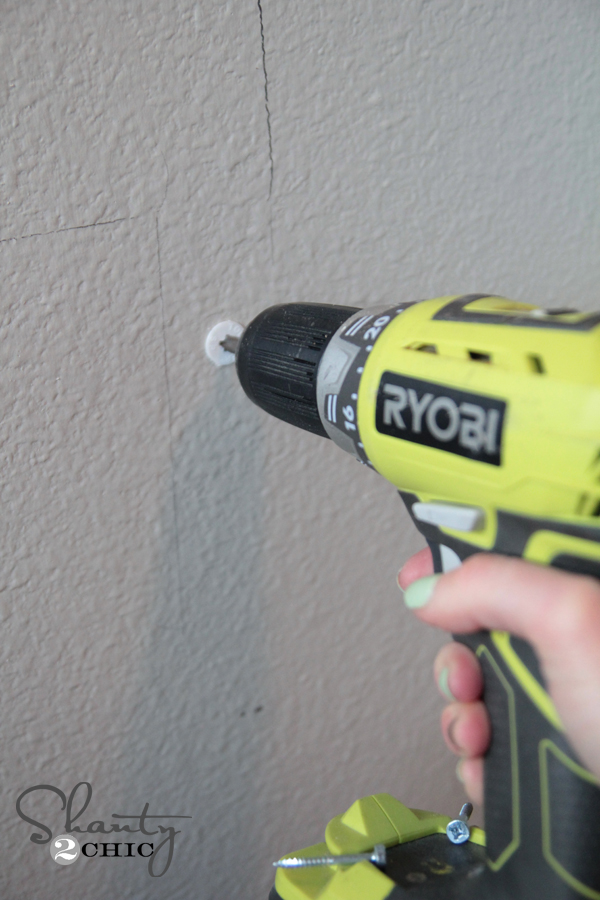
I marked where each of my corbels would line up and put a dot where each corbel would sit. This is where I will attach my anchors.

I used my very favorite anchors for this part. These are so simple! I just used my Ryobi 18V drill to drive each anchor into the wall until it was flush.
This is what each side looked like…
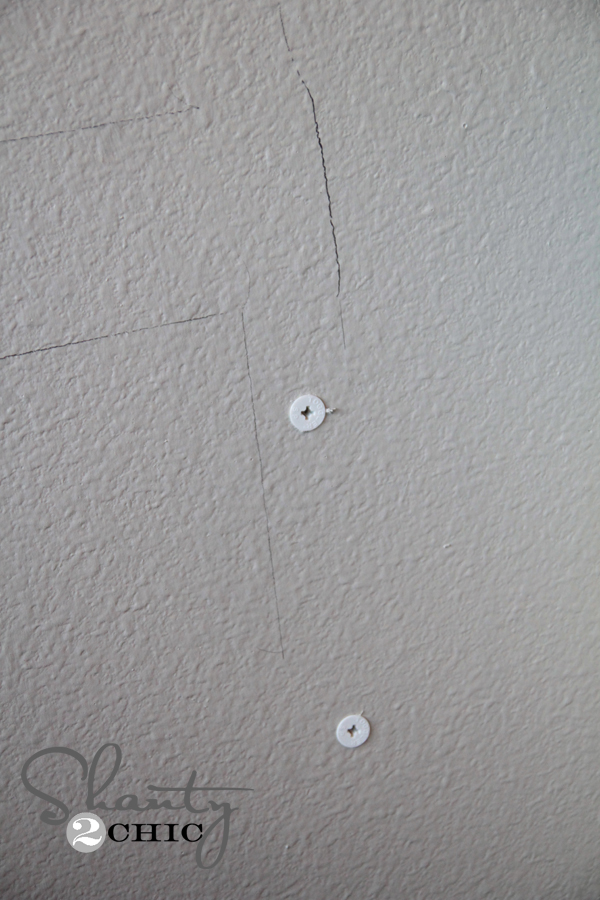
Next, I used my drill to attach the screws leaving about 1/2″ of the screw showing like this.
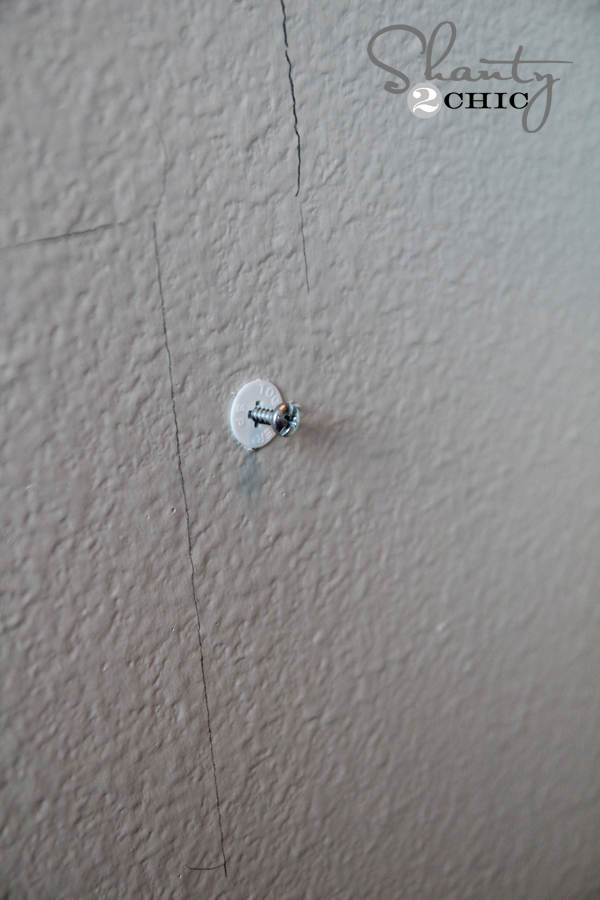
And your corbels will hang from these screws!

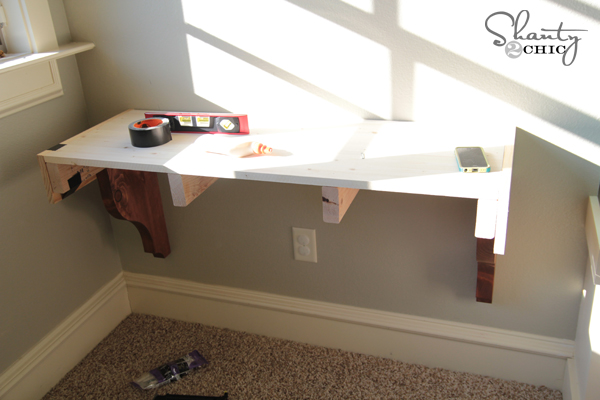
Next I attached the frame. This part was easy because I was able to rest the frame on top of the corbels.
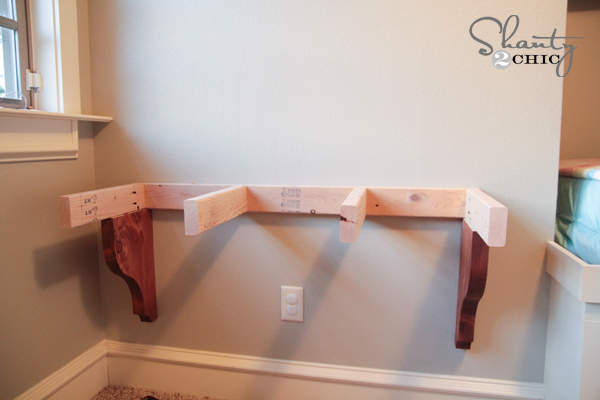
I used my stud finder to mark the studs in the wall. Then, I used my drill to put two holes where each stud lined up.
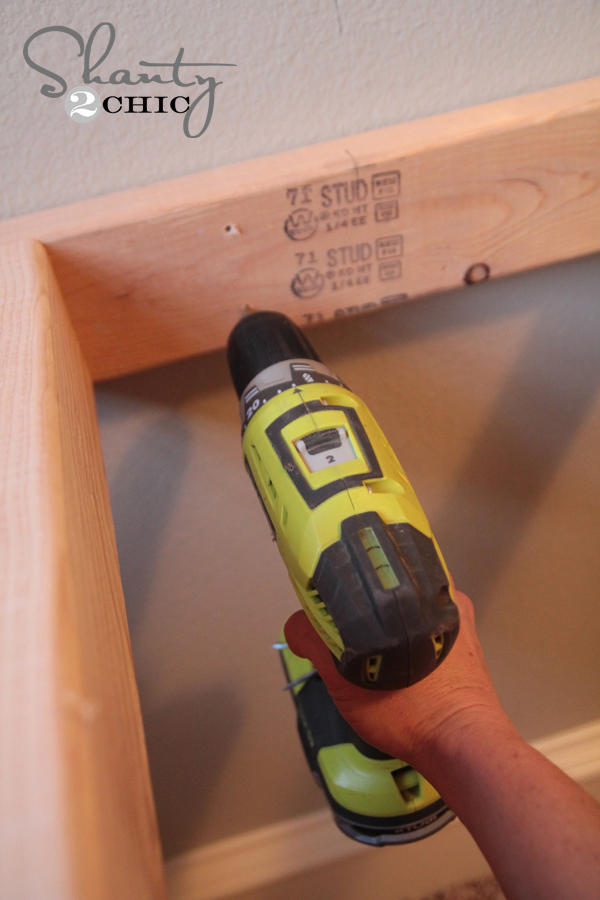
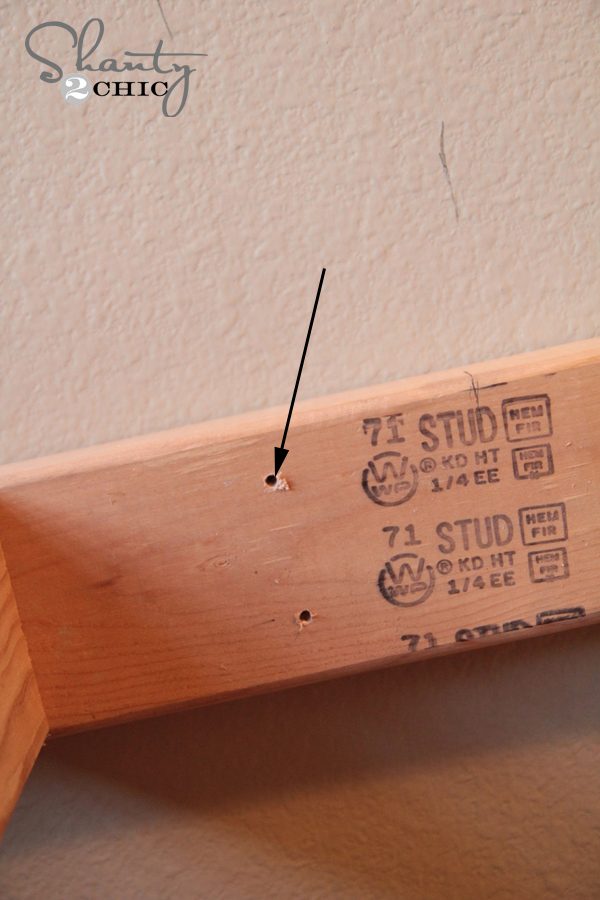
Next, I used my amazingly awesome Ryobi Impact driver to attach the frame to the wall using 3″ torx screws. These will go through the back of the frame and into the studs in the wall making it very sturdy!

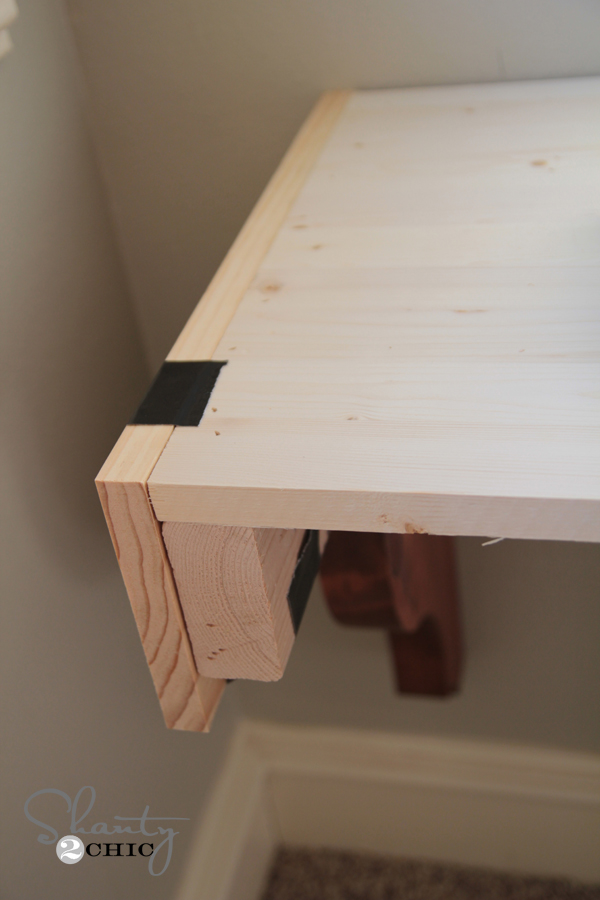
Now to trim it out! I started with my top piece. I used a four foot 16″ pine project panel for my top and cut it down to 44″. I attached it using wood glue and my nail gun.
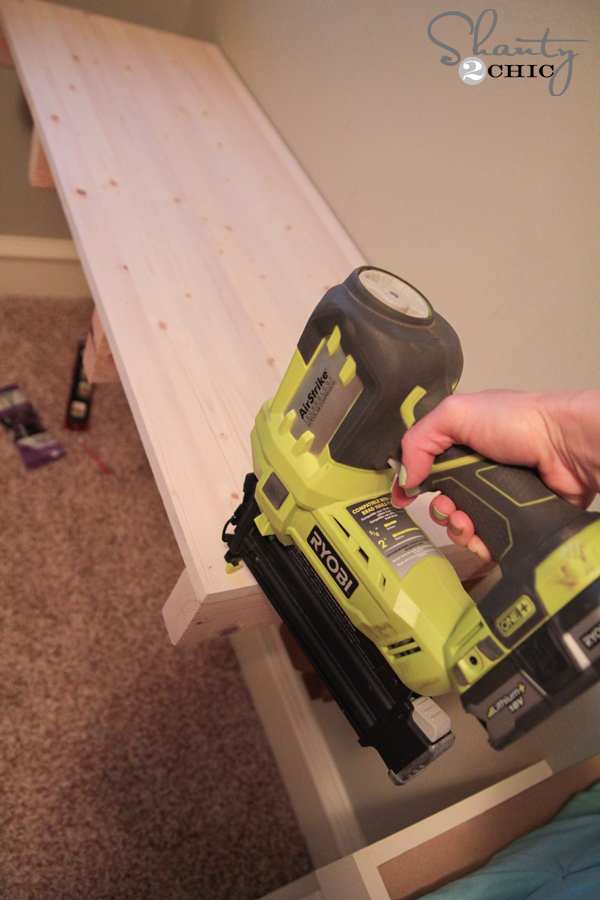
I used wood glue and my Ryobi AirStrike nail gun to attach the side pieces. I used 1.25″ nails for this part.
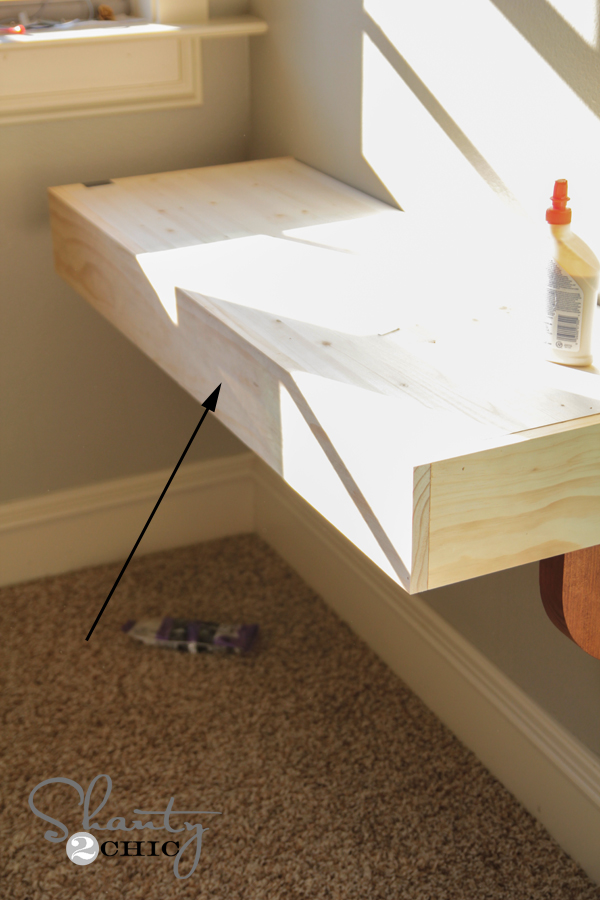
Now for the side pieces! I also used my nail gun and glue to attach these. I used 1×6 for this part and cut both sides at 16″.
My final piece was the front 1×6 trim piece. I attached this using wood glue and my nail gun as well.
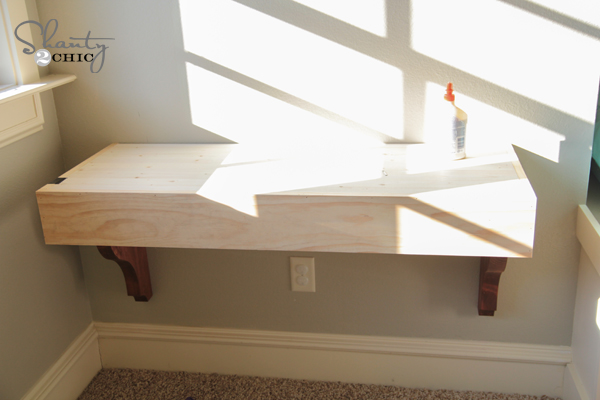
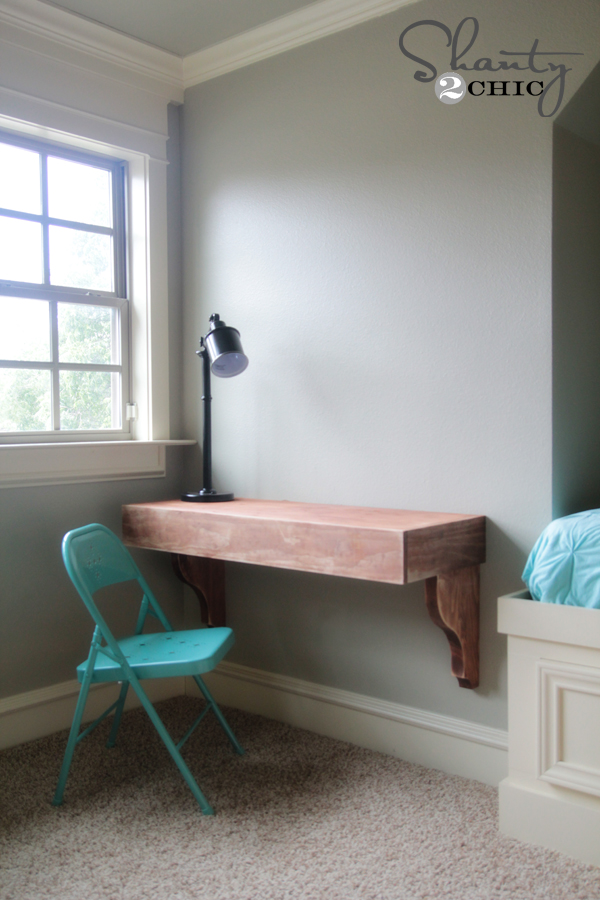
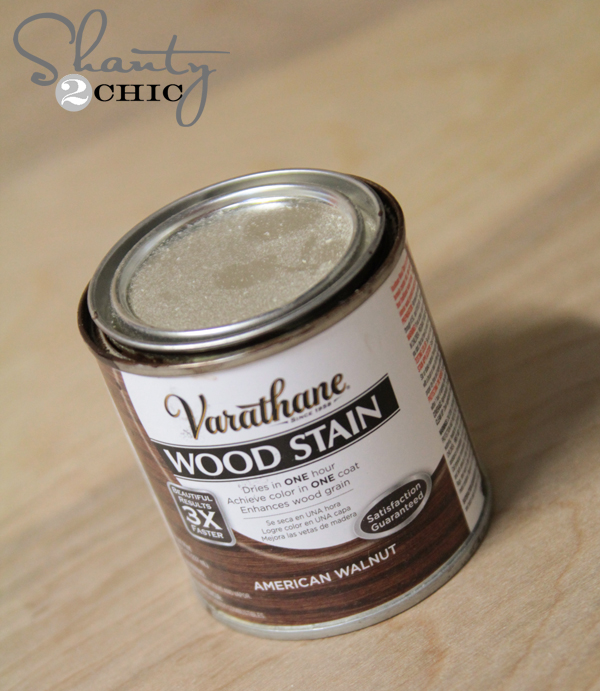
Woohoo! All done with the build. I used Varathane Stain in American Walnut to stain mine. Once it was dry, I used my Corner Cat sander to distress the whole thing and make it look all shanty 😉
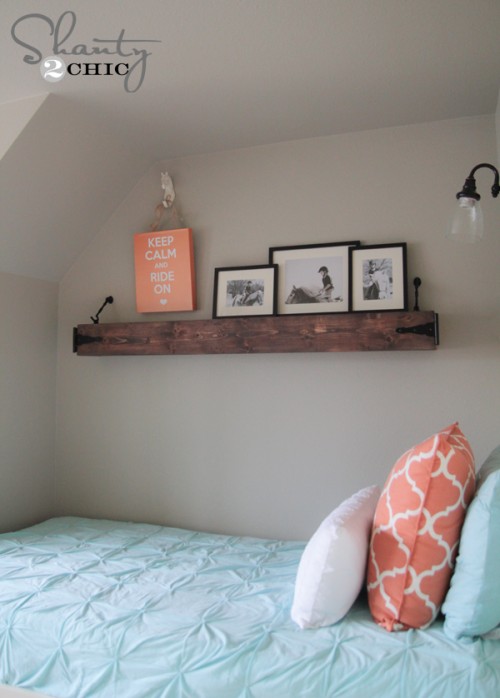
Here are a few more shots… And I know that wall looks a little bare there, but just you wait! I can’t wait to share what I did to it!
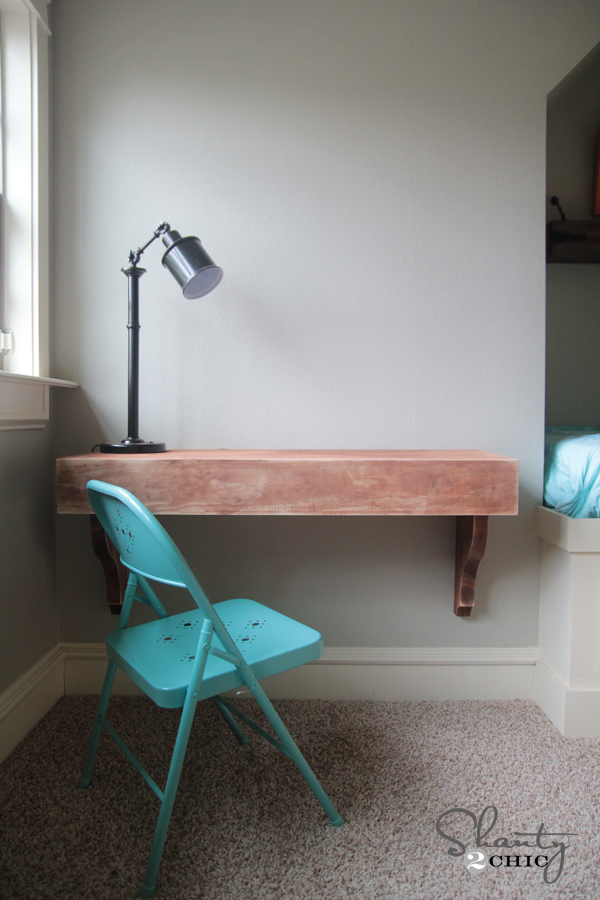
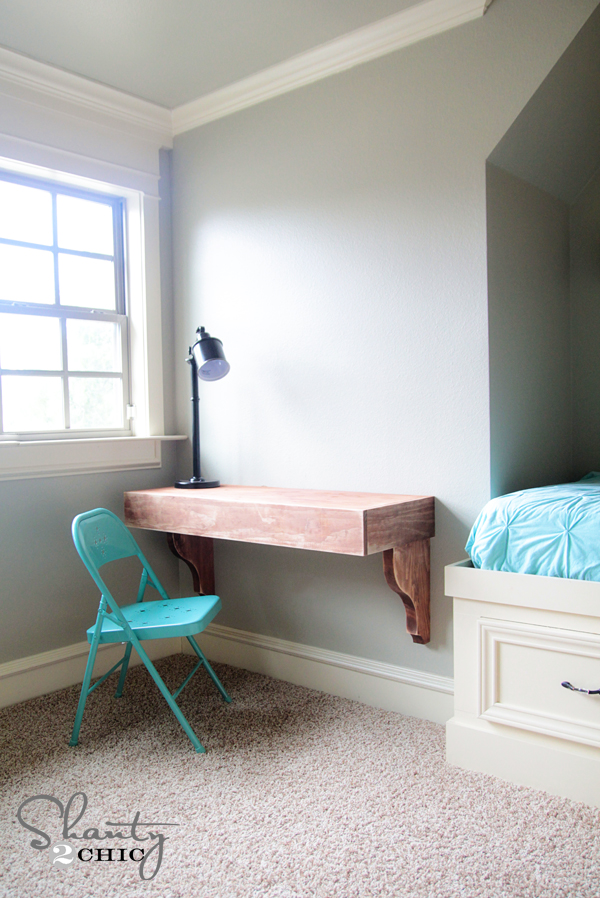
How fun is that?! And, it’s the perfect way to add a desk to any room or space.
I LOVE the lamp I found for it at Birch Lane! It’s our new fav accessory place! You can check out their online store HERE!
I would LOVE for you to share and PIN this desk with all your friends! You guys are the BEST! Remember you can download the free plans HERE! Thanks so much to Jay of Jay’s Custom Creations for putting all of Shanty 2 Chic’s original ideas and designs into free printable plans for our readers! Go check out his site too!
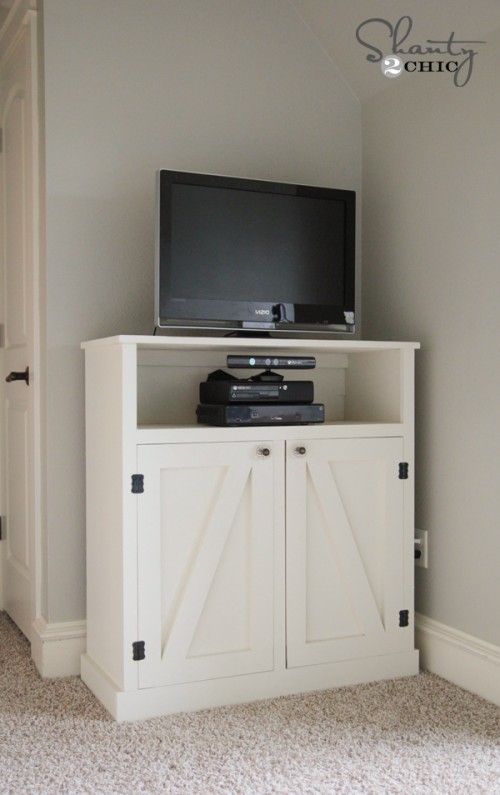
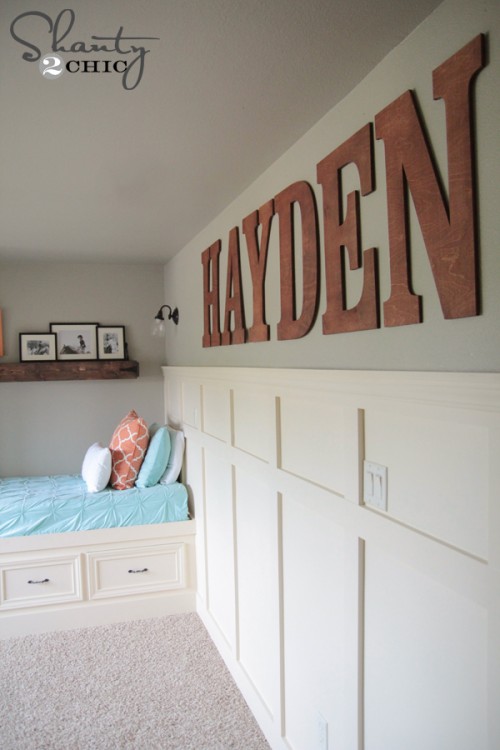
Also, be sure to check out the other projects I have been up to in this room!


you could also drill a hole for the cords to run up for lamps and electronic cords etc.
What color is on the wall, if you don’t mind me asking..it’s beautiful!
Hi there. What is your wall color? From the pictures your walls look gray, which we have found incredibly difficult to achieve. The shade inside of our house always ends up looking purple, especially at night.
I LOVE this!! I have been looking for a thin console table for this awkward space in my master and because this is off of the floor it is perfect! I think I need to head to Lowe’s tomorrow! You ladies are amazing! I do have one question though… In the process pictures of this project I saw an outlet under the desk in a few pictures and then in a few others towards the end I see there is no outlet any more. Did you get rid of the outlet as well, or was it photo shopped out?
Thank you Nicole! Yup… It’s still there 🙁 If only outlets were invisible! I loved the final shot without it so much better… But it does power that lamp, so I had to keep it!
Very practical, because it is a floating desk it make the space look
larger not to mention easier to vacuum. I would do a couple of things
slightly differently. I would make the desk top a box meaning it would
have a bottom then use a piano hinge on the top so that there is storage
in the desk. I would also assemble the top with the sides at least the
one side next to the wall before I put it on the corbels which would
make nailing the side next to the wall easier. I did something similar,
but just the hinged top that folds down when not in use . It works
great when the grand kids are over so they have a place to do art
projects.
That’s the great thing about DIY Peggy! You can modify it to fit your needs and wants! 🙂
That is darling! You know what would be even cute?? To drill holes on the top at the back big enough for cups to sit down in for a place to put her crayons and pencils!! That way they won’t tip over! My son wants a desk in his room and this might do just fine!! Thanks for the instructions as always!!
Fun idea! Glad you like it 🙂