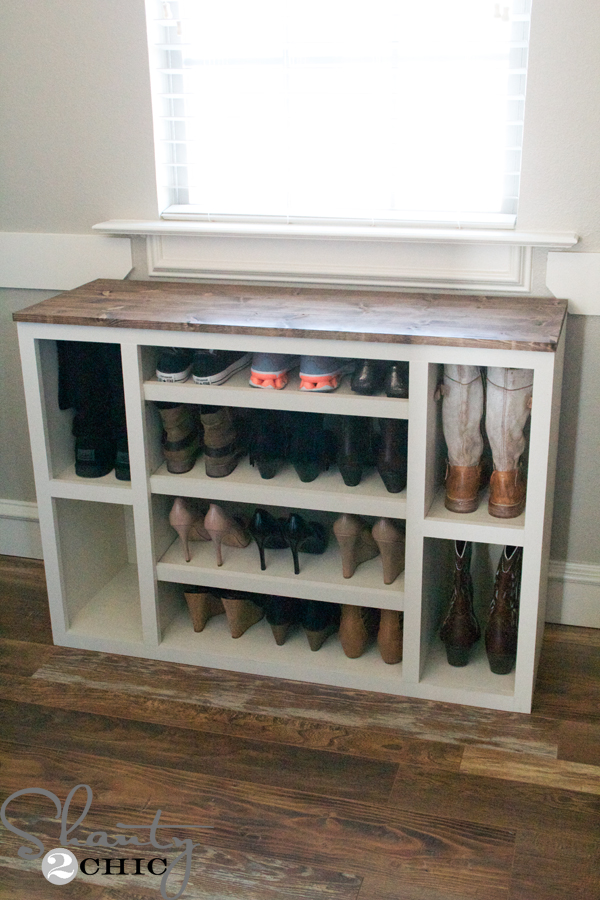
I built this awesome shoe storage cabinet and it’s the first piece in an entire modular closet storage system! When I built my home, I had the opportunity to design my closet….After making so many decisions already and so many more to go, I had to hold off. I couldn’t even wrap my brain around what type of storage I needed and I knew if I waited and built a modular system with Free Plans that you all would benefit too 😉
So, here it is!!! You can click the image below or HERE to download the FREE Plans!
A huge thank you to our talented friend Jay, from Jay’s Custom Creations for creating the printable plans. Check out his site for awesome woodworking plans, too!
This is a simple build and you can even have Home Depot rip your boards down for you to make it even easier! Here’ s how I built it!

I built the body and shelves of the cabinet with birch, Purebond Plywood. This is the only plywood we will use to build because it is formaldehyde-free. You can learn more about why we took the Purebond Pledge HERE. ***The overall dimensions of this cabinet are 46″W x 33″H x 16 1/2″ D.***
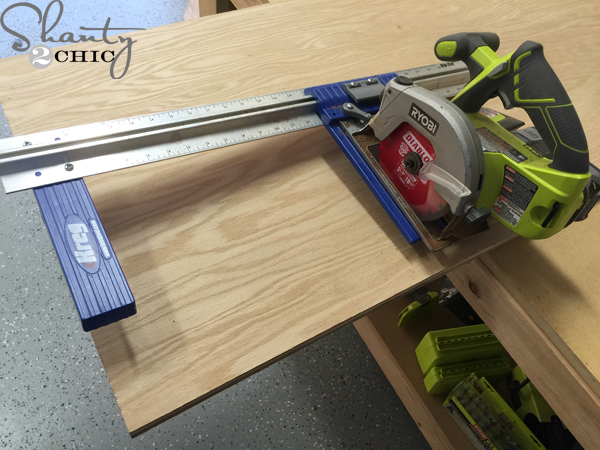
I used my Kreg Rip cut to cut all of my plywood. *You can also have Home Depot rip the boards for you!*
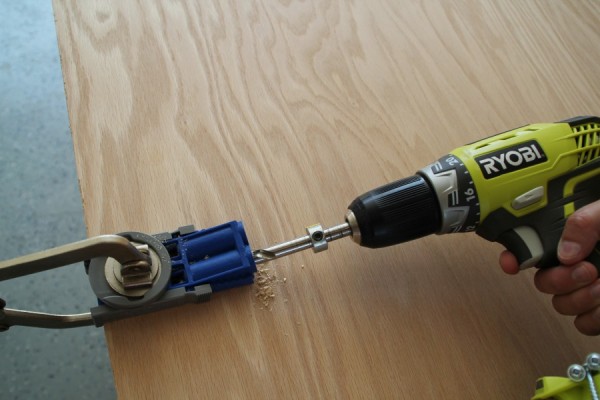
Next, I used my R3 to drill pocket holes into the plywood (refer to the plans for pocket hole placement).

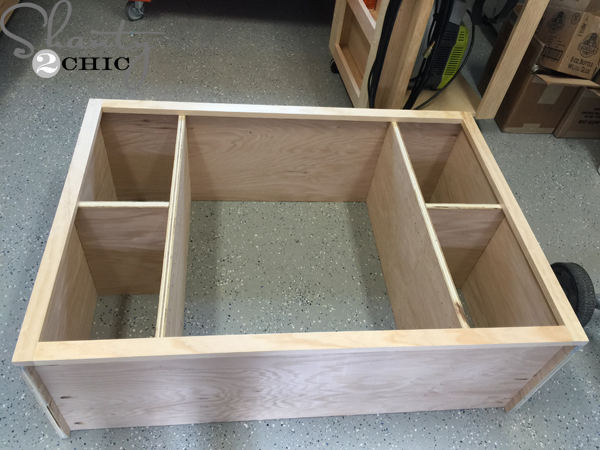
I attached the main frame of the body first with 1 1/4″ pocket hole screws.
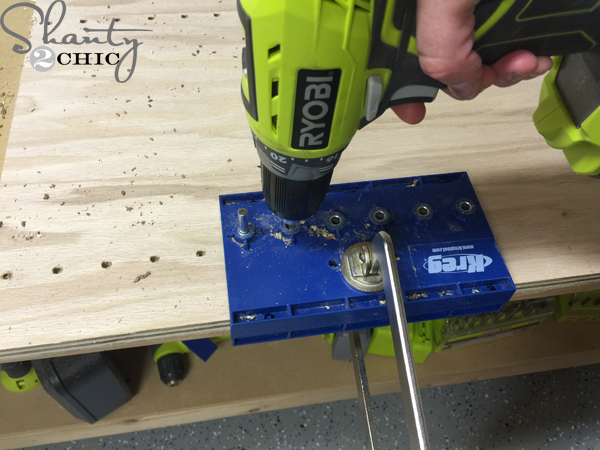
Next, I used my Kreg Shelf Pin Jig to drill all of my shelf pin holes into the vertical dividers. This tool is invaluable if you ever plan to build shelving. It is so easy to use and takes the work and planning out of drilling shelf pin holes! Kreg has created a new DIY Kit that includes all three of the tools that I used above, a Rip Cut, an R3 and a shelf pin jig all for $99! It also includes free building plans with purchase. I’m adding an image at the bottom of this post so you can check it out and purchase.
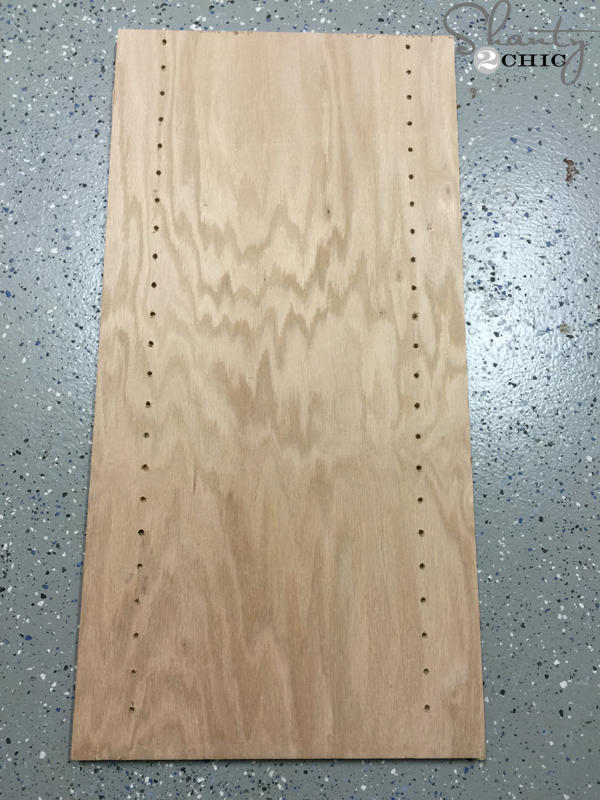
Here is one of the vertical dividers with the shelf pin holes.
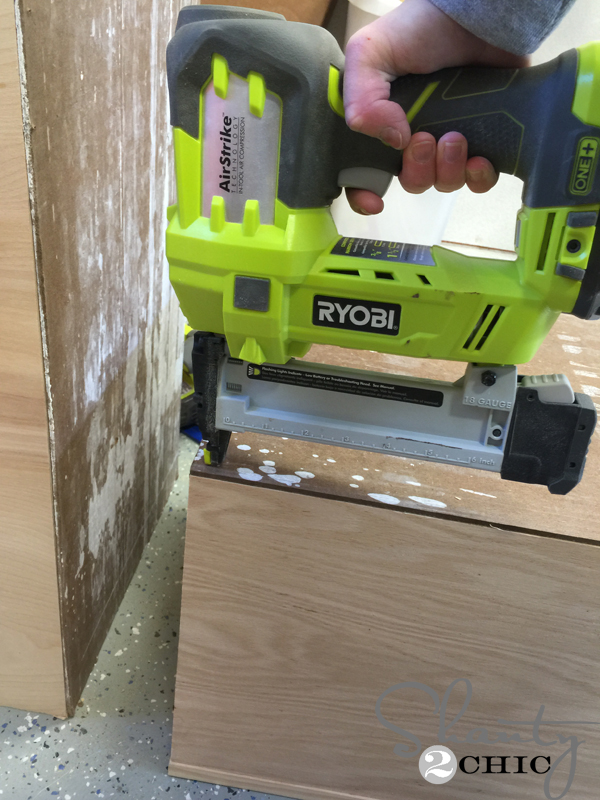
I used my Ryobi 18-volt Airstrike nailer and wood glue to attach the vertical dividers.
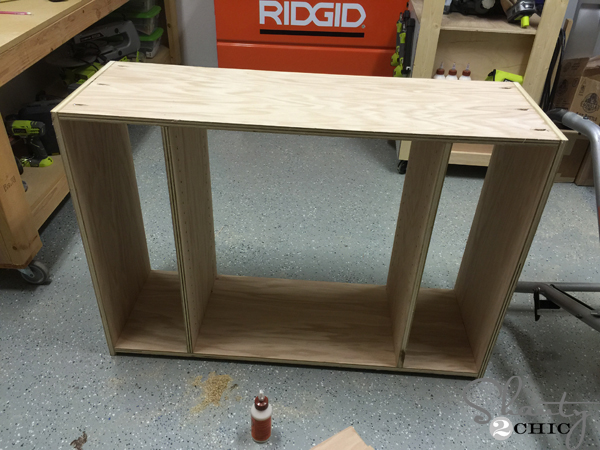
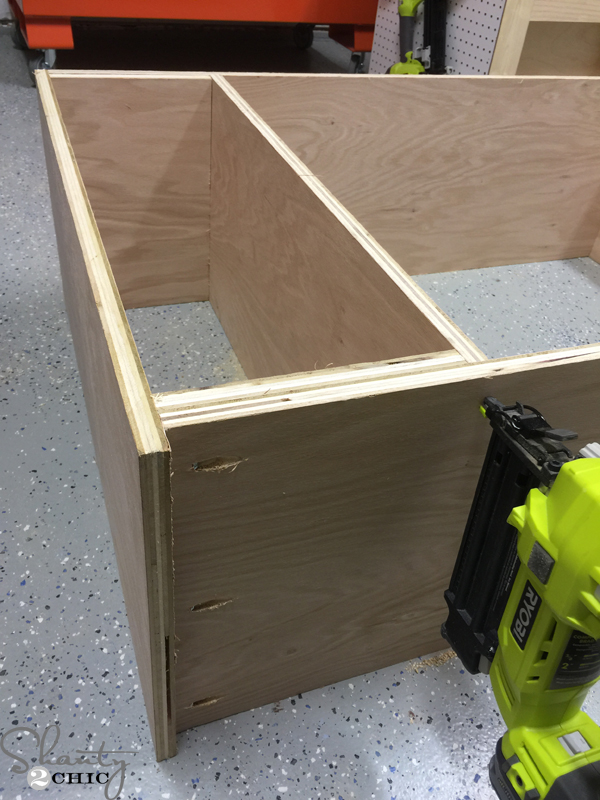
This is the cabinet with the vertical dividers attached.
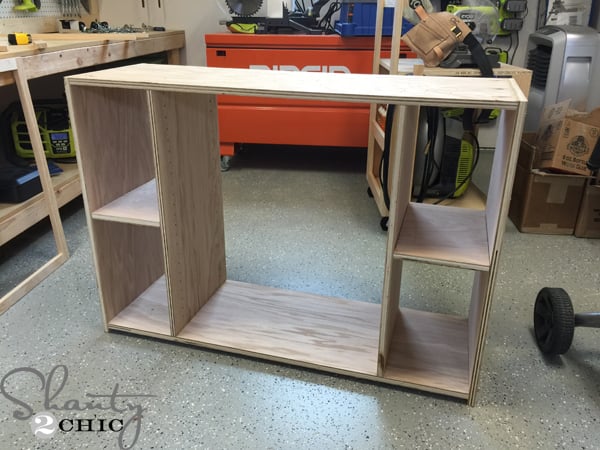
And here she is with the boot shelves attached. I also used my nailer and wood glue to attach these.
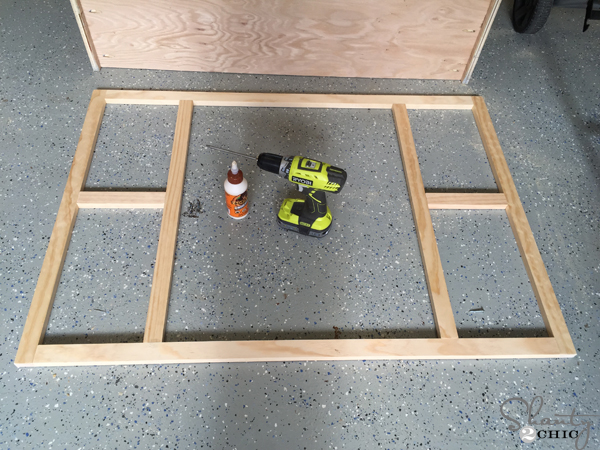
Now for the face frame. I cut all of my pieces (it’s best to build your body then measure and cut to fit for the face frame). Once my pieces were cut, I did a dry fit of the frame.
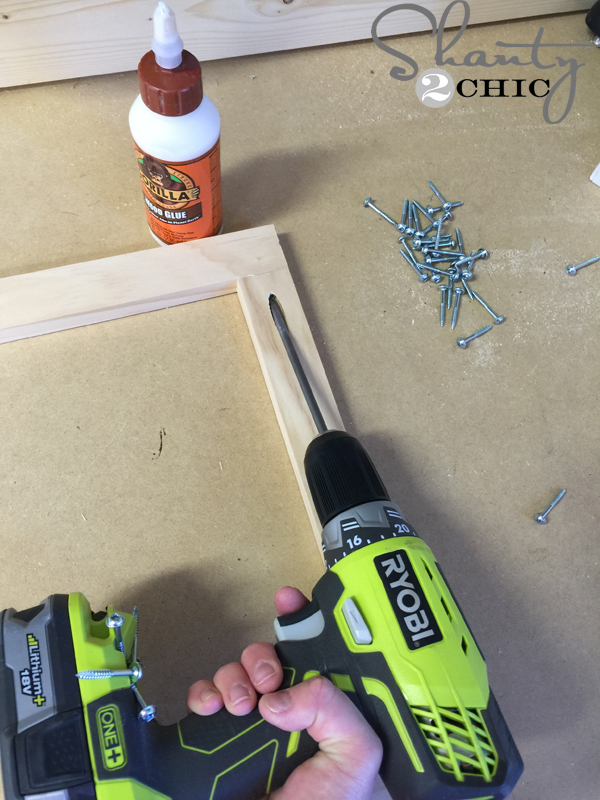
I attached the outside frame first with 1 1/4″ pocket holes and Gorilla Wood Glue.
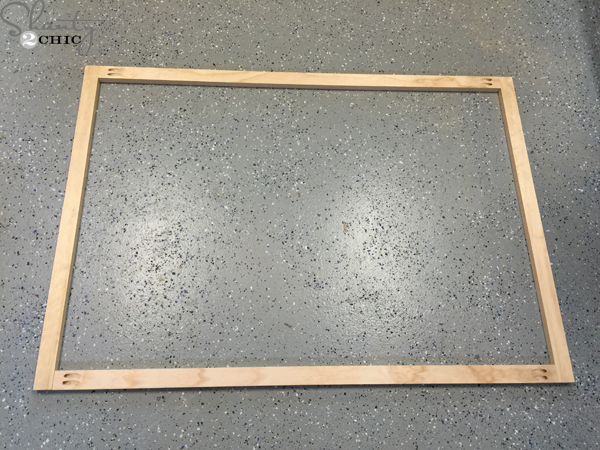
Here is the outer frame of the face frame.
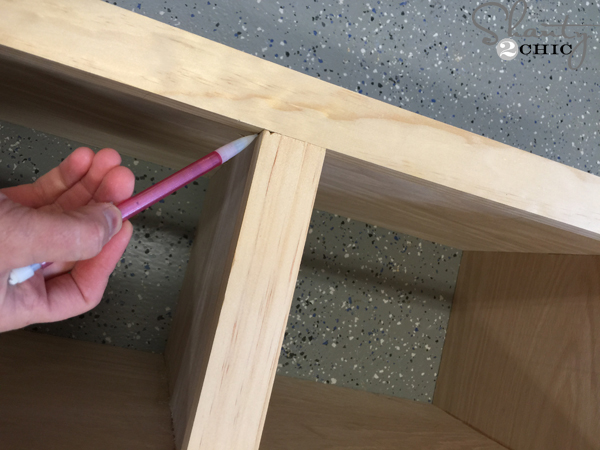
I laid the outer frame on the cabinet and marked exactly where the other pieces needed to be.
Then, I attached those pieces the same way.
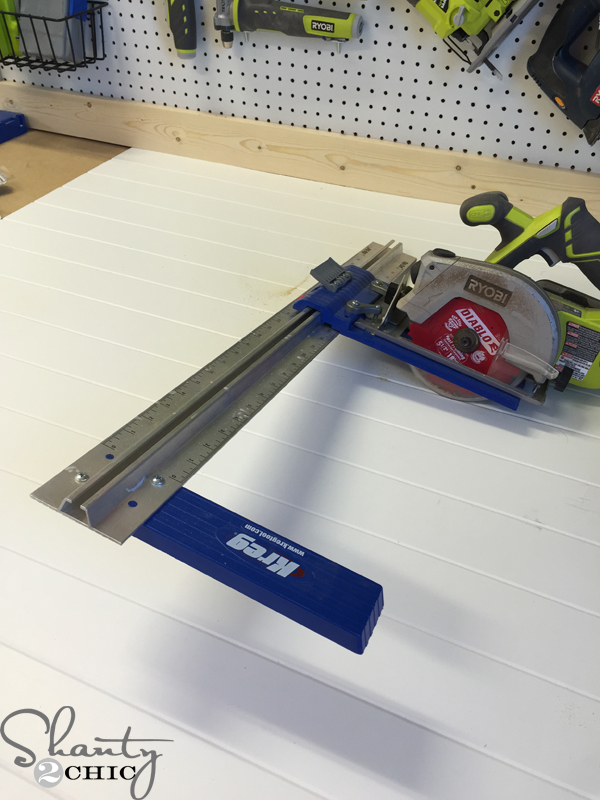
Now for the backing. I wanted a planked look for the backing and found this V-groove panel that I liked. I used my rip cut and my Ryobi 18-volt circular saw to rip it to size. *You can have Home Depot rip this down for you too. I prefer to cut it to size once my piece is constructed.*
I attached the panelling with my Airstrike Stapler. You can use a nailer or finish nails on this part too. I prefer staples on this part because the backing is thin and can slip over the nails and pop off.

Once the back was on, I attached the 1×6 planks to the top with wood glue and my nailer.
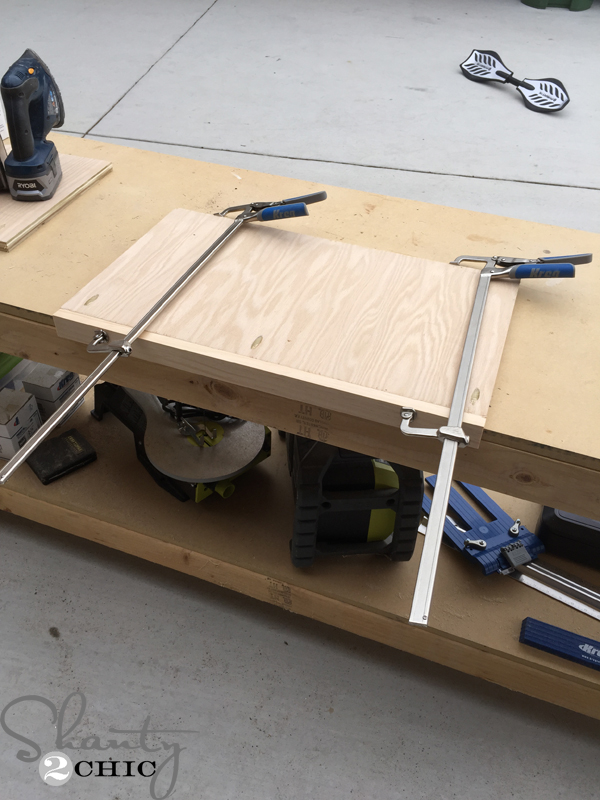
I built the shelves last. I measured and cut as I went for these. I attached the 1×2 to the plywood with wood glue and my nailer. I also used my new Kreg Bar Clamps to hold it in place. You don’ have to use clamps for this part but it is like having an extra set of hands when you are building.
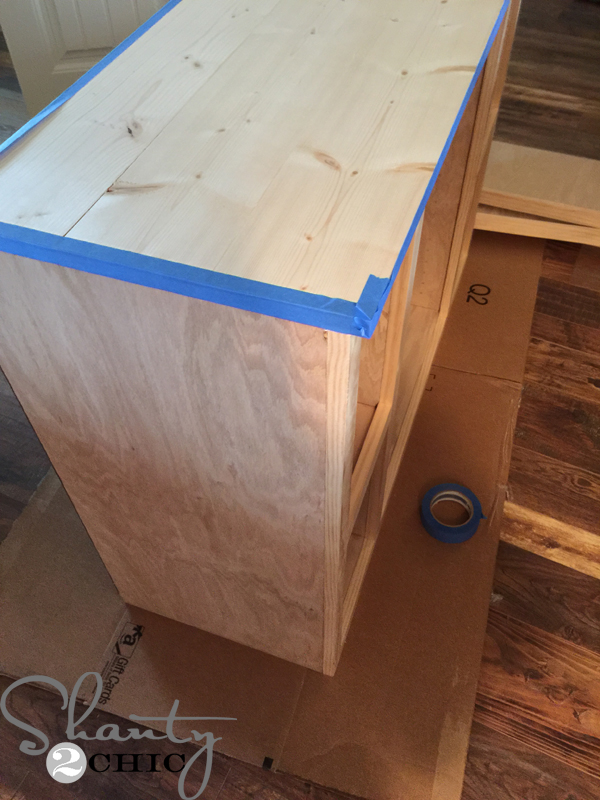
Now for the finish! I opted for to stain the planks and paint the cabinet. So, I taped off around the top.
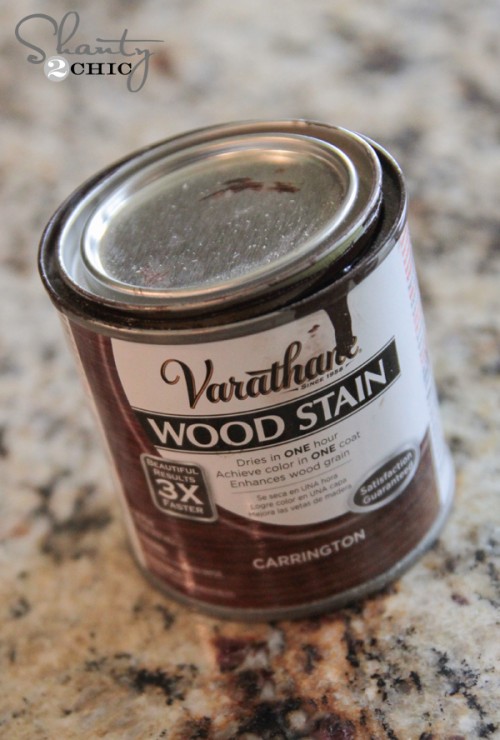
I wiped on one coat of Varathane Carrington stain, with a clean cloth. I let it sit for five minutes then wiped it with another clean cloth to blend the stain.

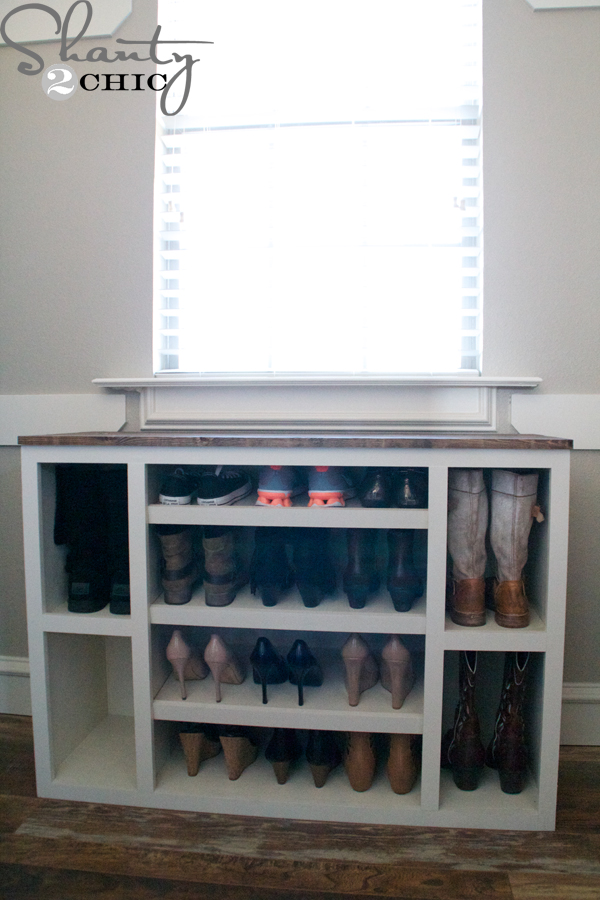
Then, I painted the cabinet and shelves with 2 coats of Behr Cozy Cottage. Once it was dry, I added the shelf pins and the shelves. I made the shelves angle up towards the back. To do this, I just set the back shelf pins one notch higher than the front of the shelves.
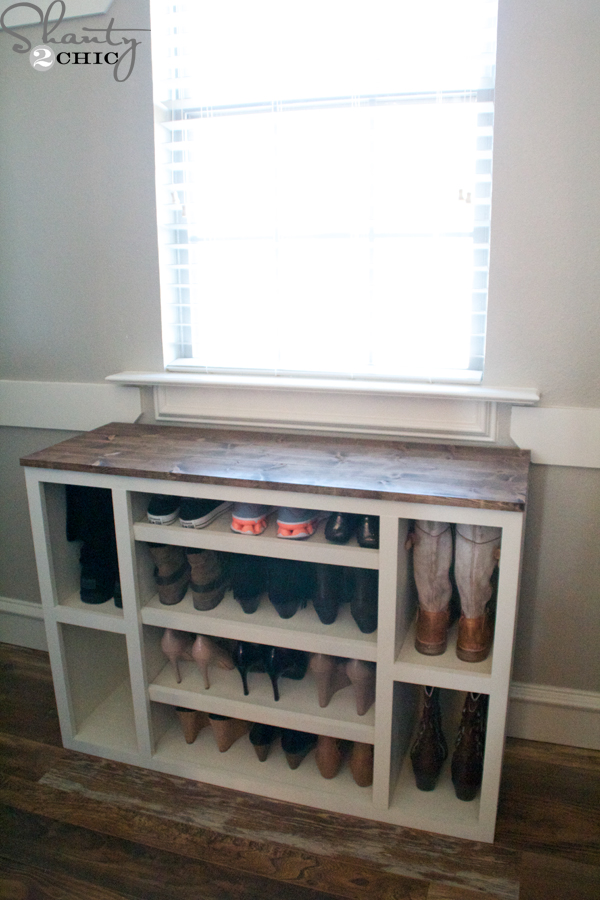
I gave my shoes a new home and called it a day!
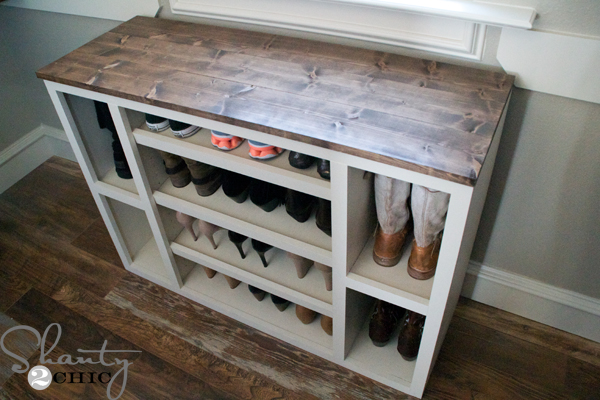

I’m so in love with this piece! I intended to share it with my hubby but now I guess I’ll have to build him his own 😉 I get a lot of questions about the boots in the top right cubby. They are my absolute favorite boots that I have ever owned and they are super comfy too. I bought them on Amazon and I’m also adding a box to check them out below. ***If you need more shoe storage, don’t add the blanks and you can build multiple cabinets and stack them. Just make sure to secure them together for stability.***
You can also see more on the flooring in my closet HERE.


Here is my rendition.
Melissa is very happy with it.
Couldn’t have done it without your wonderful plans.
Do you have any plans to build a free standing food pantry?? Hint hint,lol
Thanks,
Ross
How did you affix the face frame to the plywood?
Just glue?
Brads and glue?
Thanks so much.
Hi Ross,
I guess I didn’t get a pic of that. So sorry! I used brad nails and wood glue then filled my nail holes.
I plan to surprise this for my wife- Thank You again….but…..
How do you affix the face frame?
I don’t see any nail/screw holes on the face.
So, merely glue?
Thanks so much. I love your projects btw.
I am pondering the idea of using this to hold some DVDs in the middle section.
Showed my husband the picture before you had posted the plans, and he came up with this. I just love it! Thanks for the idea!
Kinda dark… But you get the idea.
Donna
Soooooo pretty Donna! Thank you for sharing :)))
How much did it cost you to make this?
I love ths piece! I need some place to store my footwear and this is exactly what I think I’ll make. I am loving your website since I found it and look forward to making many of the items you have on your website!
This is fantastic!
This is amazing! I love the boot storage. One of my goals for this year is to gut our master closet and build new shelving. This would be so perfect to store all of my shoes (and I guess I could build one for my husband, too). Thanks for the inspiration!
I LOVE LOVE LOVE this! The white and the stain mix is awesome. And how happy I would be to not see my boots bending over in my closet with that forever crease. Well done!
I cannot agree enough…please post the dimensions. I am not wasting time and money if it will not fit.
Good feedback! I’ll update the dimensions in this post. Sorry!
Take the idea and modify it to your own dimensions. You can make it any size you want.
Home Depot rips wood as accurately as a Sarah Palin geography lesson.
They have been hit or miss for me. I usually have them rip the width so I can get it in the car but I cut the length myself. I do take a tape measure and make sure the cuts are accurate before leaving the store. This is a necessity for some people that don’t have the space in their cars for a full sheet of plywood (and the sheets are too heavy for me to load and unload).
It would be really helpful on the plans to have the full dimensions of the furniture piece on all your future projects.
Thanks for the feedback Richelle. We will add them to the plans in the future. I did update the top of this post with the dimensions. Thanks!
Gorgeous!
Thank you Laura!
You are absolutely amazing! Have I told you that before? If so, at least you know I really mean it. I love all my bloggers but you are my very FAVORITE. Working with ones hands is a beautiful gift. Love, love, love everything you make. May the New Year Bless you and keep you brain and hands well! Can’t wait for more ideas for 2015.
Thanks so much Gloria! What a sweet message – made our day 🙂