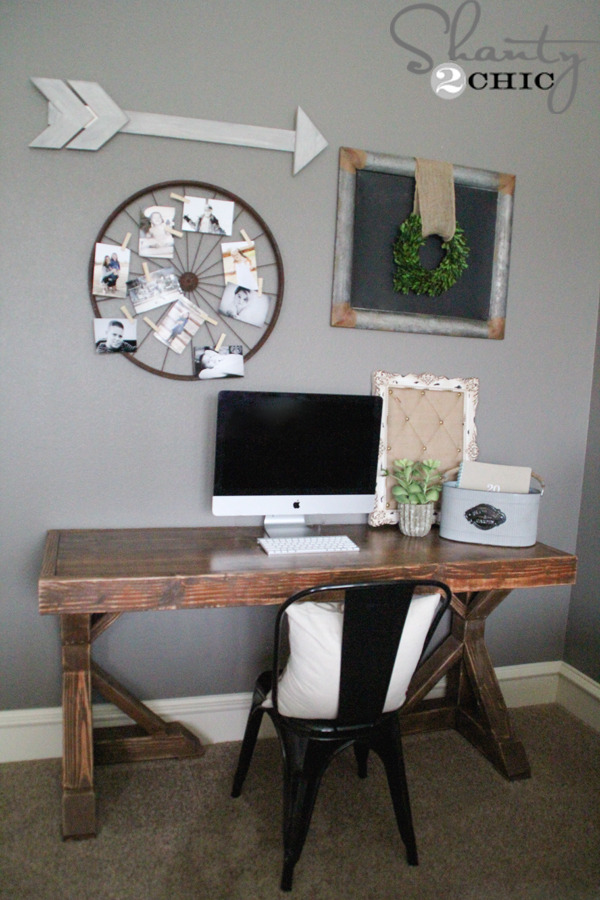
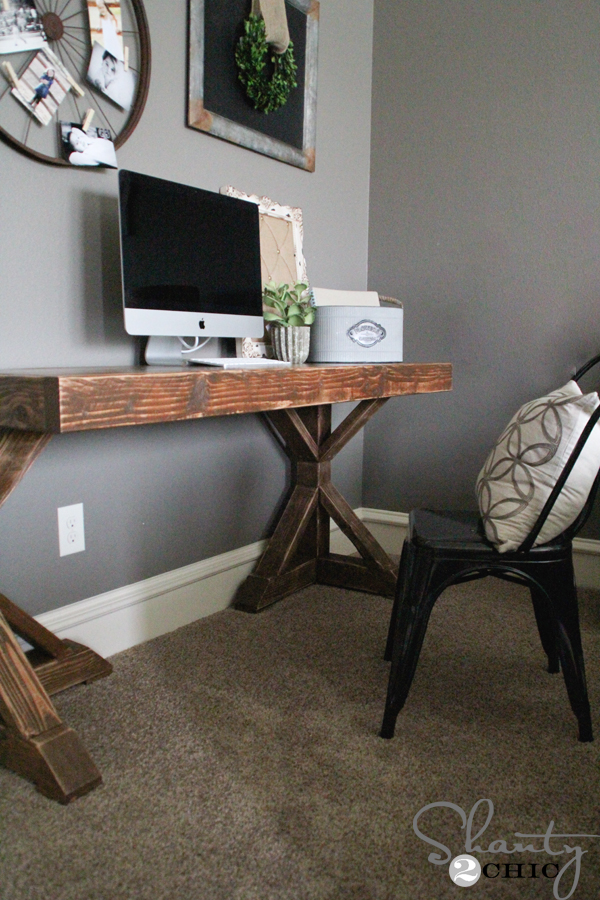
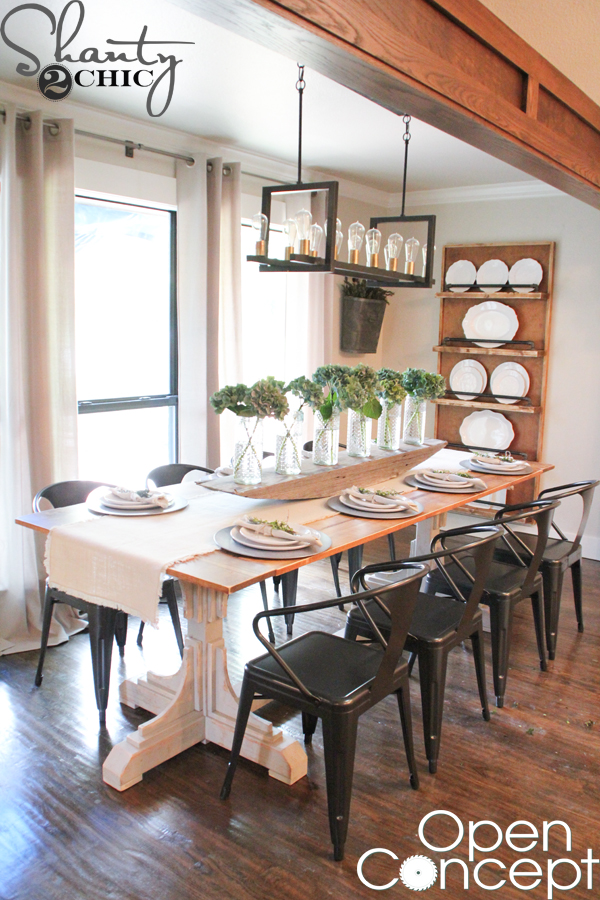
The design is inspired after my Dining Table that you can see HERE. I love it so much that I decided to build a desk very similar. I hit up our friend, Jamison a.k.a. Rogue Engineer to design the plans and he did an AMAZING JOB! We created this 5 ft. long desk for only $70 in lumber – BAM 🙂
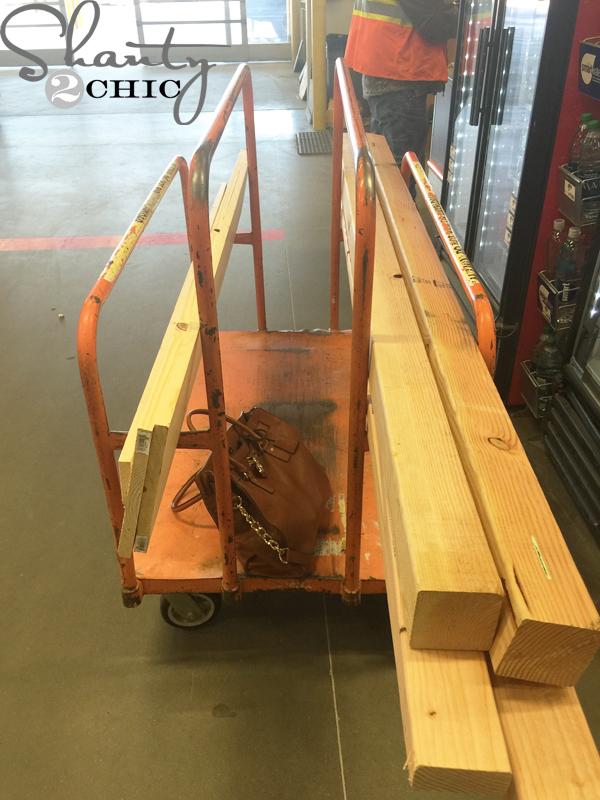
You can click HERE to download and print the FREE Plans and follow along below to see how I built this bad boy 🙂
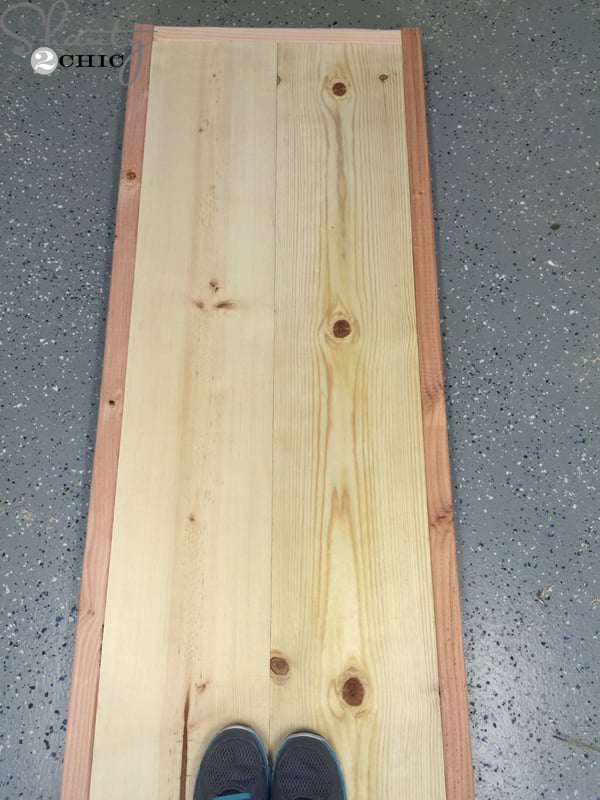
Here is the before 😉
(Image Here: Attach Top Planks)
I started by creating the planked top.
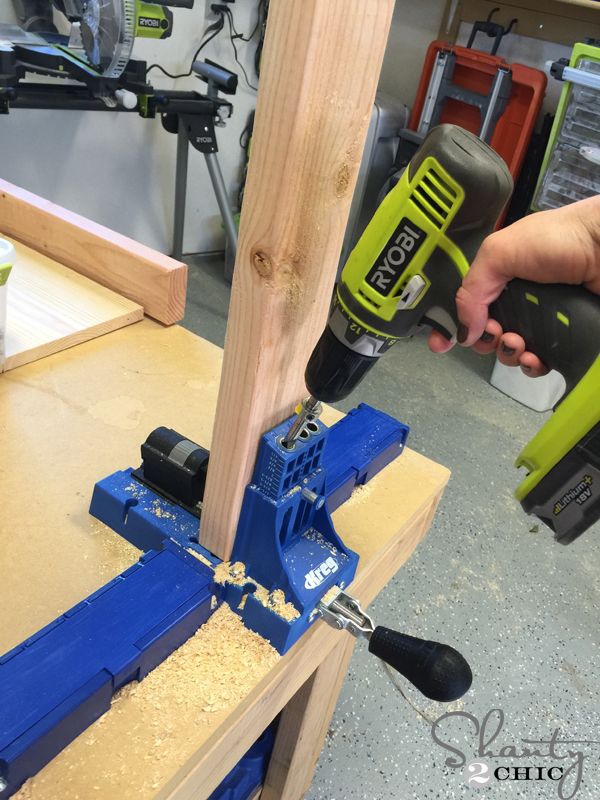
Then, I drilled pocket holes into the 2×4’s for the frame.
(Image Here: Attach Side Pieces)
And attached the end pieces to the side pieces.

Frame – DONE 🙂
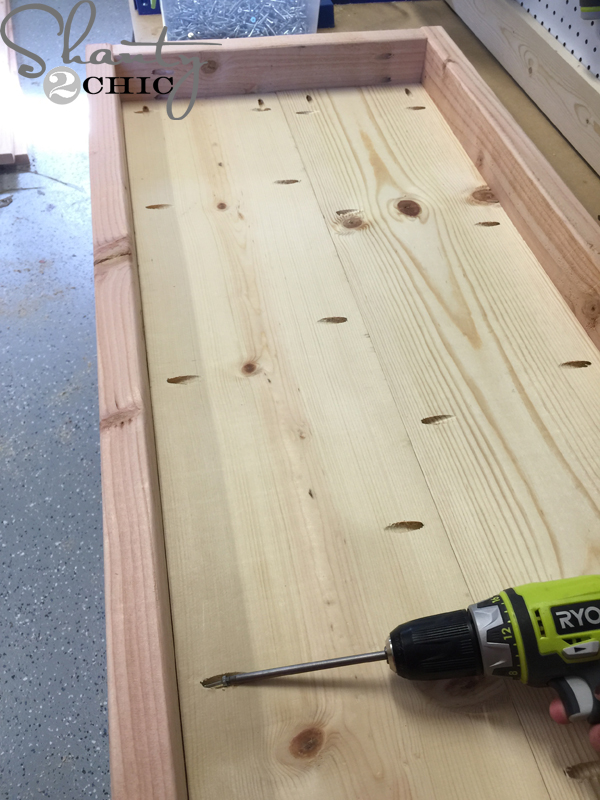
To attach the frame to the planked top, I used 1 1/4″ pocket hole screws. The planks will be flush with the top of the 2×4 frame.
(Image Here: Add Supports)
Finally, I added the supports under the top.
Desk top – DONE 🙂
Now for the legs!
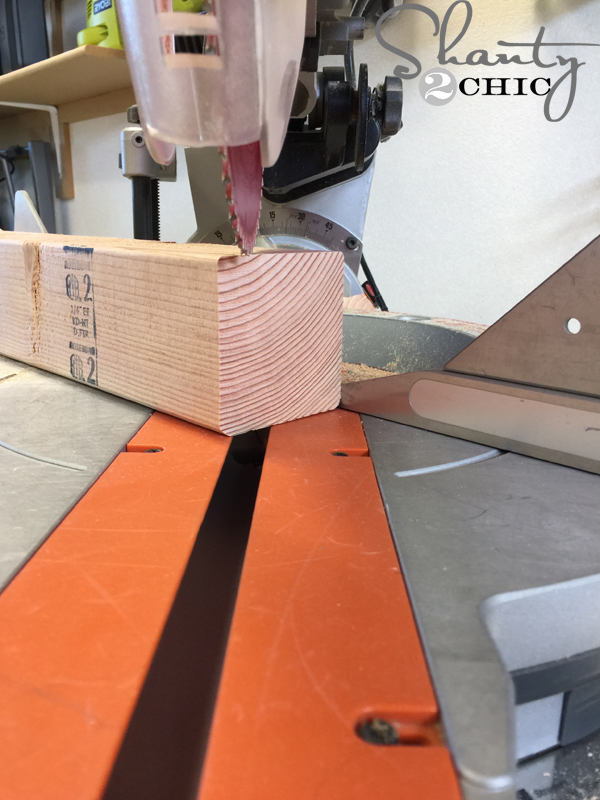
The legs are just straight cuts but the feet will have a 45 degree angle cut off the end. To do this, set your miter saw at 45 degrees, make a mark where the angle will start on the board (according to the plans)
(Image Here: Angle Cuts on Feet)
and make your cut!
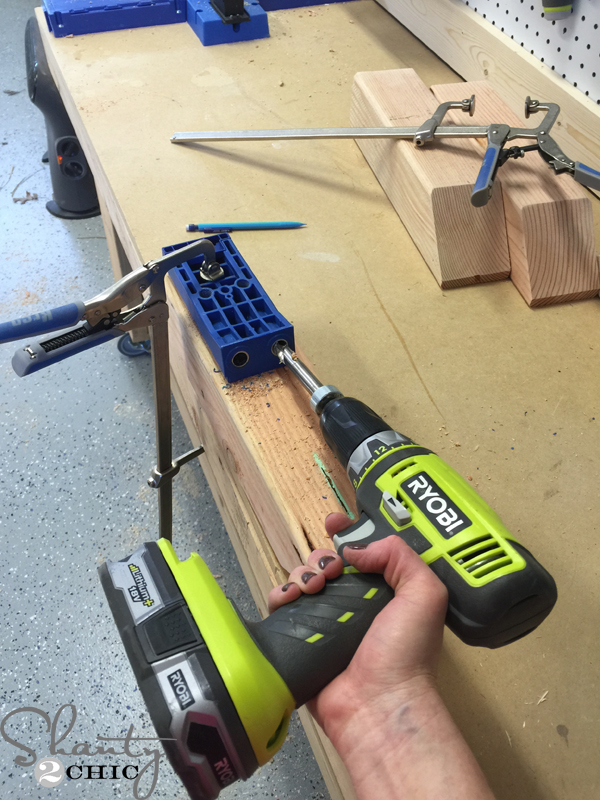
I used my Kreg HD to drill pocket holes into the feet. This is a jig for boards that are thicker than 2″. You click the box below to find one on Amazon.

Then, I attached the feet to the legs with wood glue and Kreg HD pocket hole screws.

Next, I attached the foot pads.
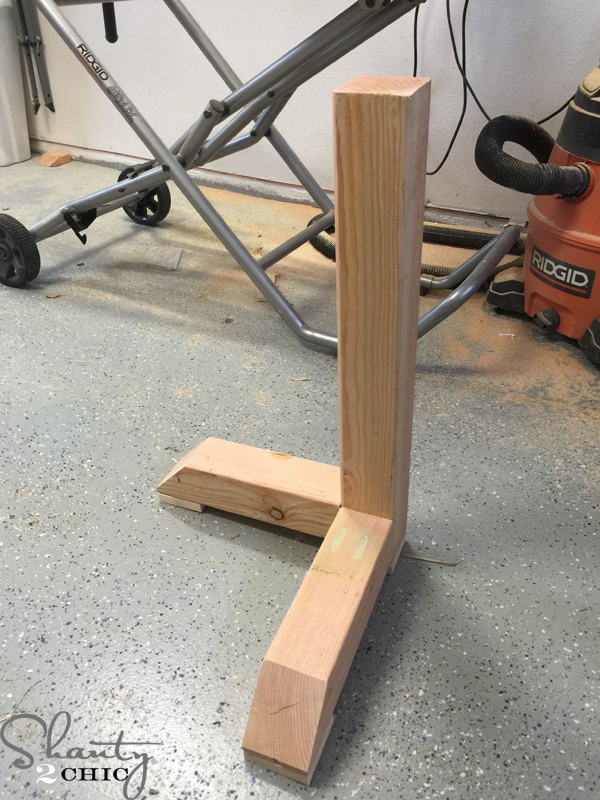
Nice legs 🙂 (yes, I put the pocket holes on the wrong side… I was bummed but I filled them with wood filler and there are angle pieces that cover them so you don’t see them at all).

Two legs and a top ready to go!
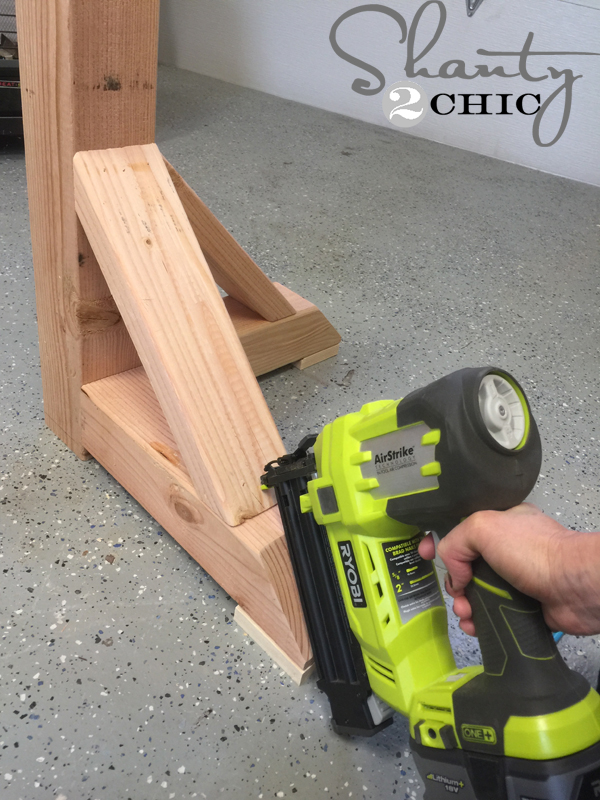
I used my Ryobi 18-volt nailer and wood glue to attach the angle pieces on the bottom of the legs. You can use screws here but the nailer is easier.
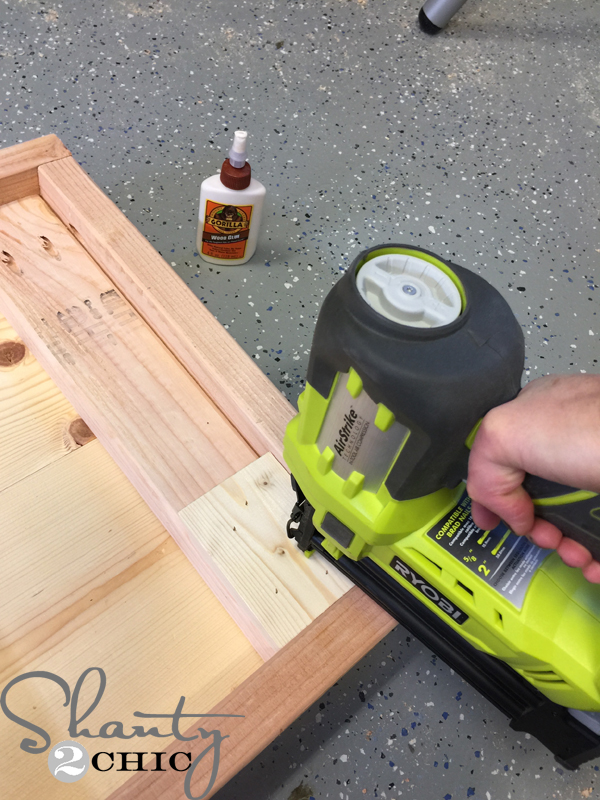
I flipped the top over and attached the stop blocks with my nailer and wood glue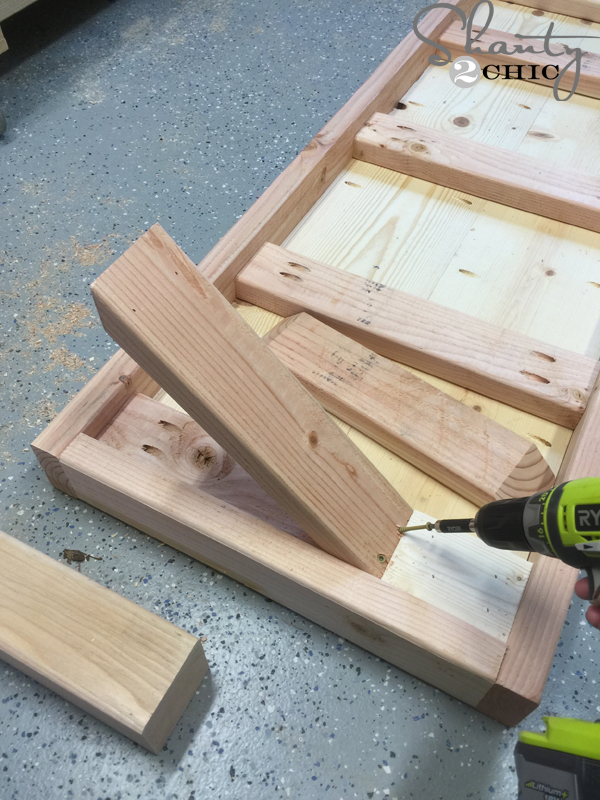
then attached the angle piece to the top.
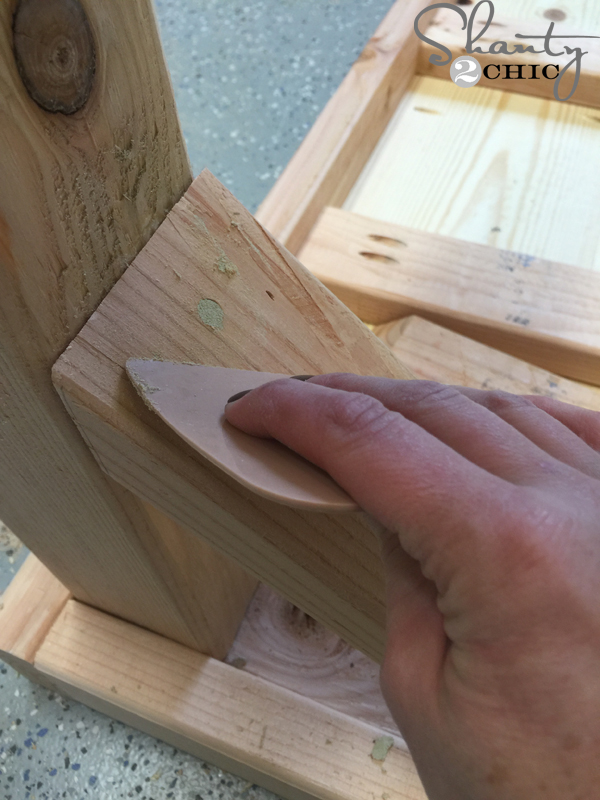
Make sure to fill your holes with wood filler.
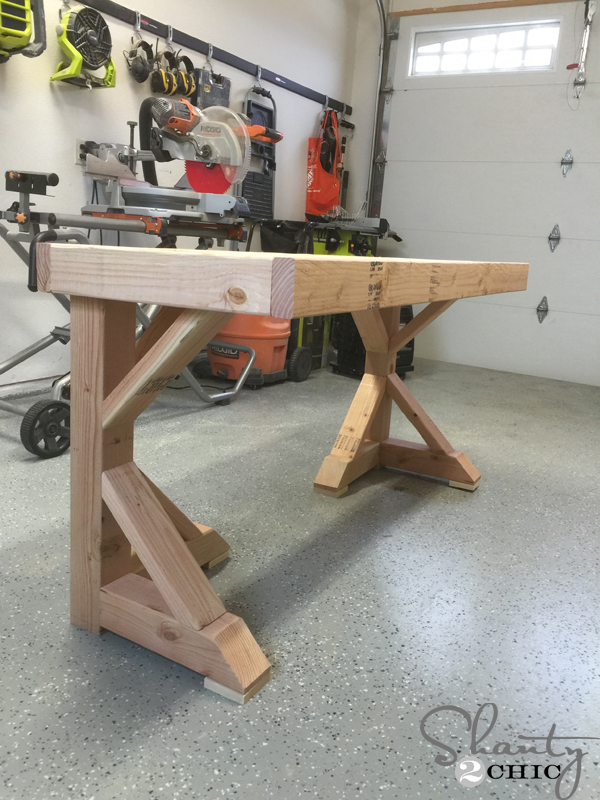
She’s done and ready for the finish!
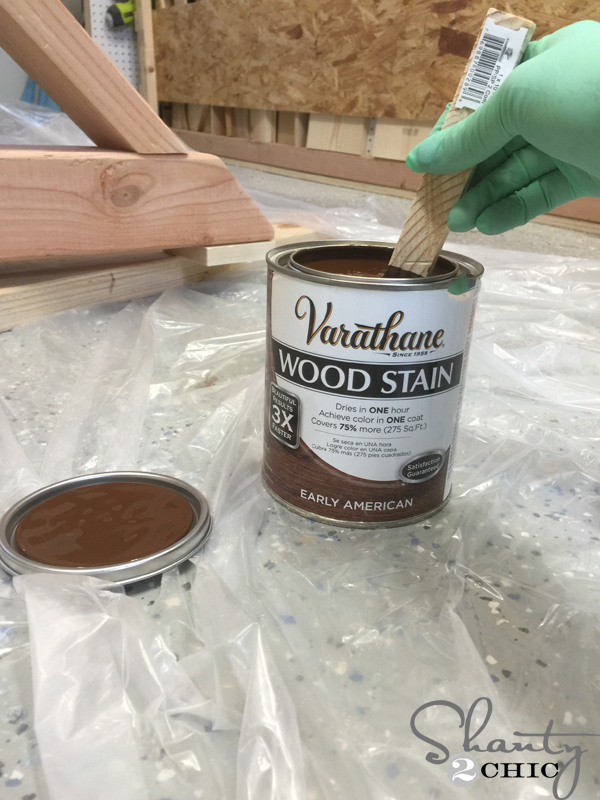
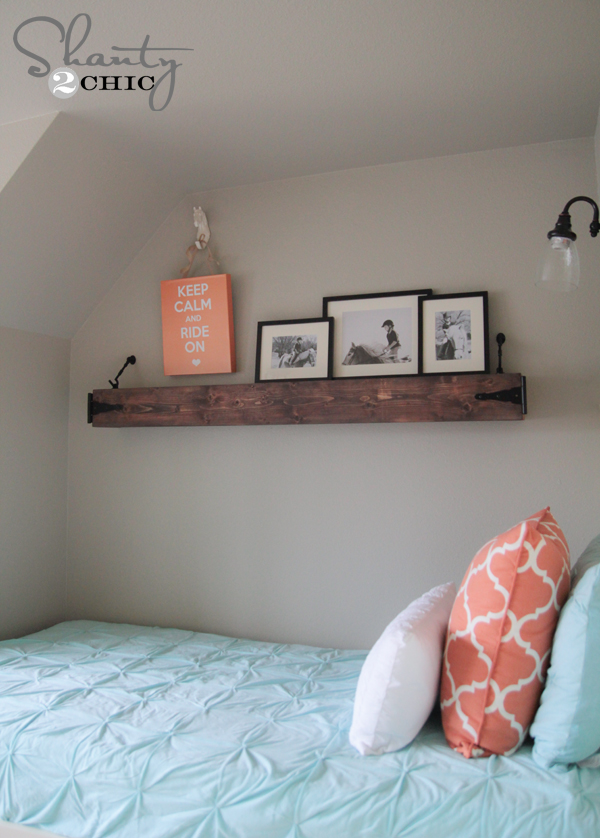
I chose Early American by Varathane. I built the desk for my master bedroom and wanted it to match the bed that I built. You can see the bed HERE.
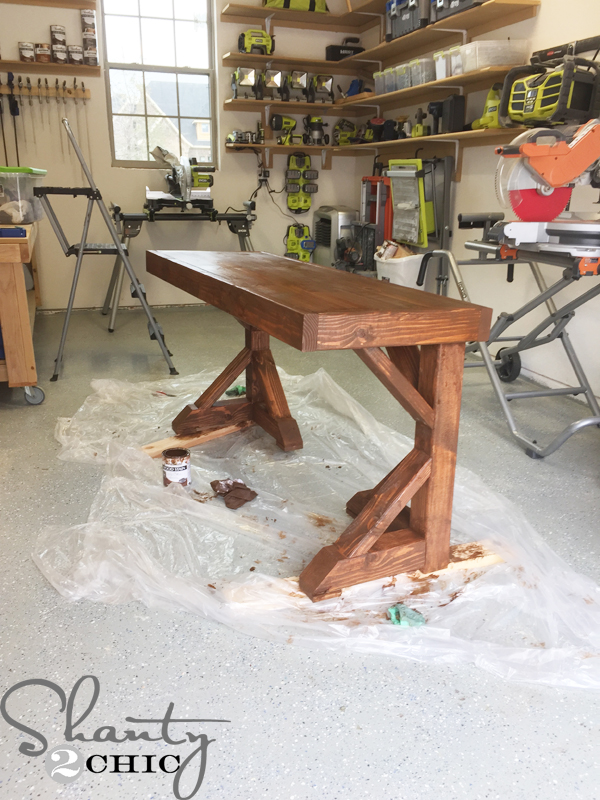
I waited an hour for it to dry and then used my Ryobi Corner Cat Sander, with an 80-grit sanding pad to distress the entire piece.
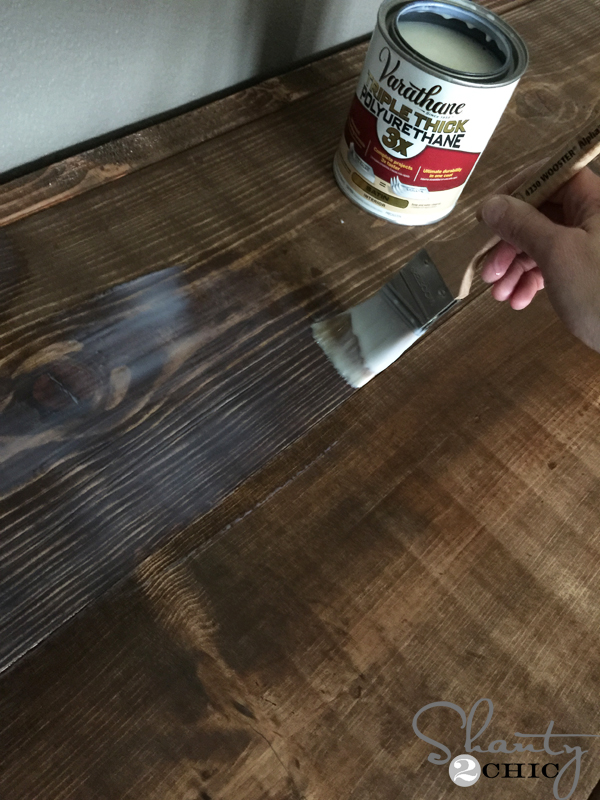
Finally, I applied one coat of Triple Thick by Varathane to the top of the table. This stuff is the BOMB! Just be very generous with it and it will level itself out. The top of my table is so smooth! It will look a bit like glue until it dries.
And that was IT! I LOVE it 🙂

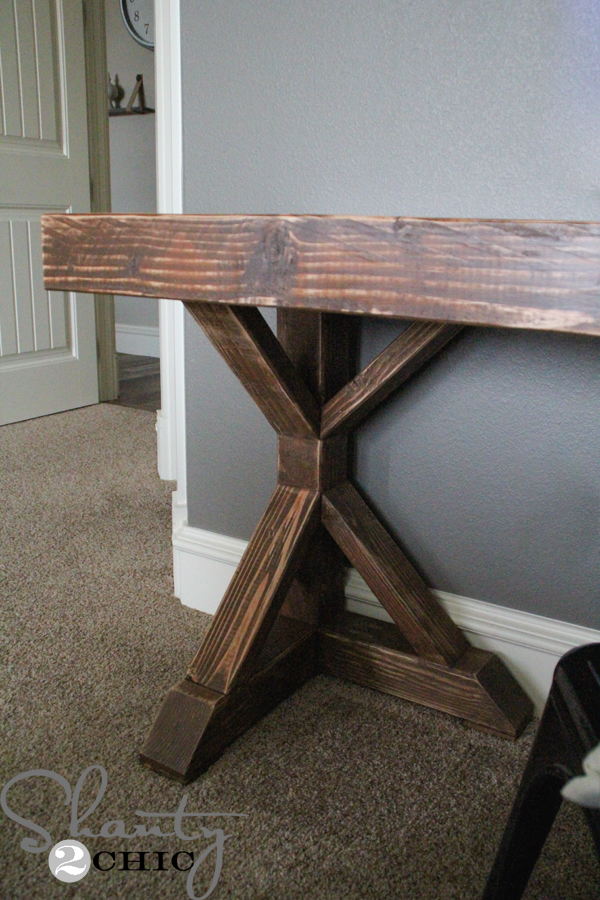
The legs are my fave 🙂
A HUGE thanks to Rogue Engineer for the FREE Plans! Go get them HERE and tell him the Shanty Sisters said hi!
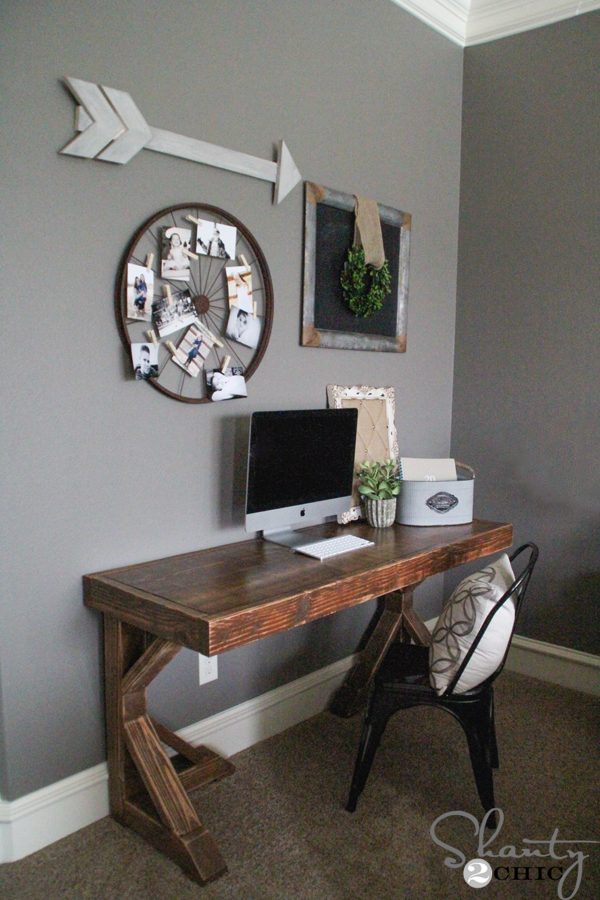
Like something you see in my pics? Here are the sources!
Wagon Wheel Photo Collage: Save On Crafts
Chalkboard frame: Hobby Lobby
Boxwood Wreath: Target
Metal Bucket: HomeGoods
Succulent: HomeGoods
Thanks so much for stopping by!
~Ashley


RE’s site doesn’t seem to be monitored and haven’t received the plans in over 24 hours. I am highly interested in building this. Can someone load the plans to google drive or something?
Used a combination of yours and rogue engineers post to build an L shaped version of the Trestle desk. 2 by 8 top, Walnut stained entirely with dry brushed vintage white over the bottom portion. Came out better than I expected.
I was wondering if you could make it L shaped! What did you change??
What are the measurements for the LShape version of this desk?
Did you all rip the 2X4s down for straight edges or did you keep them standard?
Thanks!
Any recommendations for bookshelves or side tables to match this chunky design?
Love it and the finish! The wall decor is awesome! I want to do the same thing! I found the wreath at my local Target but can’t find the the chalkboard. Did it come like that from Hobby Lobby or did you tweak it at all. Is that arrow made out of 1 x 3’s?
Built this for my daughter and she loves it. So stinking easy to build. Thanks ladies!
Bed link does not work… I’d love to see it.
I’m curious about the 45 degree angle cuts on the feet. Your picture isn’t showing up for me, and I’m not quiet sure how to make the cut. I’m a beginner, but this desk looks very doable. Thanks ladies!!
It’s so cool
what is an alternative if a person doesn’t have the kreg HD ?
Love the desk!!!
Your options depend on your skill level and available tools. The reason most use a Kreg Jig or similar tool is because it’s quite simple to use for anyone and doesn’t require much in the way of wood-working prowess.
There are countless joinery options. Dovetails, Condor Tails, Dowels, Half-lap, Mitre joint, Rebate, Dado, Mortise & Tenon, Box Joint, Router Joints, and so so much more. However, like I stated above, it all depends on your ability and available tools.
I would recommend purchasing a Kreg if you’re a beginner-novice and plan on taking on more than a single project, it will pay for itself.
That looks amazing!!
I absolutely love this desk and can’t wait to try and build it..I have been looking for my first project and I really think I can do this one. Thanks Ladies 🙂
Love your desk! Turned out really nice, looks very sturdy. Like the dark stain. Love how your using the bicycle wheel to display your pictures, very clever!
Looks great. Nice job.
Have I told you how and amazing I think you are? I love that desk and seriously think you should consider making some of the things you do to sell.
What angle did you cut the 2×4s that connect to the 4×4s and under the desk?