***Tune in to HGTV today at 2PM EST to see the premiere of our pilot, Open Concept! Here is a sneak peak and free plans of one of the pieces of furniture that we built! Make sure to tune in today to see ALL of the pieces that we built!***
So yah. That just happened. How fun was it? Did you enjoy watching the premiere of our pilot Open Concept on HGTV? We had a BLAST at our family watch party! We really can’t thank you enough for all of the support you guys continue to show us. It really has been so encouraging, and we are so thankful for you.
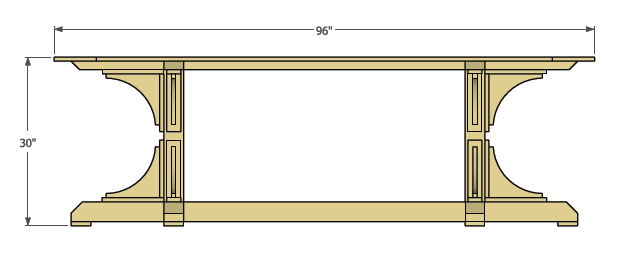
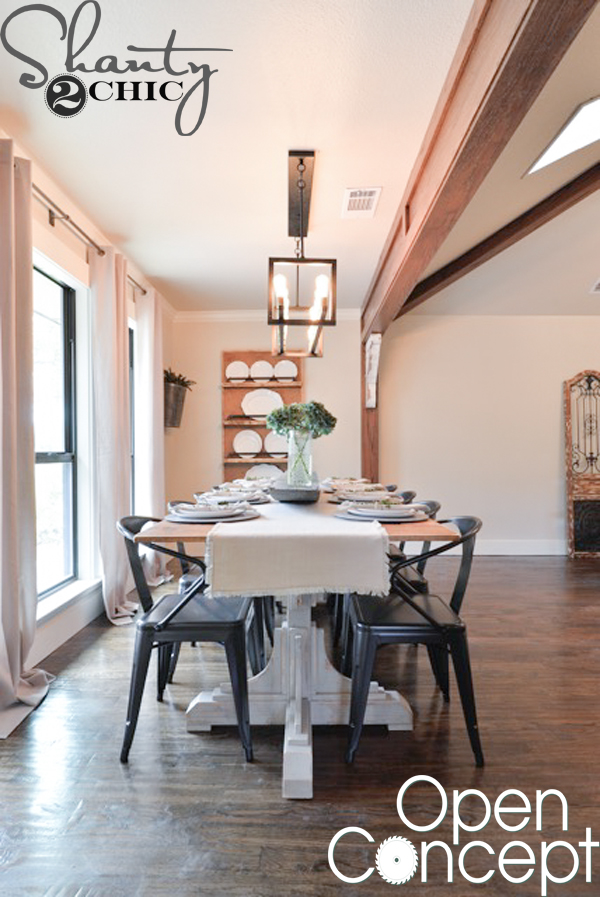
As promised, we are here to share the FREE PLANS for that amazing HGTV Open Concept Dining Table! And can we talk about this table….
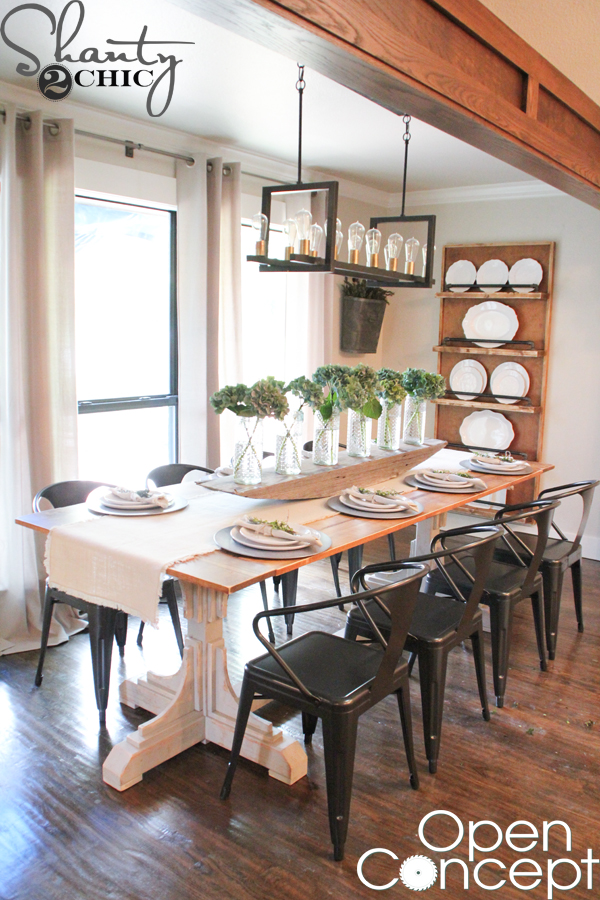
Isn’t it amazing? We wanted to keep it… 😉 As always, we will walk you through the how to here, and you can also download and print the free plans HERE or by clicking the button below.
This was such a fun table to build! It really is a simple design, but the detail in the legs give it such a cool look.
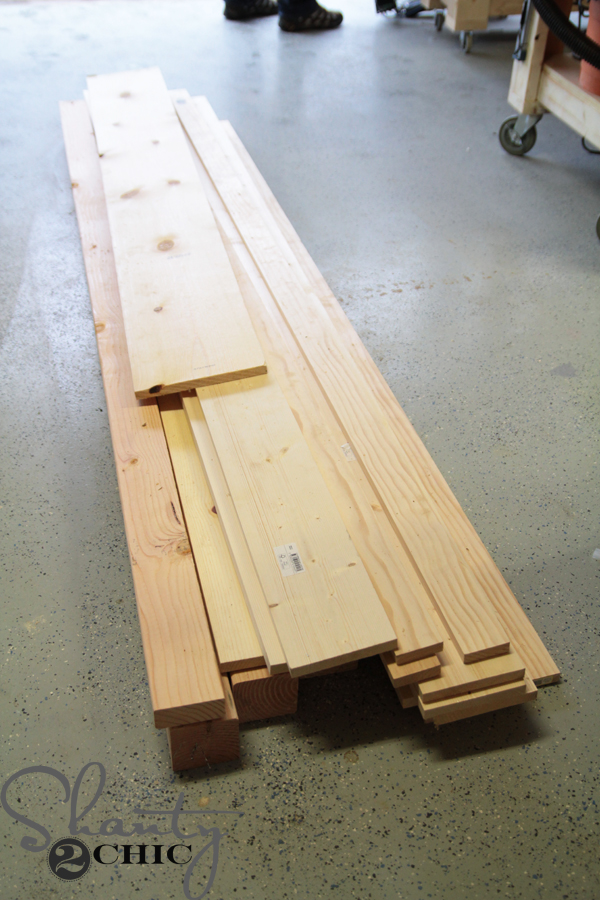
We started by purchasing all of the wood from the table. This table uses mostly pine or whitewood. We get asked all the time what type of wood we use most. We typically go for pine, common board and whitewood because they are the cheapest, and they look beautiful finished.
First, you will build each of the legs. This table uses 4×4. We find ours at Home Depot. Make sure you purchase the untreated 4×4. In our area, they typically run around $13 each. Make sure to cut a very small piece off the end of each board you cut. This will give you a square board to start from.
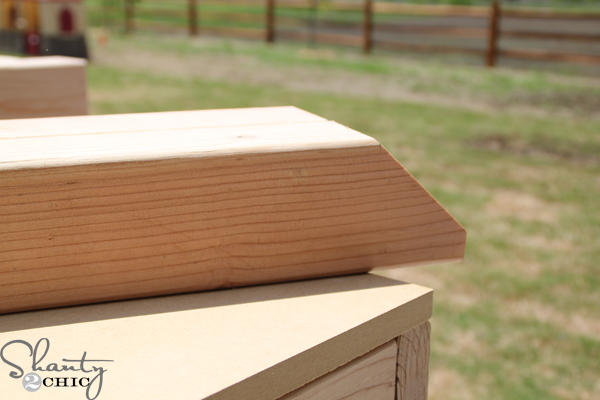
Cut the long 4×4 and the leg pieces first. Use a miter saw to trim the edge of each leg piece at a 45˚ angle to give them a tapered look.
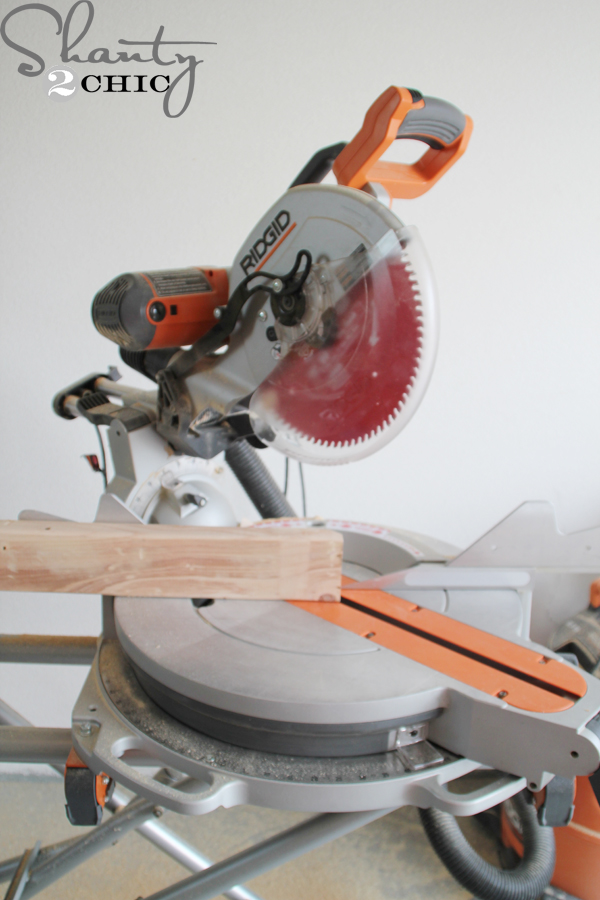
This shows where to make your cuts on the leg pieces…

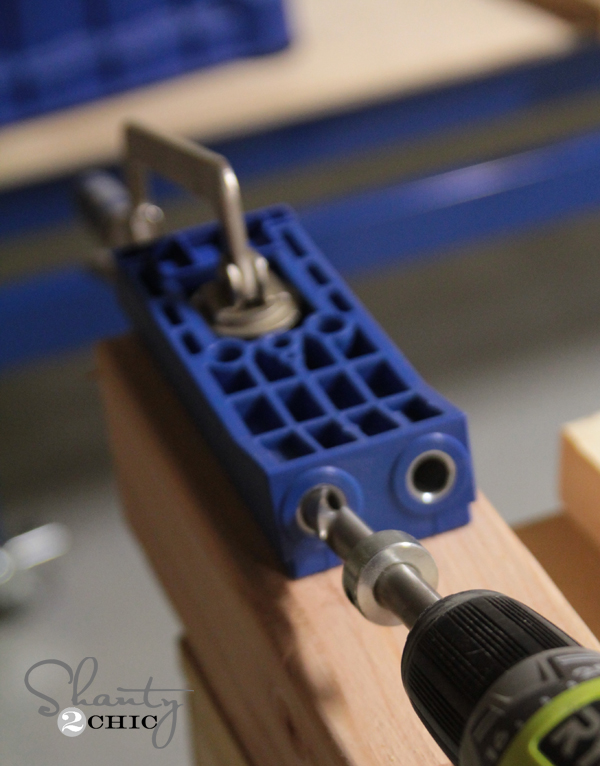
To attach all of the 4×4 pieces, we used our HD Kreg Jigs to create pocket holes. When using 4×4 material, you have to use the HD jig rather than the regular Kreg Jig. Don’t know what the heck a Kreg Jig is? We have a quick video about it HERE. Basically, it’s a tool used to create pocket holes. It makes building SO MUCH easier. Get one. You will thank us.
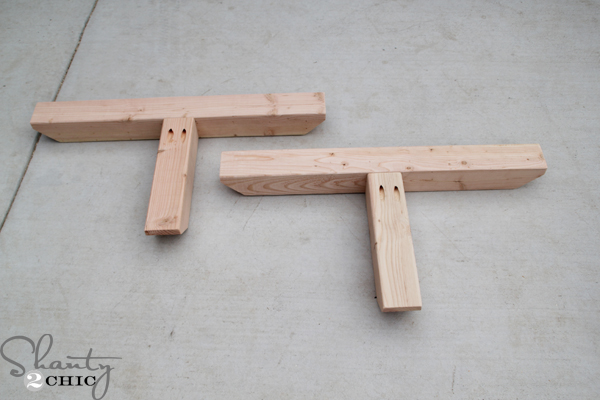
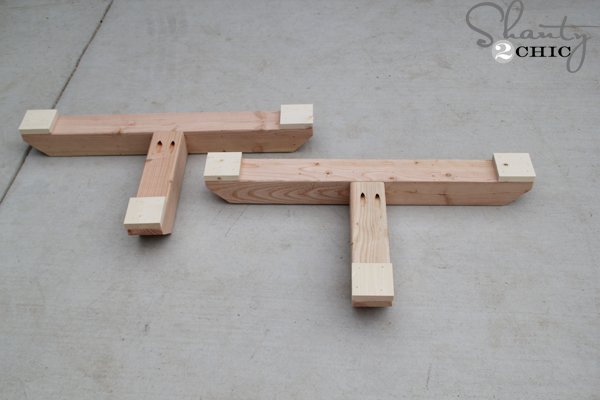
Now, on the plans you will see that the bottom long stretcher is one piece. We knew getting the table in the house would be an issue at this length, so we decided to break it into 3 pieces. We attached the two outside pieces to the legs and then did a shorter runner in the middle. Make sense?? Both ways work, so just choose which fits your setup best.
You can see here how we attached the legs using Kreg HD screws through the pocket holes.
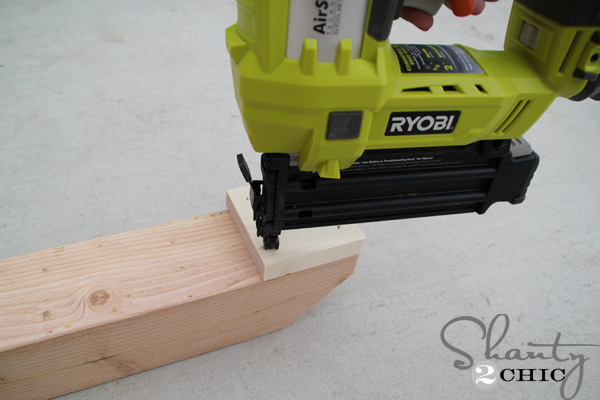
Next, we added foot pads. These are small square pieces of board cut to go under the table to lift it off the floor a bit. Just use wood glue and 1.25″ brad nails to attach these. We used our cordless Ryobi brad nailer which made this part even easier.
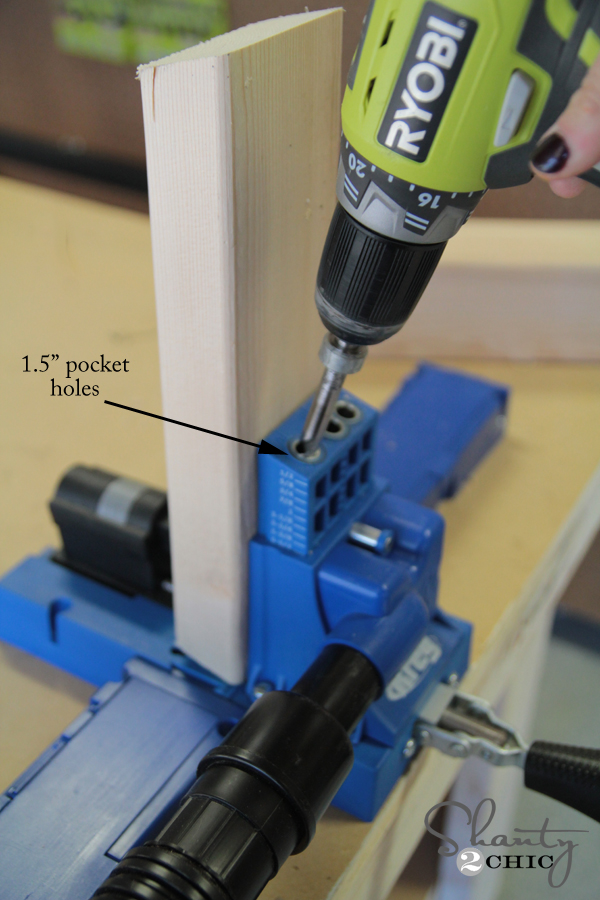
The top of the legs which sits under the table top is built the same way, but we used 1.5″ pocket holes and 2.5″ pocket hole screws. We also used our K5 Kreg Jigs to make the pocket holes for these.
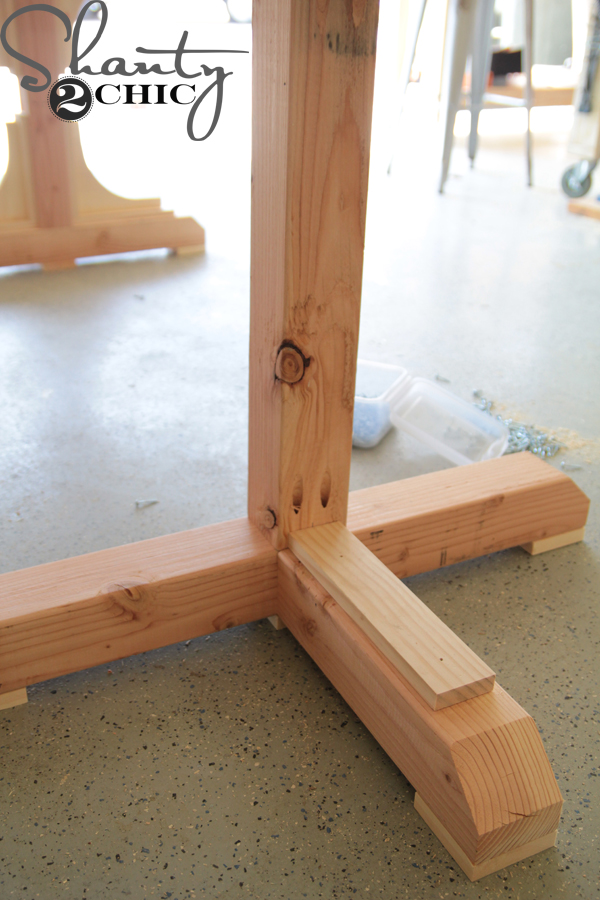
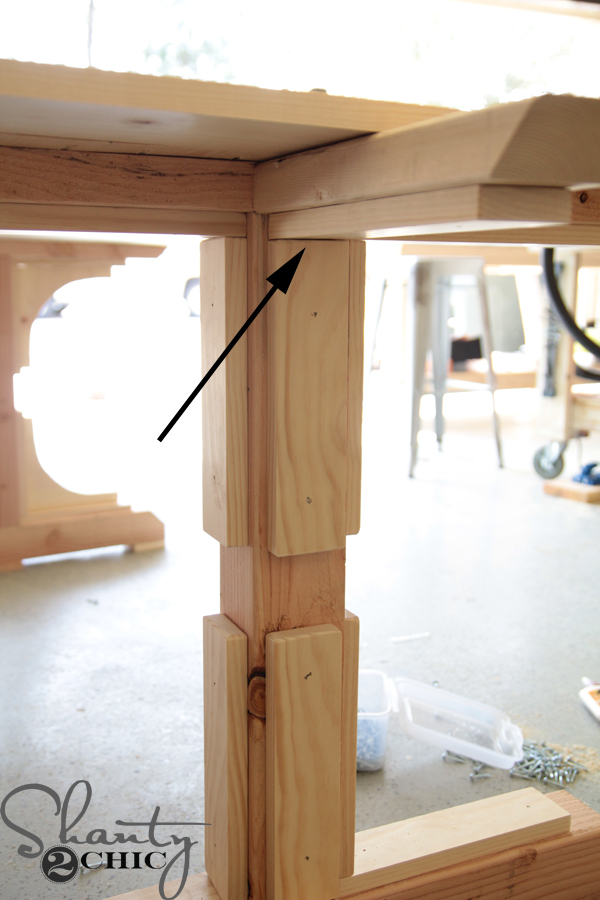
Now remember, the plans call for one long runner, but we broke ours up to make it easer to move. We attached the vertical boards to the feet using HD pocket holes and screws as well. Then we attached the top pieces using wood glue and 2.5″ wood screws through the top of the supports and into each vertical leg.

Now for the fun part… The trim! You will cut 1×3 boards to wrap each leg. Attach these using wood glue and 1.25″ brad nails.
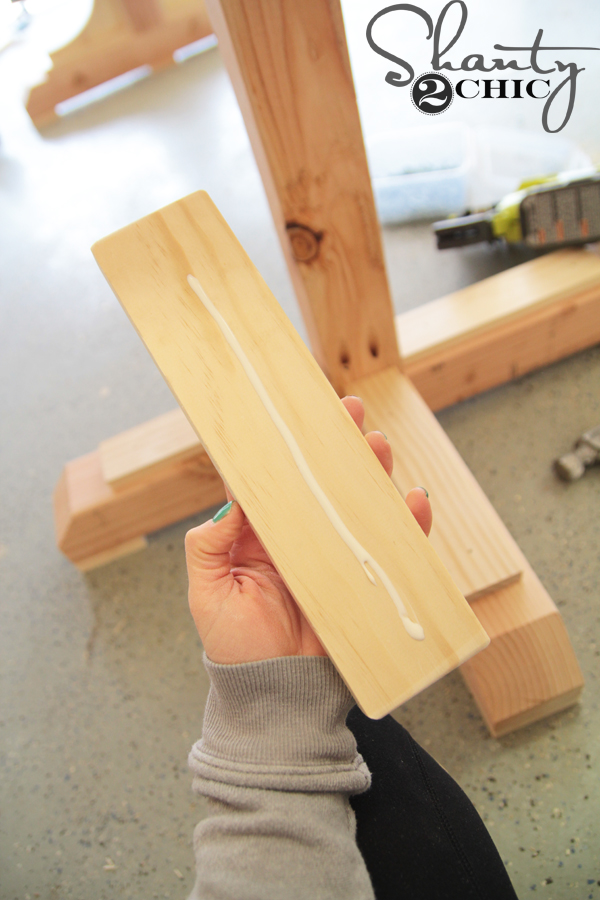

Then we attached the top ones…
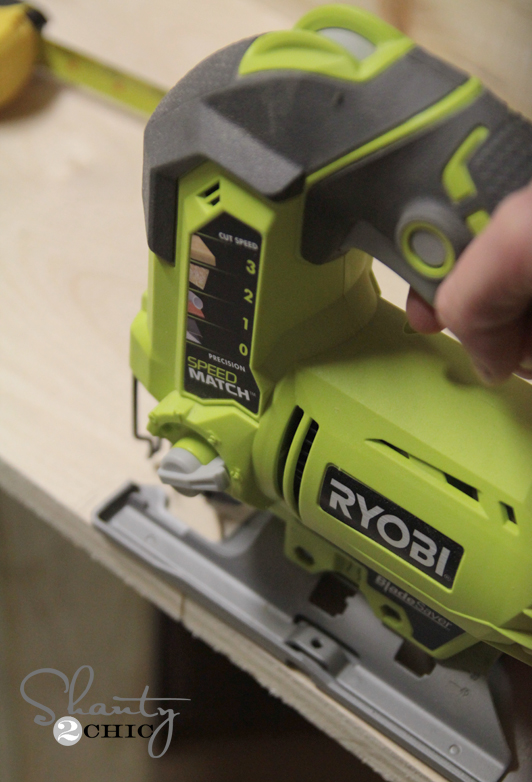
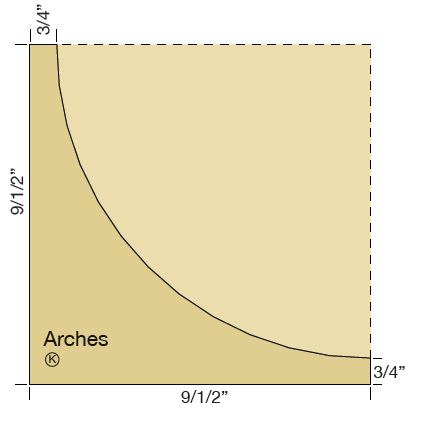
Once those are done, you will cut and attach all of the decorative trim pieces. We cut these out of 1×12 using our jig saws.
You can see here how to measure and draw out each piece. We cut one and then used that to trace the rest so they would all match.
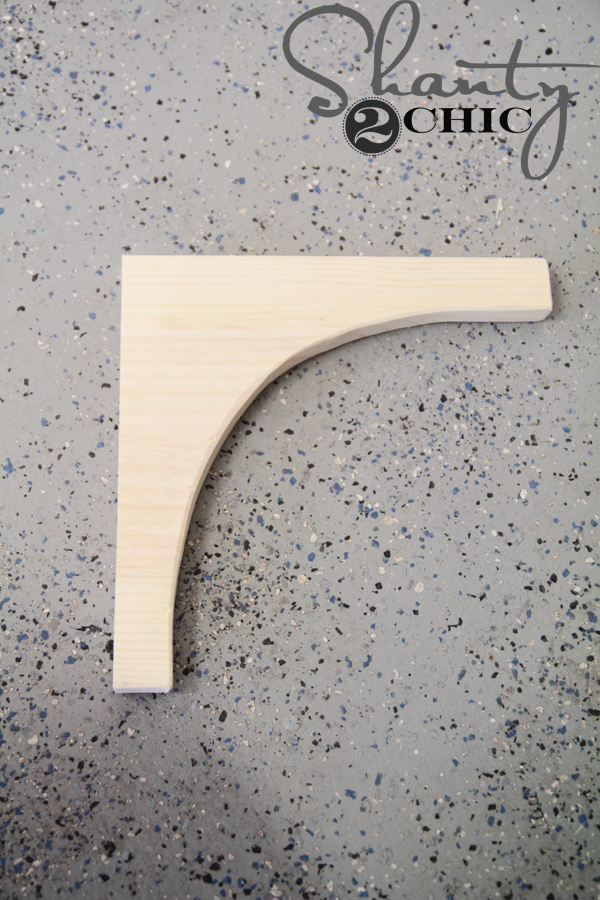
This is the part where we made memories and not mistakes 🙂
Pine is soft, and we had a few that broke on us, but we used a little glue and they were golden after that. No harm no foul, right?
The table top is all planked pine. We made 3/4″ pocket holes and used 1.25″ pocket hole screws to attach everything on this part. We did not use wood glue on the table top.
Here is a good example of how the pocket holes will attach the breadboards. This is a smaller piece, but the same idea.

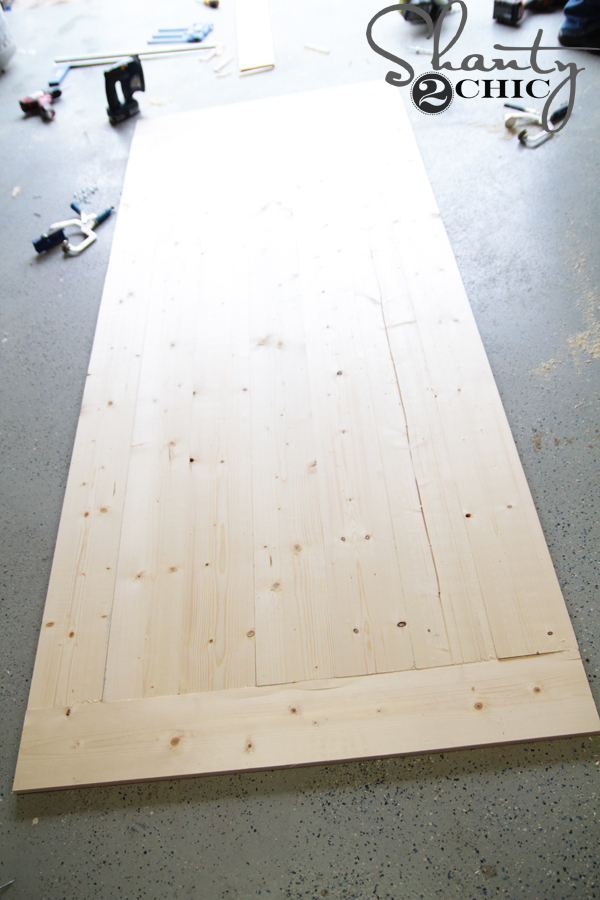
We attached the table top to the bases using 2″ wood screws through the bottom of the 2×4 supports on the legs and up into the table top. Don’t use glue on this part if you plan on ever taking the table apart to move it.
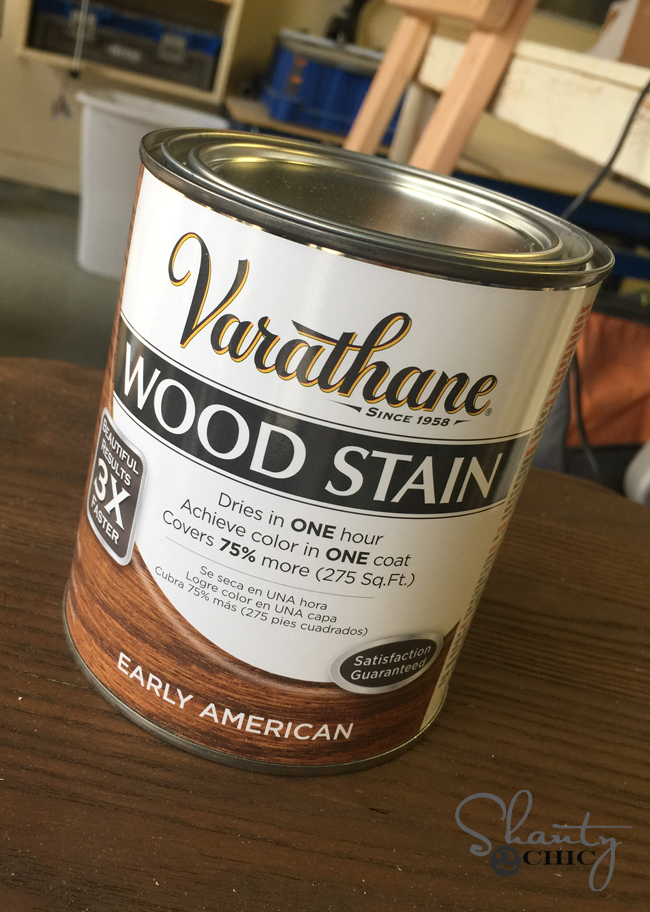
We used one of our favorite stains on the top. It’s Varathane Wood Stain in Dark Walnut from Home Depot. This stuff is amazing… Goes on in one coat and dries in under an hour… Yes, please!
We painted the base of the table in Rust-Oleum’s new Chalked Paint in Linen White. Seriously LOVE this stuff. It’s also at Home Depot.

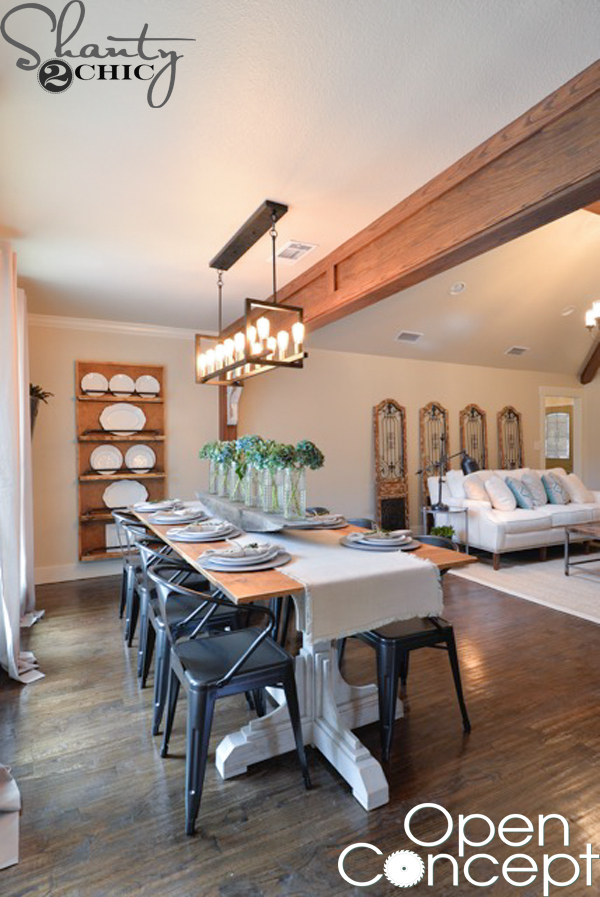
We had our hubbies help us move it over to Brooke and Dack’s and set it up and what do you think? We think it’s just AMAZING.
Now… Here is some help on where we found things…
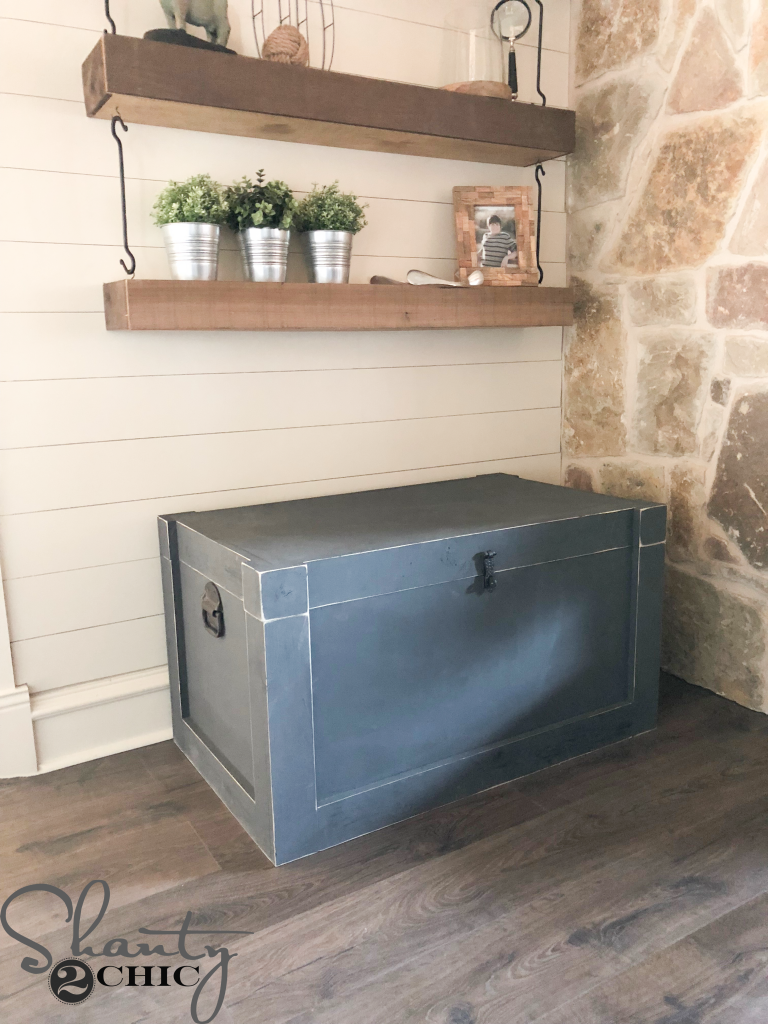
You can find the tutorial for the plate rack on the wall HERE!
Table runner and chairs are from World Market.
Window panels are from Hobby Lobby.
Metal chargers are from Pottery Barn. Yah, we bought our own too.
Glass hobnail jars on centerpiece are from Saveoncrafts.com.
Metal wall baskets with greenery are from World Market.
Platters and plates are all from HomeGoods.
I think that just about does it…
And again, THANK YOU friends for your support! Y’all made this so fun for us, and we seriously wish we could hug all of your necks for all that you do for us. We are thankful for that we had the opportunity to film this pilot for HGTV and help this family, and we are hopeful to have the opportunity to turn it into a series. We will keep you guys updated on everything of course!
As always, let us know if you have any questions at all!
Happy Building!
Whitney and Ashley


Loved the show. I’m looking forward to more.
Thank you so much!
The show was fabulous!! I love how you’re sharing the build(s) on your website, which has always been one of my favorite. Can’t wait to see what’s next.
Thank you Linda for your kind words! 🙂
LOVED the show and can’t wait to see what’s next!!!!!
Thank you June!
I loved your show this weekend. It was great to see local spots, especially the Home Supply resale, I love that place. I’m looking forward to more episodes. Well done.
Thank you Rhonda! I know it… We wanted to leave with a lot more from that store than we did 🙂
Can you make the top chunkier? Do those planks come any thicker? The legs are stunning, and the whole set up is great, but I would have liked the top even more if it was chunkier. Great job, girls!
I guess you could use 2″ x 6″ boards for the planks instead of the 1″ x 6″ called for in the plans. I think that would give you the look you’re going for.
Yes Linda! Thanks for responding!
You can use 2x planks and if you are worried about the groves, just run the edges through a table saw. This will change the width of the table top a bit but not by much!
Any idea if/when it will be rebroadcast? I was so excited to watch it after I DVR’d it only to find it didn’t record. Soo disappointed!
We have been told they will probably air it at other times as well… As soon as we hear something we will let you guys know!
watched and Loved it! Can’t wait for the next show!! Whoohoo!
Thank you so much Jamie!
DVRd the show and watched it last night….loved it! My 13 yo daughter loved it too:)
Yeah! So love hearing that! 🙂
I watched your show and I loved it! So many great ideas. I plan to implement a few of them in my home. Looking forward to the next episode!
Woohoo happy to hear it Traci! Thank you so much for your sweet words!
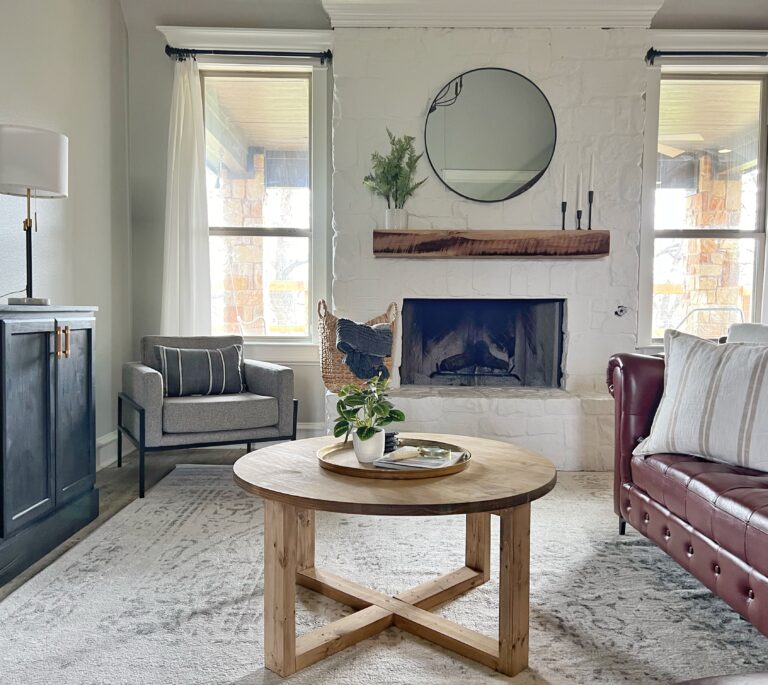
So I’m watching your show right.now!! And I must know, where can I find the coffee table casters? Love, LOVE them!!
Maybe it’s not the coffee table…
It IS a coffee table, in the family room. Perhaps I should have watched the entire episode before commenting.
Haha! No worries! Here is the link to the plans! https://www.shanty-2-chic.com/2015/03/diy-factory-cart-coffee-table.html
How did you attach the decorative pieces? The ones with the arch? Love this table. I just made my mom one from your site but I may like this one more!! You girls are awesome!
We used wood glue and finish nails… The arch is small enough at both ends to attach and hold it in place until the glue dries. Thank you SO much!
YAY!!! Congrats loved the show it was so nice seeing these projects on tv
Thank you so much Pam!!
Loved the show. Have admired your site/blog for a while now. Love your creativity and personalities!
Happy to hear it Tracey! Thank you for your encouraging words!
I saw the show and loved everything! Literally, my dream home. When will you ladies be taking applicants for the show?
Awww yeah! Here is the casting email… We are already taking applicants 🙂 [email protected]
Just watched the show, you girls did great! Congrats!
Thank you SO much Nicole!