You guys. This build. I kind of, sort of love it to pieces. Many of you caught my progress in the video I shared on Periscope? Do you follow us on the app yet?? It’s our new fav! We share live video updates where you can ask us questions live… So much fun. Find us on the app at shanty2chic!
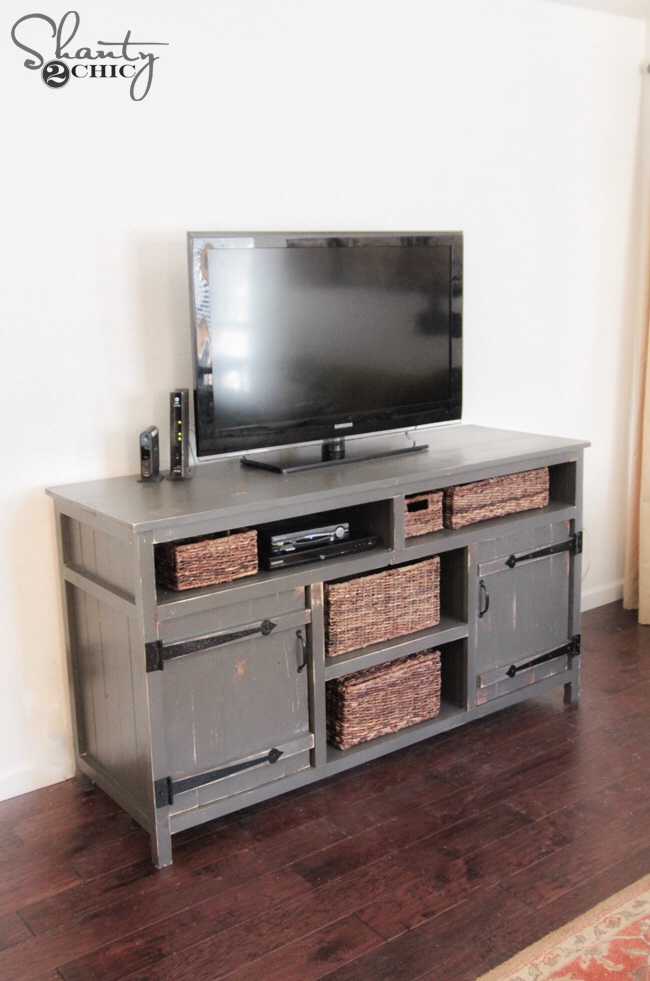
So… I wanted a really cool console to go with my son’s new bed I built him, and this is what I came up with. Check out his new Sliding Barn Door Console!
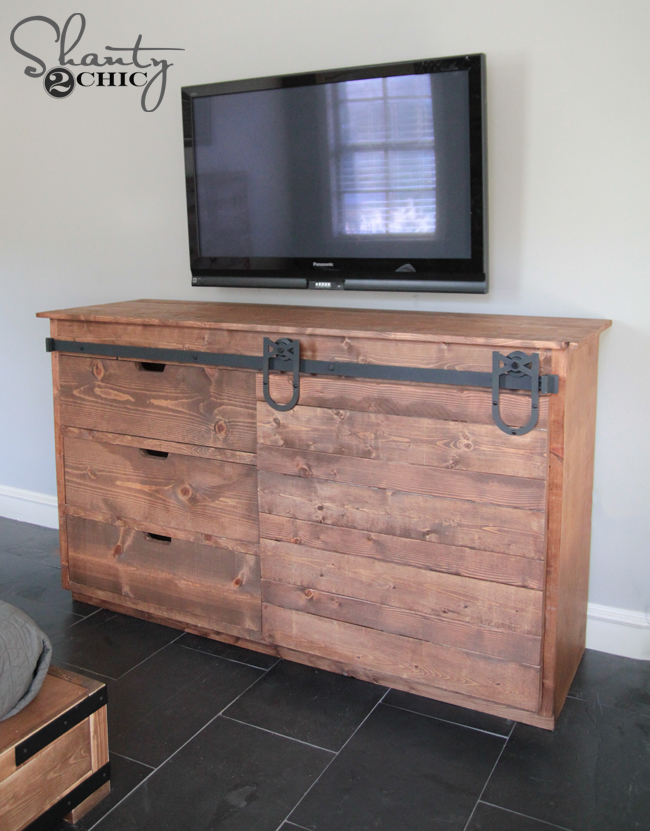
Bahhhhh… How cute is this guys??
I won’t lie. This guy is an albatross. It actually ended up being about twice the size I had in my head… Oops! But, I do love the size and how it fit in the space.
This is a long post with lots of pics… You have been warned 🙂
As always, I will share the full tutorial below, and you can download and print the free plans HERE or the button below!

Ok… So, the first step will be to prep your sides to build the shell of the console table. This pieces uses hardwood plywood. I used one of my favorite products, PureBond Plywood for this part.

There are so many awesome benefits to this product. It’s made in America and is formaldehyde-free. My favorite quality about this product is that you get the look of an expensive hard wood at a fraction of the cost.
I always have Home Depot rip down my plywood for me so I can get it in the car, and then I use my table saw at home to make my smaller cuts.
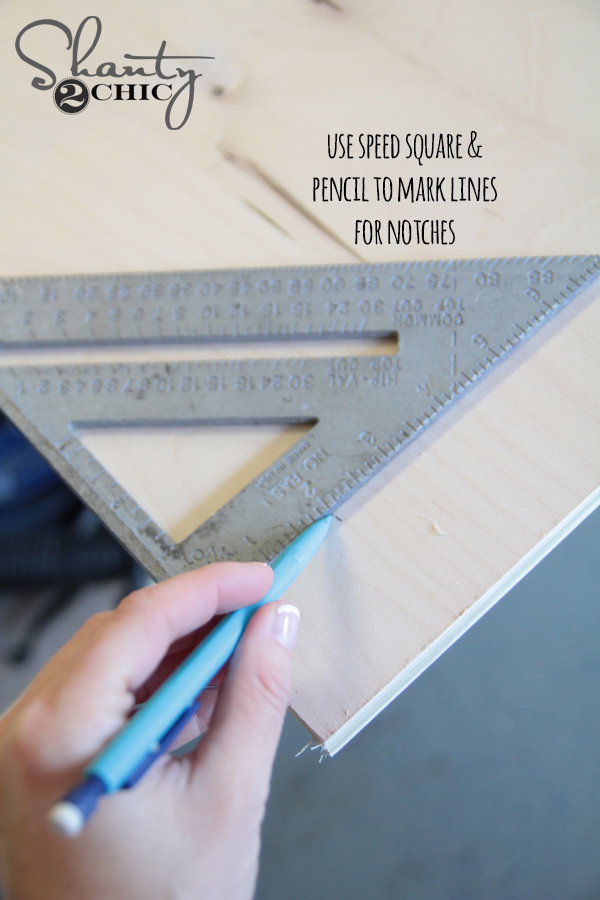
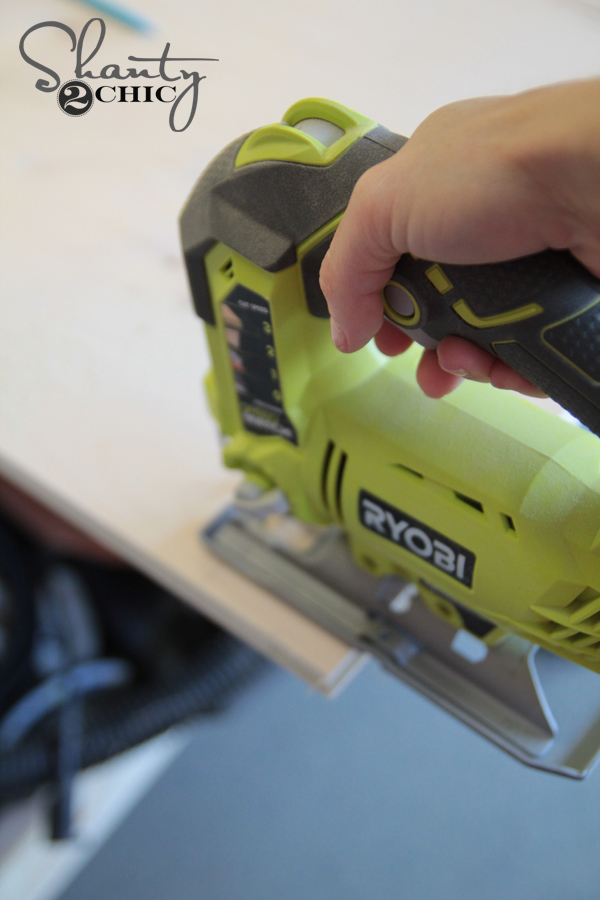
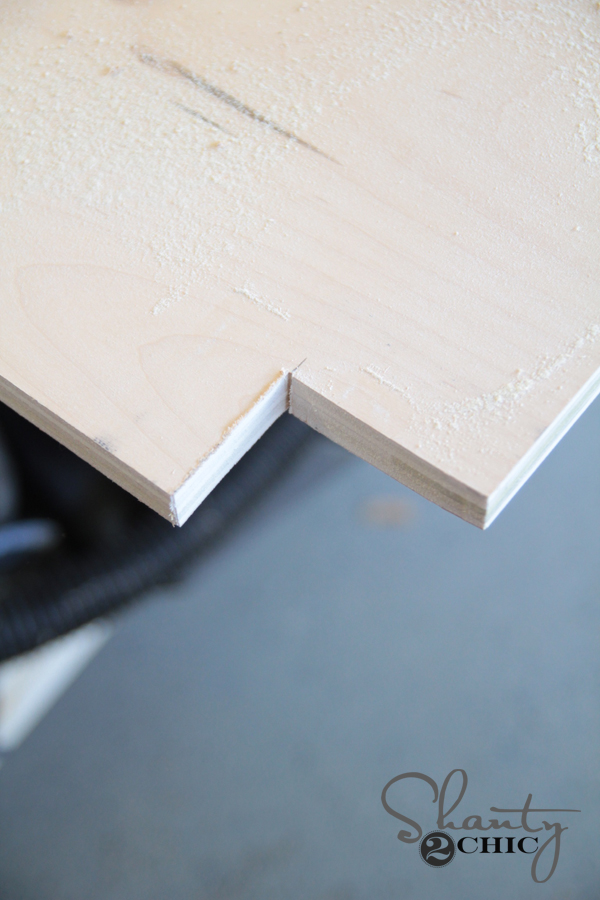
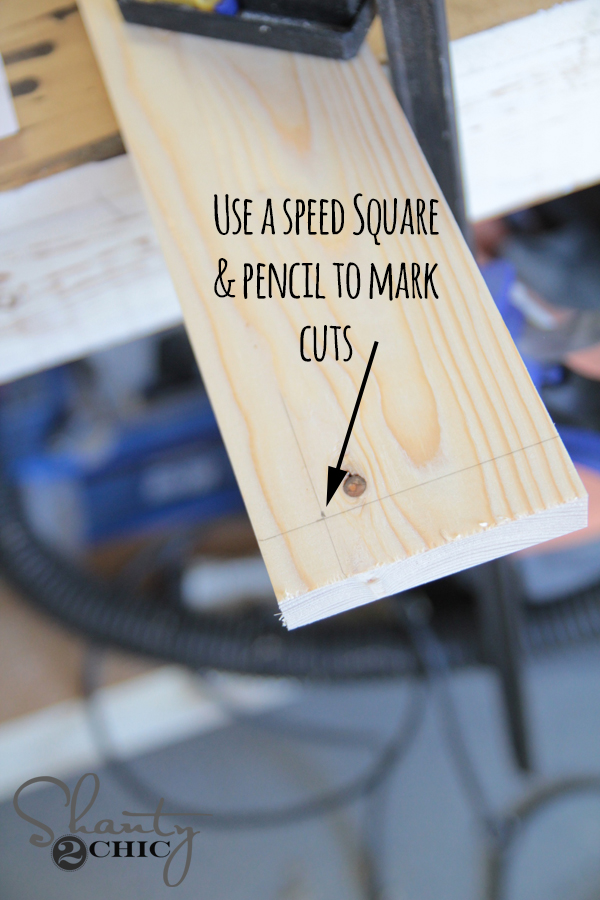
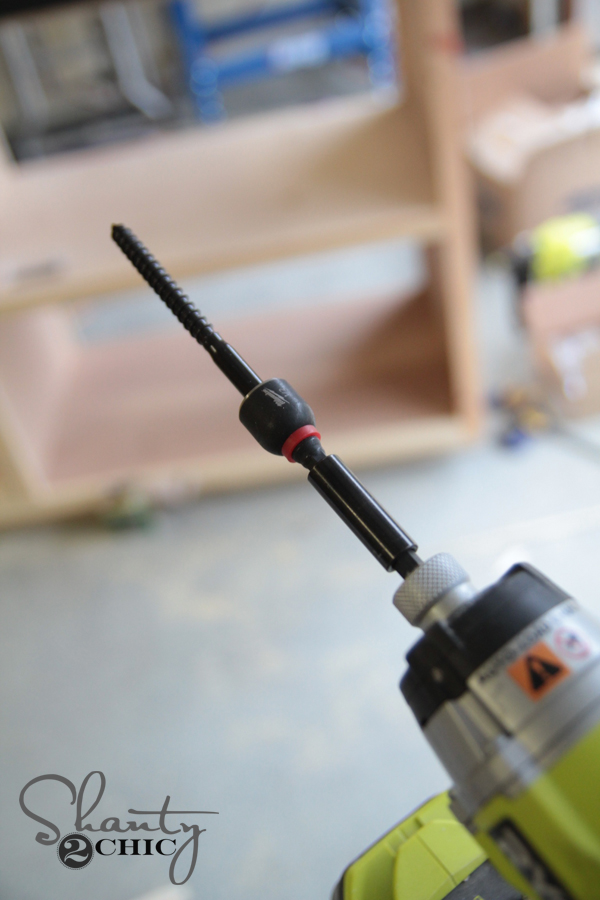
Your next step I used a speed square to mark my lines on the side pieces. I used my Ryobi 18v cordless jig saw to cut those notches out.
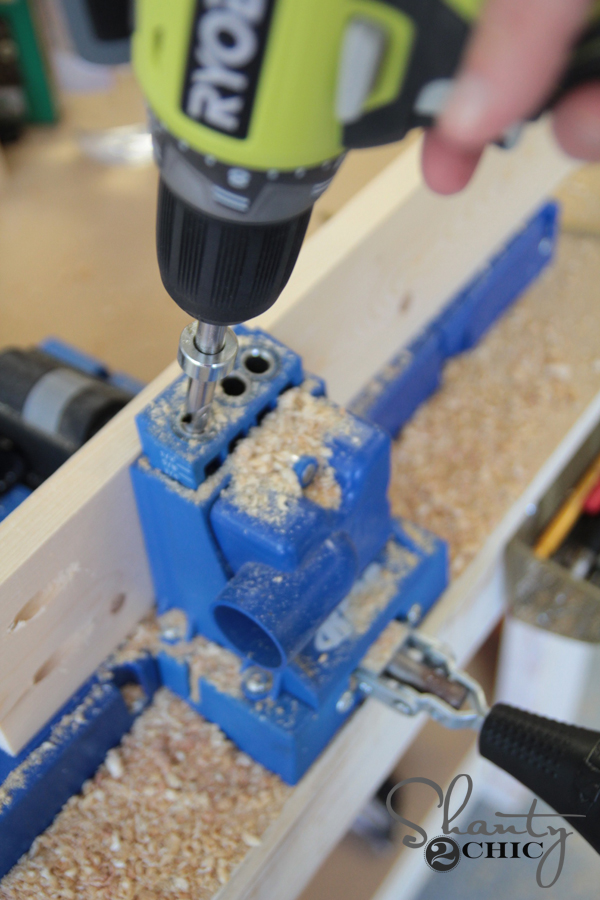
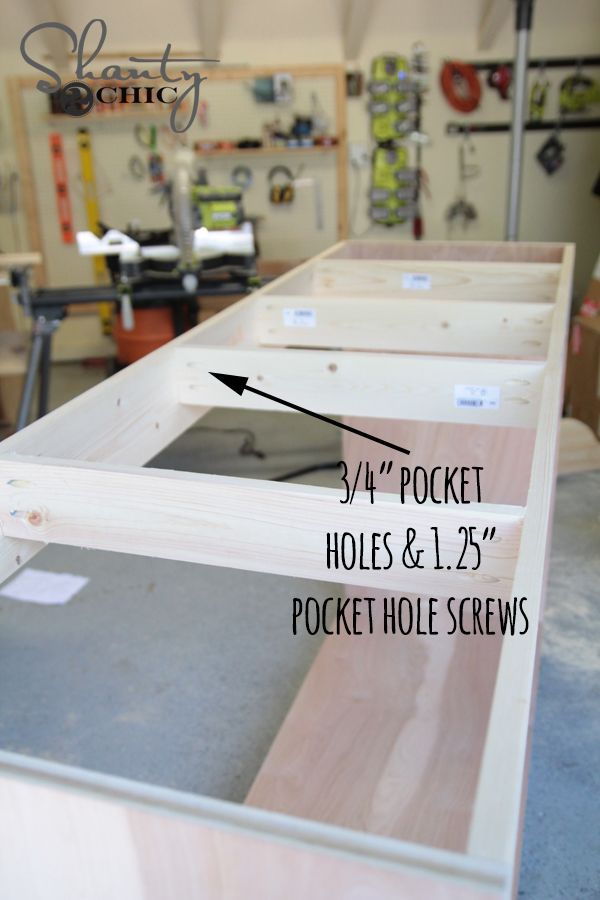
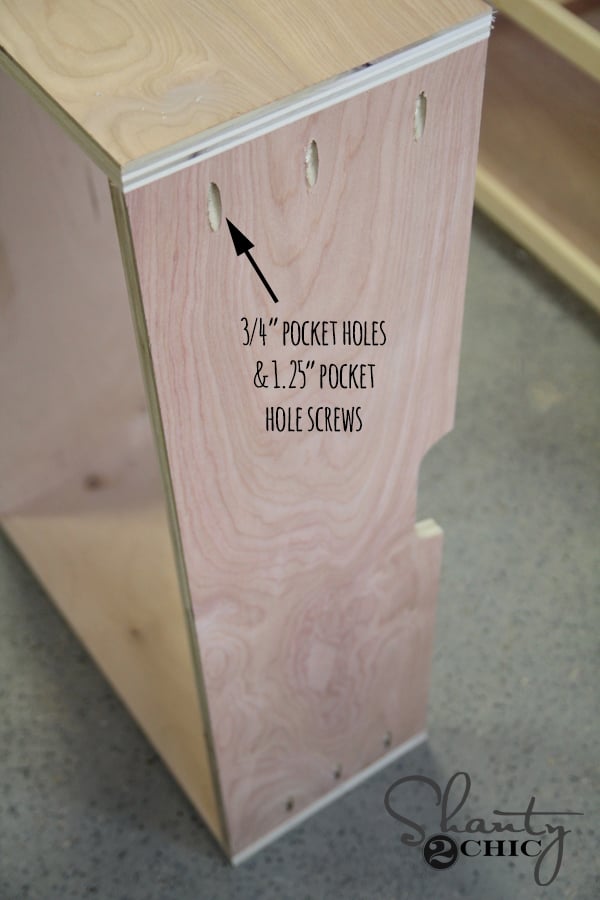
Next, I added my pocket holes to the base piece. I used my Kreg Jig K5 for this part. If you are looking into purchasing a Kreg Jig, this one would be my first recommendation. You will outgrow the mini quickly and this one is so user friendly.
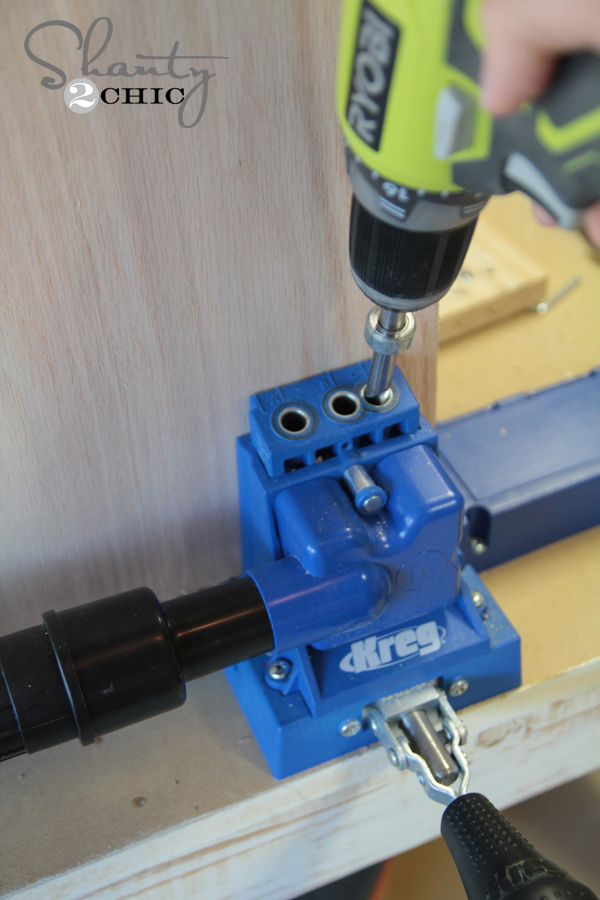
I used 3/4″ pocket holes and 1.25″ pocket hole screws for this part.
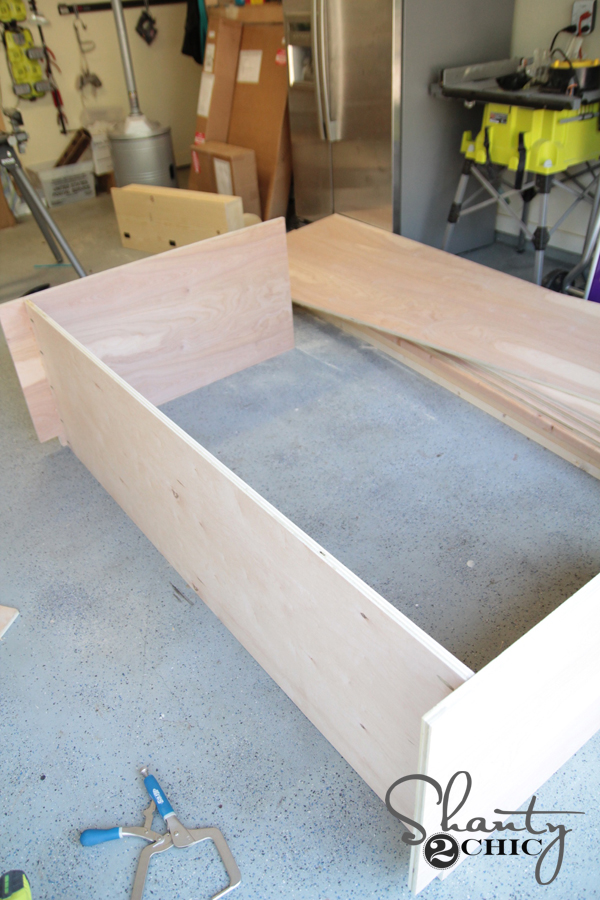
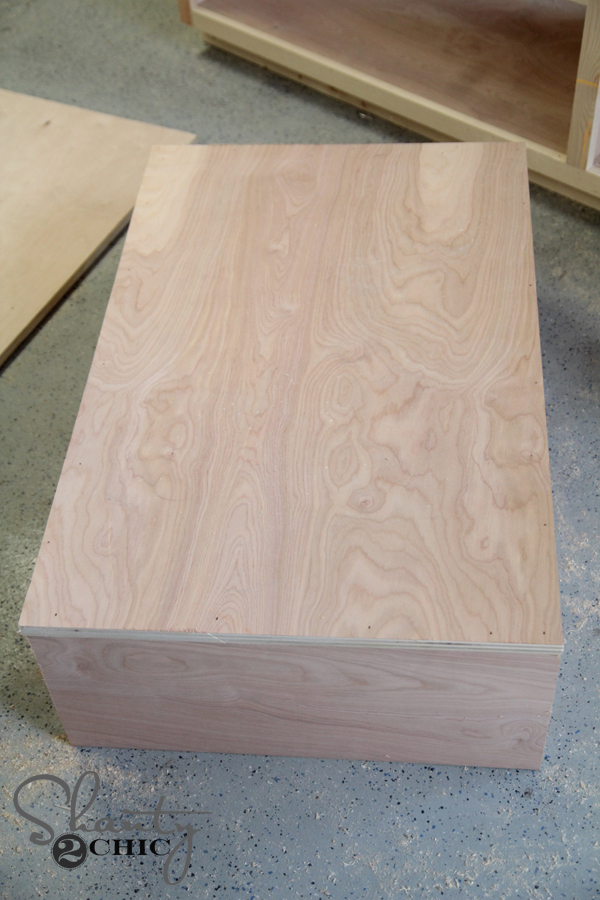
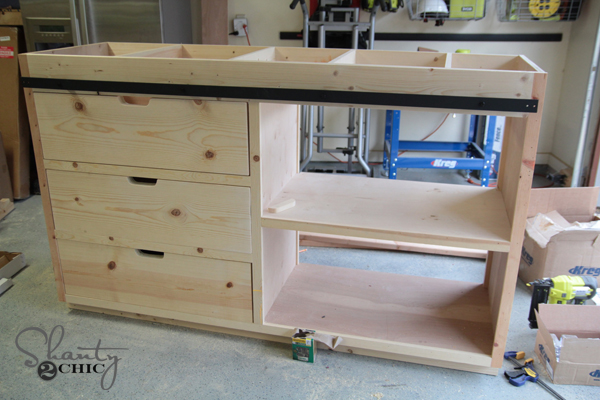
Here it is attached to form the shell.
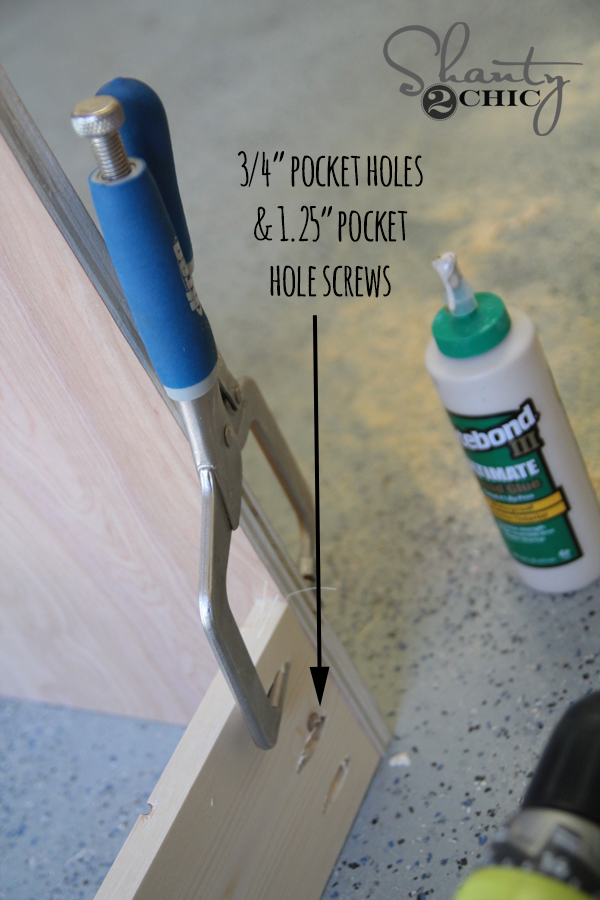
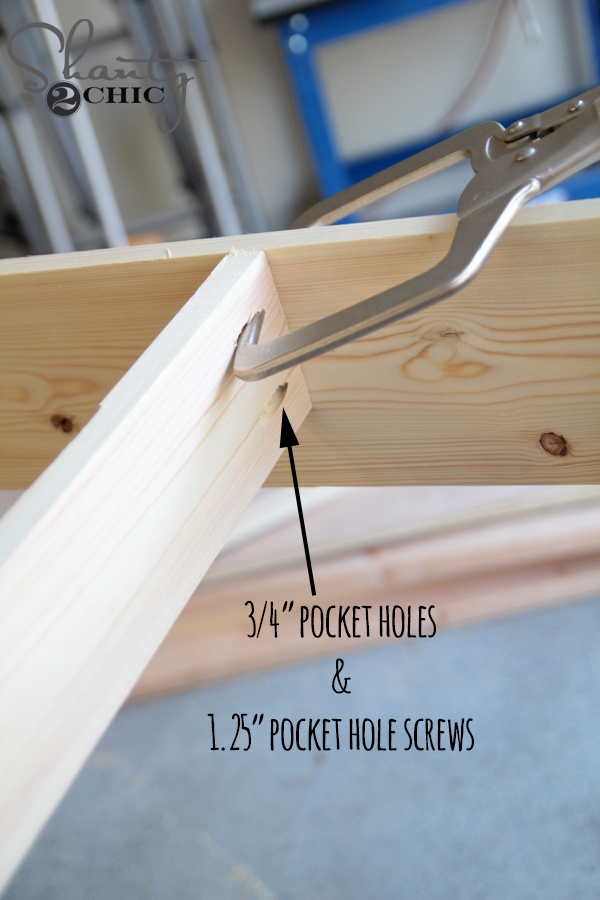
I attached the back support next using my Kreg right angle clamp. If you don’t have one of these, put it on your Christmas list! It’s like having a third hand to hold stuff for you.
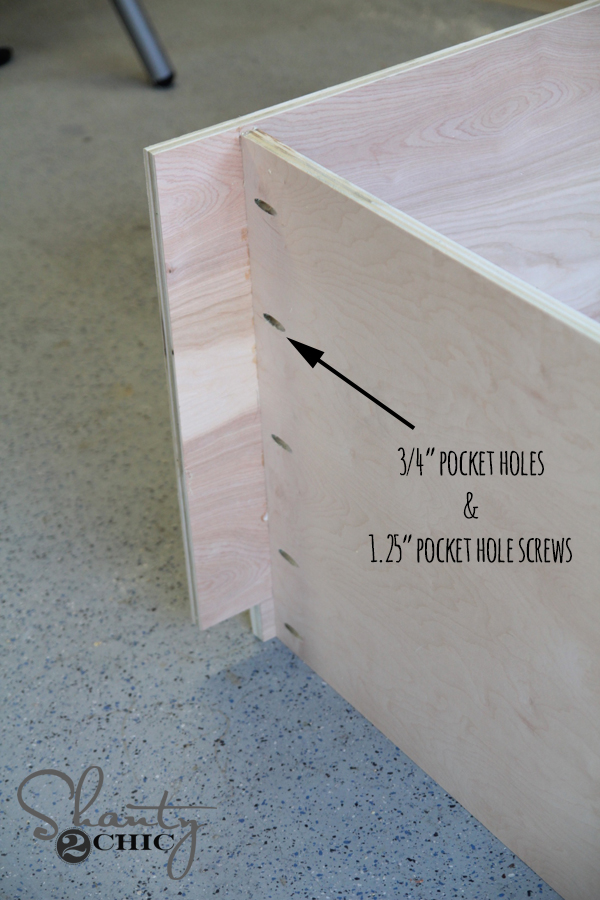
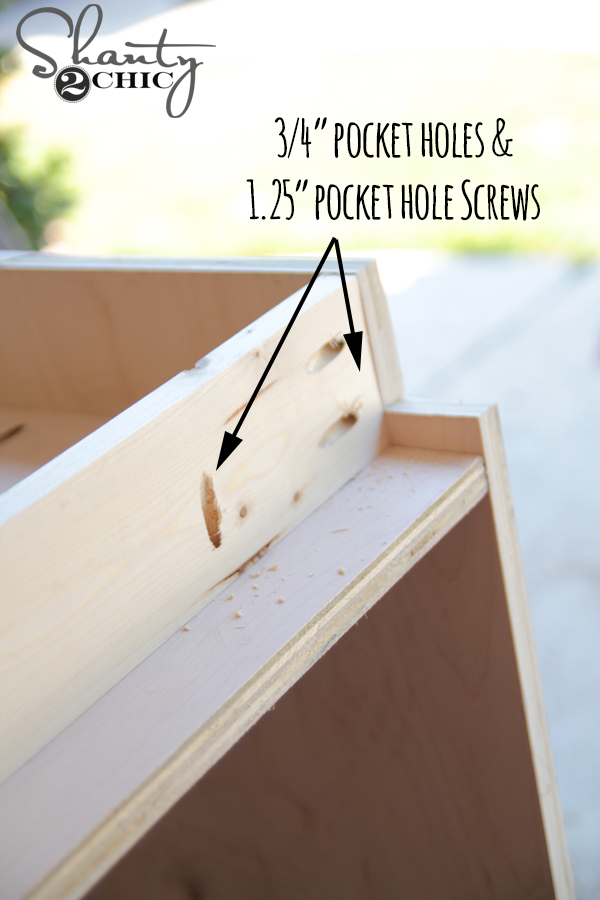
Next, I added the front bottom board. I attached this board using 3/4″ pocket holes and 1.25″ pocket holes screws as well. I also made pocket holes running the length of the board that will help attach it up into the base of the shell.
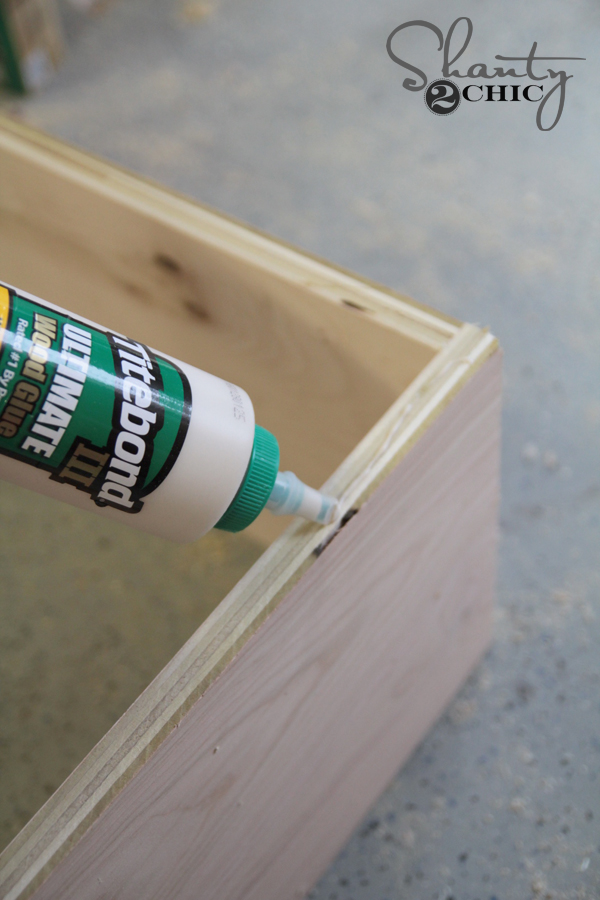
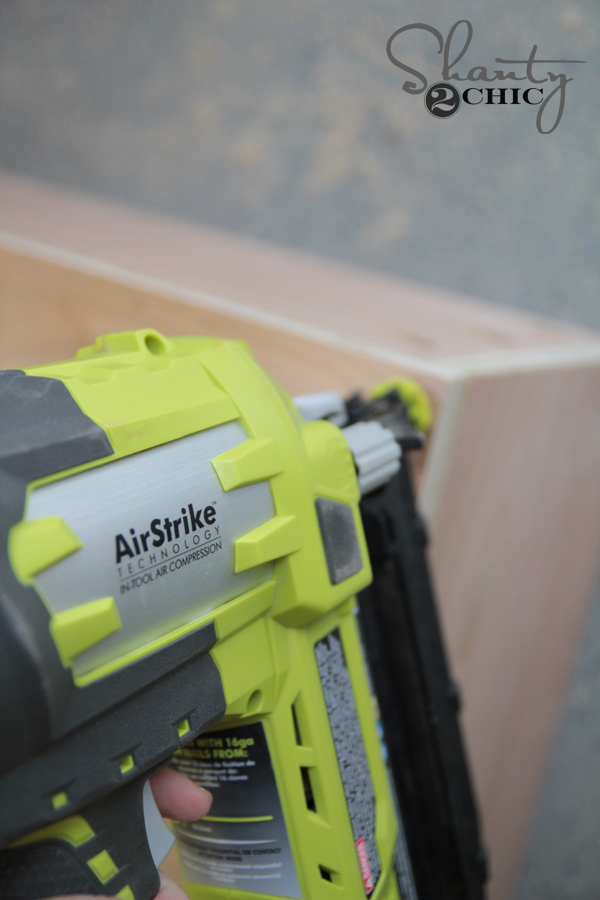
This board will be covered by another piece that you will need to cut notches out of. I did this using my jig saw again. Once I cut my notches I glued the front board to cover the pocket holes and clamped it in place. I used my finish nailer to attach it from the back and into the front board using 1.25″ finish nails

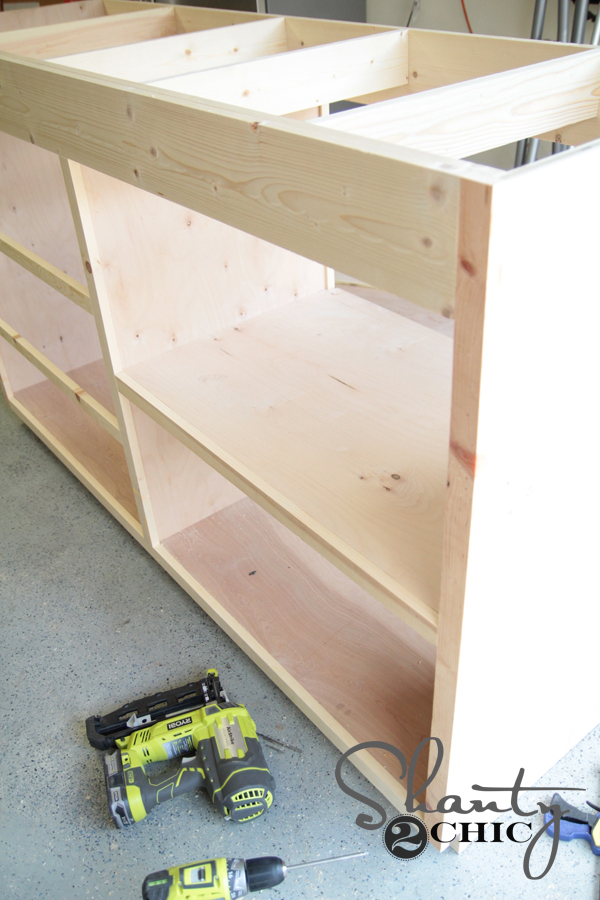
I attached my top support board next. Each of these are attached with 3/4″ pocket holes and 1.25″ pocket hole screws.
Now for the face frame. I built this on the ground using the same size holes and screws.
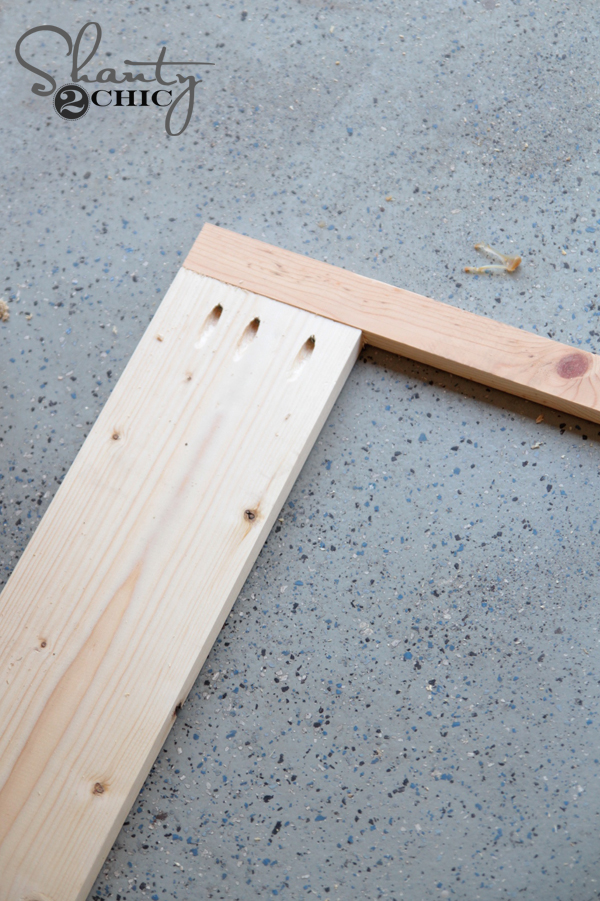
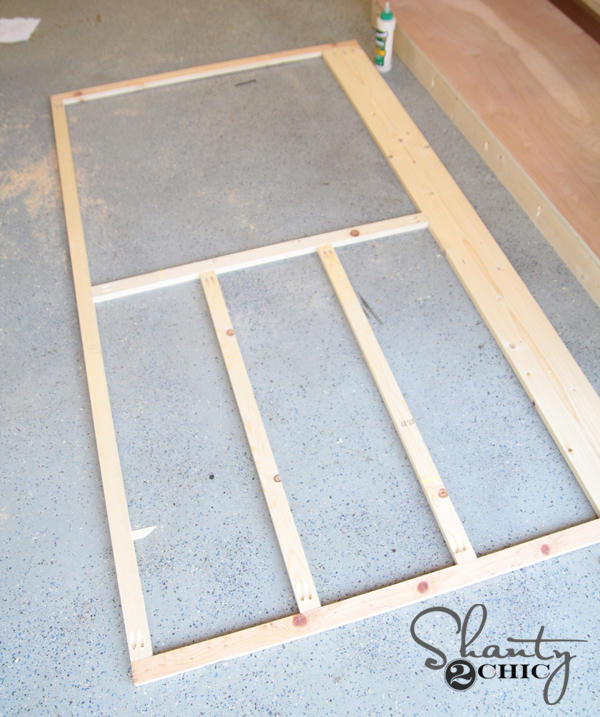
I attached it to the front of the table by using wood glue and 1.25″ finish nails.
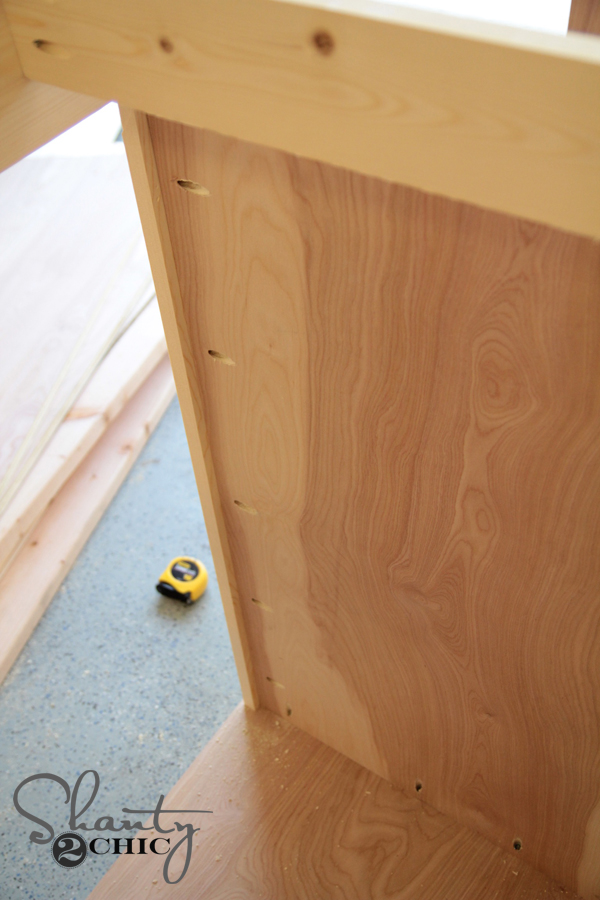
I attached the middle divider next. Be sure to add all of your pocket holes on this board before attaching it in the console.
Here is a shot from the back…
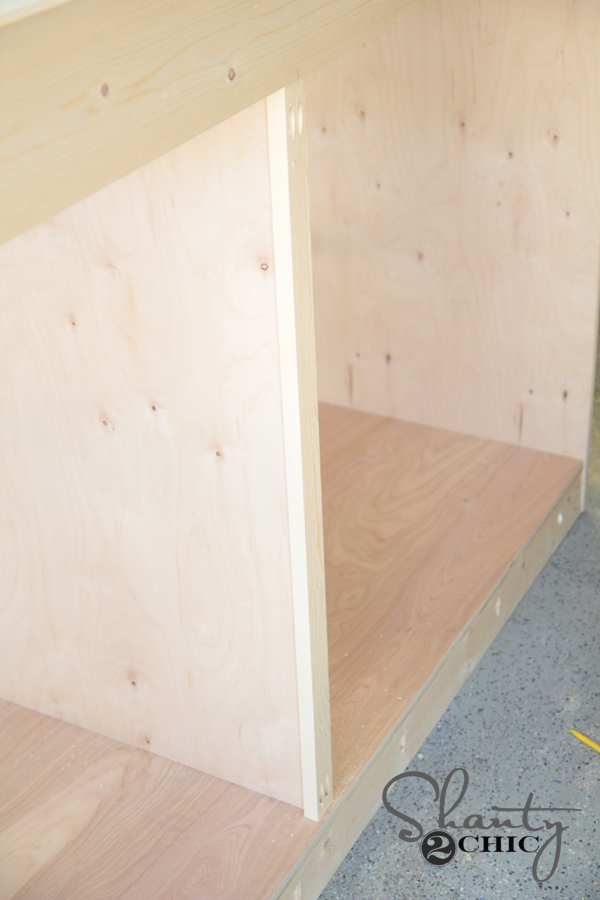
Next, I attached the 1×2 side board that runs along the back.
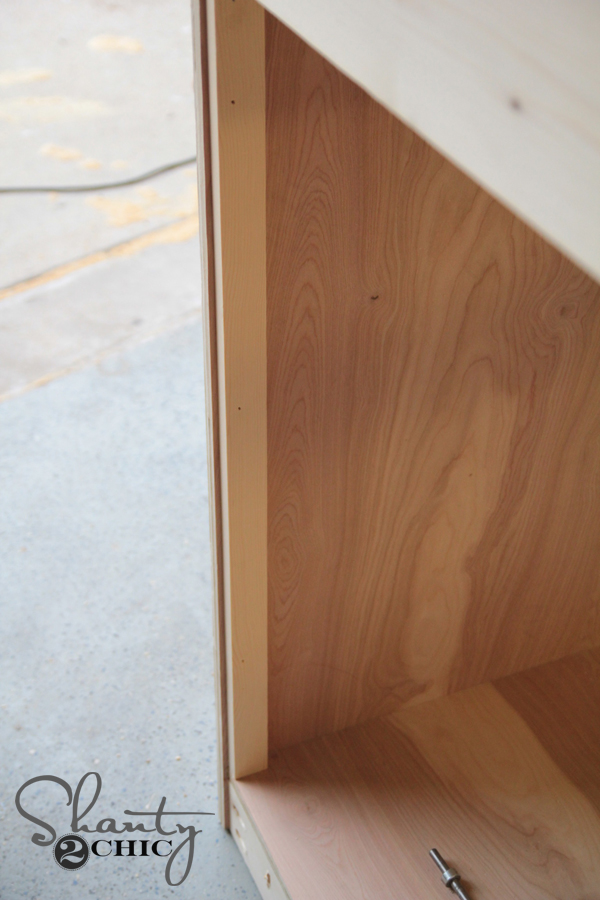
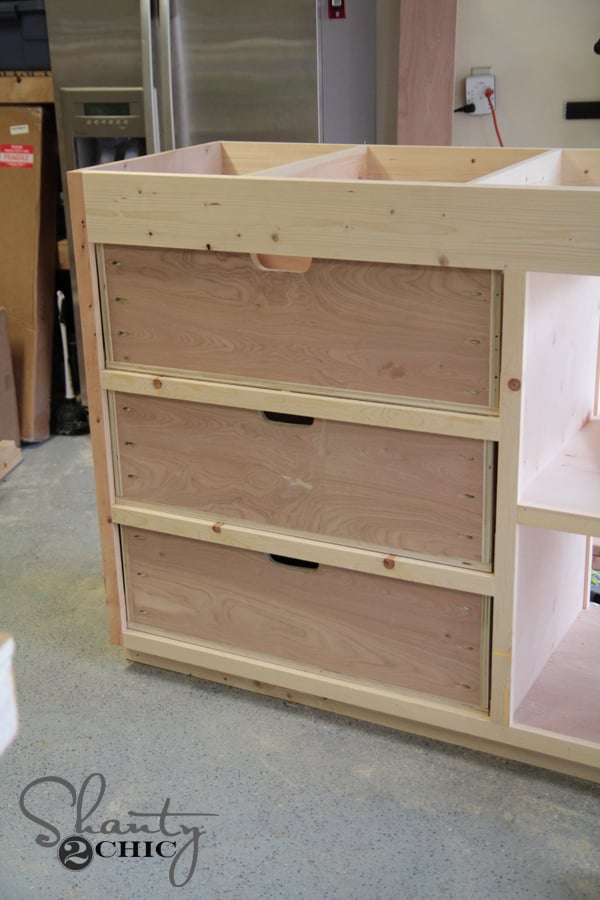
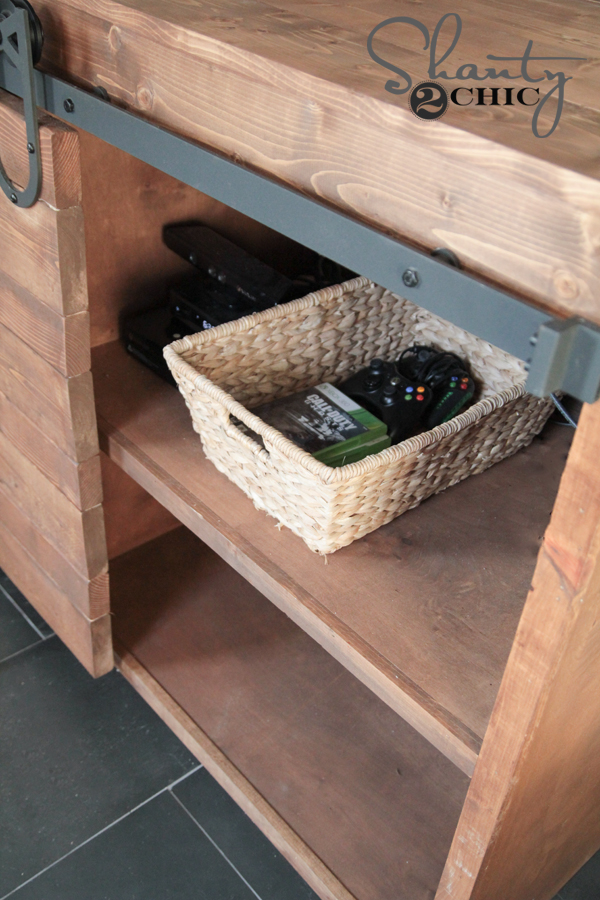
I set my shelf in place and used pocket hole screws to attach it…
Now for the drawers! Easy I promise! These are also made of PureBond Plywood.
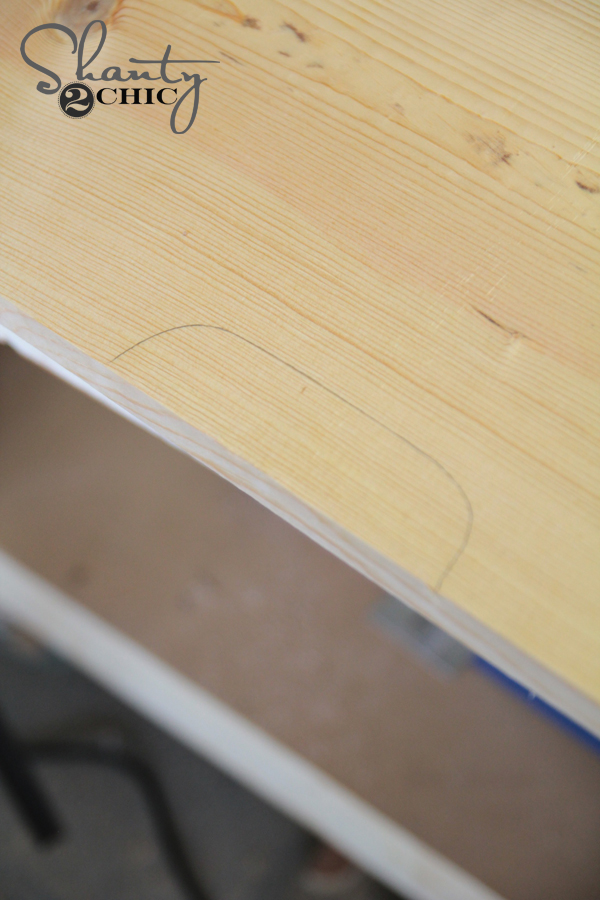
I used my jig saw to cut the notches for the pulls first.

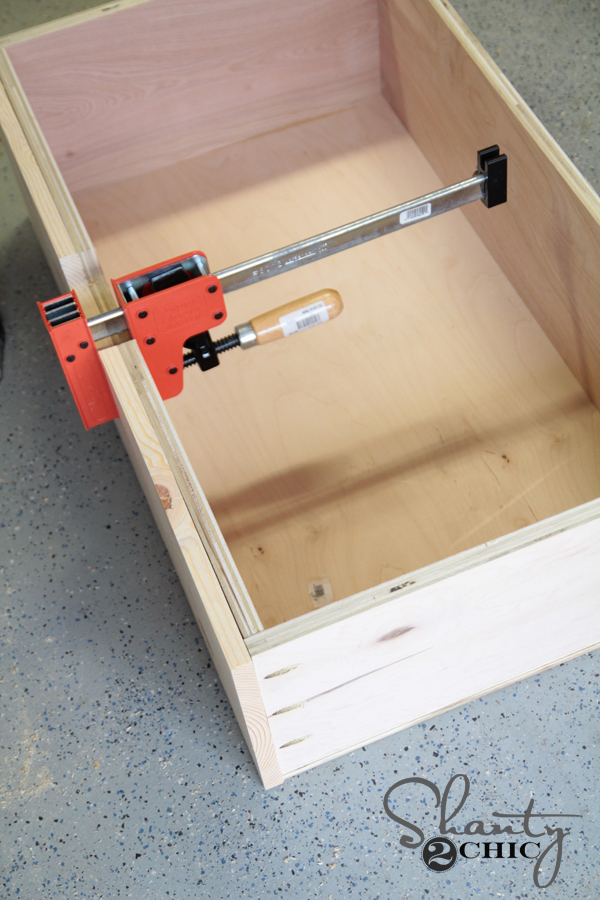
I built the sides, and attached with pocket hole screws.
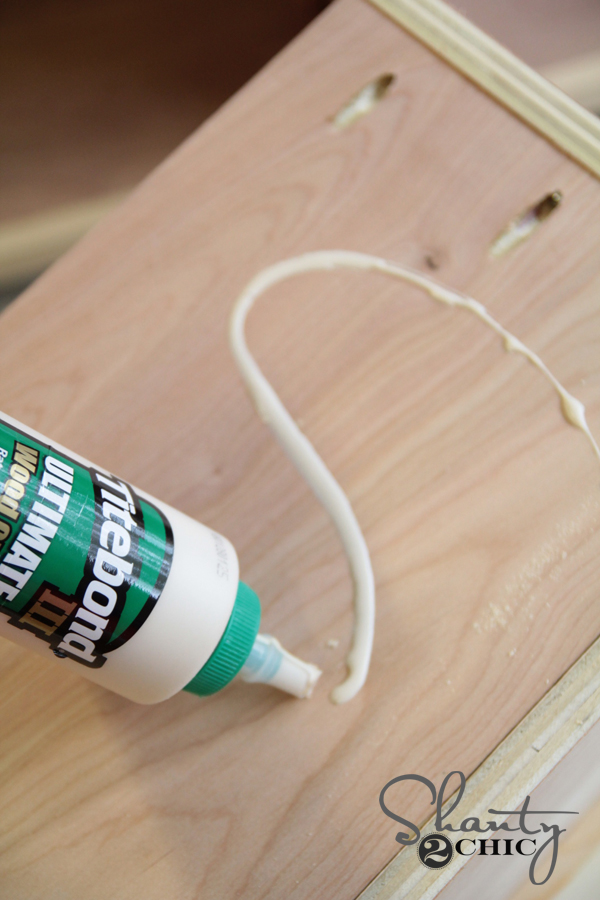
The bottom is attached using wood glue and finish nails as well.
Here they are in place ready for drawer fronts!
The drawer fronts are super simple. I measured to make sure I was exactly 1/4″ less than the width of the opening. I think the plan calls for 1/8″ but I like a little more wiggle room. I cut the notch to match the drawer and then attached the faces using wood glue and 1.25″ wood screws from the inside of the drawer and into the face.
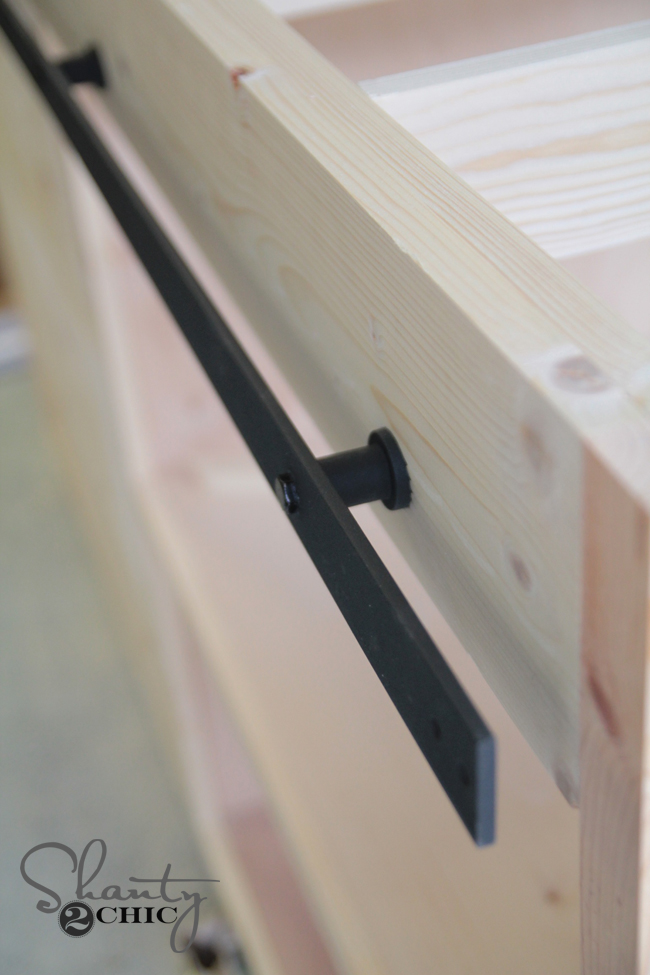
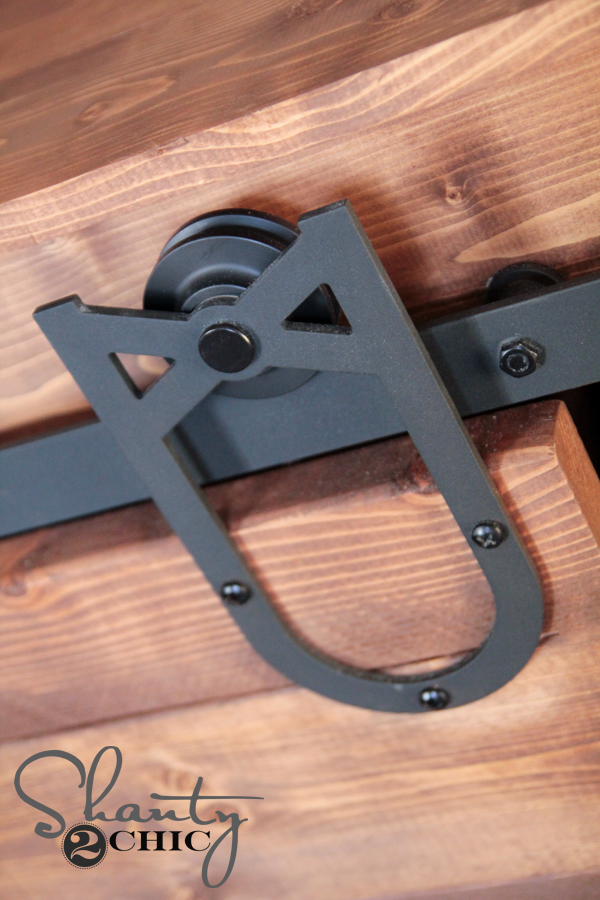
Before staining everything I decided to add the metal track to the front. That way, if something didn’t fit I could fix it more easily. I found the AMAZING hardware on eBay of all places! HERE is a link to the hardware I bought. They have several styles and shipped it to me really quick. And, I only paid $90… HOLLA! That’s great compared to most I shopped.
It’s really simple to attach as well. You add the bolts first with the long screws that come with the hardware. Mine did poke through the top boards and into the inside of the table a bit, but nobody will ever see the or can even reach them.
And here it is ready for stain. I waited to put the top on until I moved it in the house because it was already massive. That helped.
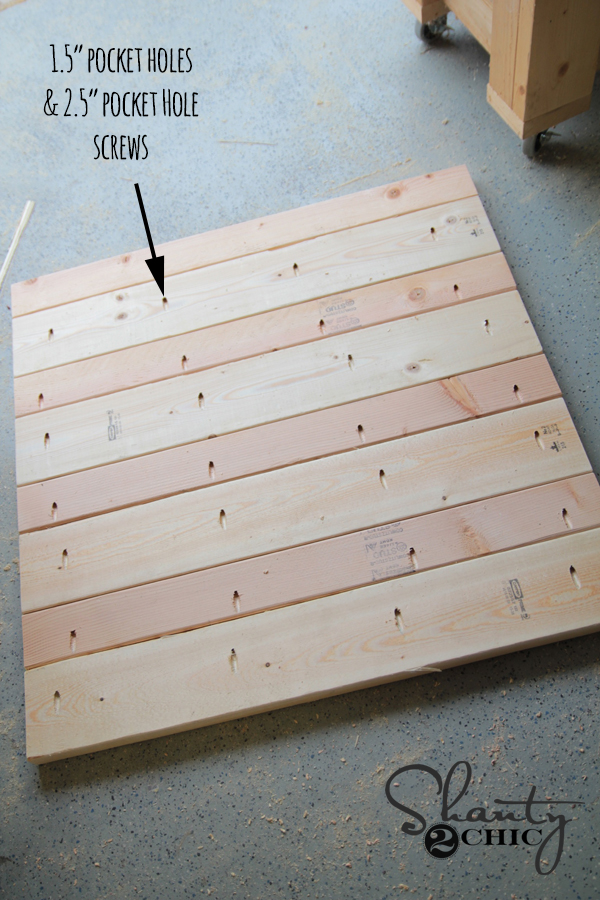
The door is simple. Cut your boards to size and then make 1.5″ pocket holes to plank them together. I attached all the boards using 2.5″ pocket hole screws.
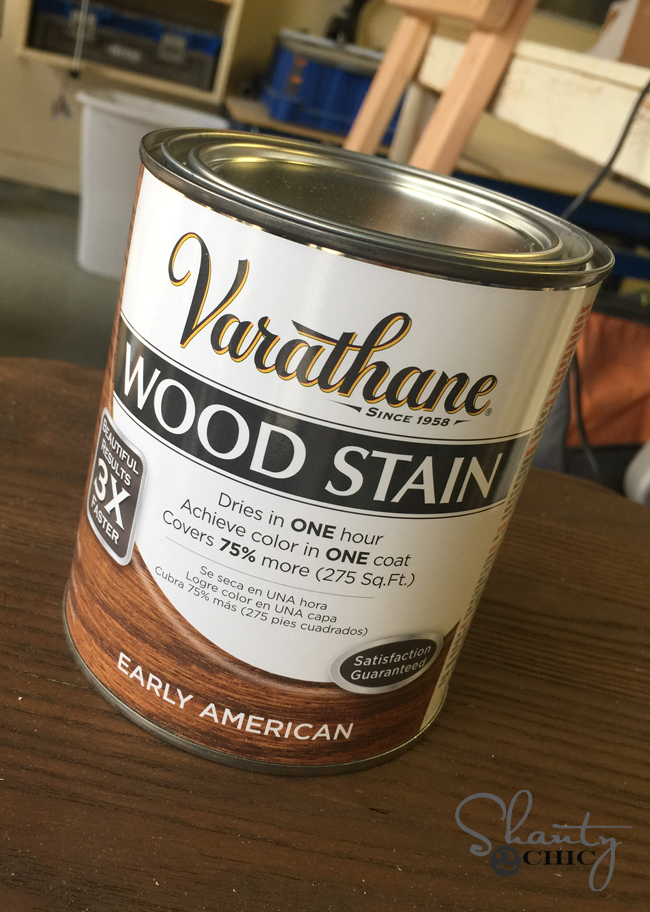
I stained the entire piece with Varathane Early American Stain from Home Depot.
I still need to find a pull for the door that I love, but here it is all set up in his room!
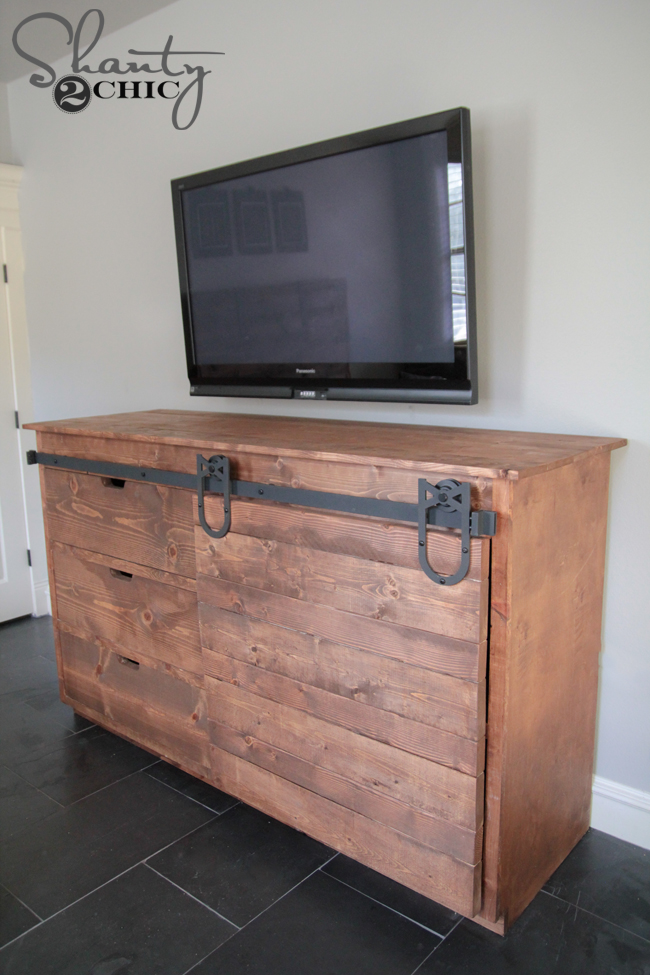
What do you think?? I LOVE it. So much storage. That makes me most happy. And the hardware, duh.
Check out the other pieces I have made for his room!

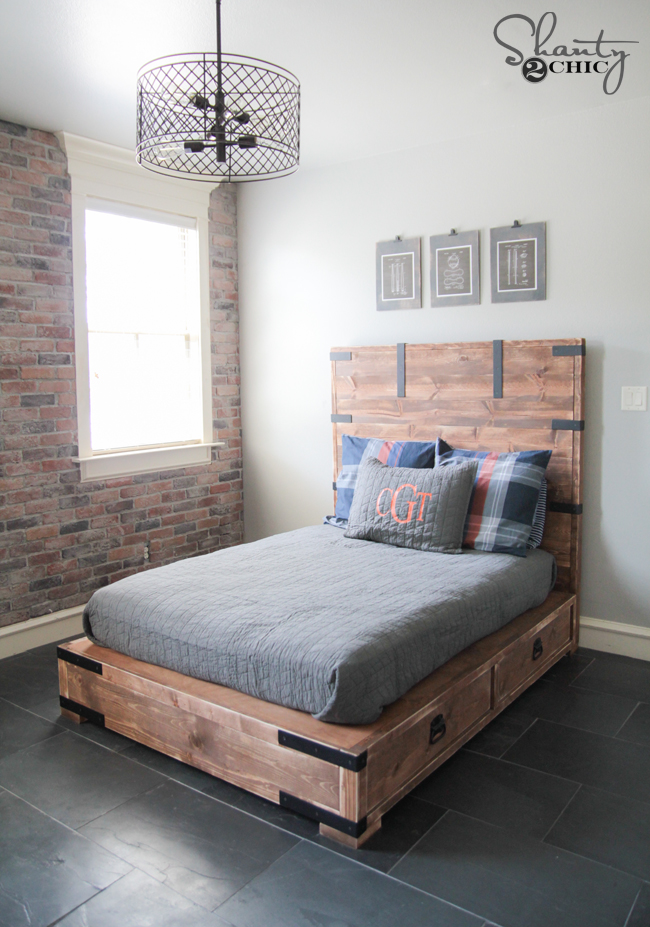
The walls are Sherwin-Williams Emerald paint in Mindful Gray (7016).
The tile is THIS amazing slate from The Tile Shop!

Made without the barn kit for doors
I think I saw a smaller version of this that you did. Say for a bathroom wall cabinet above a toilet? I can’t find it on your webpage. Can you help?
Just FYI to those wondering, I priced this build in excess of $300 due to the barn hardware and 3/4″ ply sheets.
Hi, How far apart (measurements) are the front face frame draw divider suppose to be, so the drawers fit?
Very cool! Love that barn hardware. If you put some slim felt pads on the inside bottom of the sliding door it will help prevent it from scraping up the lower drawer as you slide open and close the barn door. Great work!
This room is looking amazing and I absolutely love this console, your furniture is always so inspiring!