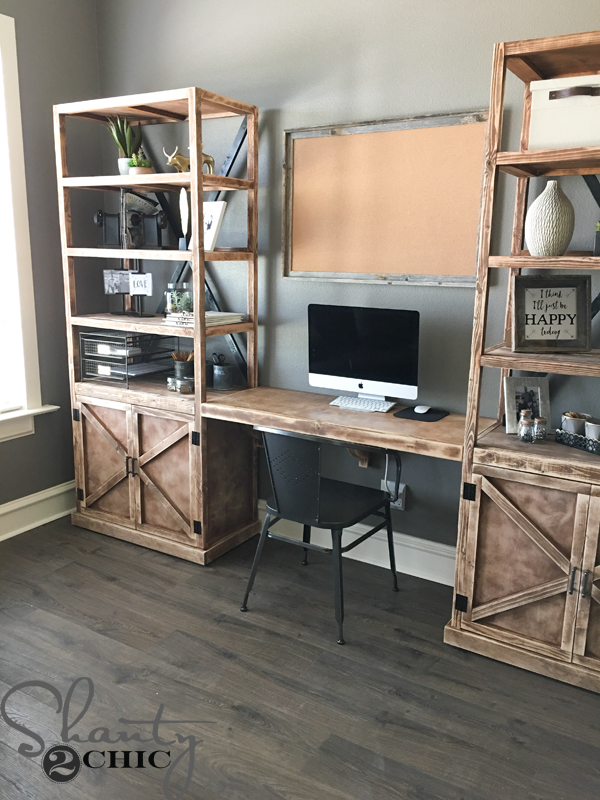
I’m back with the free plans for the floating desk that goes between the office storage towers that I shared with you, last time I was here 🙂
If you missed the plans for the Storage Towers, you can click HERE to see them and print the plans!
I love this desk because it looks like it is part of the bottom shelf of the towers but it’s also a stand alone floating shelf so, you can build just the desk part, if you want! It’s also very easy to customize it to the length you want/need!
You can click the image below or HERE to download the free plans!

And, you can follow along here for the step-by-step how-to!
Before you start, decide how long you want your desk to be. I built the towers first and then placed them exactly were I wanted them in my office, then I measured the space between them to determine the length of desk I could fit. I decided on a 60″ desk.
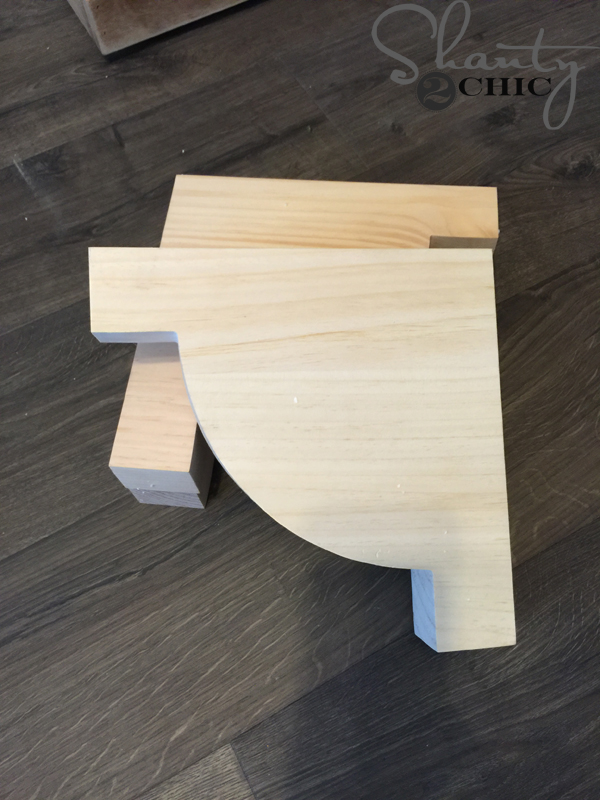
I ordered three of these corbels from Osborne Wood Products. You can purchase them HERE. I ordered the knotty pine corbels.
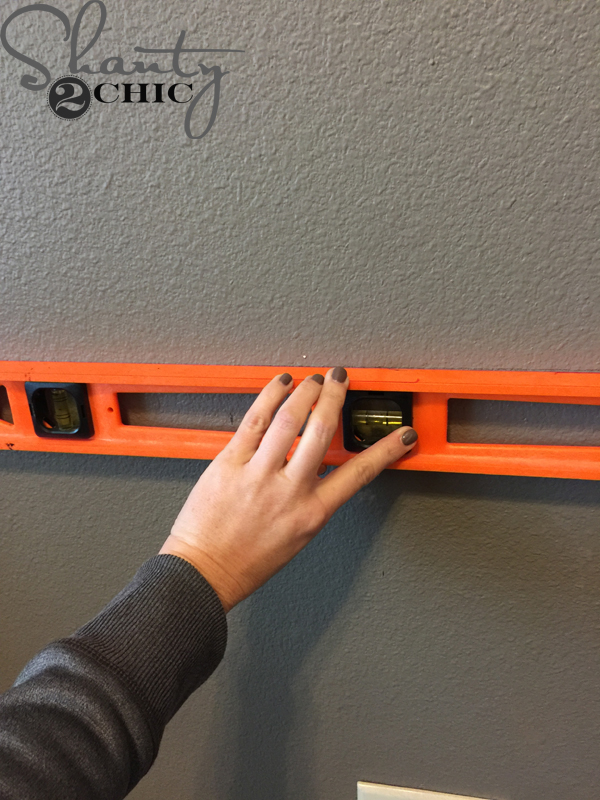
The first step is to attach the corbels to the wall. To do this, you will need to determine where the desk top will sit as well as the cleat. I used my level and marked where the bottom shelves were on each tower.
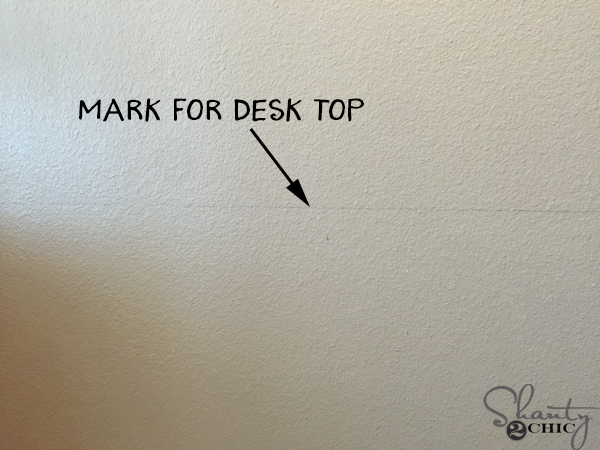
I drew a long LEVEL line where the top of the desk top will sit.
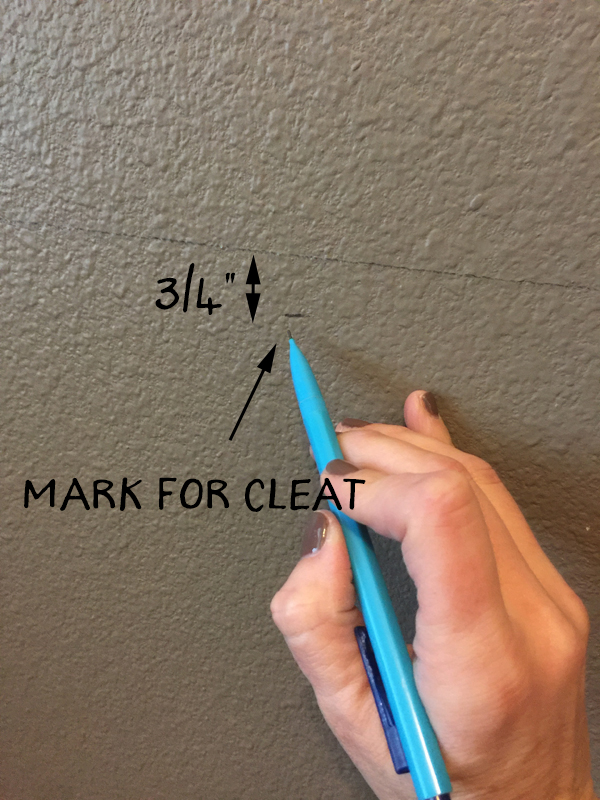
Then, I marked 3/4″ below that line so that I could mark where the top of the cleat will be. The desk top is 3/4″ thick so and it will sit on top of the cleat. Then, I marked another 1.5″ down to accommodate the 1 1/2″ thick cleat. This will tell you where to install the very top of the corbels.
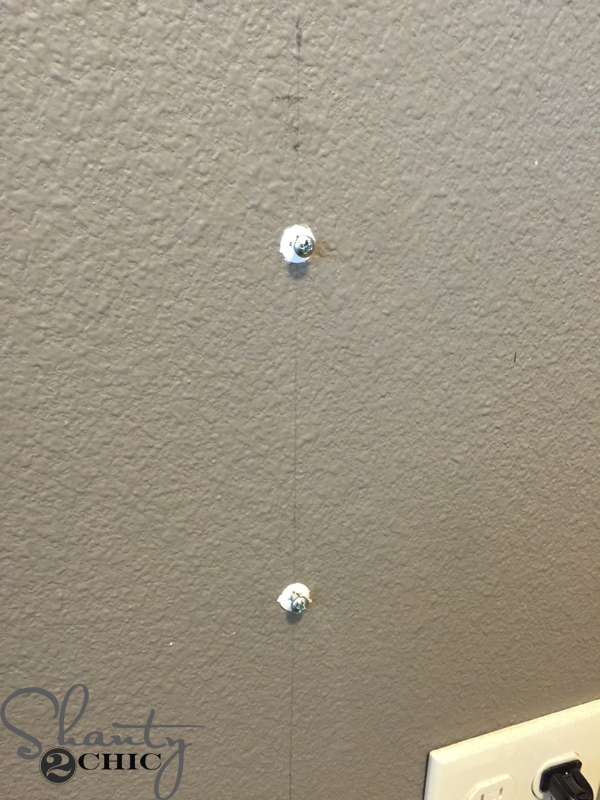
Once you mark where the top of the corbels will be (which is also 2.25″ from the line we drew for the top of the desk top to sit), measure where the installation brackets are on the back of each corbel. I measured from the top of the corbel to the middle of the top bracket, then from the top of the corbel to the middle of the bottom bracket. Then, I marked that on the wall and installed an anchor and a screw into both marks. If you have a stud in that spot – yay! You more than likely won’t, so make sure to use anchors if you don’t.
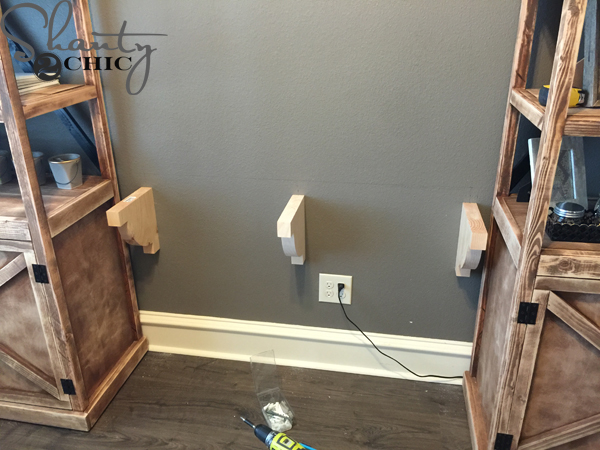
Once the anchors were installed, I hung the corbels up. You can see, I put one on the very center of the wall and then placed the end corbels according to where the ends of my desk will be.
Now to build the cleat.
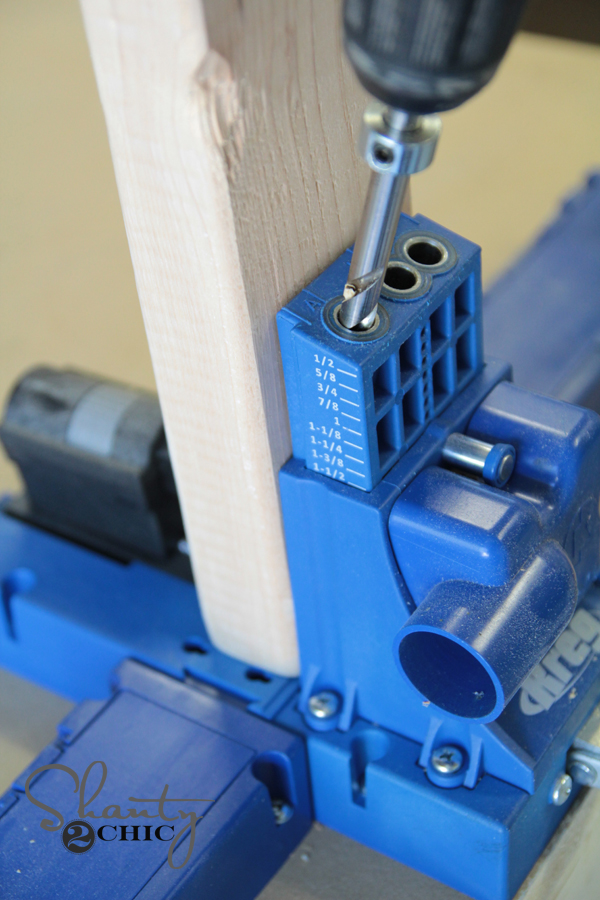
Cut the 2×3 pieces according to the printable plans. The length of the short 2×3 pieces will be the same as my plans but the length of the long 2×3 will depend on the length of desk you are building. After making my cuts, I used my Kreg K5 to drill 1 1/2″ pocket holes into one end of each of the short 2×3 pieces. You can purchase the K5 on Amazon HERE. And watch our How to use a Kreg Jig video HERE.
Now, you can build the cleat by attaching the short 2×3 pieces to the long 2×3 piece with 2″ pocket hole screws and wood glue. For exact placement of the short 2×3 pieces, measure the distance between the corbels on the wall. The 2×3 pieces will sit on top of the corbels.
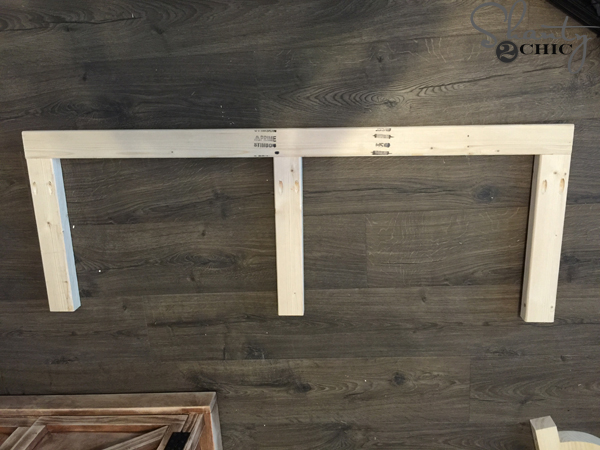
This is what the cleat will look like when it is finished. Now, lay the cleat on top of the corbels.
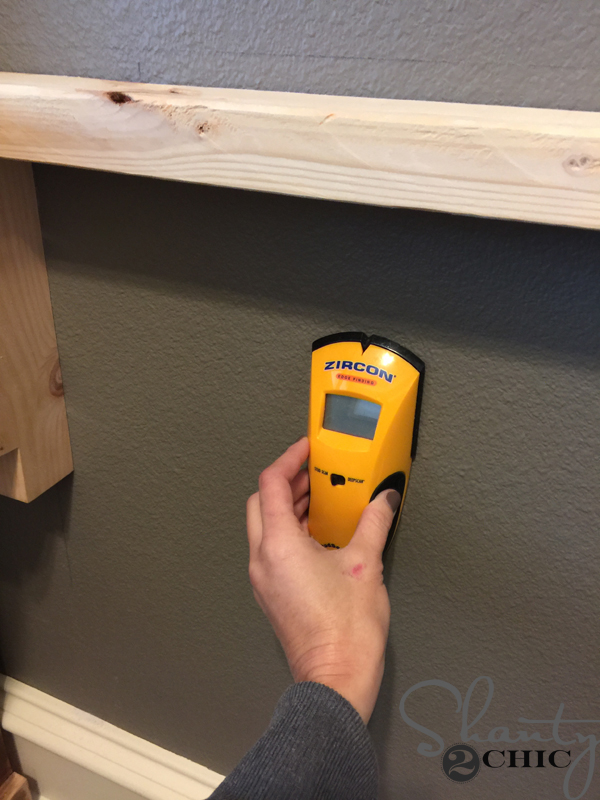
I used my stud finder to mark the studs in the wall behind the cleat. You can find this stud finder HERE.
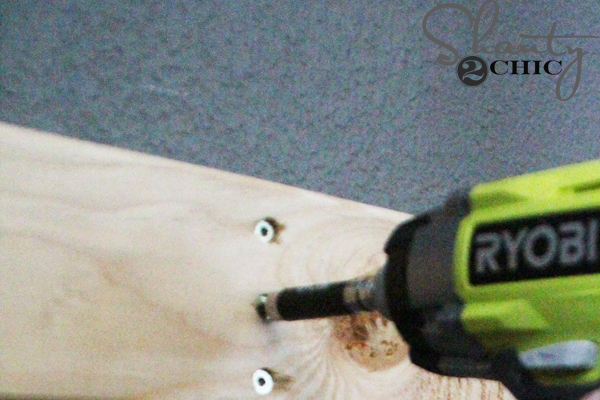
Once you find them, drill 3″ Spax screws into the cleat and into the studs behind the wall. I used my Ryobi Impact Driver for this. Then, attach front of the corbels to the cleat with 2″ Spax screws.
Now it’s time to make the cuts for the desk top and trim. Make sure to measure again for the space between the towers to get the measurement for the desk top. ***Measure twice, cut once!***
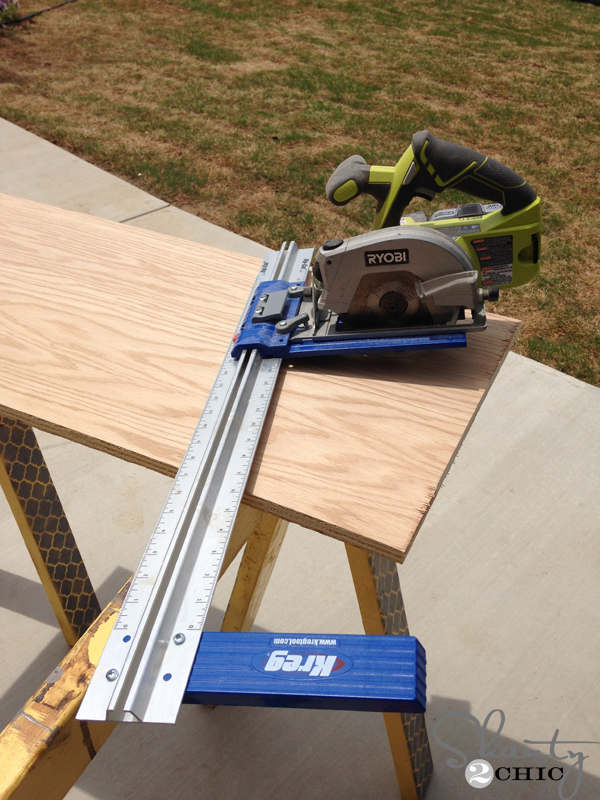
I used my Kreg Rip Cut to cut the 3/4″ plywood to size. This tool is super handy for making cross cut in plywood! It has a guide that attaches to your circular saw that helps you create straight cuts. For under $30, it’s a great alternative to a table saw and it’s great if you are short on storage space! You can learn more about it on our Tools page HERE and purchase it on Amazon HERE.
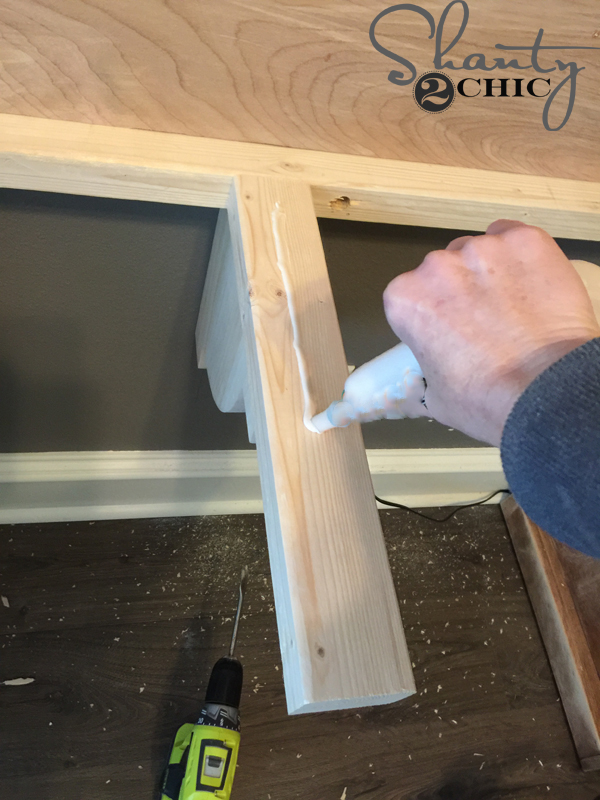
Now to attach the table top to the cleat. First, apply wood glue to the top of the cleat
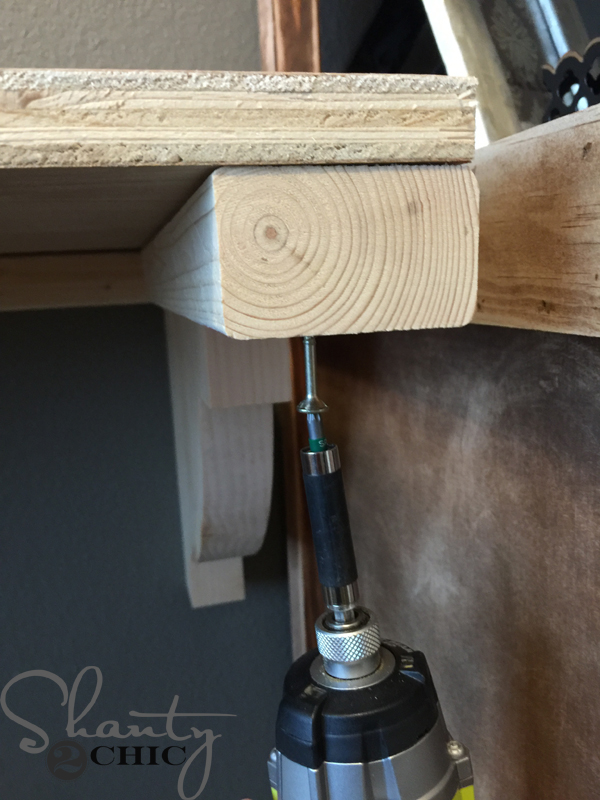
then, lay the plywood top down on to the cleat and drive a 2″ spax wood screw from the bottom of the cleat into the desk top.
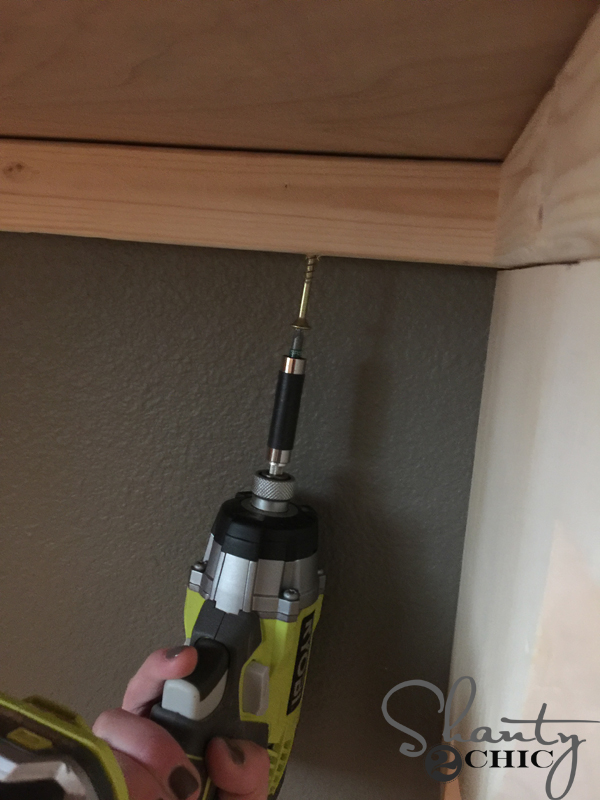
I also added some 2″ Spax screws into the back of the desk.
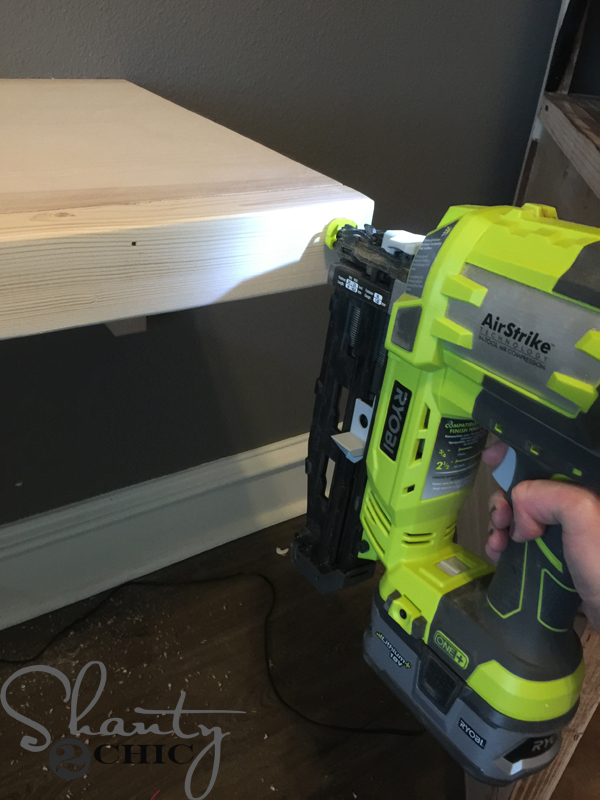
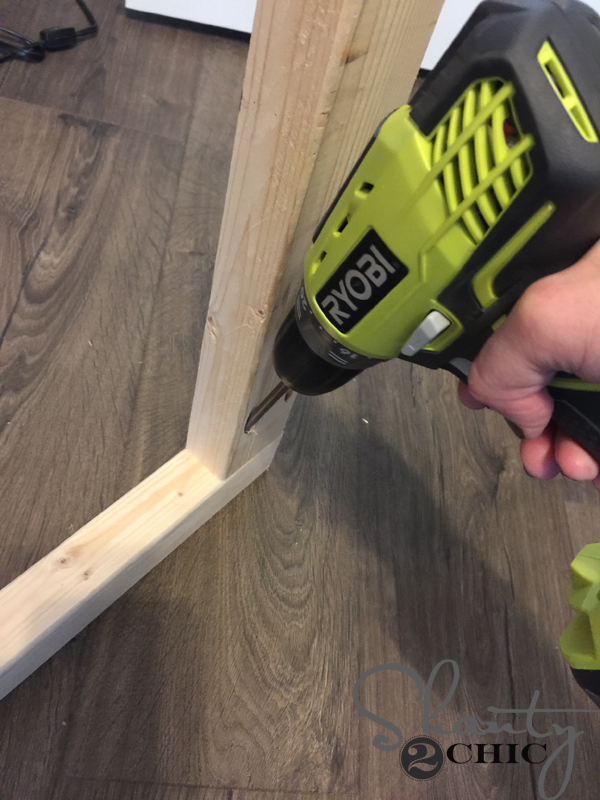
Finally, attach the front 2×3 trim to the front of the cleats with finish nails and wood glue. I used my 16 gauge Ryobi Airstrike for this. You could also use the 18 gauge brad nailer or a hammer and finish nails would work too.
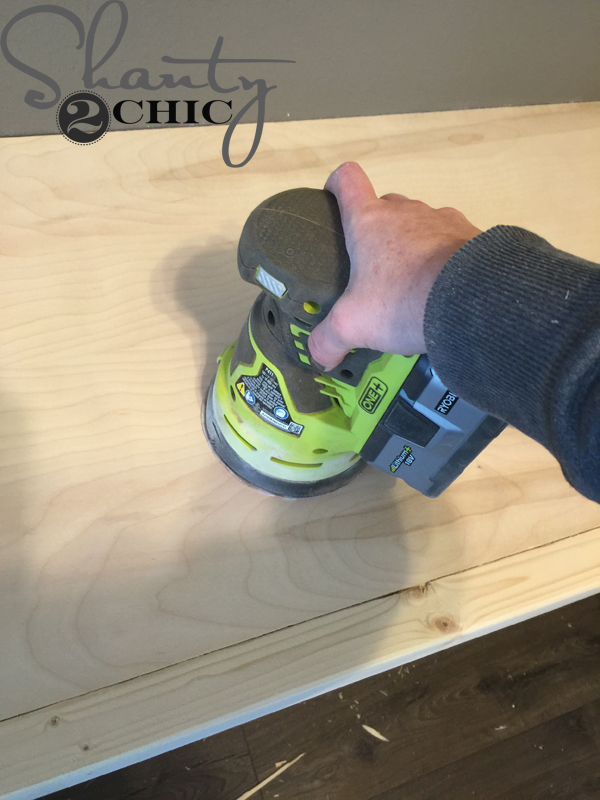
I used my 18-volt Ryobi orbital sander, with an 80-grit sanding pad, to sand the entire desk top before I added the finish.
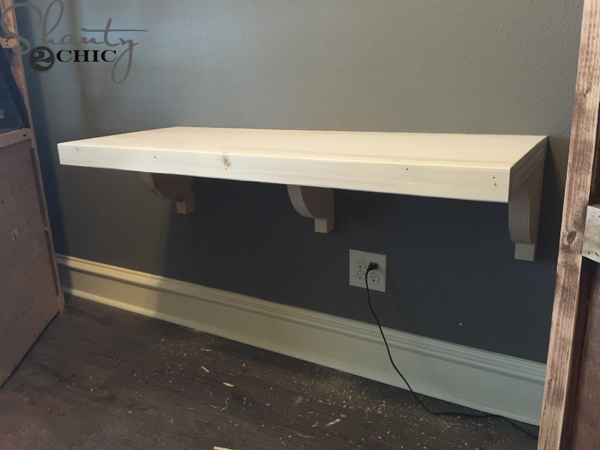
Here she is with the top and front trim piece attached!
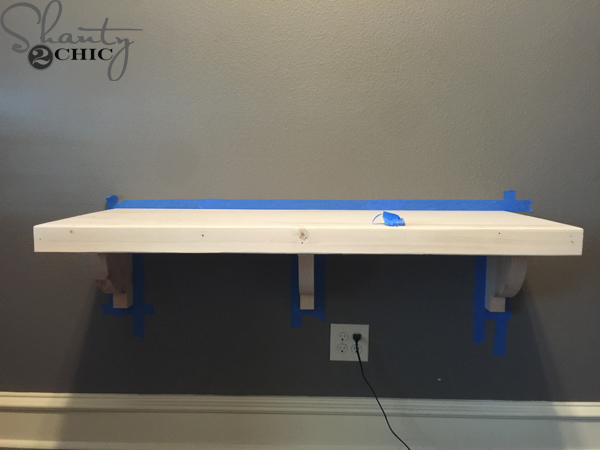
After I sanded the desk, I taped off around it so that I wouldn’t get stain on the walls.
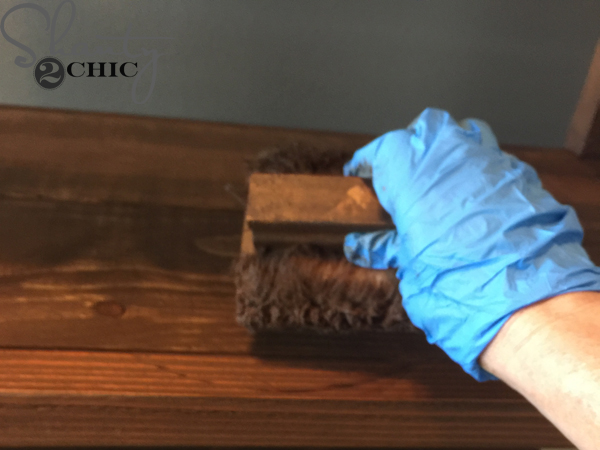
I applied one coat of Varathane Early American Stain, with a Lamb’s Wool Applicator, to the entire desk. I love the Lamb’s Wool Applicator when I’m staining large pieces. You can find them with the stain at Home Depot.
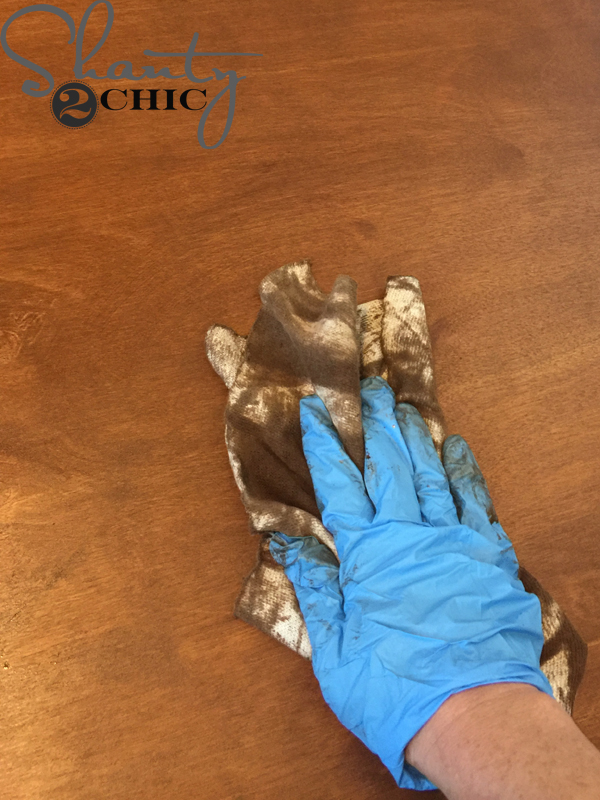
Let the stain dry for about 5 minutes, then use a clean cloth to wipe the stain evenly across the table.
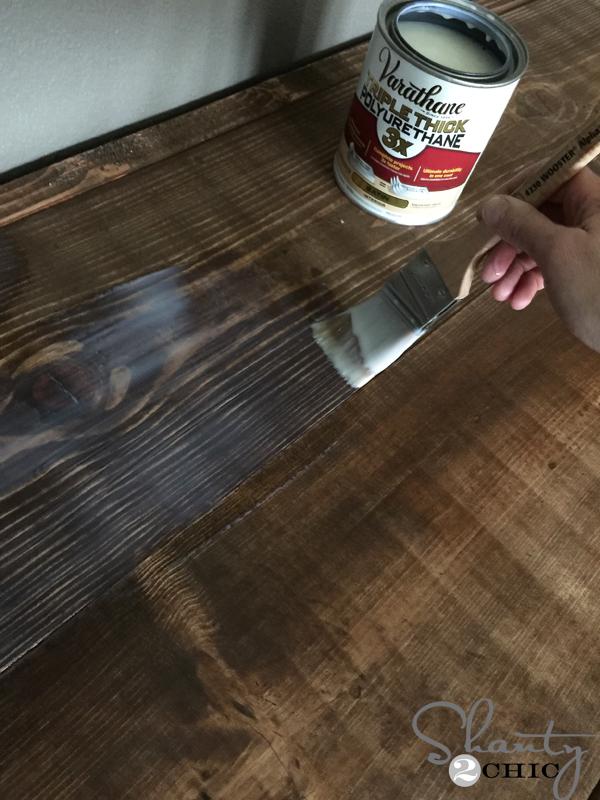
Once the stain dried, I applied one coat of Varathane Triple Thick polyurethane in satin. I just use a bristle brush to apply. It will go on thick and white, like glue, but it will dry clear. One coat is equal to three coats of regular polyurethane and you will love the smooth silky finish you get with this stuff!!
That’s it!!
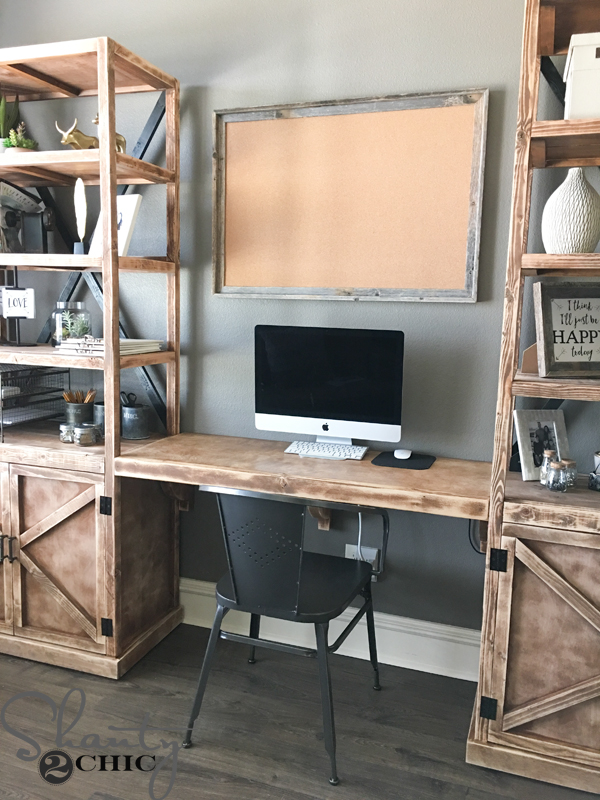
I love this work space so much and it didn’t cost me a fortune to build it – (but I think it looks like it did 🙂 )
Thanks so much for stopping by!
Happy Building!
~Ashley

Hello ladies!
I’ve been browsing through your blog lately, and I’m in awe of everything you do!! Everything looks absolutely gorgeous, and it makes me itch to try!!
I’ve got a staining project to do and having a hard time picking the right stain. Looking at the pictures of this desk after you’ve applied the stain, and after you’ve applied the polyurethane, it seems to me that the color has changed drastically…Is this what happens normally? Does the poly dull and darken the original stain color?
Thanks!
I love this system! I’m looking to build something similar in my daughter’s room, but the desk will be in front of a window and the bookcases on either side.