Oh hey friends! We have lots of Open Concept plans coming your way from our latest two episodes on HGTV! Hang tight! In the meantime, I wanted to share my latest little project with you. Several weeks ago I shared the twin platform bed I built for my 12 year old daughter. I wanted to give her a fun nightstand, and this is what I came up with! Check out this DIY Floating Storage Nightstand!
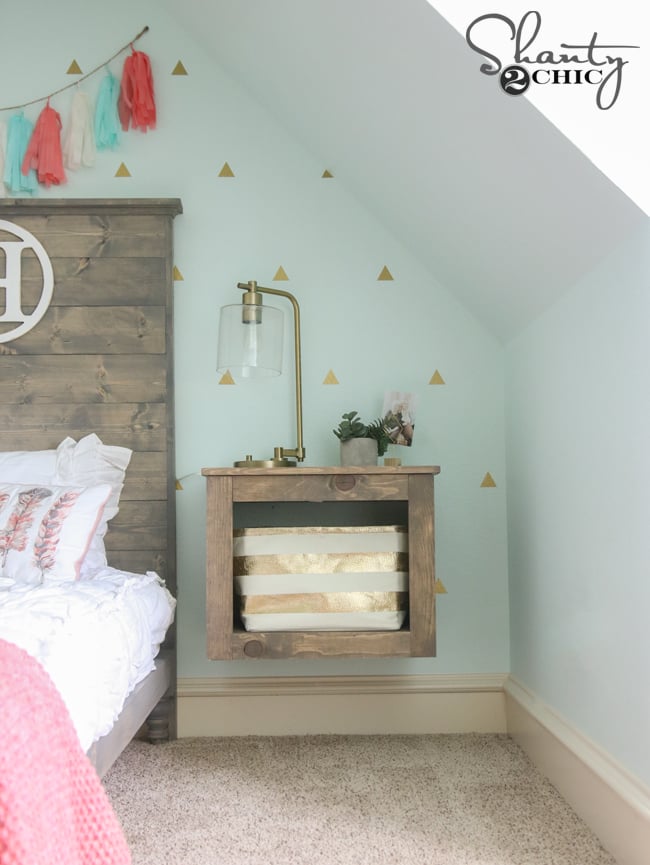
How cute is that? It’s fairly standard in size to find baskets for, but I will say I found these gold baskets HERE on Amazon and they have them in just about any color… Prime shipping too people!
Let’s get started!
As always, I will walk you through the entire build below, and you can also download and print the FREE plans by clicking HERE or the button below!
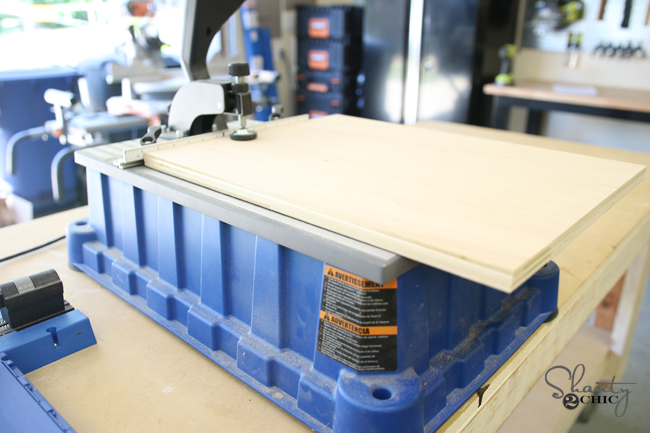
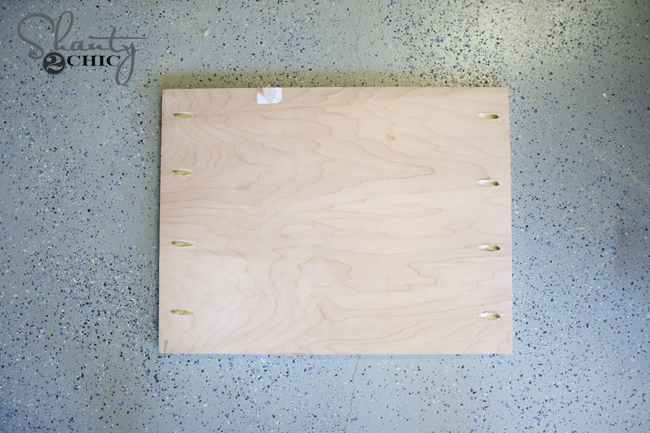
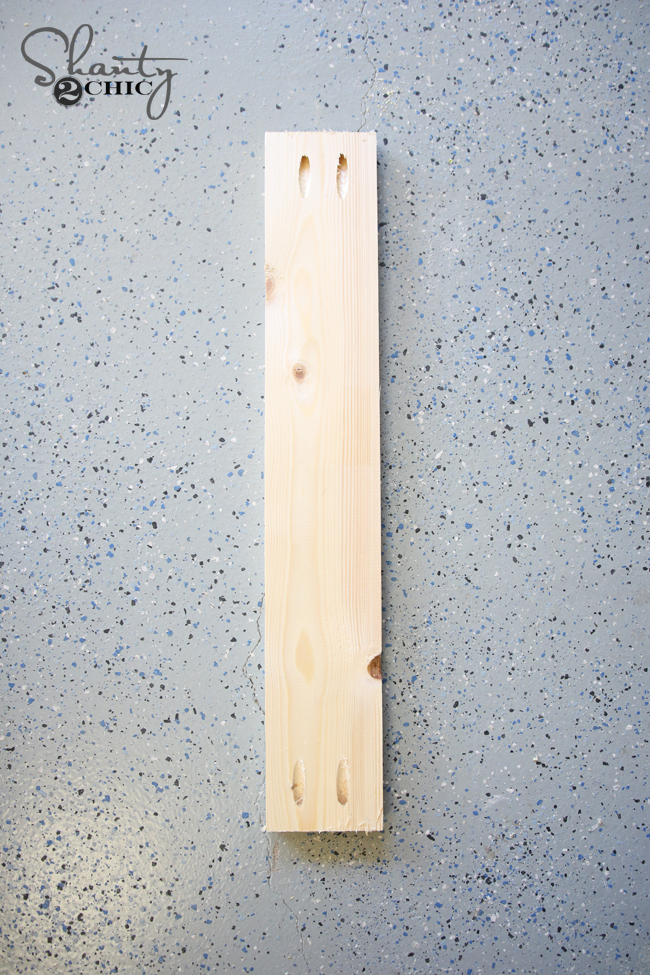
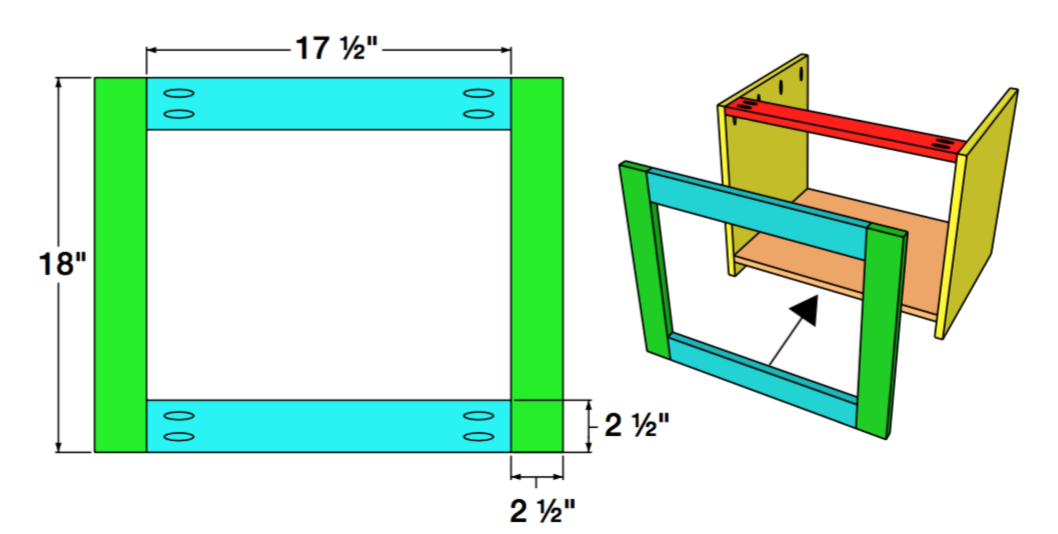
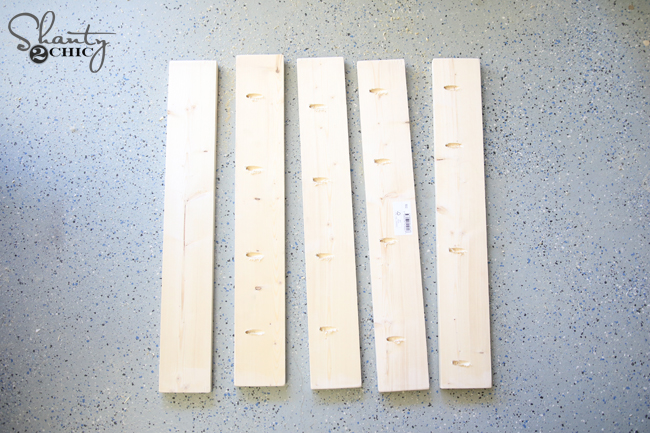
The shell or box of this nightstand is built with 3/4″ hardwood plywood. We talk about this stuff all the time. It’s awesome. It comes in big 4’x8′ sheets at Home Depot and we have the guys there rip it down for us to fit into the car. We take the ripped cuts home and make the smaller cross cuts on our miter saws. The two side pieces look like this.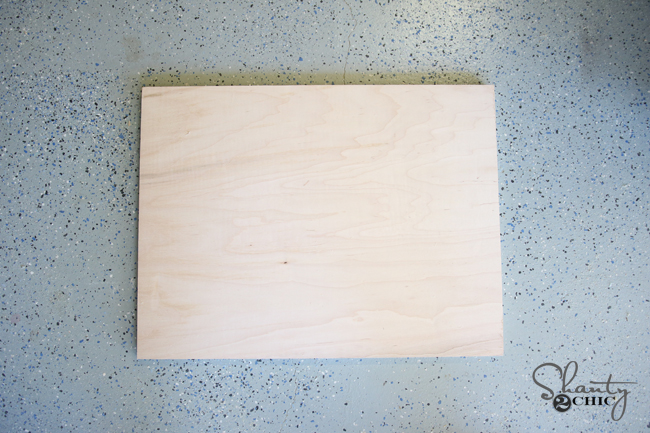
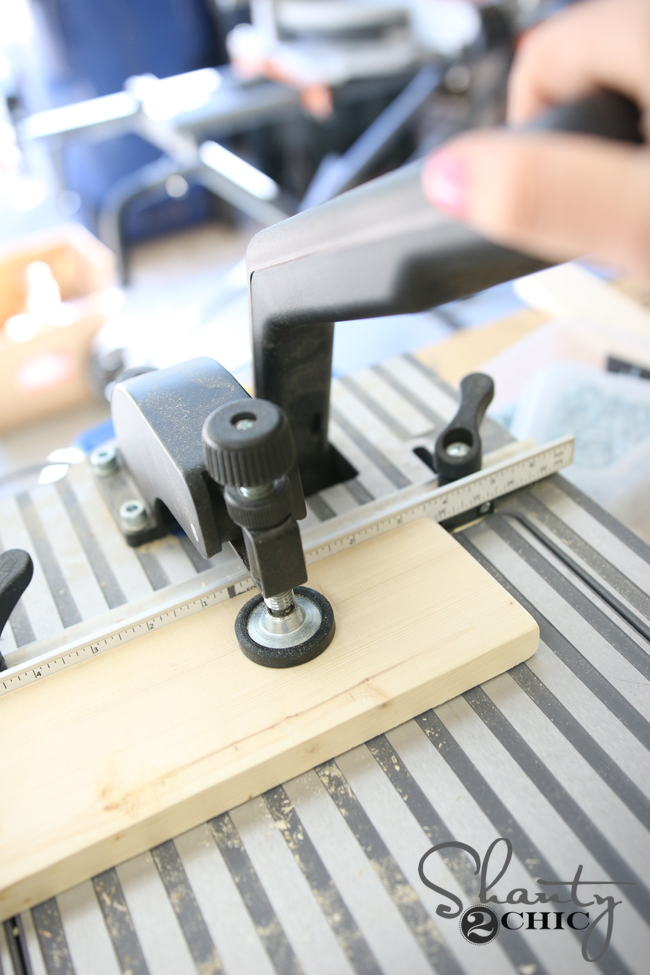
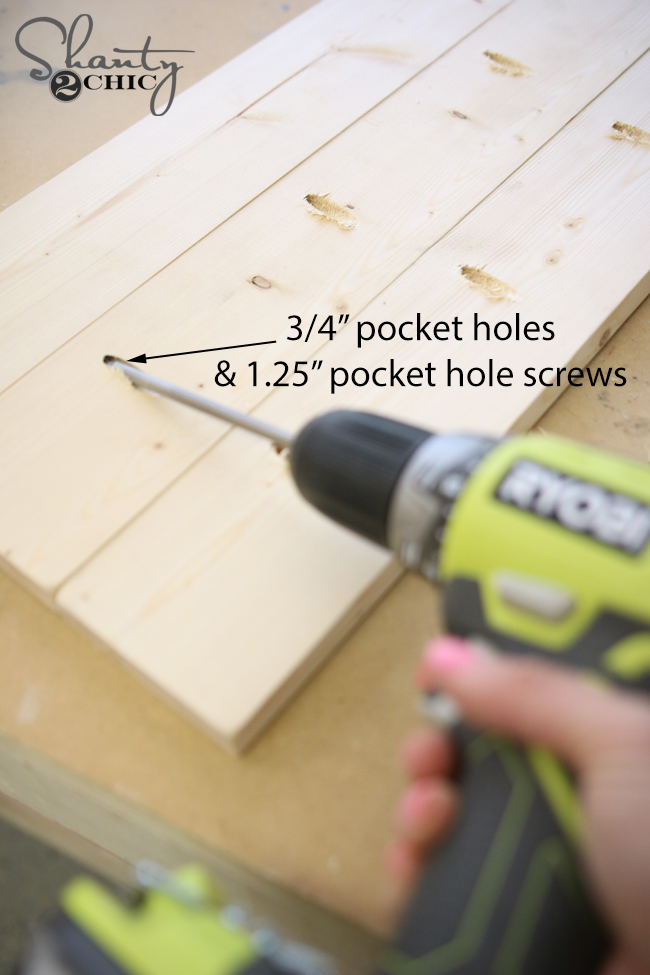
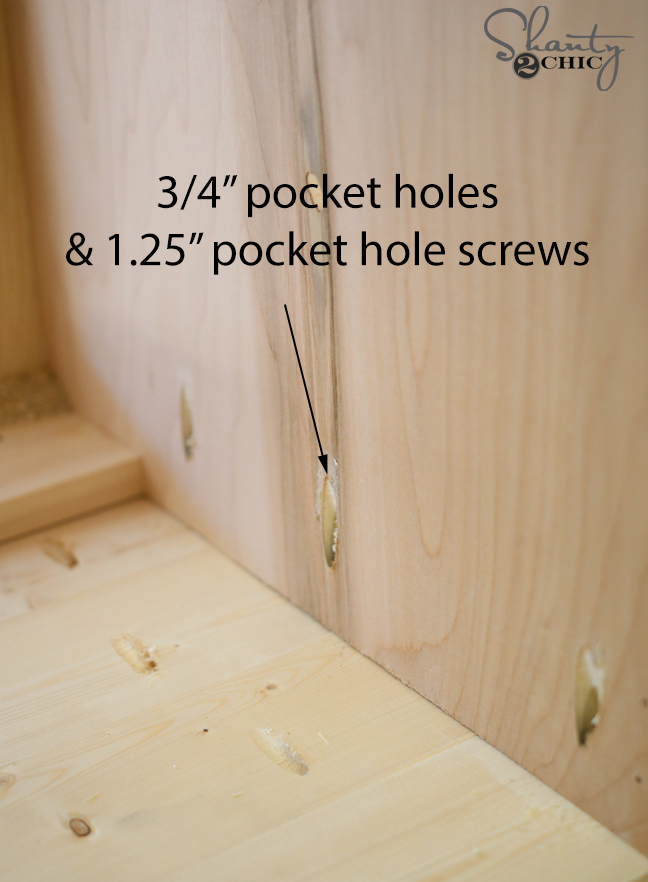
I made 3/4″ pocket hole in the top of both boards. These pocket holes will attach the base to the top in just a bit.
For most of my builds, I use my Kreg Jig K5 model. I pulled out my Kreg Foreman for this project. For those of you pocket hole enthusiasts, this guy right here is a dream. I timed it once and was able to make around 45 pocket holes in 1 minute. It’s amazing.
After setting the drill bit and clamp to the specific size you want, you just pull down the handle and it drills your pocket hole for you.
It’s amazing. I added 3/4″ pocket holes tony side boards, and then made pocket holes on each end of my base piece as well.
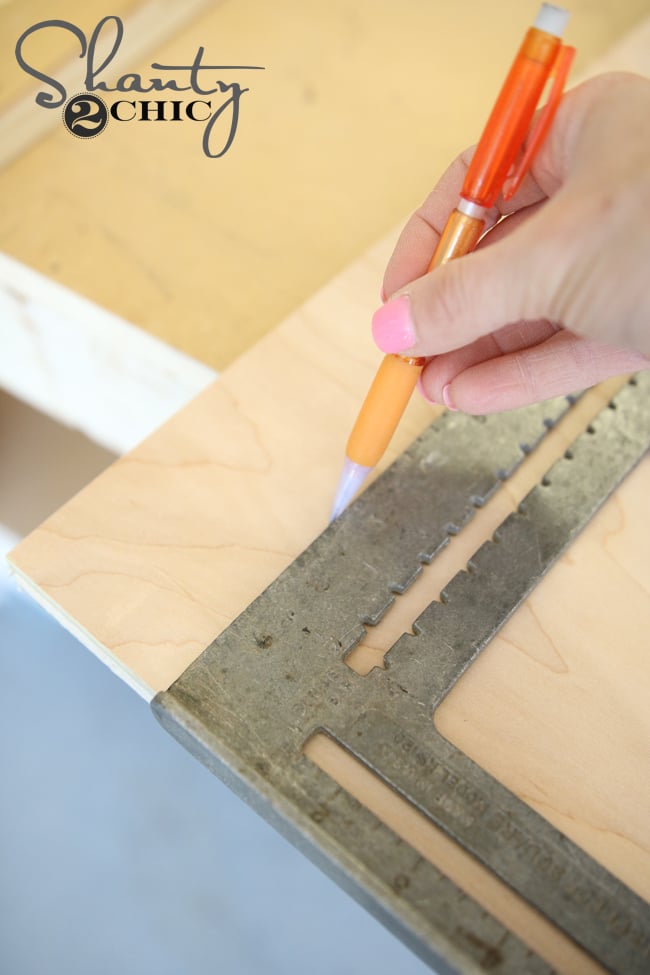
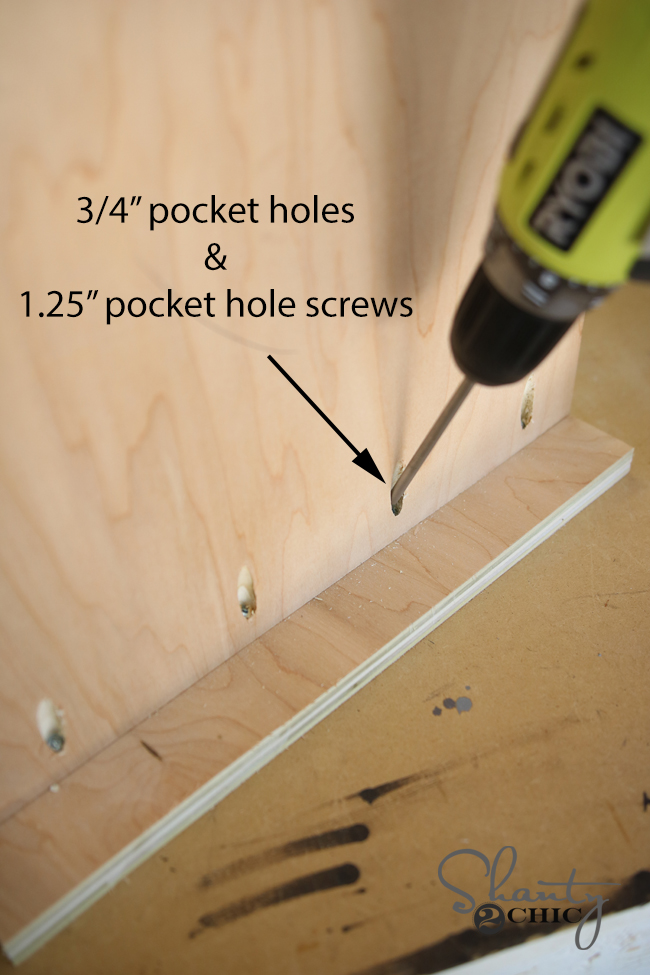
You will line up the base 2.5″ from the bottoms of your side pieces to line up with the face frame. One great way to draw these lines is by using a speed square.
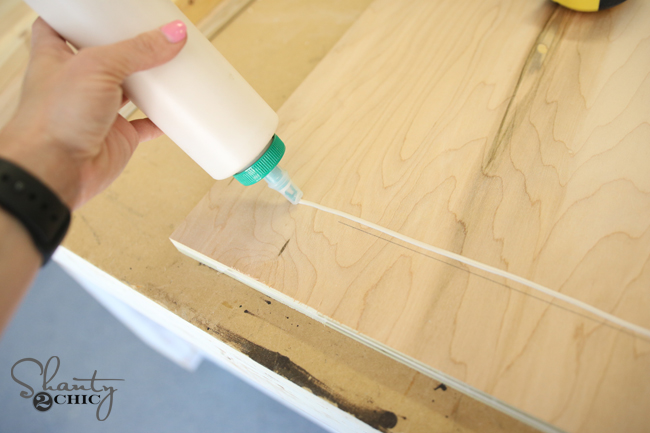
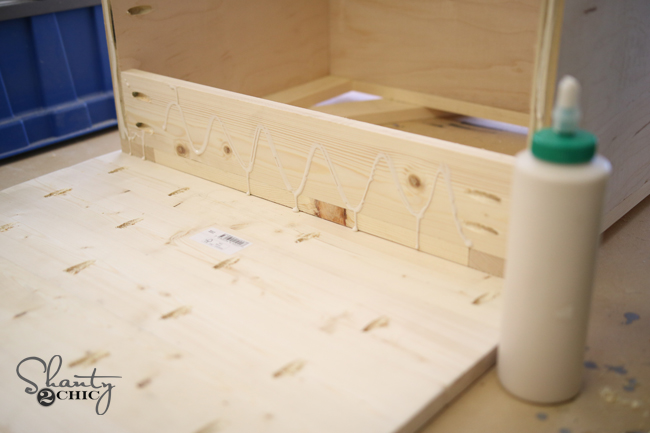
Next, I added a line of wood glue where my base piece would line up.
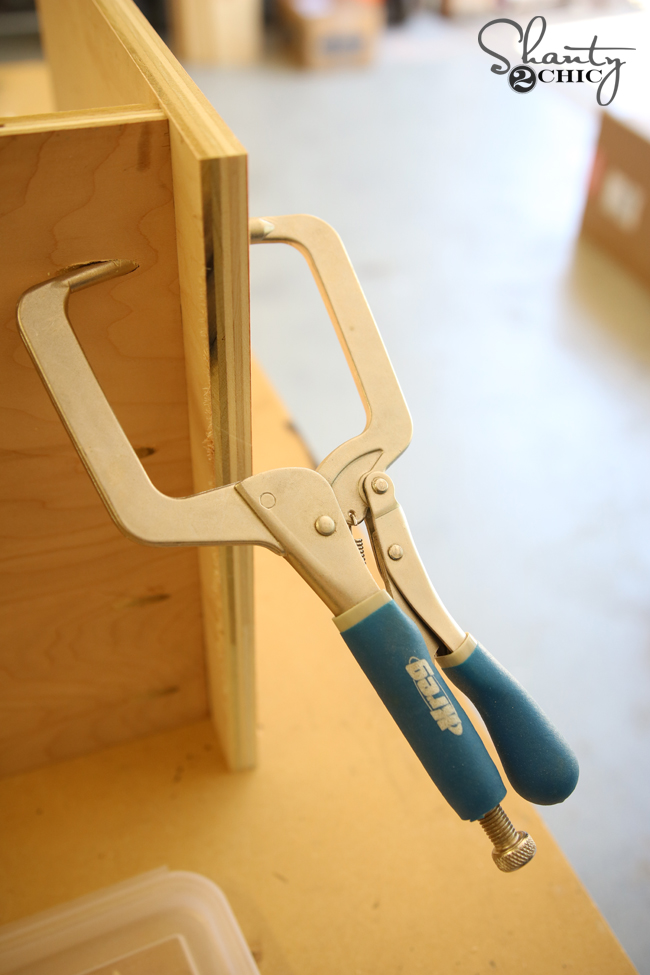
I used my Kreg right angle clamp to hold these together while I attached them with 1.25″ pocket hole screws through those holes.
This is what the base looked like after attaching both sides.
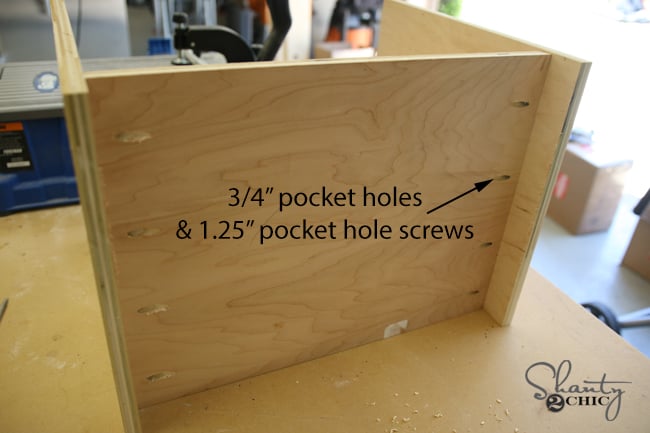
Next, I added a small 1×3 support board along the front and top of my nightstand. This is also attached with 3/4″ pocket holes and 1.25″ pocket hole screws.
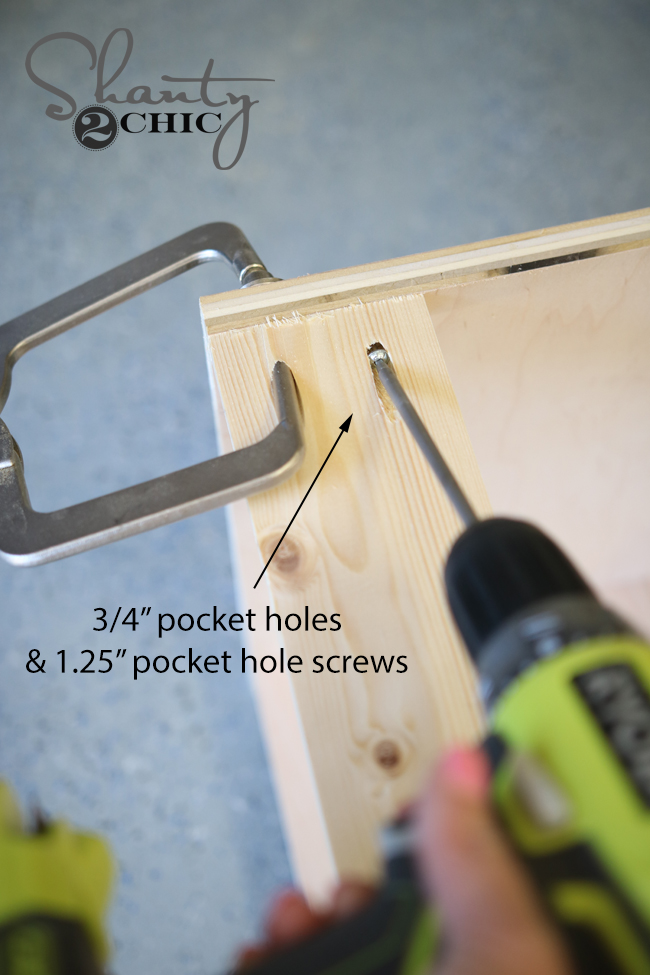
Now for the face frame! This is all 1×3. My top and bottom pieces had pocket holes on each end to attach to my side pieces.
Once I had the face frame attached together, I used wood glue and 1.25″ finish nails to attach it to the shell of the nightstand.
The top is made from 1×4. I cut each to size and then added 3/4″ pocket holes on the long sides of all but 1 of these boards.
I attached these using 1.25″ pocket hole screws.
I put my upside down and on top of the top I just created to attach it with 1.25″ pocket hole screws and glue.
Stain time!
For those of you that follow us on Instagram, you may have recently seen that photo I shared of Varathane’s latest stains.
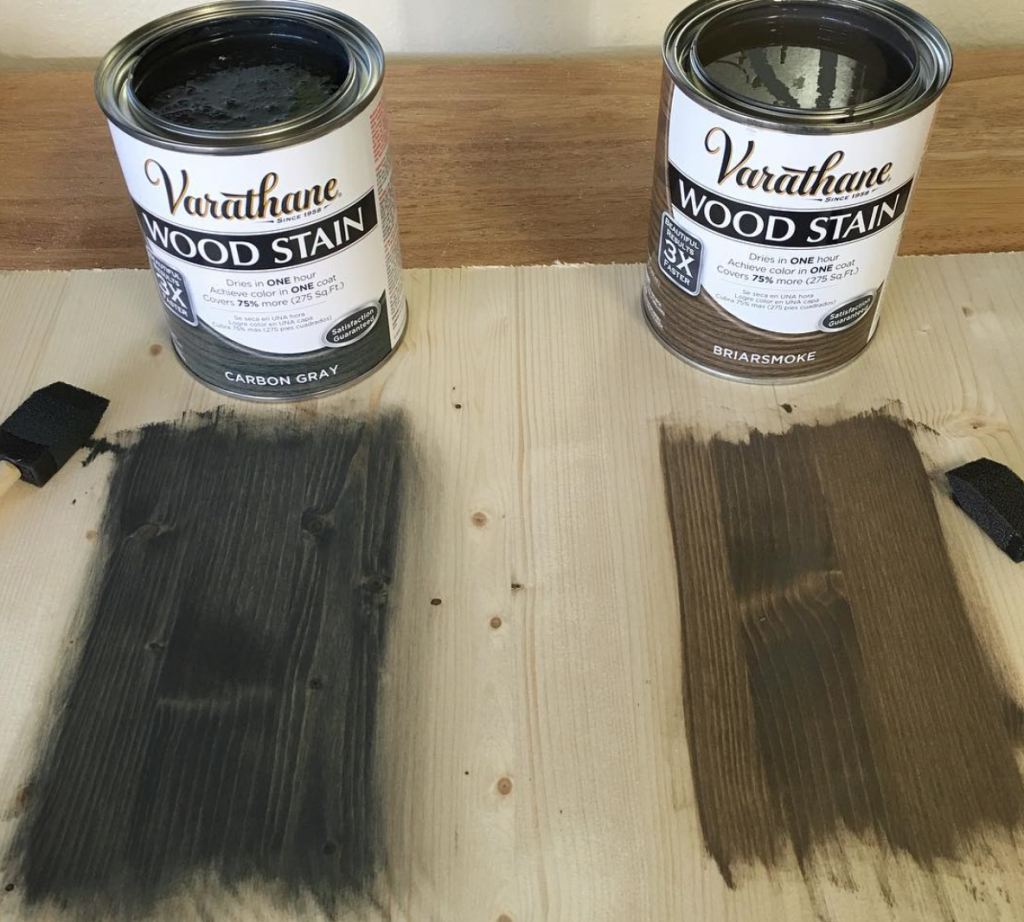
I used Briarsmoke on this piece. It’s at Depot or HERE on Amazon. It’s an almost exact match to the stain I created for her bed and for a few of the other pieces I have built lately. It’s the perfect cool brown… Just a hint of grey to it.
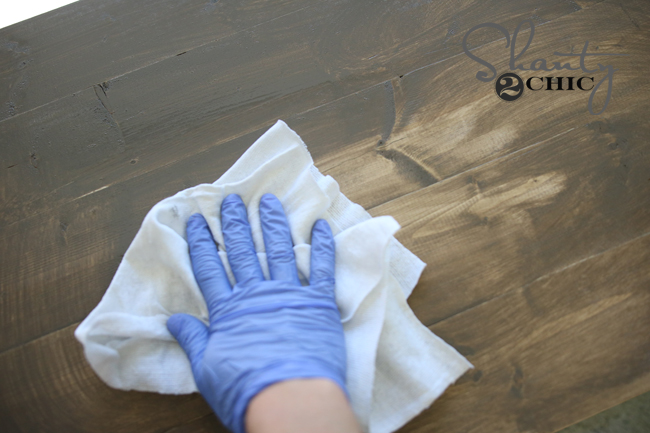
I used a brush to apply it and then wiped the excess stain of a couple minutes later.
My final step was hanging her up!
I used 2×3 to build the cleat or support that I attached to her wall. I used 3″ screws through the back board and into my studs.

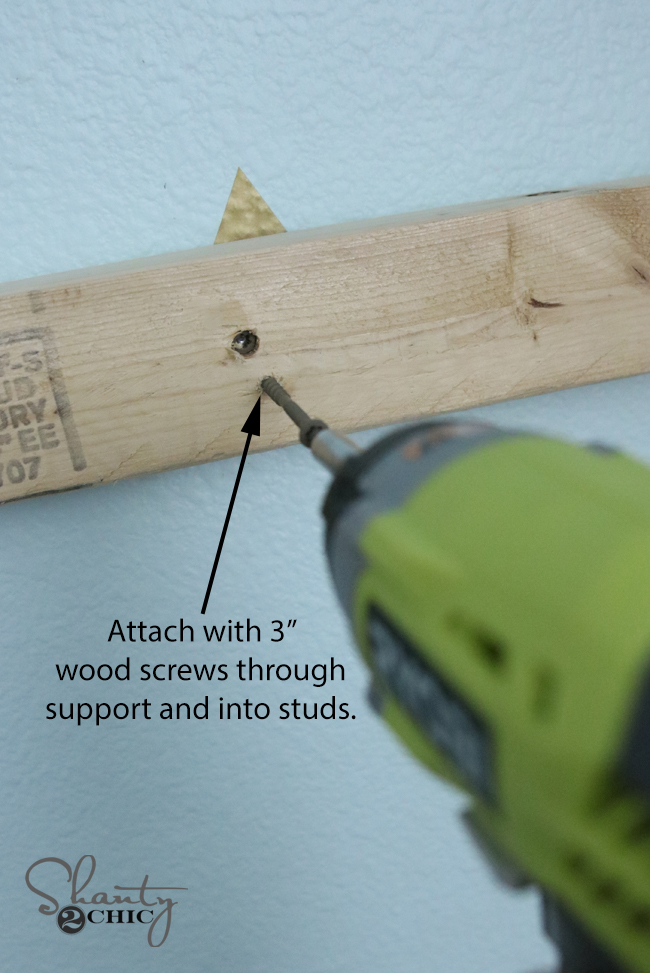

Then, the desk hangs on that and I used screws through the top and back of the desk and into the support to hold everything in place.
Here it is again all finished up!
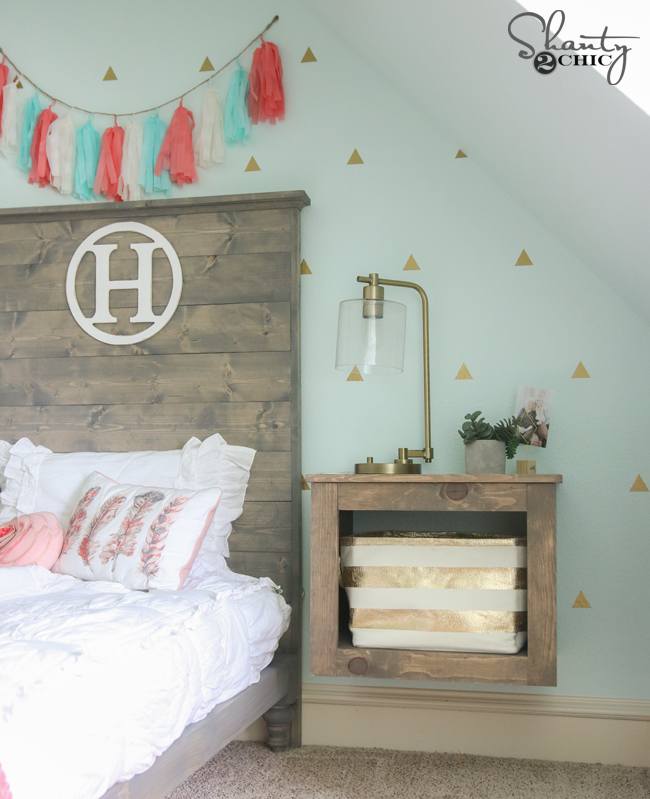
The gold vinyl wall triangles can be found HERE!
The lamp can be found HERE!
The feather pillow can be found HERE!
Her bedding is zipper bedding from Beddy’s. Two of my girls have this brand and it’s AMAZING.
The wall color is Embellished Blue by Sherwin-Williams.
Pretty sure that covers it! Thank you so much for stopping by! Let me know if you have any questions at all!


Can you add a drawer to this floating If snightstand? If so how do I do it?
Amazing. I live in Brazil (Santarém, Amazon Forest) and i like your plans and creatividad.
I love it and it is easy to vacuum underneath it!
This is gorgeous! Love it!
hi, My husdband and I will be building our 2 sons bed from your wonderful projects as soon as we move to our new house (i cant wait to started)
I have a couple of questions:
Why is staining done at the very very end? How do you get stain in very well when it is all together?
What do you use for sanding so kids will not get any splinter (or maybe depends on the wood i use)?
What kind of wood would you recommend? i will be doing: DIY Platform Bed on Wheels and DIY Bed – Pottery Barn Inspired
Thank you!!
Hey, I love this. Just wondering if you could show a bit more detail on how you attached the nightstand to the wall? This would be a perfect nightstand for my girls bunkbed 🙂
Thank you! For a first time builder, this seems pretty simple. How do I build the support? I see that there are three attachments to the initial piece you attached to the studs using the 3″ wood screws.