Learn how to build this DIY Coffee Table with just a few tools, free plans and a how-to video by Shanty2Chic!
Happy Wednesday friends! We have been so excited to share this last set of woodworking plans with you! Ash and I designed a DIY Storage Coffee Table we shared on Instagram a while back, and today we are sharing the new YouTube Video Tutorial & the free plans with you! What is the skill level for this build? This is a very simple build and it’s perfect for beginners. Yeah for that!
Check out the how-to video by clicking HERE or the link below!
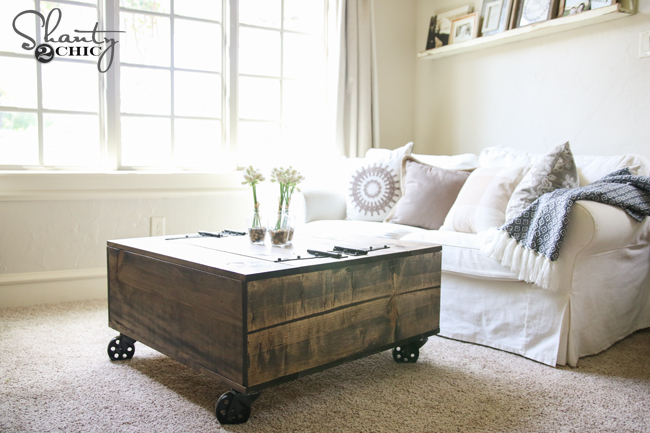
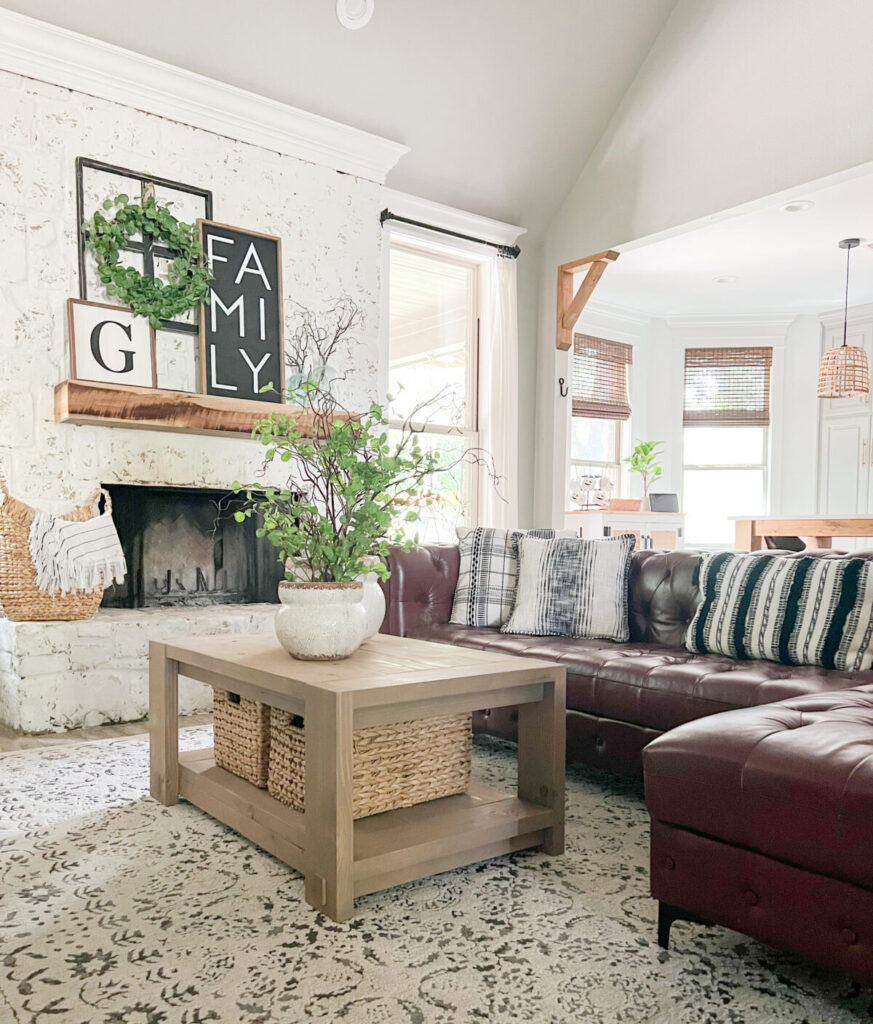
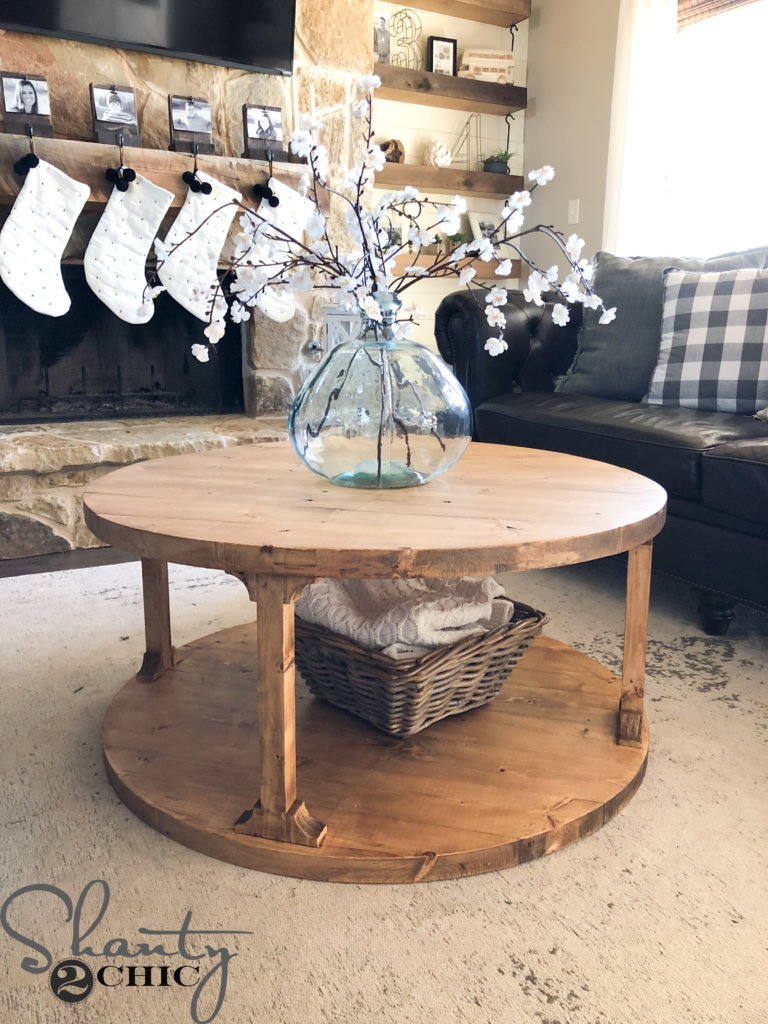
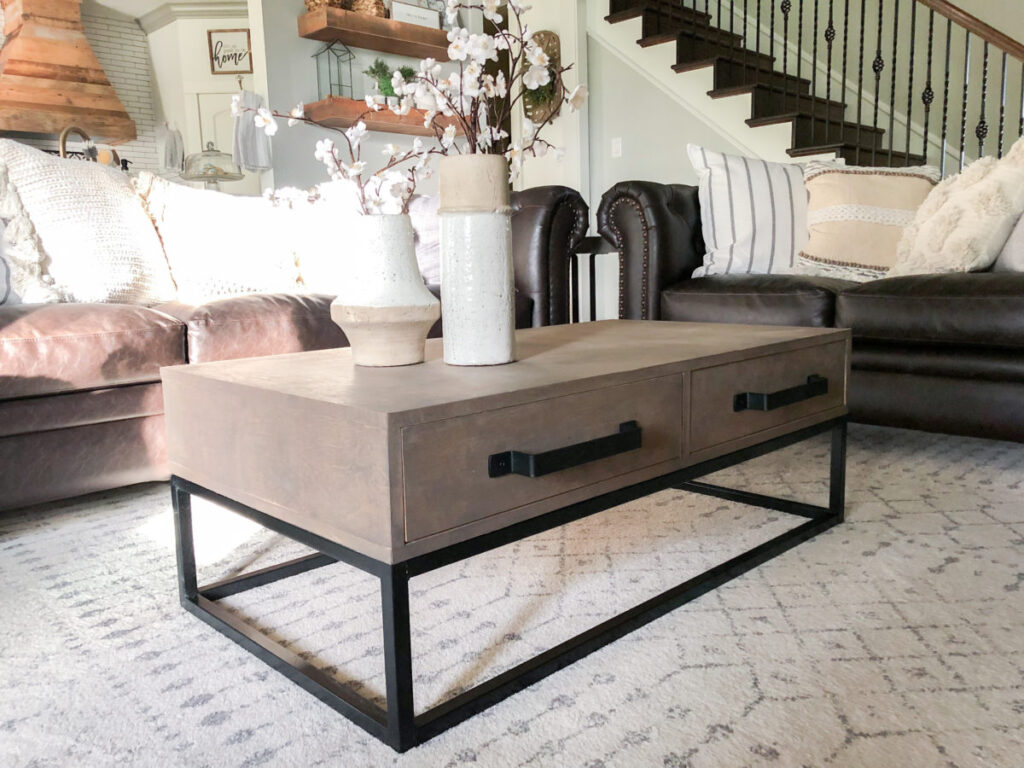
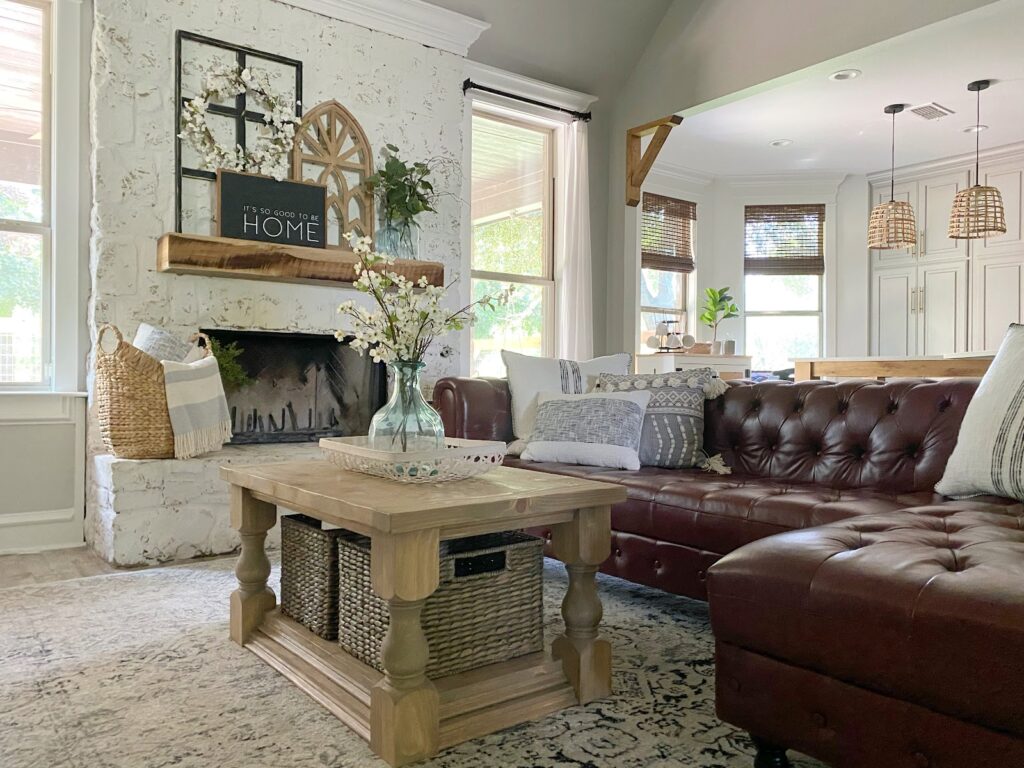
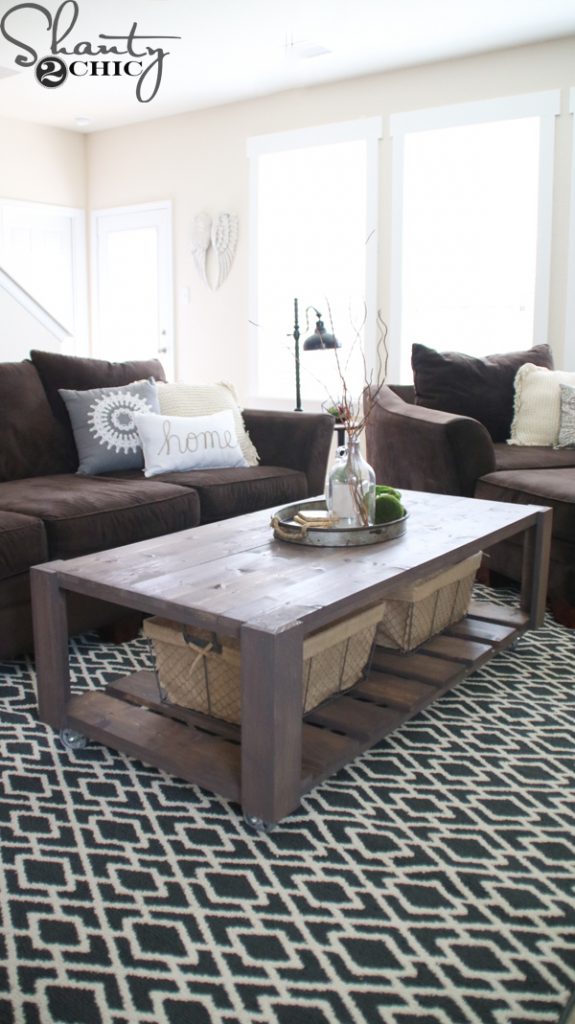
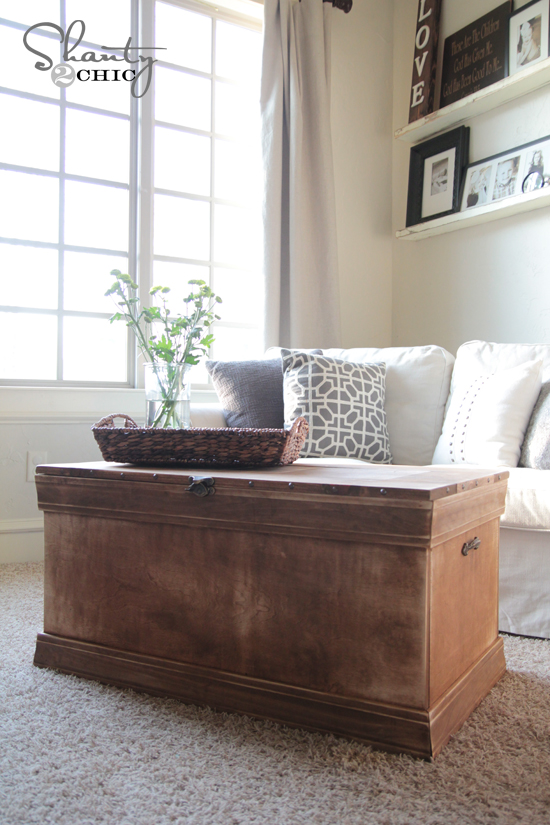
Look how cute this wood coffee table turned out!
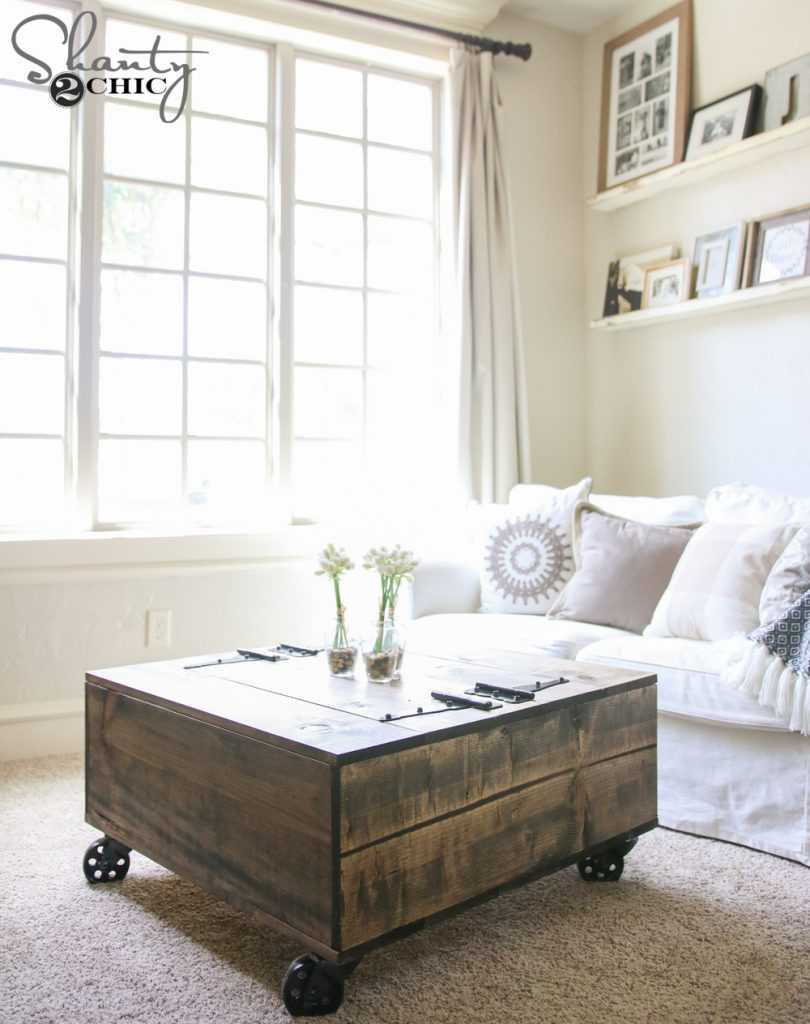
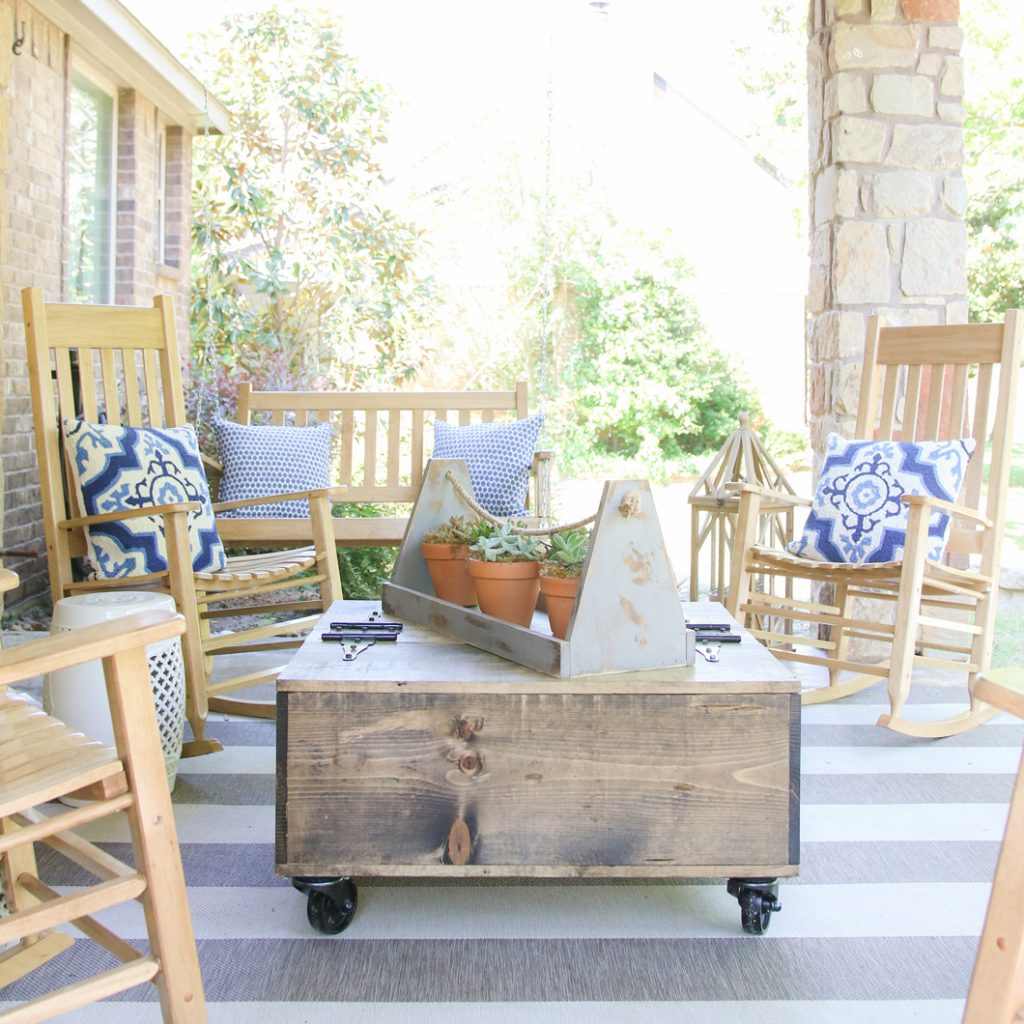
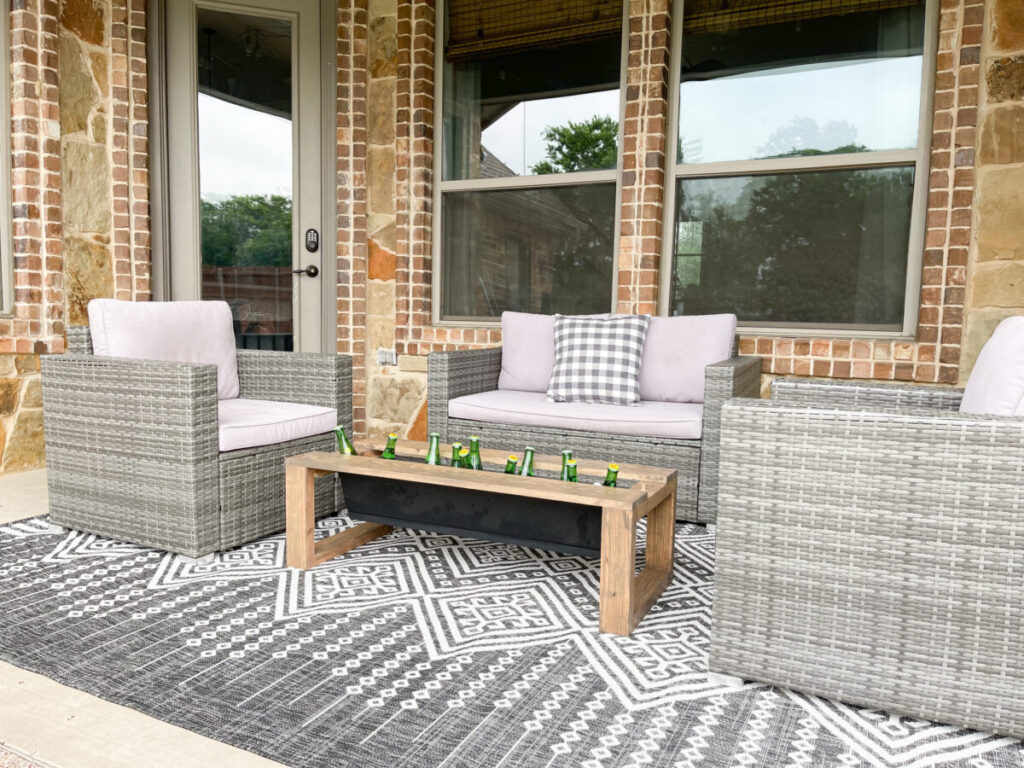
This is in my master bedroom but it would be perfect in a living room and it’s pretty darn cute outside on my patio too! 🙂
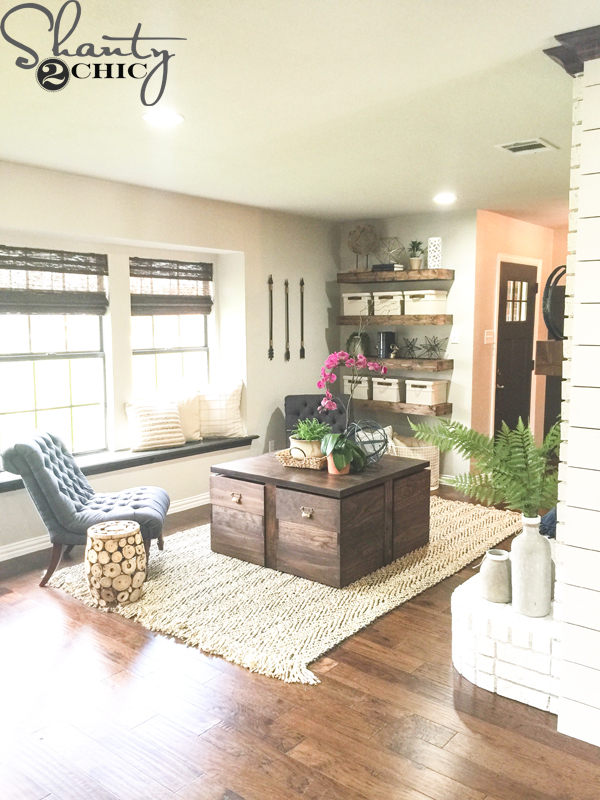
Storage + Function= Happy Mamas 🙂 This table is perfect for finding all of the kids toys and blankets! Ok, you can download and print the FREE DIY Coffee Table PLANS by clicking HERE! And, we will walk you through the step-by-step instructions below!
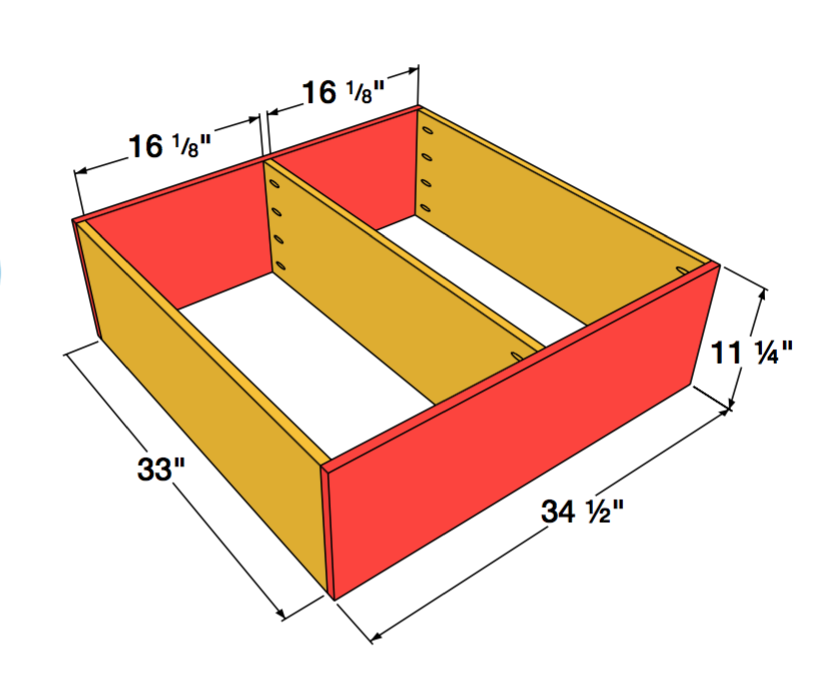
Building the Frame
We made our lumber cuts using a miter saw. The frame is built with 1×12. If your saw won’t make a complete 12″ cut, just flip your board over and make the second cut after doing the first.
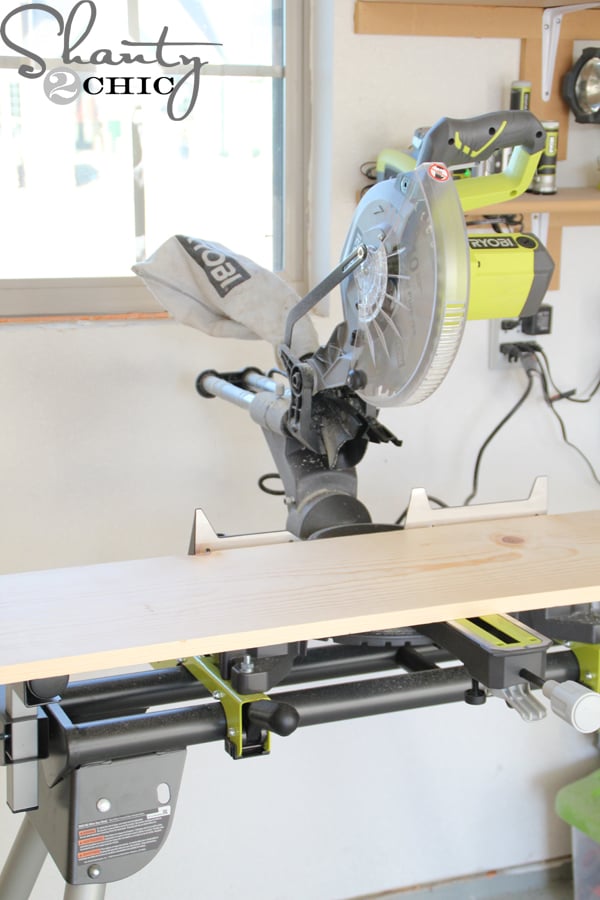
Here are the cuts you will make for the 1×12.

We used our Kreg Jig to drill pocket holes on our three 33″ boards. You can check out our favorite Kreg Jig model HERE on Amazon!
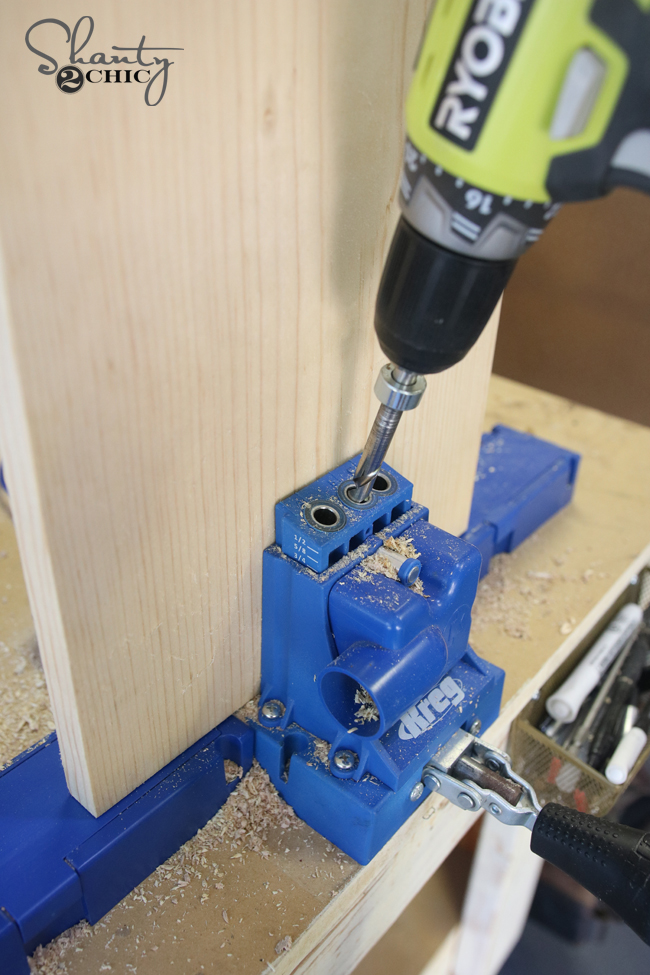
We made 3/4″ pocket holes and we will connect these boards to our longer boards using 1.25″ pocket hole screws.

You will line you box up like this.
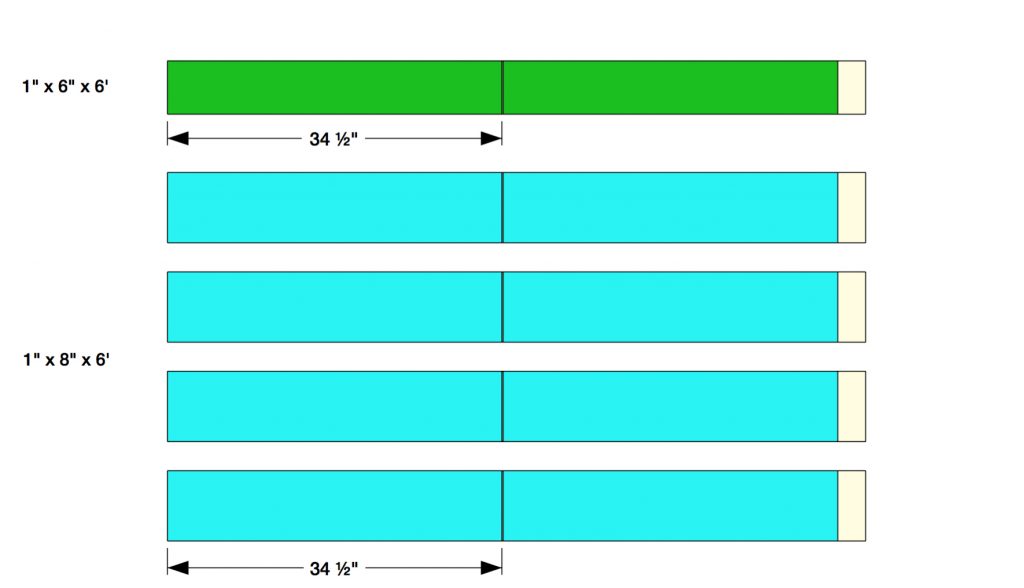
Once you have your box built, you will make your cuts for the top and bottom. These use 1×6 and 1×6 boards. Here are the cuts you will make.
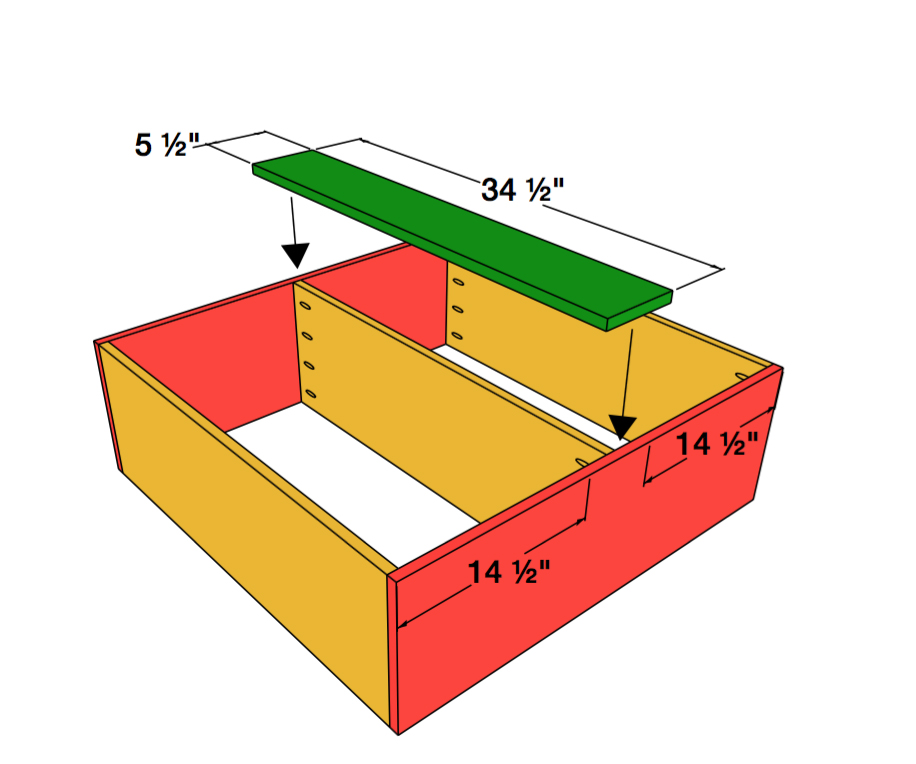
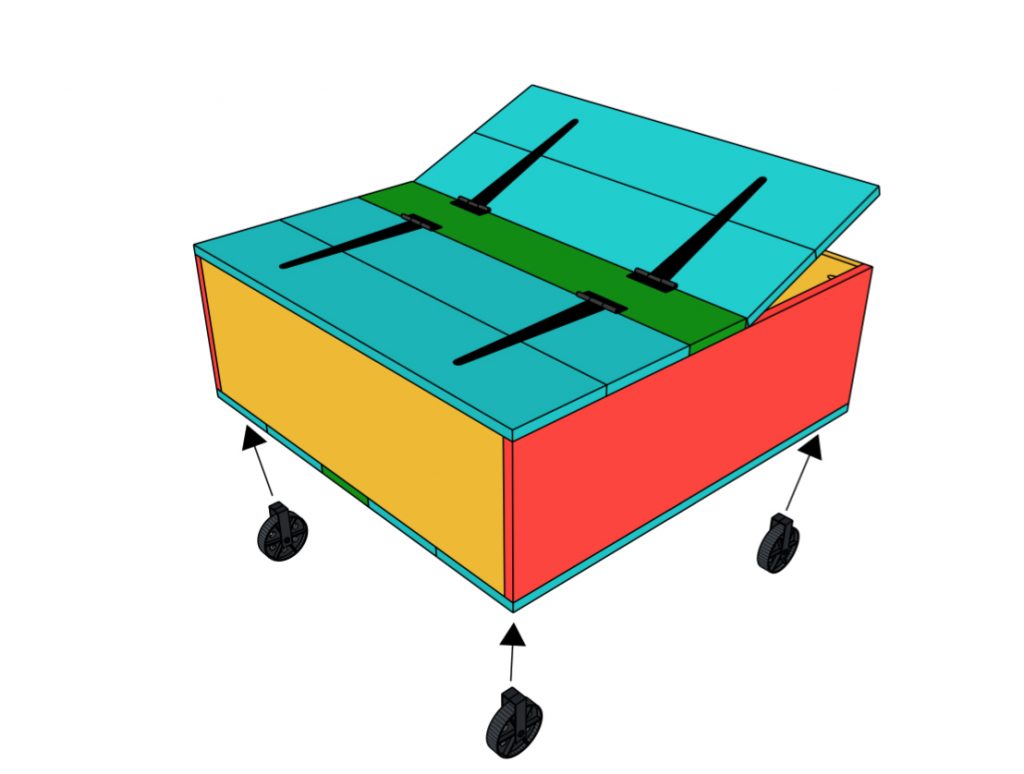
Attach the base pieces using wood glue and nails. Start by attaching the center board first, and then attach the side pieces the same way.
Attaching the Tabletop to the Wooden Coffee Table
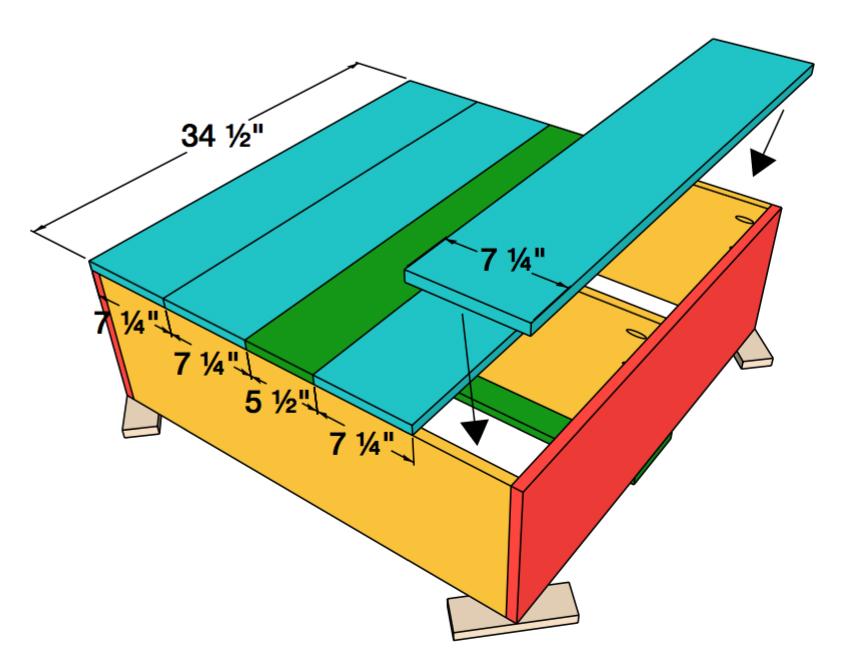
Flip over the table and attach the center table top piece the same way as you did your base piece. We then formed two lids by attaching two boards together using 3/4″ pocket holes and 1.25″ pocket hole screws.


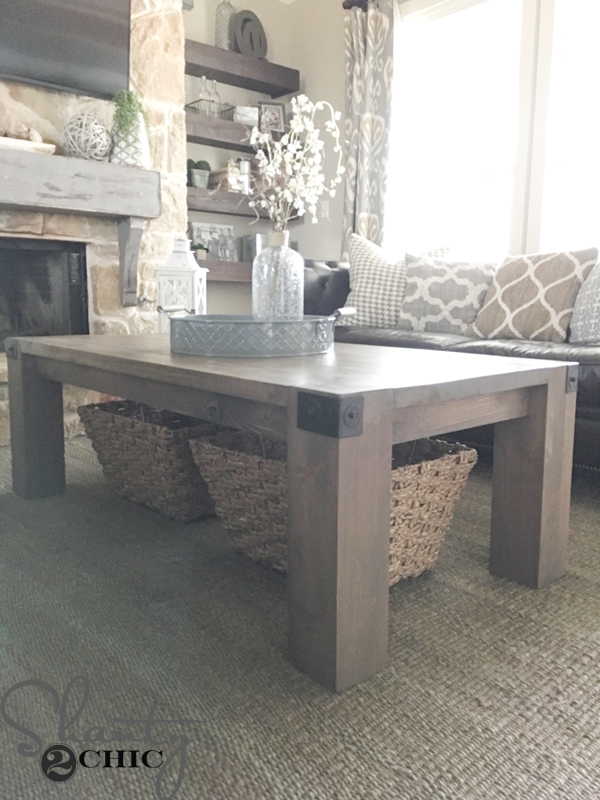
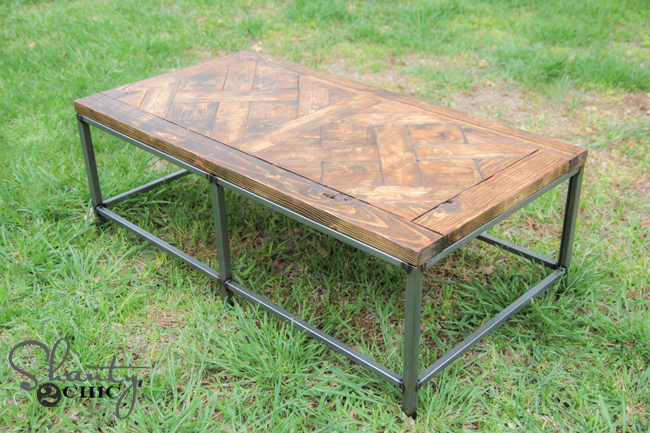
Before attaching the lids we used our sander to sand it down and stained the entire piece. We used Varathane stain in Ash. We love the rustic look of the Ash stain.
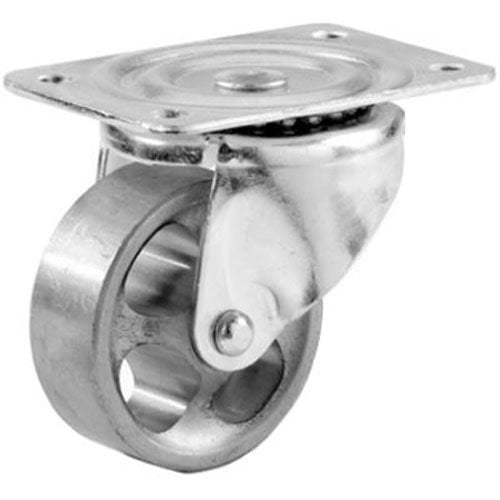
While that was drying, we gave our casters a coat of black spray paint.
These are the casters we used for this table.
We attached the brackets using hex bolts and a driver.
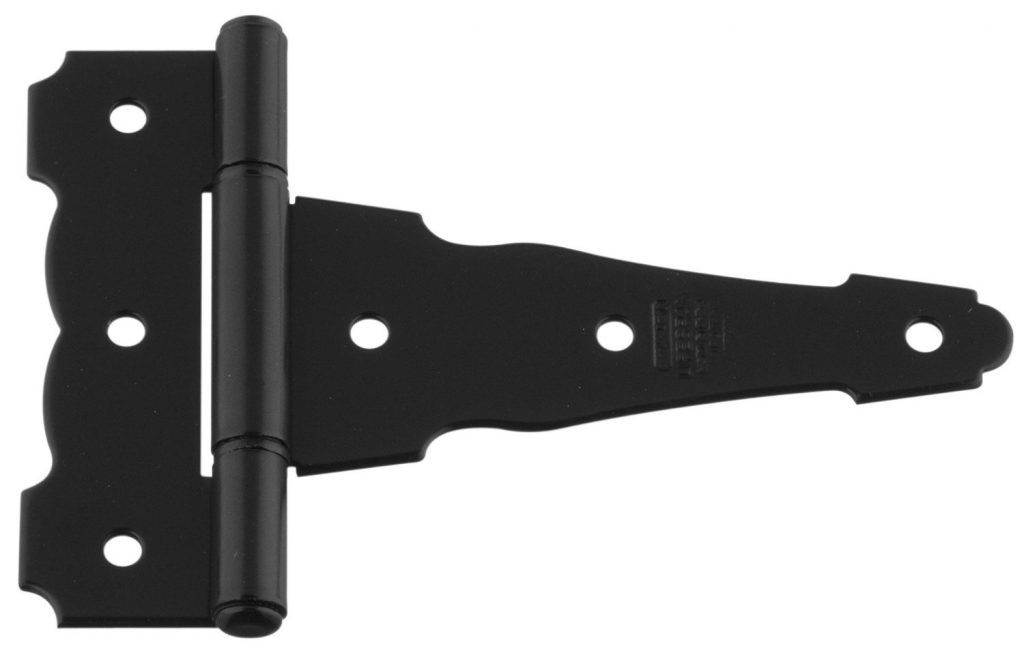
These are the hinges we used for our table.
Our final step before moving it in was taking a picture for Instagram! 🙂
Here’s my new coffee table all finished up! I love the look of this rustic coffee table and the storage space is amazing! The style is versatile and will compliment most home decor.
Make sure to check out our YouTube Video Tutorial HERE and click SUBSCRIBE! We have so much more fun stuff coming out and we don’t want you to miss any of it!
Let us know if you build your own coffee table
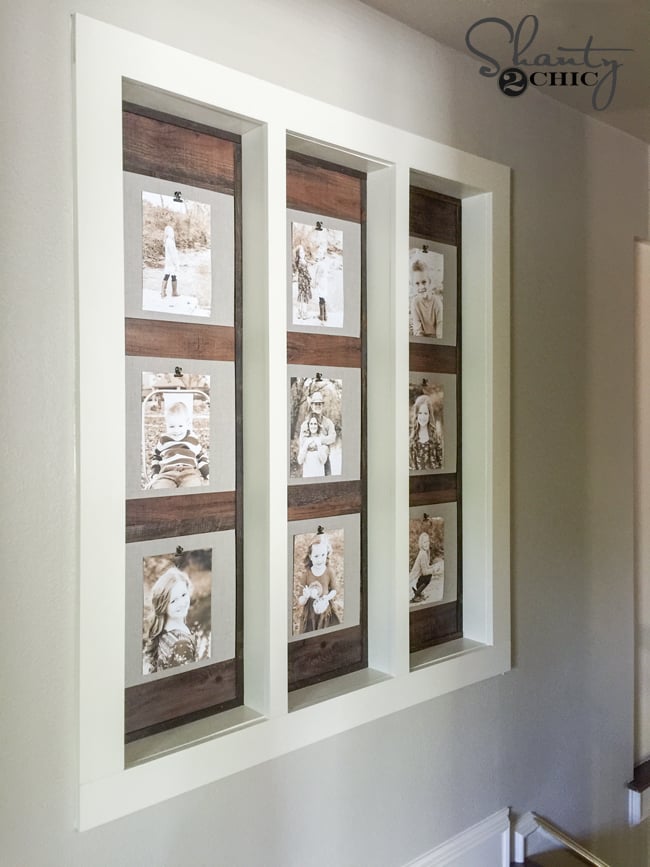
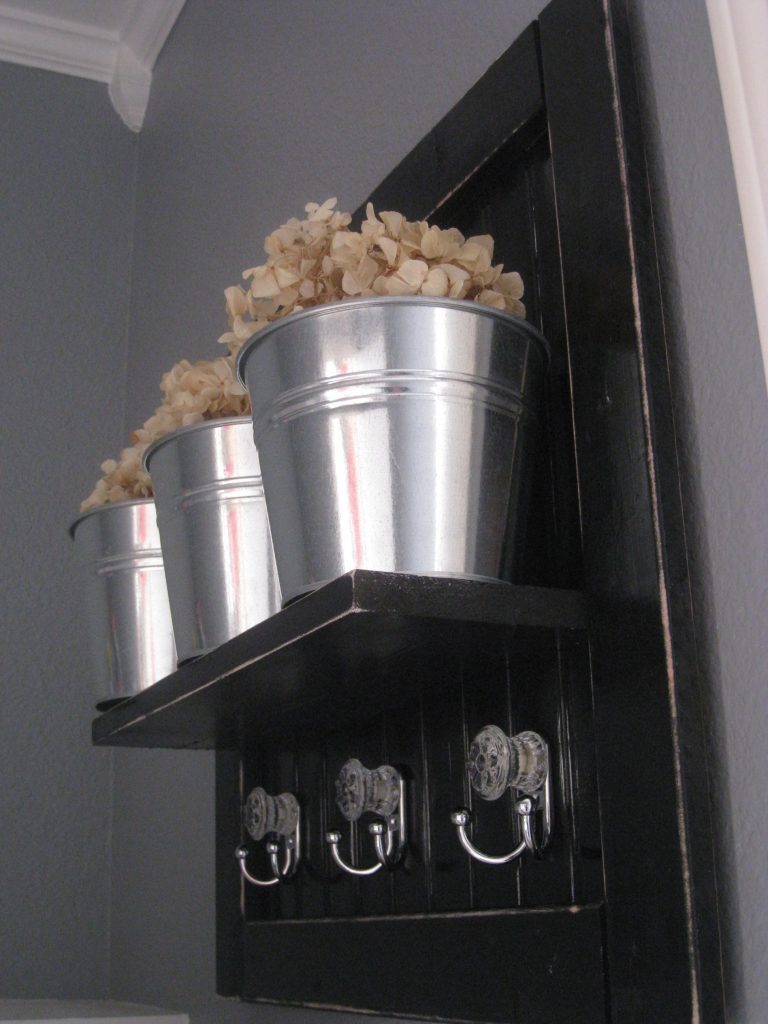
More DIY Projects
Be sure to check out our other DIY Coffee Table Ideas for inspiration below!
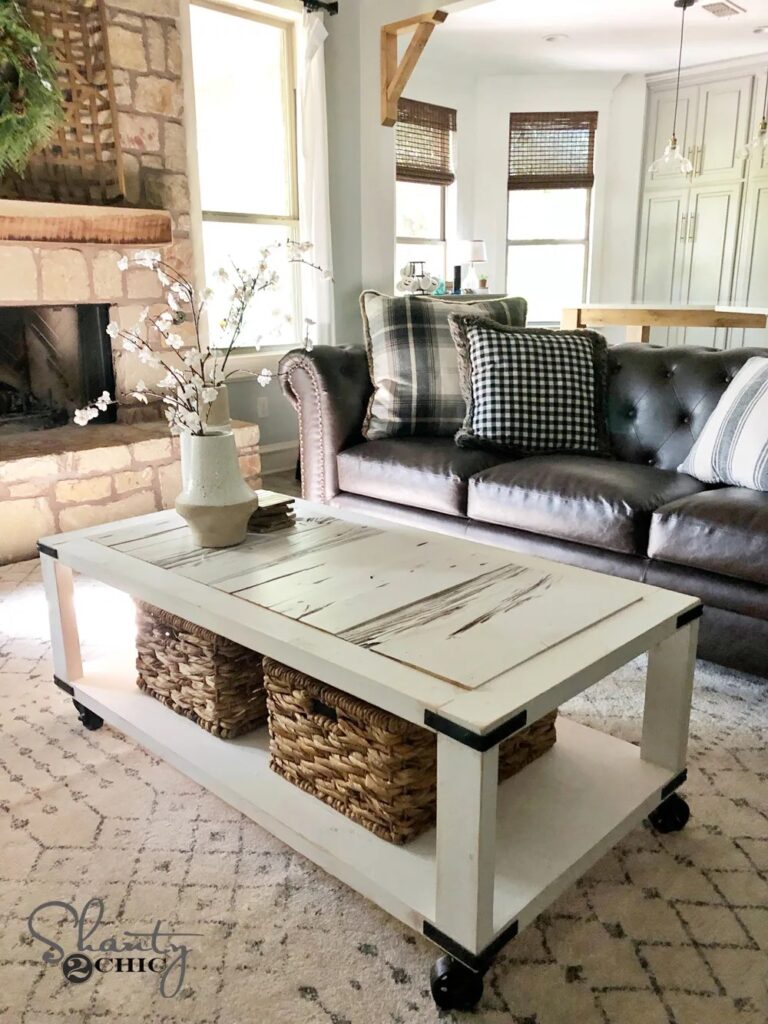
Coffee Table with Secret Storage Crates
Coffee Table with Hairpin Legs
Coffee Table with Bottom Shelf
Thanks!

Ok I am thrown off. Your list on video says 4 1x6x6 boards your cut list on directions says cutting 4 1x8x6. Which is it?
Hello! Can you please tell me what stain you used ? I k ow youbsaid the color is ASH but what brand ?
Where do you find the wheels? I’m struggling!
Would anyone recommend sealing this project after you stain it?
If you don’t want to have wheels on the bottom – what would you recommend using instead. Thanks!
Made a similar one to this. Thank you so much for the inspiration! I absolutely love this website. It’s my go-to place for projects around the house. For my table, I actually combined your idea with wood crates for the base.
Super cute coffee table! What program do you use to get those wood drawings? Thanks!
I built my own table using your directions which were so easy to follow. Thank you for sharing!
beautiful!
What size hinges did you use?
what type of wood did you girls use?
Love it ~ thanks for sharing plans & supply list.