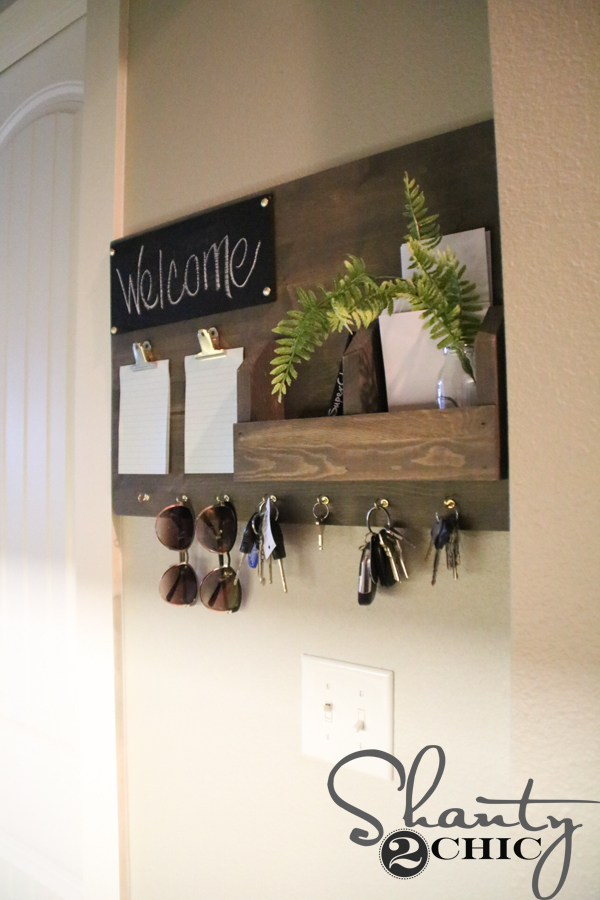
Hey guys!! School is about to start, around here, and we are in the “I need to get control over my junk” mode! Whitney and I designed this super cute Command Center to get started and we’ve got the free plans for you and a new how-video! Scroll to the end of the post to watch the how-to video!
Now, you can click HERE for the free printable plans and follow along in the tutorial below, to build your own 🙂
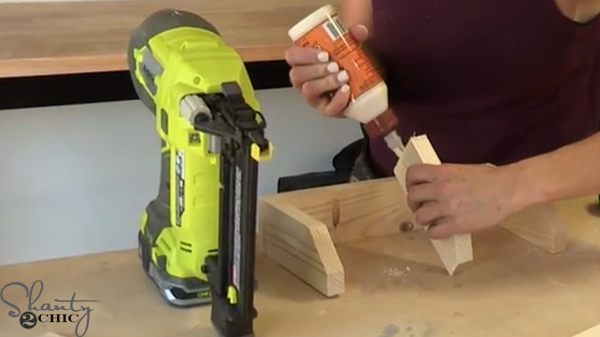
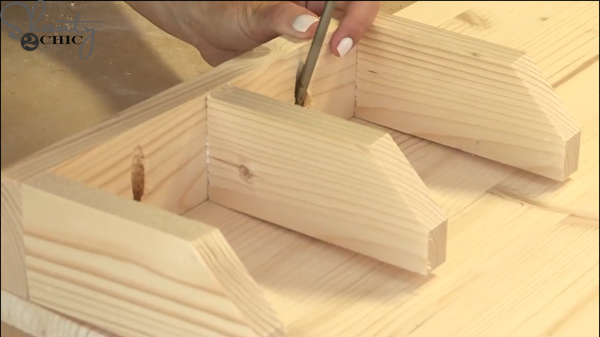
I started by making the cuts. Then, I assembled the mail sorter. Apply a thin line of wood glue
and then attach the bottom 1×3 piece to the mitered 2×3 pieces. Refer to the plans for the exact placement!
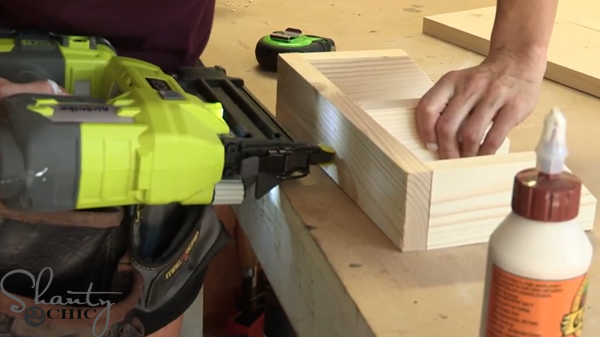
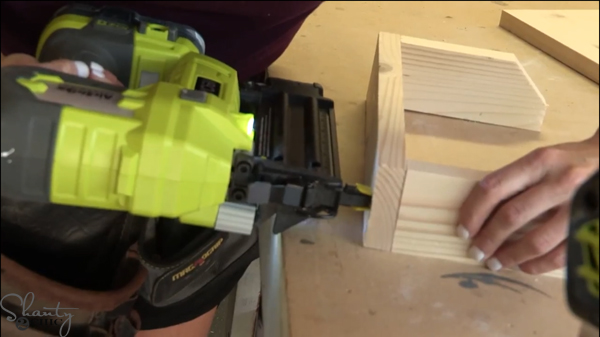
Add the middle mail divider with wood glue and brad nails.
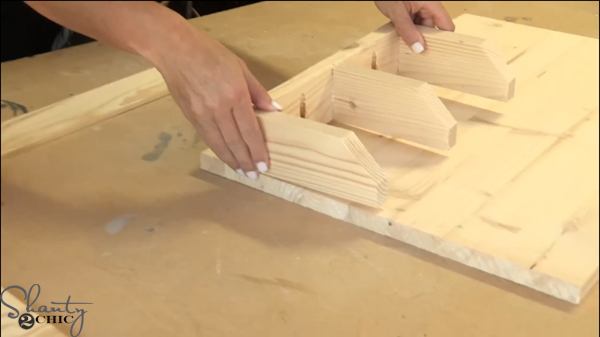
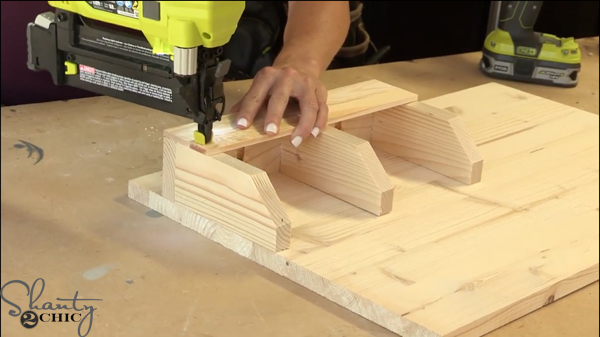
Next, apply wood glue and place the mail sorter on the project panel. Refer to the plans for the placement 🙂
We attached the mail sorter with 1 1/4″ pocket holes. This is not necessary. If you don’t have a Kreg Jig, you can use brad nails and wood glue. Just nail from the back of the craft board into the mail sorter. Just make sure to mark exactly where your mail sorter is on the back of the craft board.
Now, attach a 3″ wide luan (or craft board piece) to the front of the mail sorter with wood glue and brad nails. This piece will be flush with the bottom of the mail sorter.
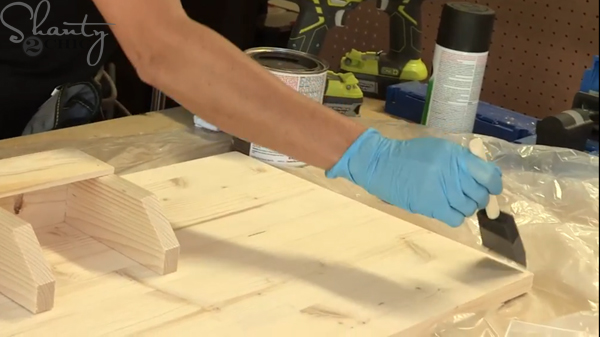
We chose to stain our mail center with Varathane Carbon Grey stain. Just apply one coat, let it sit for about 5 minutes then wipe it with a clean cloth. We used a disposable foam brush to apply the stain. You can find Varathane stain HERE on Amazon.
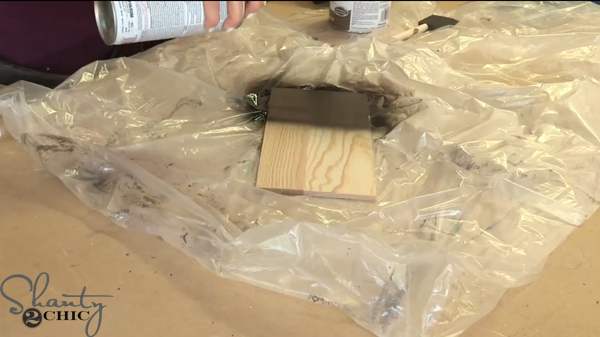
While the stain dries, spray paint the 5.5″ wide luan (or craft board) with 2 coats of Rust-Oleum Chalkboard spray paint. You can find the spray paint HERE on Amazon.
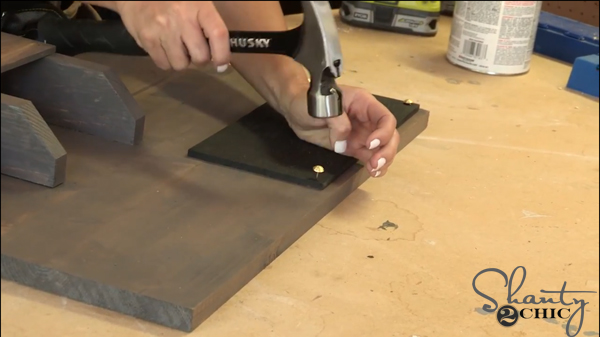
When the stain dries, attach the chalkboard piece to the top corner of the craft board with wood glue, nail heads and a hammer. You can find the nail heads HERE on Amazon.
You can click play in the box below to watch how easy this guy is to build!
Finally, add a couple of bull clips for pictures or notepads and cup hooks for keys!
Happy Building 🙂

That’s it!! Do you need to command your junk? If you build this Command Center share it with us on our social media channels and make sure to subscribe to our Youtube 🙂
Thanks so much for stopping by!


where did you find the key hooks? they are small and look much nicer than ones ive found at hardware stores.
Where can I find the luan/craft board? I can’t find it on homedepot.com or on michaels/hobbylobby.com.
Here is a link to the craft boards on Hobby Lobby http://www.hobbylobby.com/Crafts-Hobbies/Wood-Crafting/Unfinished-Wood/Birch-Rectangles/p/23264
Love this! Where did you find the gold bulldog clips?
Love this!! What is a project panel? Did you make it or buy it? I’ve searched through your tutorial here, the plans, and the video but no where does it say exactly “where” we get it OR if you built it. PLEASE help! Would love my husband to make this but I need to tell him exactly what to buy:)
Thanks so much for all the time you put into your videos, blog, plans…everything!
This is just what I need in my kitchen to help keep my boyfriend organized! I have been looking in shops for months but could not find what I wanted. Thank you for this post, you have saved me!! I will be taking this project on very soon!
Hi there!! I love this and would love to try to build it. I’m a DIY newbie and this would be a great project to do. Where can I get the project panel. I was looking at the Home Depot Website and I couldn’t find the one you used. Thank you!!
How was this attached to the wall? I am assuming screwed in through studs, but I don’t see where they were attached on the board itself. Is it behind the “mail” and chalkboard to hide it that way? Did you attach a string to the backside?
Hey! We just used 2 sawtooth hangers and anchors 🙂
Do you always use polyurethane even when you don’t mention it?
You both do a fantastic job the things you build and with the way you present this site
How much did this cost?
Around $10!