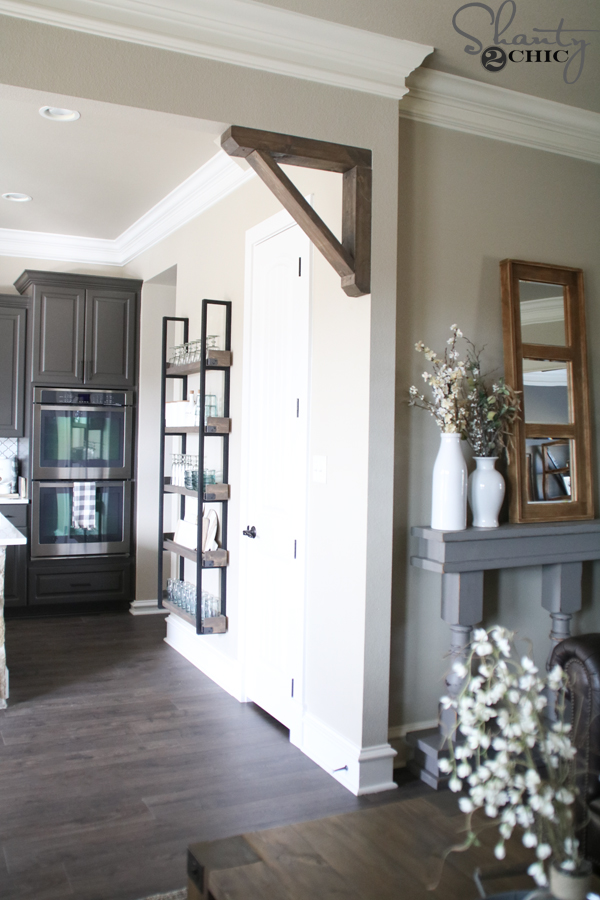
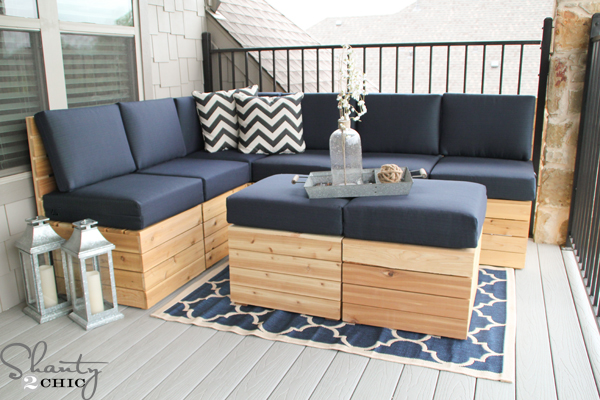
It’s Wednesday! That means it’s time for another how-to video! In today’s how-to, we are showing you how to build this DIY $7 Rustic Corbel. It’s the perfect piece to add to any boring opening, it’s a simple build and it’s easy to customize it to get the look you want!
Just click the video below and come build a corbel with us!
As always, we have the free printable plans for you. Just click HERE to download them and you can also follow along with us as we build it, below!
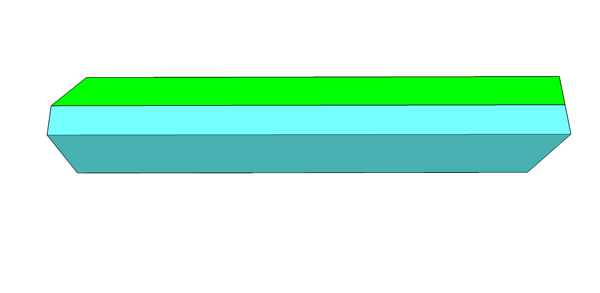
Before we started, we used our table to saw to rip the rounded edges off of the 2×6. This is not a necessary step but, it will give a nice smooth transition between the boards, when they are stacked. If you don’t, you will have a seam between them. Tip: if you don’t want a seam and don’t want to rip the rounded edges off, you can skip the step where we stack the boards. This will make for a less “chunky” look but will still look awesome.
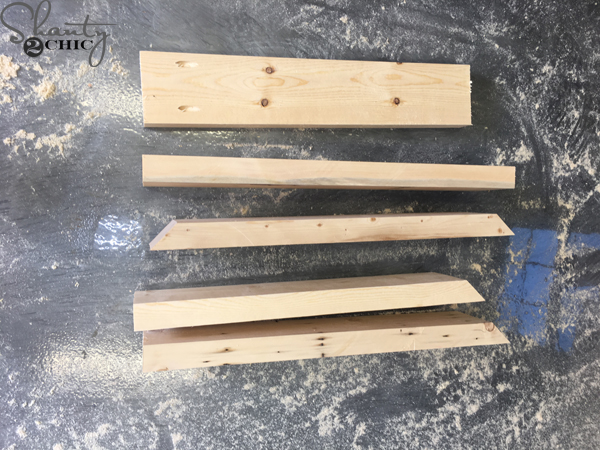
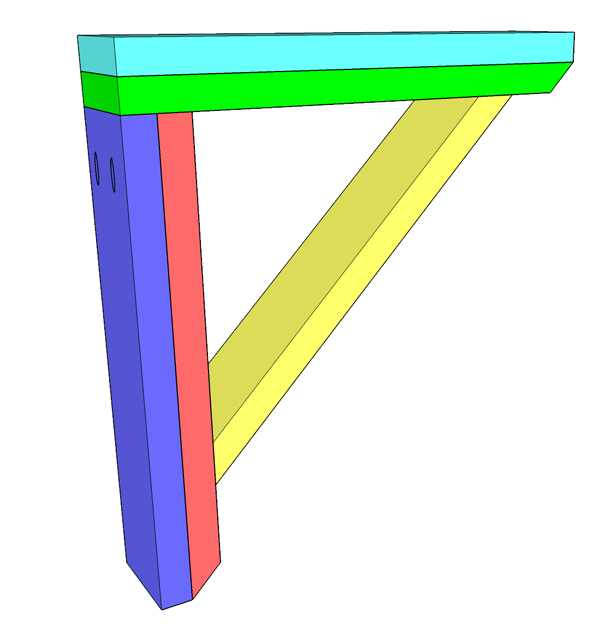
Next, make all of your cuts. You will have two pieces that are mitered at one end, two pieces that are straight cuts on both ends and one piece that is mitered on both ends.
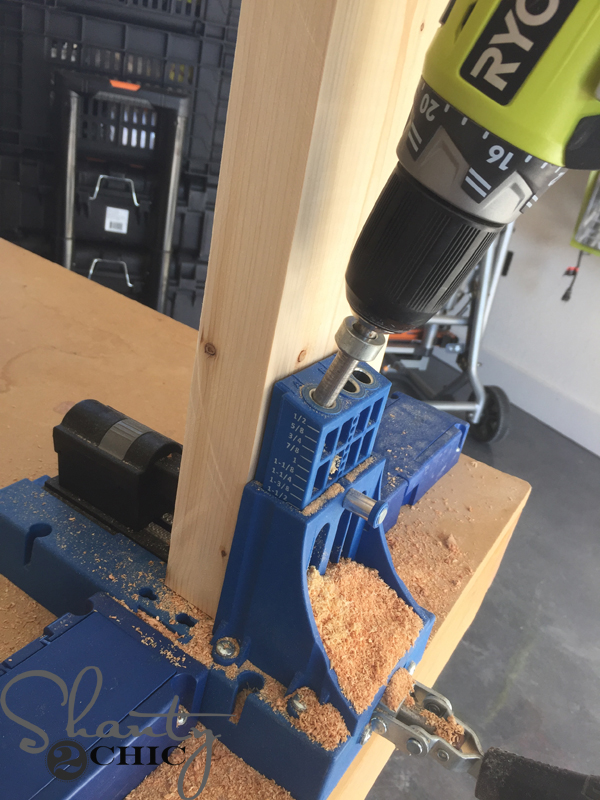
Once the cuts are made, use your Kreg Jig to drill 1 1/2″ pocket holes into one end of the back board. You can find our favorite Kreg Jig model HERE on Amazon.
Now it’s time to make it chunky!
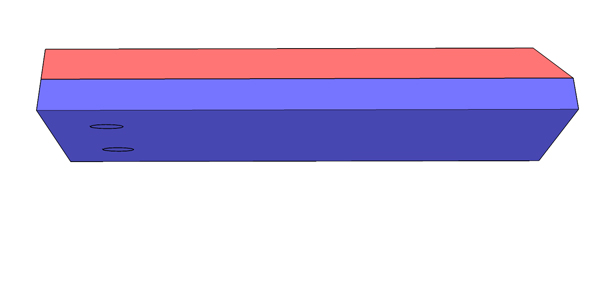
Place the back mitered piece on top of the piece that has pocket holes. Make sure that the pocket holes are facing down and on the end opposite of the mitered cut. Do the same with the top pieces.
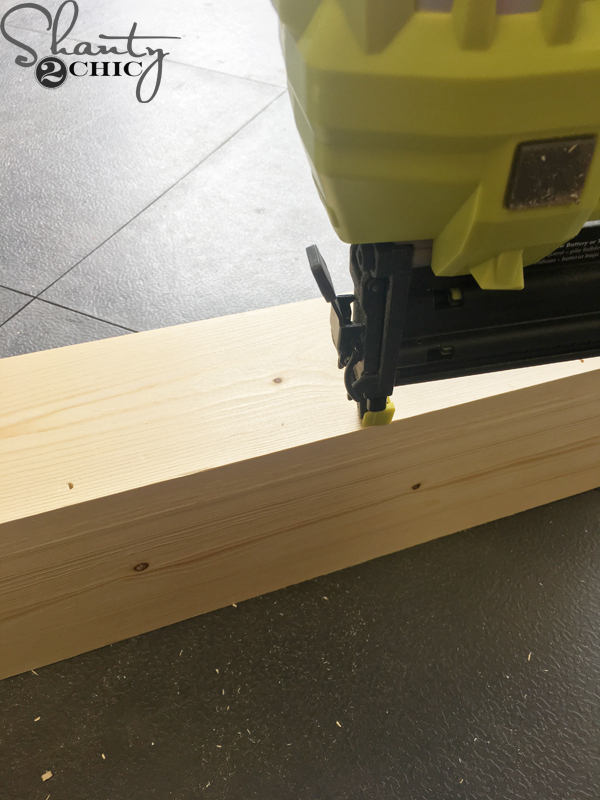
Attach the pieces to each other with wood glue and 2″ brad nails.
Now, attach the back piece to the top piece with 2 1/2″ pocket hole screws and wood glue.
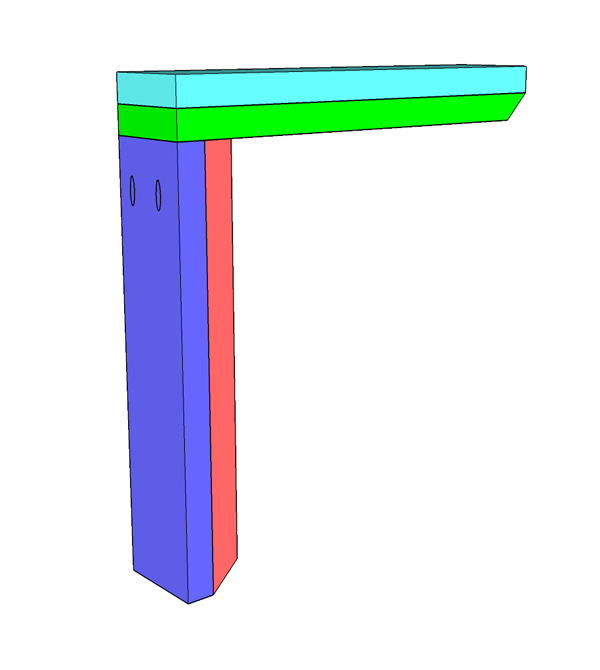
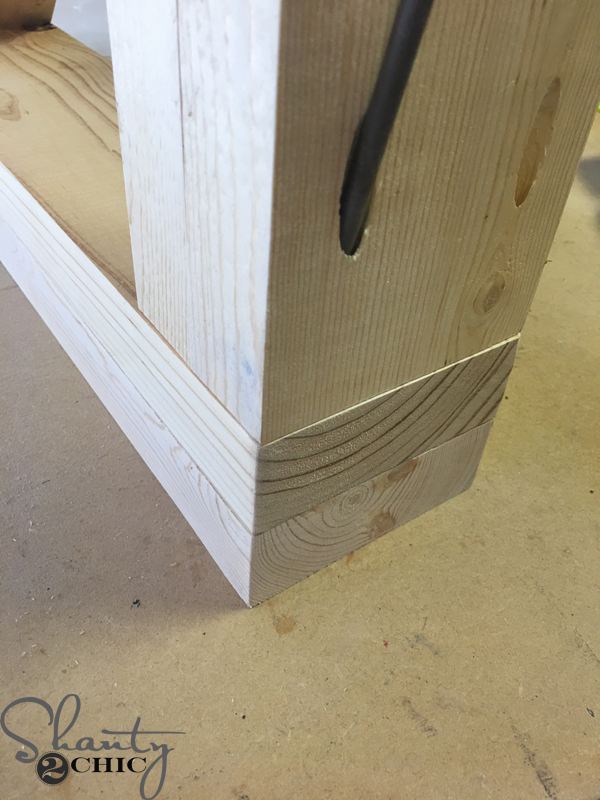
Your corbel should now look like this.
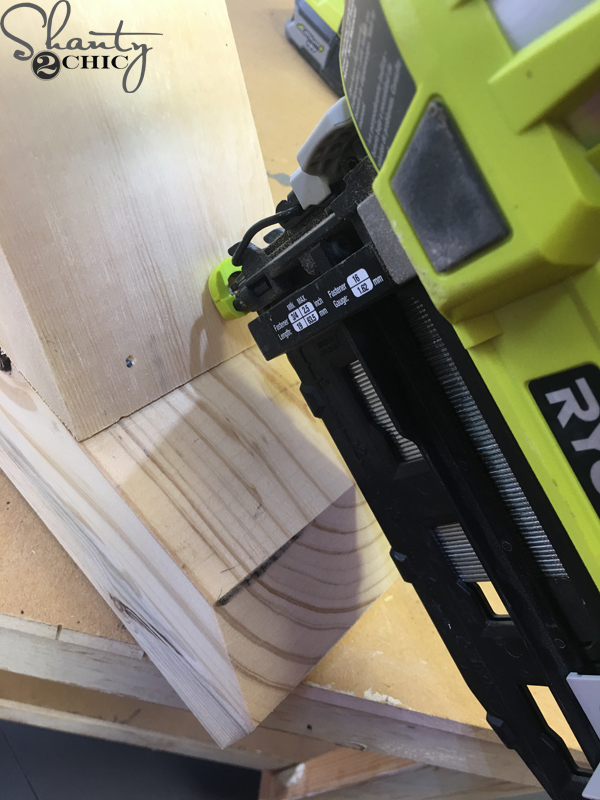
Now, lay the final piece between the top and back pieces. Attach it with wood glue and 2″ nails.
All done! Now for the finish!
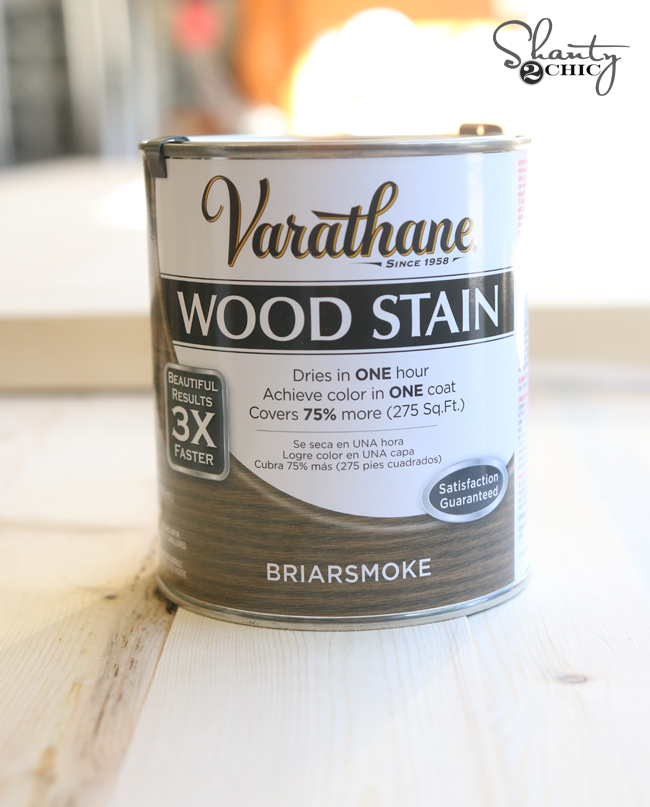
We applied one coat of Briarsmoke stain by Varathane all over the piece. Just wipe it on with a clean cloth, wait about 5 minutes, then wipe it down with a new, clean cloth.

To hang the corbel, We used 3 1/2″ wood screws and drilled from the top and bottom edges of the corbel into the corner of the wall. There are typically beams and studs framing the corners of your wall, so you should be good with no anchors. You can use a little bit of wood filler and touch up stain to hide the screws.
That’s it! How easy was that?
Thanks so much for stopping by!
Happy Building!


Great idea! What color are the walls done in?
If your opening is too small to make this size, could you use a 1×6 and adjust the length to say 12″x13-1/4″(basically half the dimensions)?
Wondering if you think these could be used in place of the corbels on the massive bookshelves with the ,ousted desk top between them? I love this look over the corbels
^^^ **mounted desk top
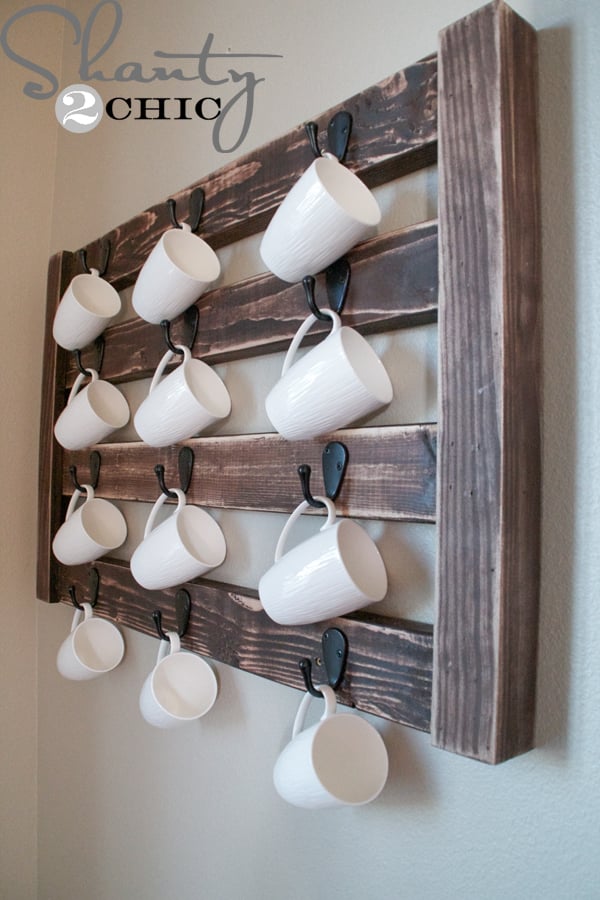
Can you please add a post/link to how you did the mounted plate rack in the background. please!!
Oh how I love this!!! Thank you so much!!! I’ve always wanted to have one that is distressed….Whoohoo!!! Can’t wait to try it!!