We are back to share the free plans for the DIY Sliding Barn Door Nightstand that we built with our $20 DIY Barn Door Hardware. If you missed that tutorial, you can find it HERE.
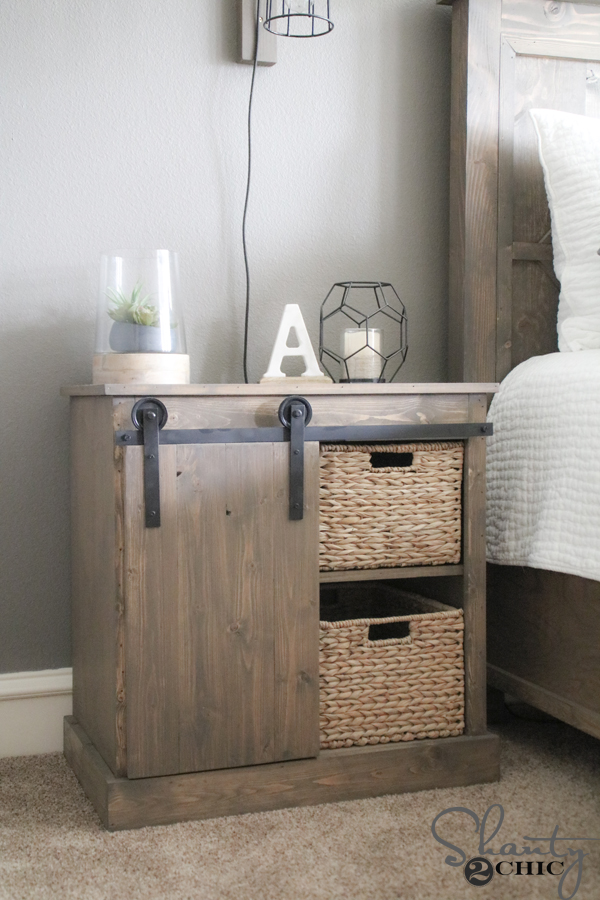
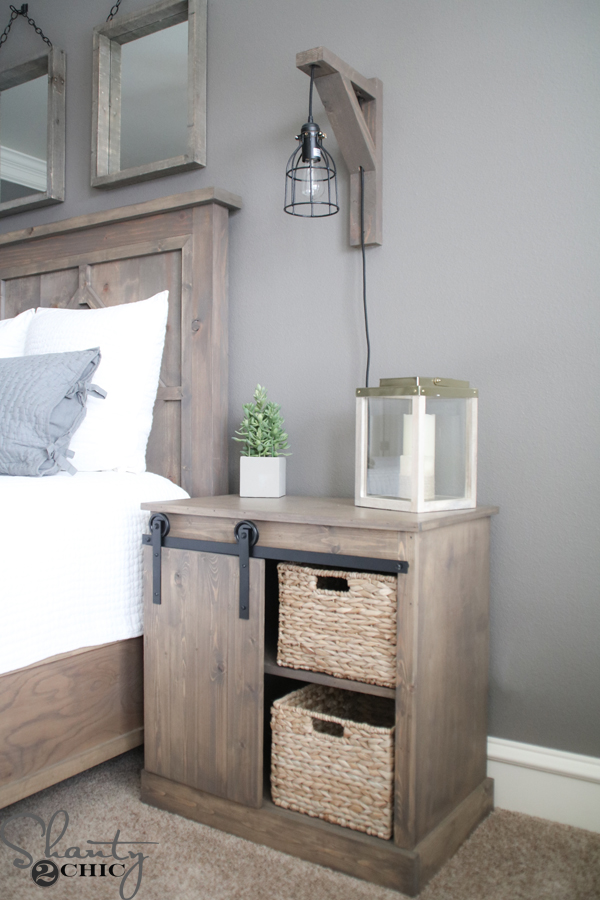
I built a new Rustic Modern King Bed and I wanted something fun for my nightstands. I have always thought that my DIY Barn Door Bathroom Cabinet would make a cool nightstand so, I gave it a shot! I am so happy with my new nightstands and after I gave a little sneak peek of them, we had tons of requests for a how-to video! So, we did just that! Come hang out with us in my shop and see how we built it! Click HERE or the image below to watch the video.
So fun, right! We’ve also got the FREE PRINTABLE PLANS! Just click HERE to download them and you can follow along with us as we build in the pictures below!
Sliding Barn Door Nightstand

To start, we had the hardware store rip our hardwood plywood to the correct widths. Then, we used our miter saw to make the cross cuts on each sheet. Make sure to check our our How to Rip Plywood and our How to Use a Miter saw videos. We show you out tips on cutting plywood 😉

Next, we used our Kreg Jig to drill 3/4″ pocket hole screws. Refer to the plans for proper placement. You can find our favorite Kreg Jig model HERE on Amazon and check out our How to Use a Kreg Jig Video HERE.
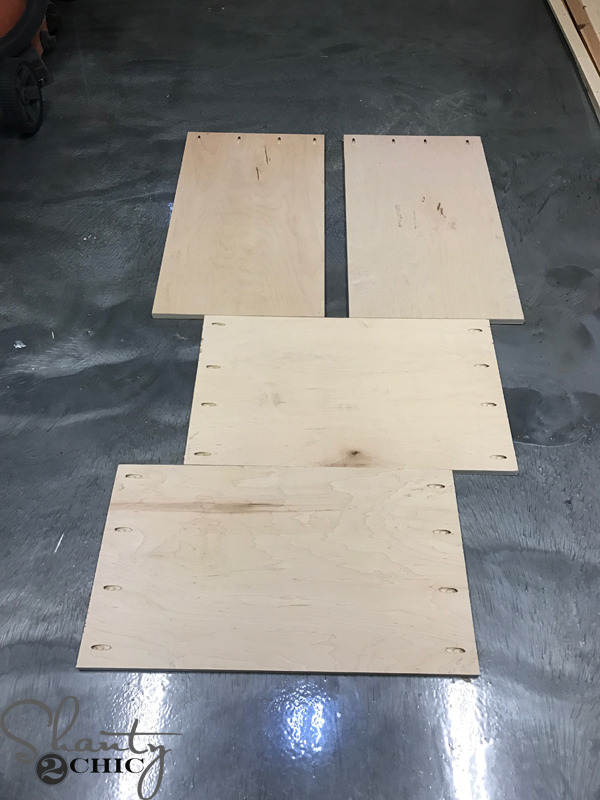
Here are the side, top, bottom and shelf of the nightstand.
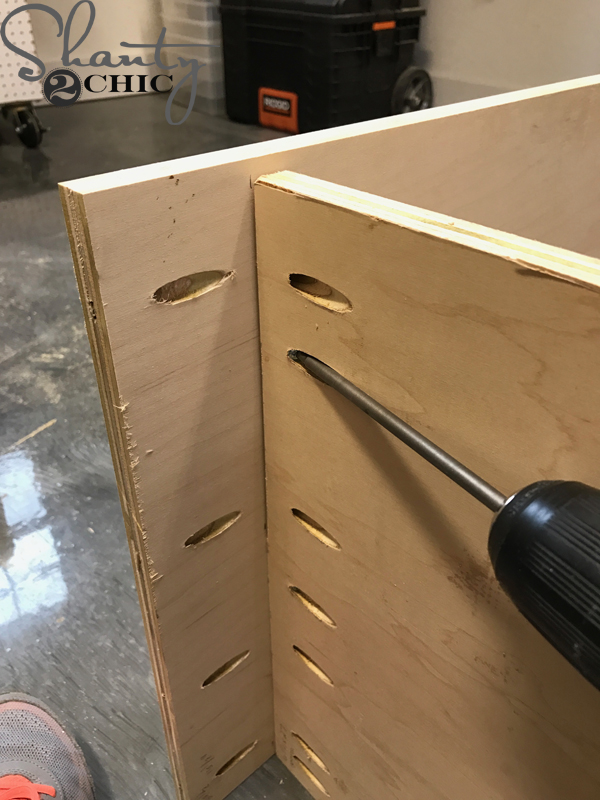
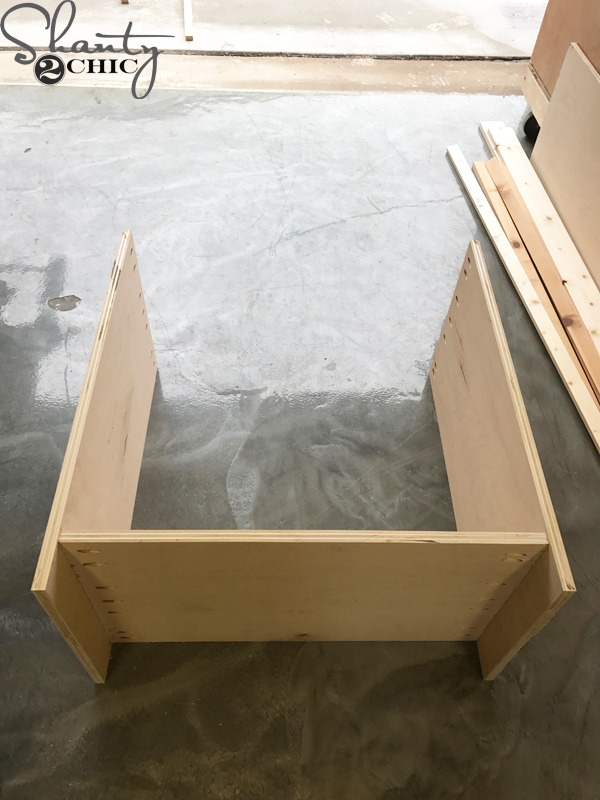
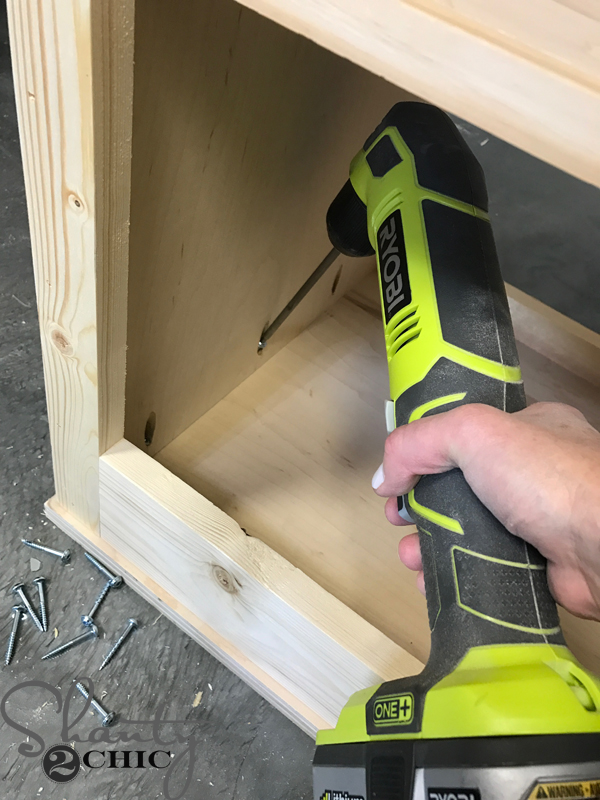
Time to build the frame. Attach the bottom piece to the side pieces with 1 1/4″ pocket hole screws and wood glue. Make sure the pocket holes are facing down, on the bottom piece and inside on the side pieces.
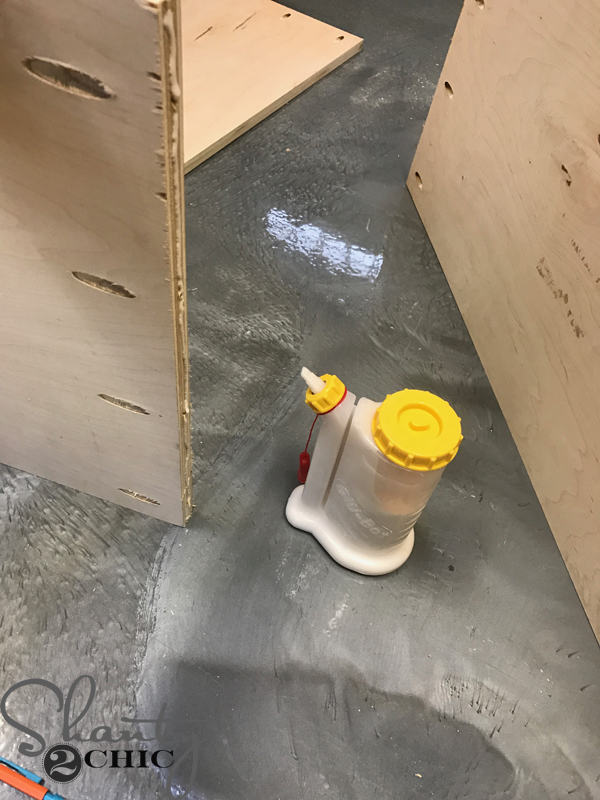
This here is one of our favorite discoveries! Whit found this Glue Bot on Amazon and it is the BOMB! You can apply glue with the bottle upright and it doesn’t clog! You can find it HERE on Amazon.
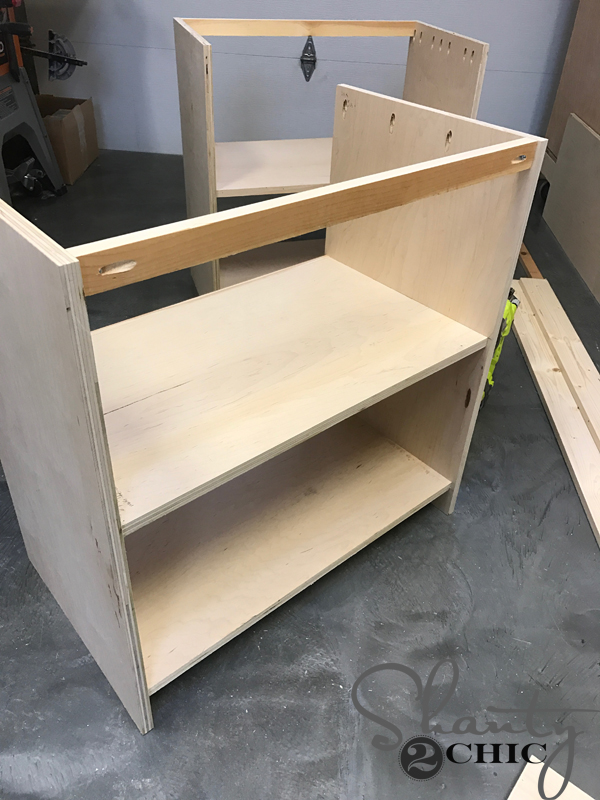
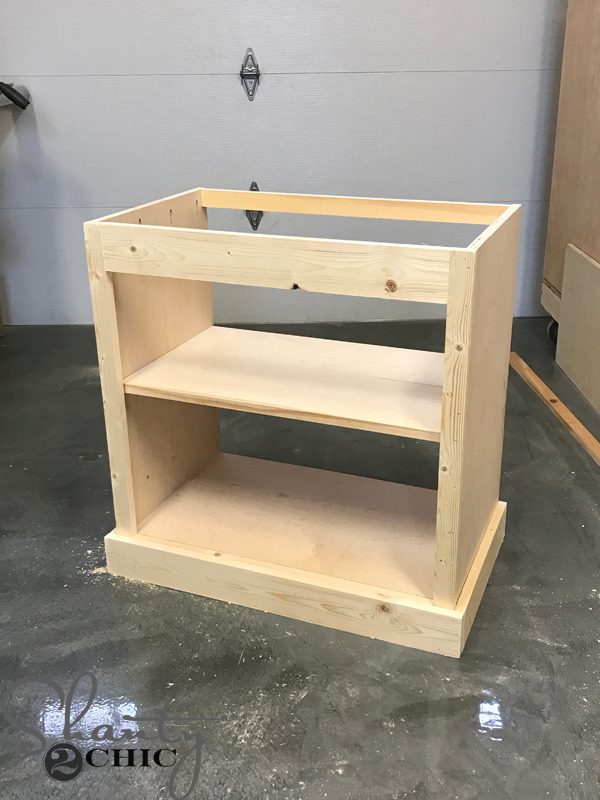
At this point, you cabinet will look like this.
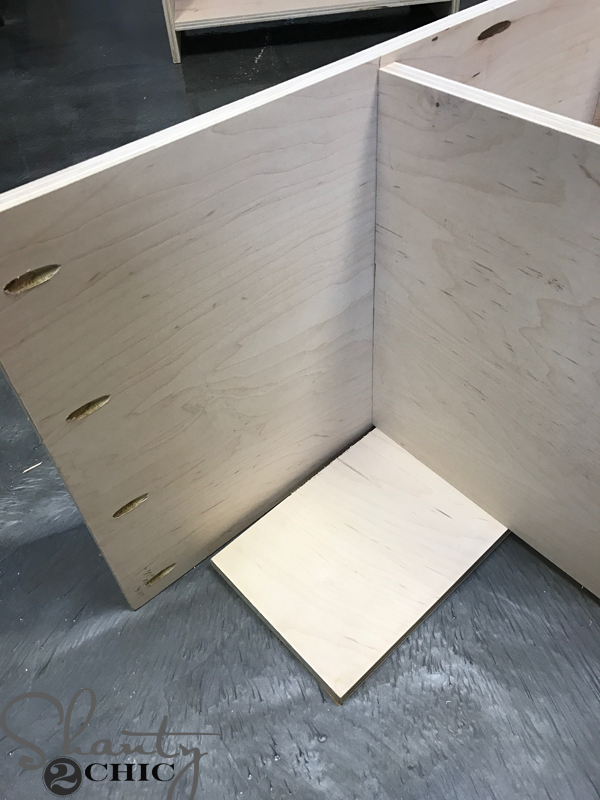
Now, it’s time to attach the shelf piece. Put a screw piece of plywood under the front side of the shelf. This will give you the 3/4″ gap, that you need for the trim piece and the 1/4″ gap on the back, for the backing. With the pocket holes facing down, attach the shelf with 1 1/4″ pocket hole screws and wood glue. The placement of the shelf if up to you. I centered mine, so that both of my baskets would fit.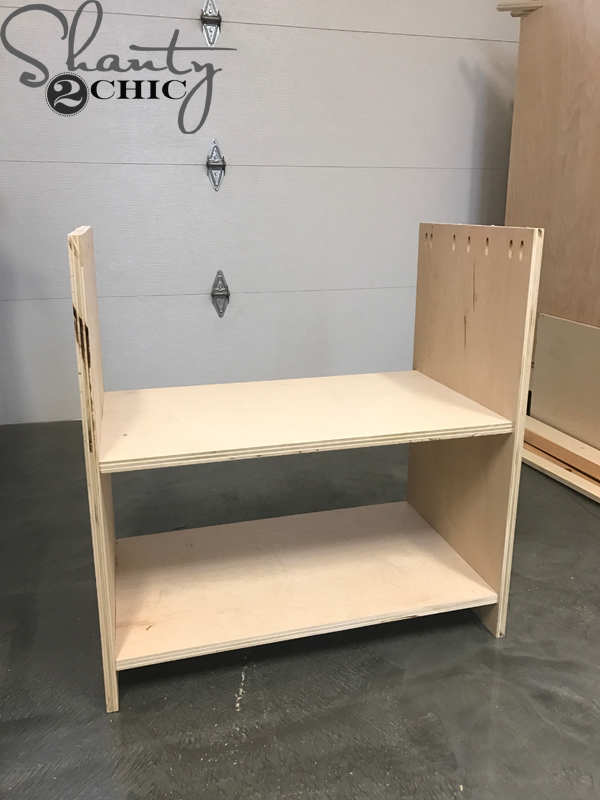
Here is the nightstand from the front, now.

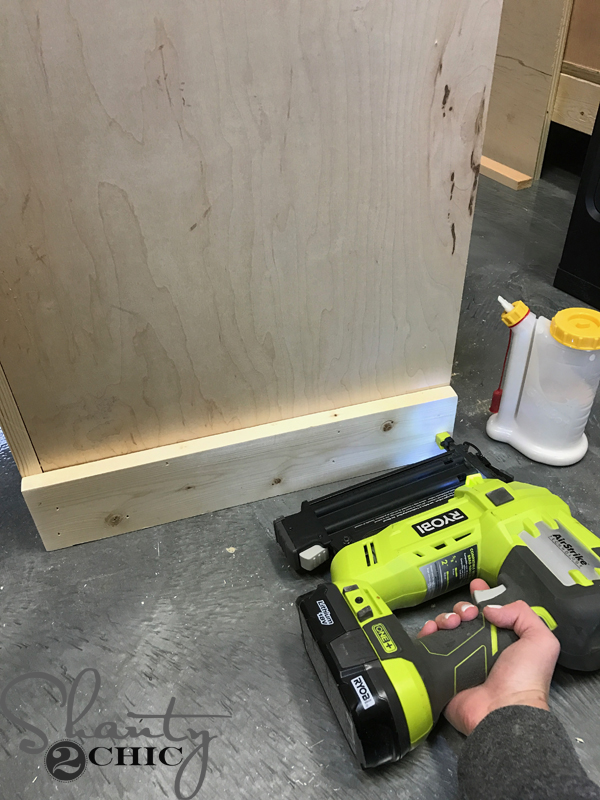
Now is a good time to attach the front trim piece, on the shelf. I used a 1/2″ x 3/4″ stick of trim (you can rip your own from a 1x board, as well). This will cover up the rough plywood edge. Apply a thin line of wood glue to the back of the trim
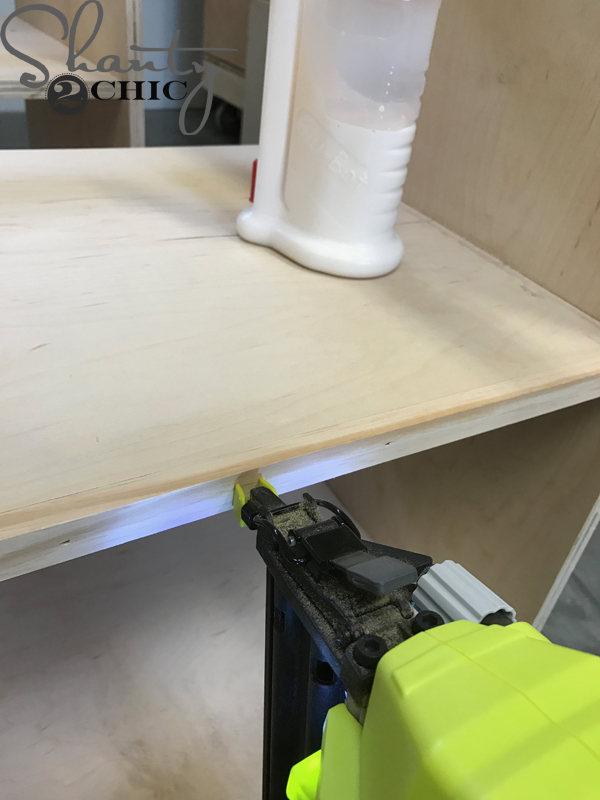
and attach it to the front of the shelf with 1 1/4″ brad nails. I used my Ryobi 18v Airstrike.
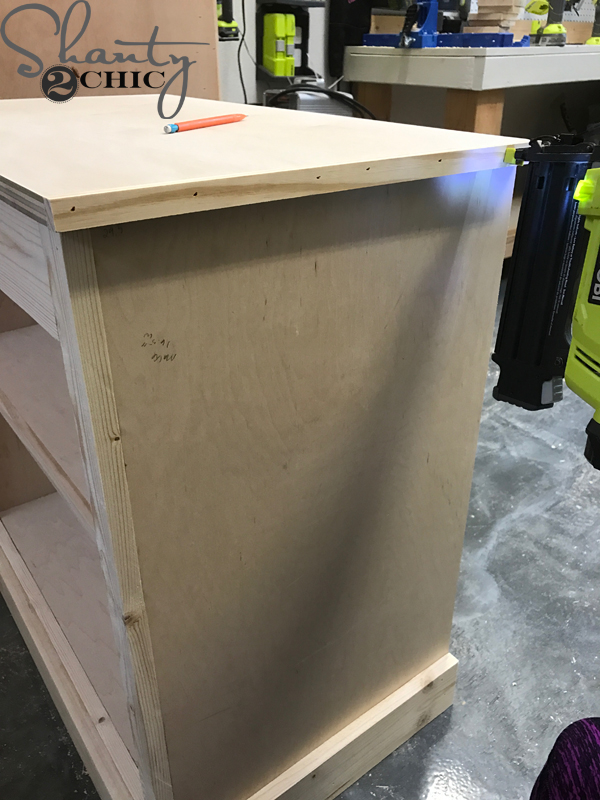
Turn the nightstand around and attach the top support to the back of the nightstand with 1 1/4″ brad nails and wood glue. Make sure to leave a 1/4″ gap on the back.
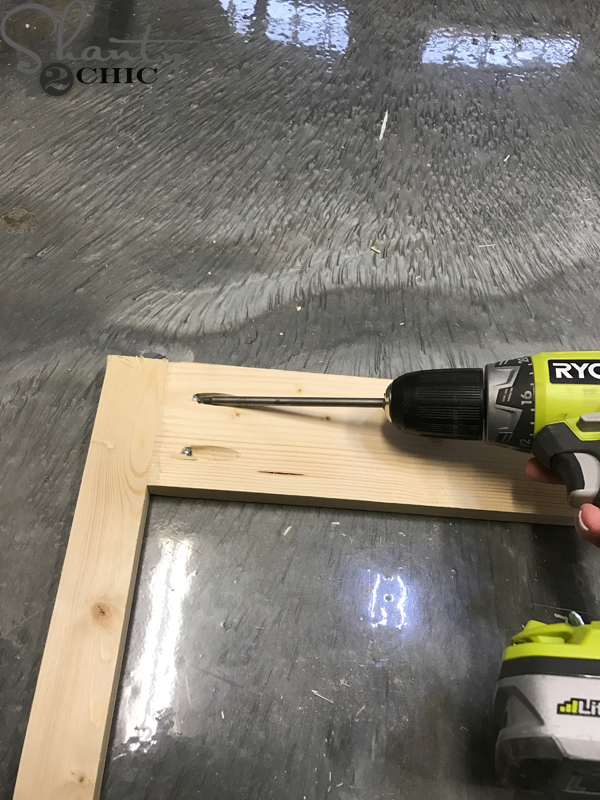
Next, measure and cut the face from pieces to size. Drill 3/4″ pocket holes in the ends and top of the top board and the ends of bottom board. Attach them to the side pieces with 1 1/4″ pocket hole screws. Refer to the plans for pocket hole placement.
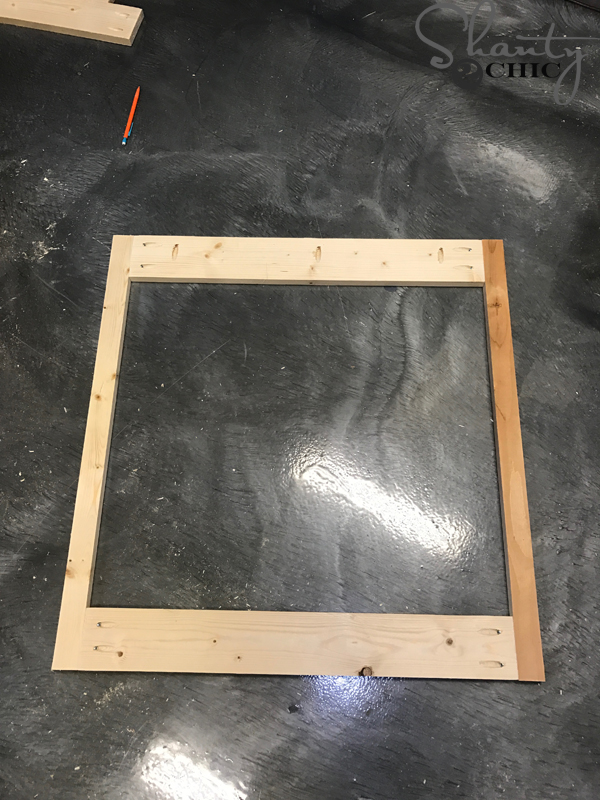
Here is the back of the face frame. Notice the pocket holes are facing UP on the top board.

Attach the face frame to the nightstand with 1 1/4″ brad nails and wood glue.
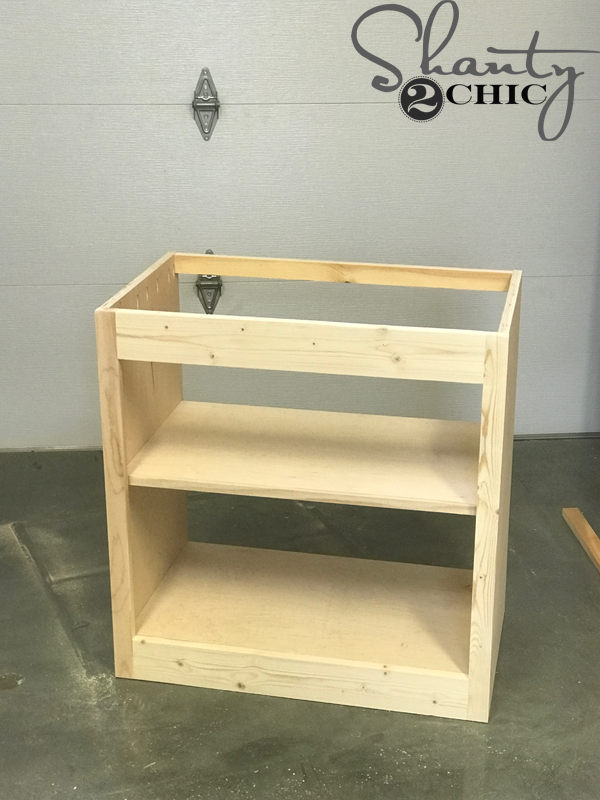
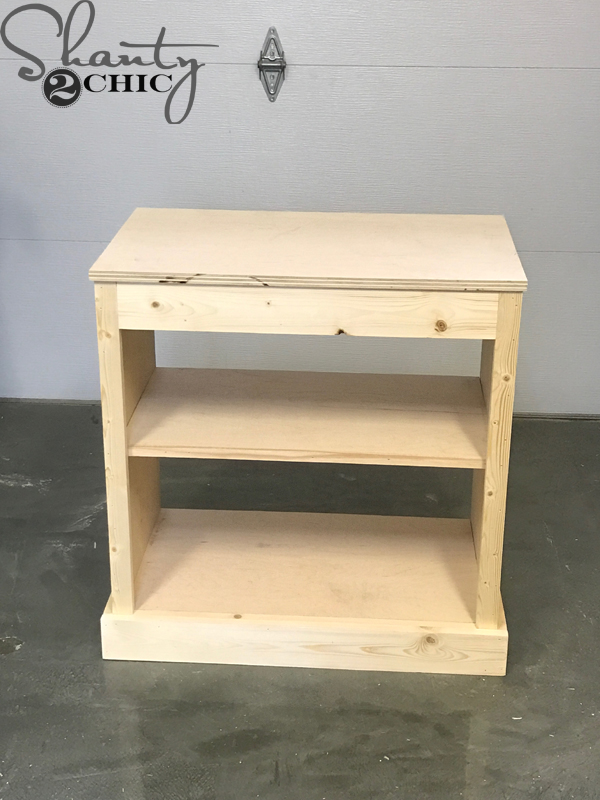
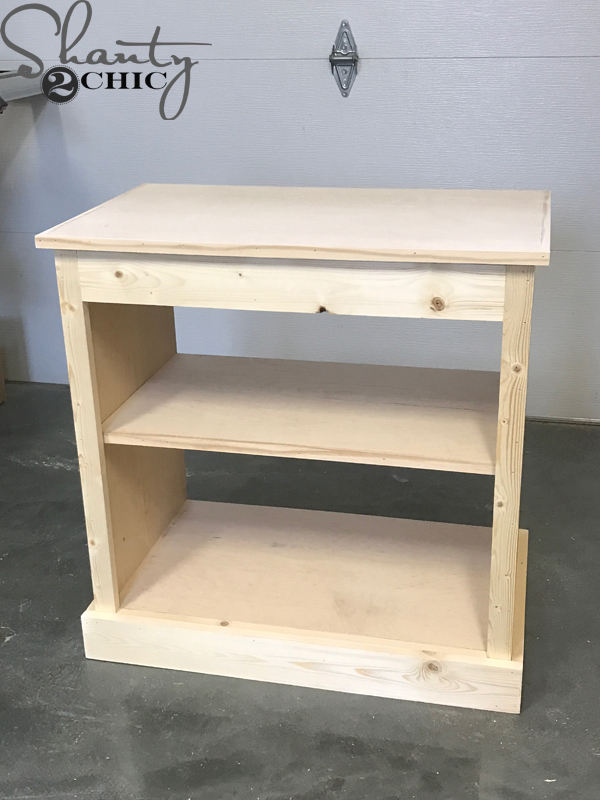
Here she is with the face frame attached.
Now for the base trim. Measure and cut the side pieces to fit and attach them with 1 1/4″ brad nails and wood glue.
Then, measure and cut the front piece to fit and attach it the same way.
Flip the nightstand upside down and place in on top of the top piece. There should be a 1/4″ overhang on the front and sides and the top should be flush with the back of the nightstand. Attach the nightstand to the top piece with 1 1/4″ pocket hole screws through the pocket holes in the sides and front of the nightstand.
Flip the nightstand back over and it’s time to trim the top!
Using the same trim that we used for the shelf, measure and cut the side pieces then, attach them with 1 1/4″ brad nails and wood glue.
Follow up with the front piece. This covered up the rough edges of the plywood!
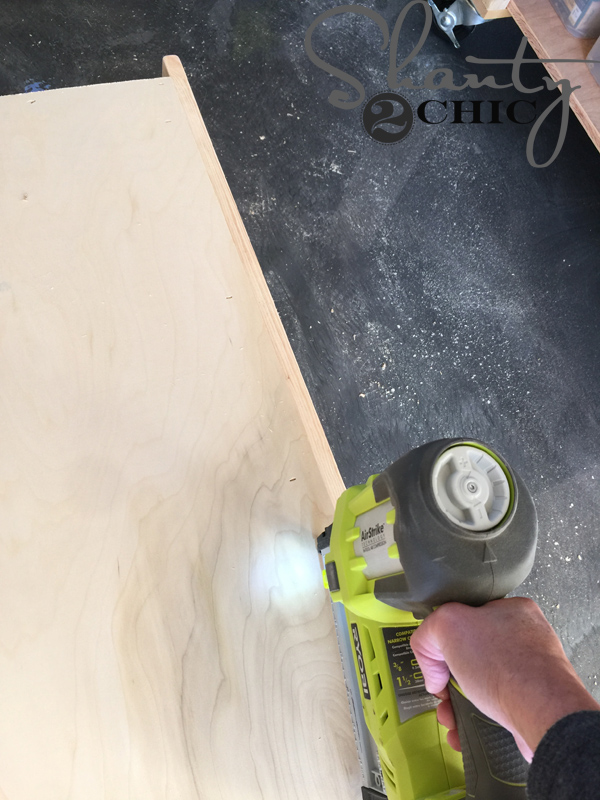
Now, attach the backing to the back of the nightstand with 5/8″ staples and wood glue. I used my Ryobi Airstrike Stapler but you can use your nailer here too. We like to use staples to attach 1/4″ backing because the staples grip the board and keep it from pulling off.

Now for the door. I cut my planks and drilled 3/4″ pocket hole screws in three of the boards. Then I attached them together with 1 1/4″ pocket hole screws.
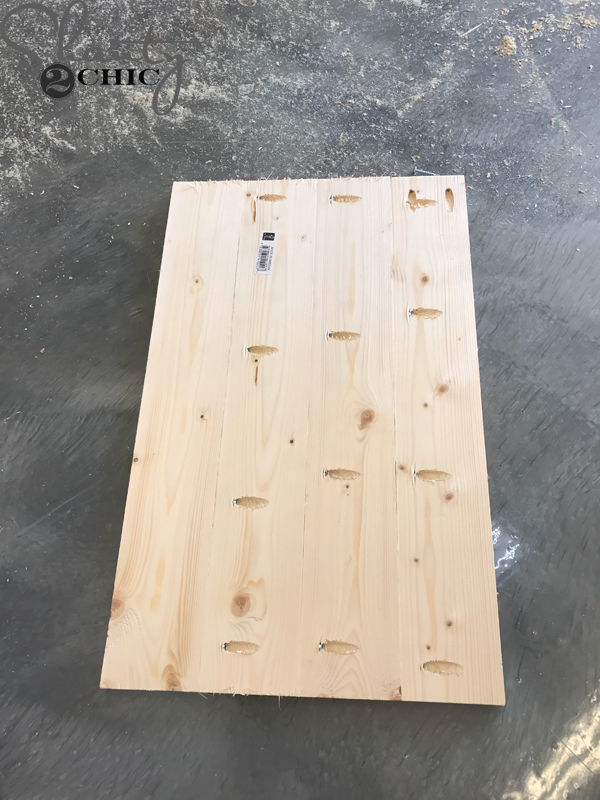
Here’s the door, all finished!
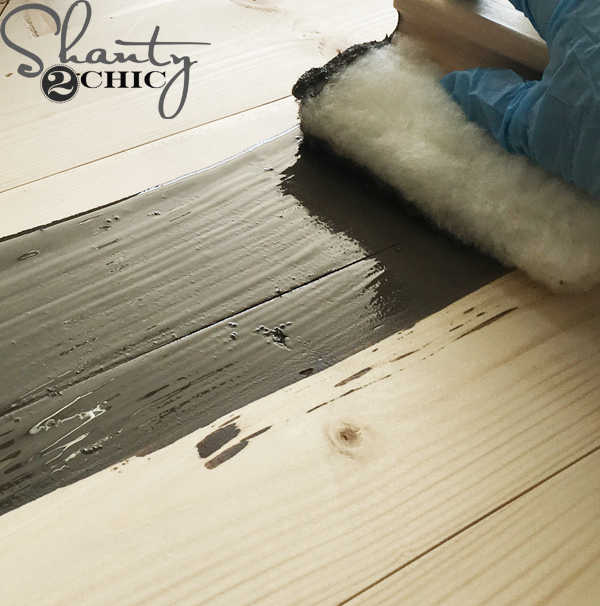
For the finish, I went with Briarsmoke stain by Varathane. Check out our How to Stain Wood video HERE!
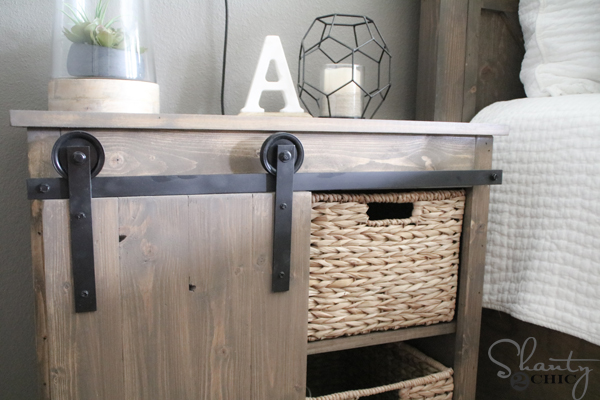
Once the stain dried, I attached our $20 DIY Barn Door Hardware and called it a day! Click HERE to learn how we built this hardware!
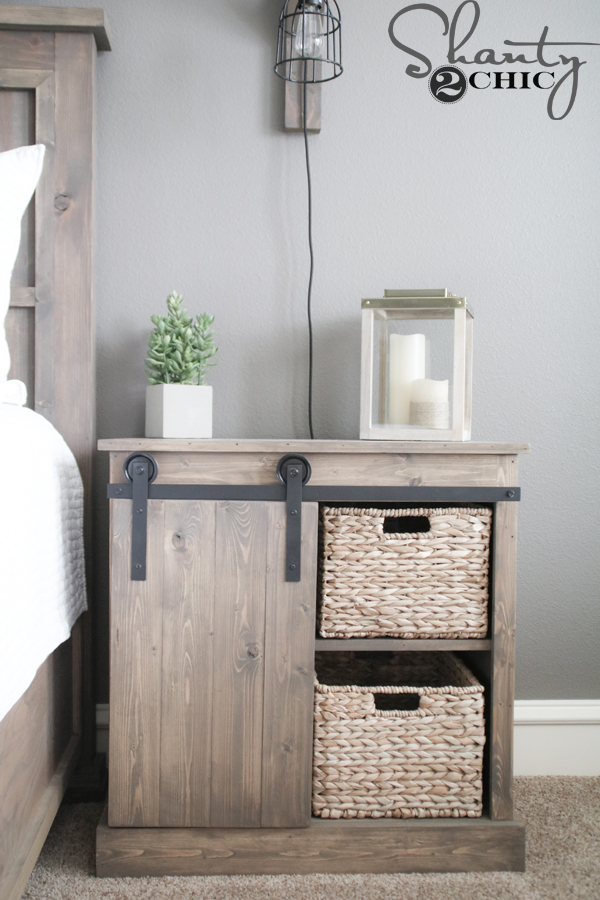
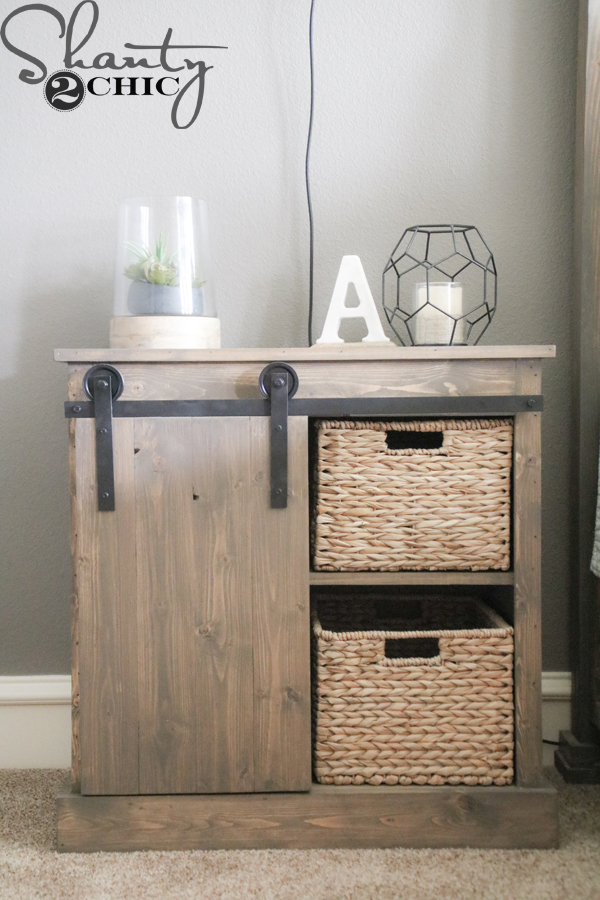

I couldn’t love my nightstand more! I keep all of my junk in the baskets and I keep magazines, my tablet, laptop and other stuff behind the door 🙂
Want to know more about everything in this space! Follow the links below!
Baskets – AtHome
Light Sconce – Video and plans coming soon – click HERE to subscribe!
$20 DIY Barn Door Hardware – HERE
DIY King Bed – HERE
Bedding – HERE
“A” figurine – HomeGoods
Candle Holder – HERE
Thanks so much for stopping by!
Happy Building!


I modified the cutting patterns so that I could make two of these without having to get a full 2nd set of materials. The 4×8 Plywood is expensive, and by changing the layout I was able to get a 2nd nightstand by only adding a 4×4 sheet of plywood plus the other trim boards.
Only question I have: You always list length of pocket hole screws; but never the size (#8 vs #10, etc…) Do you have any guidance on which ones to use for different connections? I’m assuming since this is only 3/4″ lumber that #8’s would be good; but when connecting thicker lumber what do you recommend using. Maybe adding that to the plans (instead of 1 1/2″ Pocket Hole Screws you could say #8 – 1 1/2″ Pocket Hole screws so we know we’re getting the right size.
Great plans! Really love your site!
Can you send me a picture of how you laid out the wood on the 4 x 8 to cut for 2 nightstands?
I printed the plans and see the cut list at the top and step 1 says drill the pocket holes, but I don’t see how far are the pocket holes on the sides supposed to be appart?
Love this idea!!
Any plans for a matching dresser? If not, what did you use? Thanks!
Where are the dimensions for the pocket holes?
I Love This idea but I am looking for this same thing in a bookshelf form, something that is 7ft tall. I have looked all over your site and can not find anything. Do you think y’all can make this and have a patter with step by step instruction? I would greatly appreciate it.
My husband and I have just gotten the supplies to make the Pottery Barn Farmhouse table. This will be our first time using the kreg jig. I look cool!
What are the actual measurements for the top, sides, and bottom along with the 2×4 pieces? Guess I’m confused on the actual height width etc of this project. Definitely want to make these for my fiancée as a surprise for our new place together. Already tackling a TV stand farm door style unit might as well build these. Any additional information greatly helps. Thanks in Advance
Have you downloaded the plans? We have the finished dimensions on the plans 🙂
Well that would be a good idea thanks for the fast reply. I’ll do that now.
By the way. What was total cost of materials?
I have a question about the hardware. Is it possible to use store-bought hardware instead?
What are the finished dimensions on this? Please and thank you love them.
When you say you had the hardware store cut all your widths and then you made all the cross cuts with your miter saw at home, what widths did you have them cut. It is difficult to tell from the cut list on the plans what cuts I need to have the hardware store make versus what I can do at home with my miter saw. Any additional clarification helps. Want to make these plus the rustic modern king bed for my wife and I.
Have them cut the long cuts. So the cuts that run the full 8ft length of the plywood. For this project I would have them rip 17 1/2 and 16 1/4″. Then, I would take it home and make the cross cuts. A could of the boards are more narrow, so I would then go back and shave off the extra inch with the Miter saw (or a circular saw). Hope this helps!!
Will do. Thanks for the quick reply. I will post pics when complete. THX!
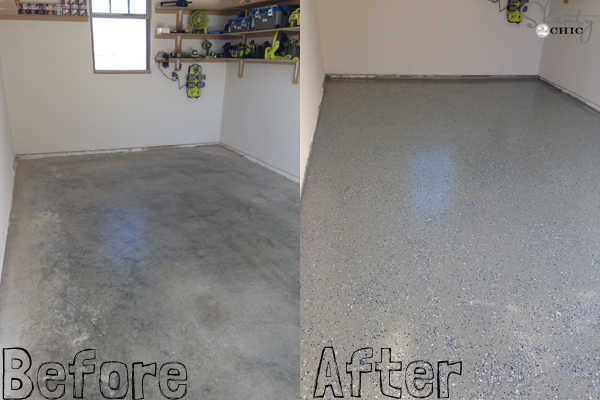
I’d be curious to know if the paint comes off rollers and metal bar after use?
Same question here. Can anyone respond with how well the paint has held up on the rollers and aluminum flat bar? Thanks!
Where did you purchase the hardware for the barn doors?
When talking about sizes, a 2″x4″ board isn’t actually 2″x4″ in the store (normally they’re a bit smaller.) With the sizes listed here, are those sizes accommodating those adjustments or are they really the listed sizes?
Yes. All of our plans are based on dimensional lumber sizes.
question – do you ever have issues with the doors warping afterwards?
I had an overlay door that was perfectly square when i installed, but now is slightly warped on one of the top corners. Is there something that can prevent that?
Great plans ladies! I love sliding door media cabinets, but we have a small living room and this will be perfect in our corner.
Do you need to buy any top coat like polyurethane to put on these after you stain them? Im not familiar with polyurethane, but someone had mentioned it to me. I can’t wait to make these for the bedroom!