We moved into our home three years ago and I have been dying to make our laundry room functional since the day we moved in. Our entryway is too small for a mud-type area but our laundry room was the perfect spot. Check out our laundry room revamp in today’s post.
With all of the other projects needing to be done, this space got put on the back burner. My kids backpacks have literally been lying on the floor, in our kitchen, for three years. I renovated my kitchen, last fall, and decided to have Quick•Step‘s new Envique™ laminate flooring installed in my kitchen and laundry room. I had fallen in love with the flooring, after having it installed in my living and dining rooms a couple of years ago, and I was dying to have the flooring continue through the kitchen and laundry spaces. I know laminate in wet areas sounds scary but this flooring has a Scratch Guard finish protection, it has an exclusive HydroSeal™ that repels water from the plank surface, as well as the joints! Quick-Step also offers a 24-hour spill proof guarantee! I reached out to our friends at Quick•Step and they were happy to partner, again, on this space!
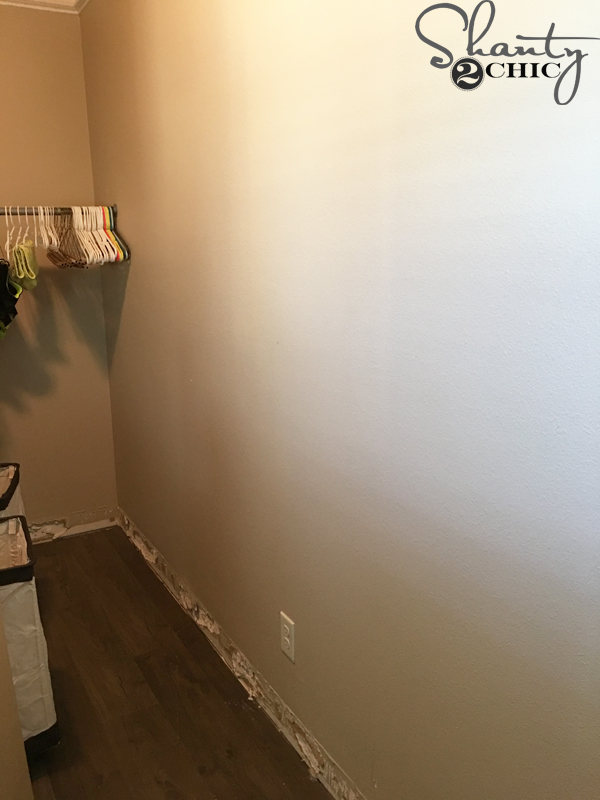
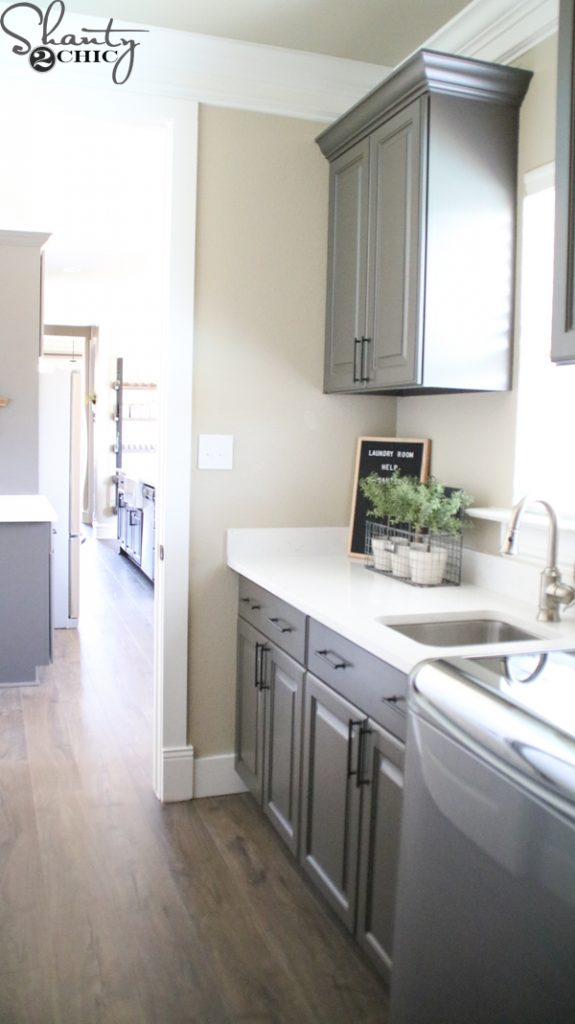
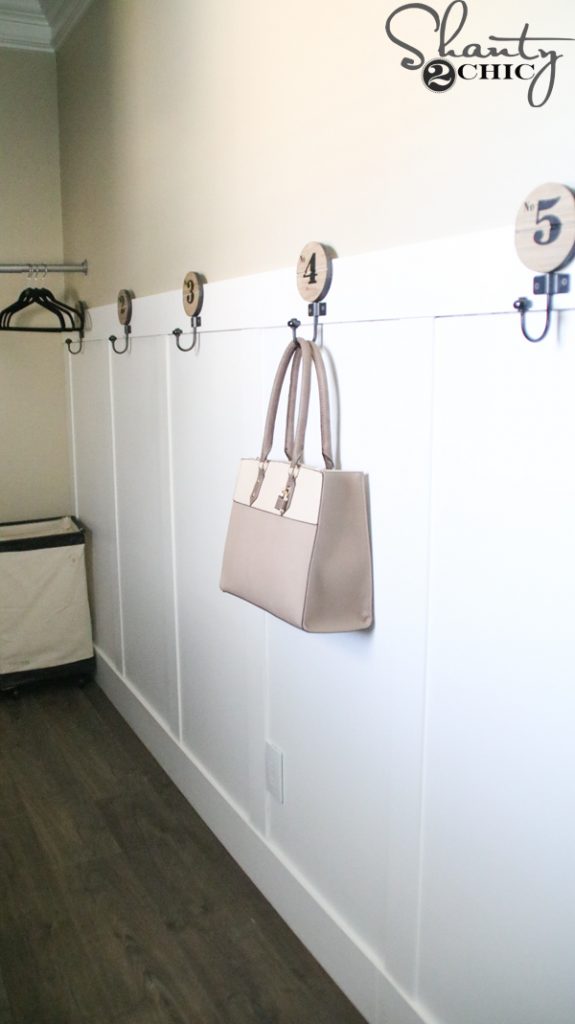
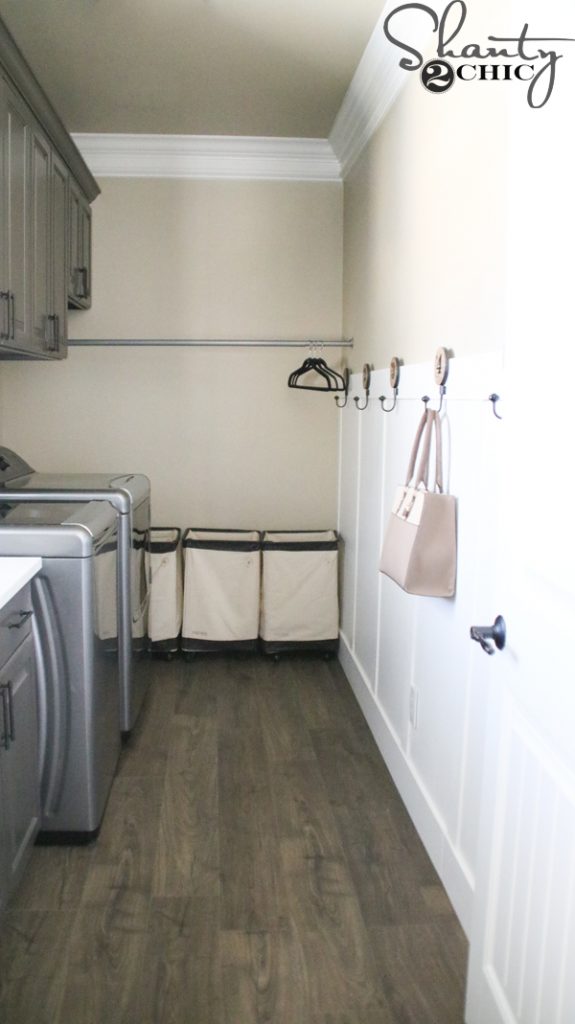
Here is a shot of the room after the flooring install. I went with the Maison Oak color (you can learn more about it HERE). Having the laminate installed in my laundry room gave me the itch to get the entire room done! We had travertine flooring in here before and also used the travertine for the base boards. So, I was left with quite a mess when we ripped the tile off the wall. I wasn’t worried about this because I’ve been dying for a board and batten wall with hooks!
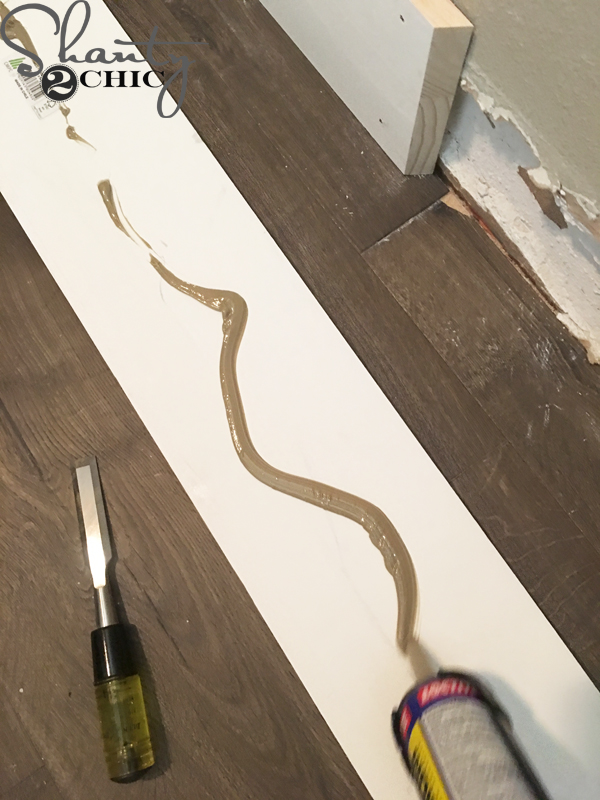
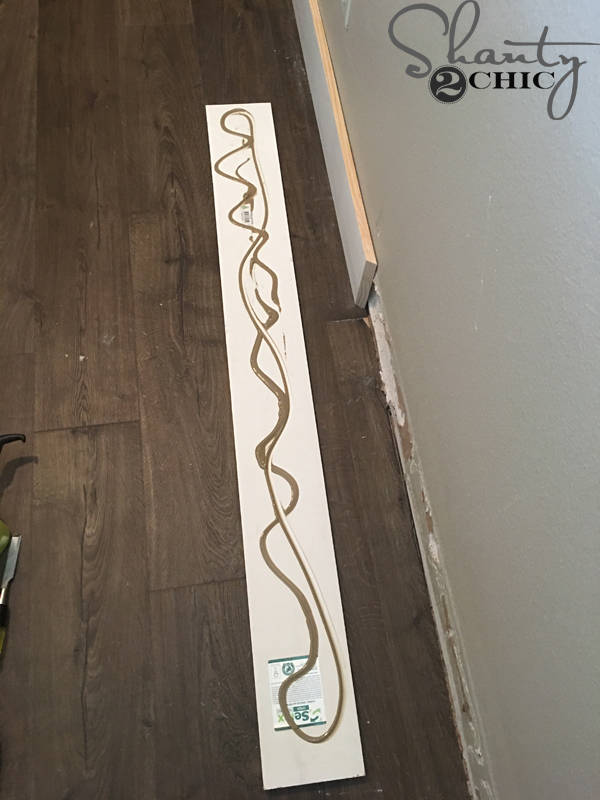
The first step was to tackle the base boards. I decided to go with 1×6 primed MDF boards. Use a lot of construction adhesive on the back of each board
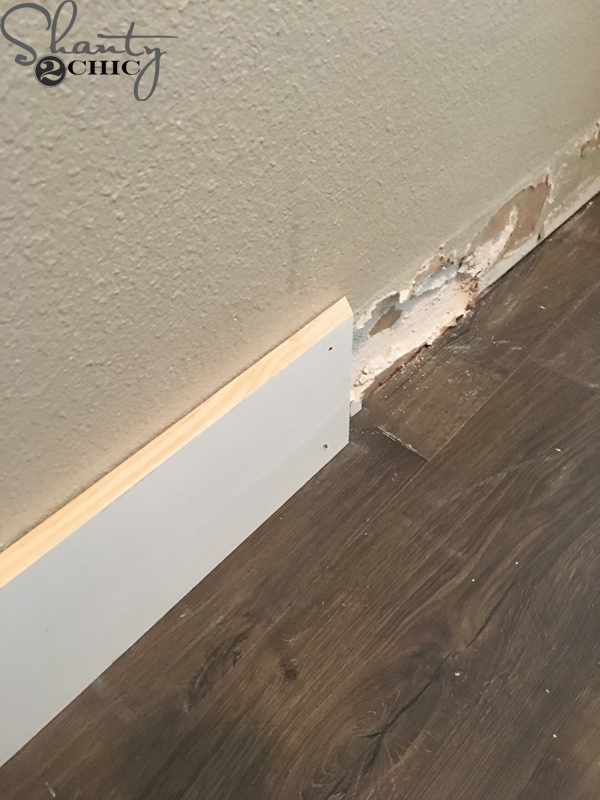
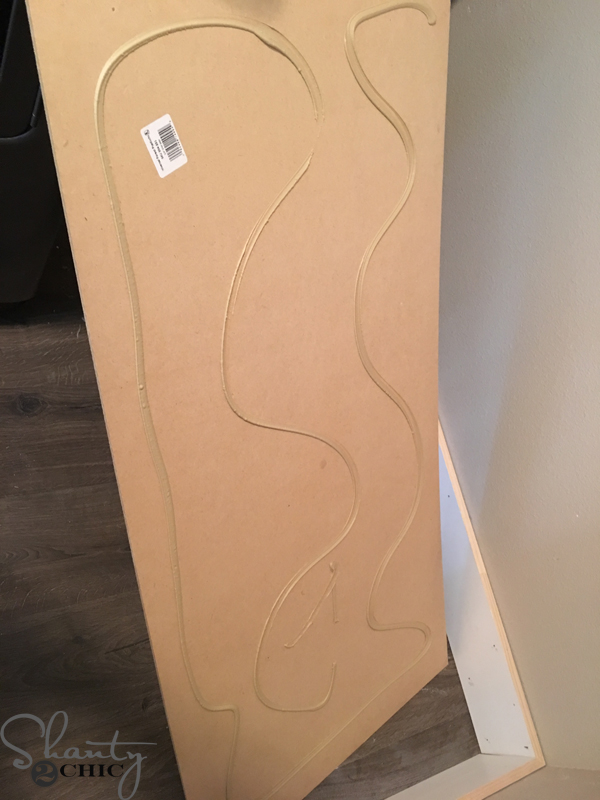
and attach it to the wall. Make sure to use a level because the floor may not be level. I attached the boards with my 16 gauge finish nailer. Tip: because this wall was so long, I had to use a few boards for trim. Cut the ends at 45 degree angles so that they slide over each other for a less visible seam.
The next board will be miter cut the opposite way so that it slides over the previous board.
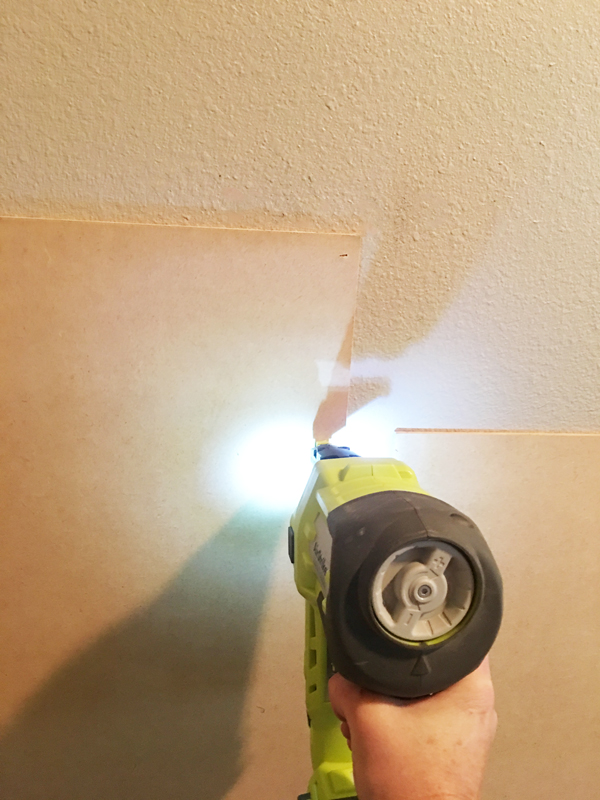
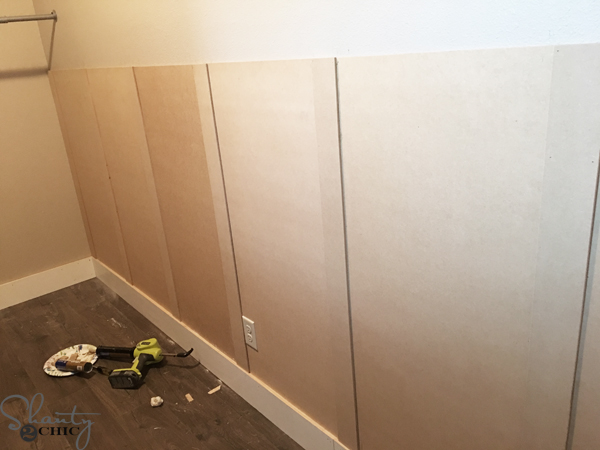
Now for the panels. I purchased these 1/4″ MDF panels from Home Depot. Before attaching them, I lined them up against the wall so that I could space them out evenly. Make sure the ends are flush with the ends of the wall. Make sure to leave at least an 1/8″ gap between the panels.
I used a good amount of construction adhesive to the back of each panel
and used my Ryobi 18Volt crown stapler to attach the panels to the wall.
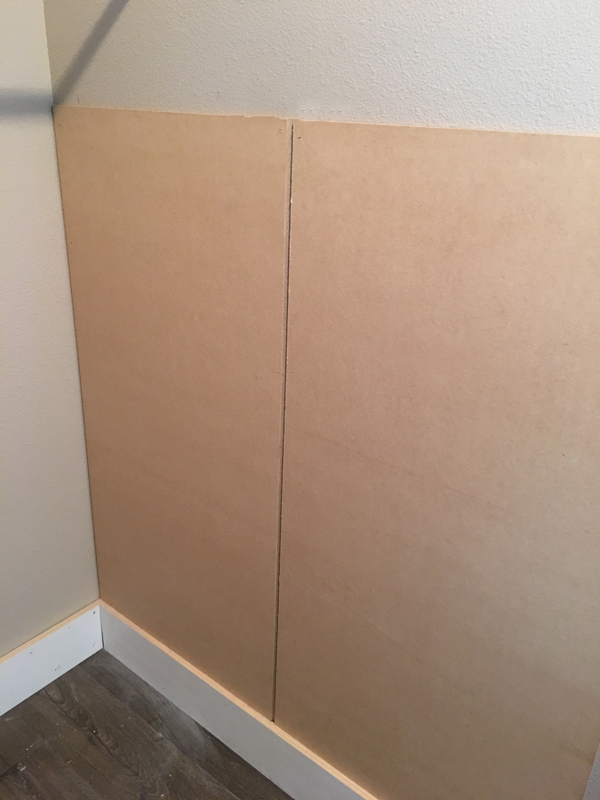
Work your way down the wall.
To cover the seams, between the panels, I purchased these bender boards, cut them to 4′ and attached them to the panels with my stapler.
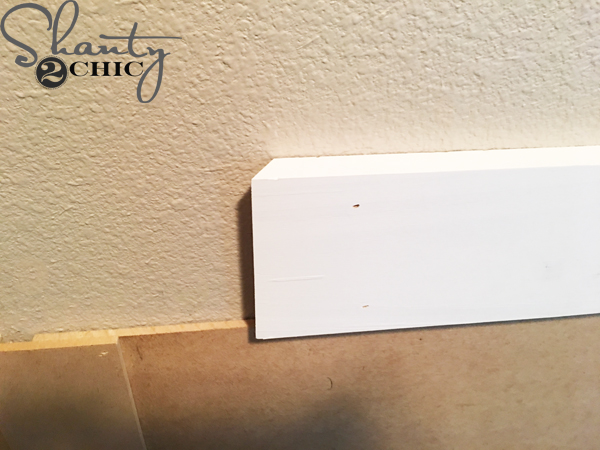
Once the bender boards were attached, I added 1×4 primed MDF boards to the top of the panels. I used the same miter technique to join the trim boards.
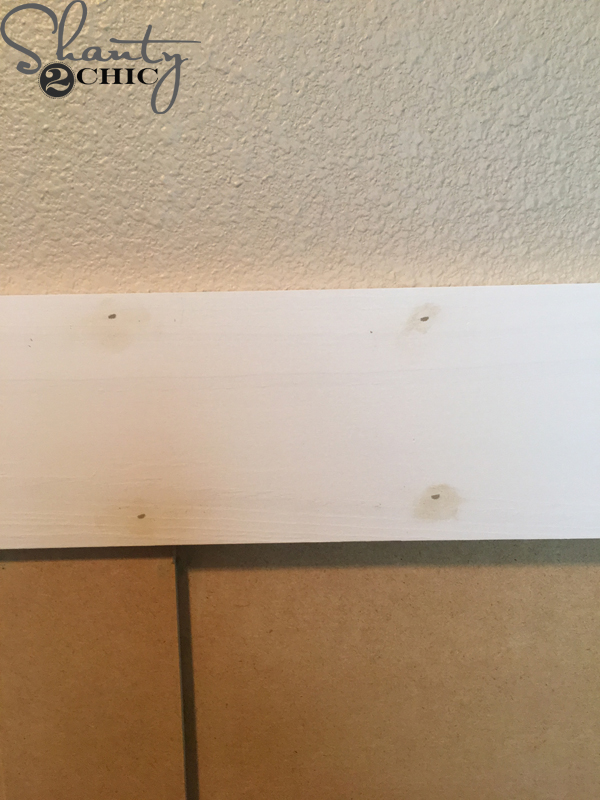
Once everything was attached, I went back and filled the nail holes with wood filler. Sand the wood filler with a fine grit sand paper, once it’s dry.
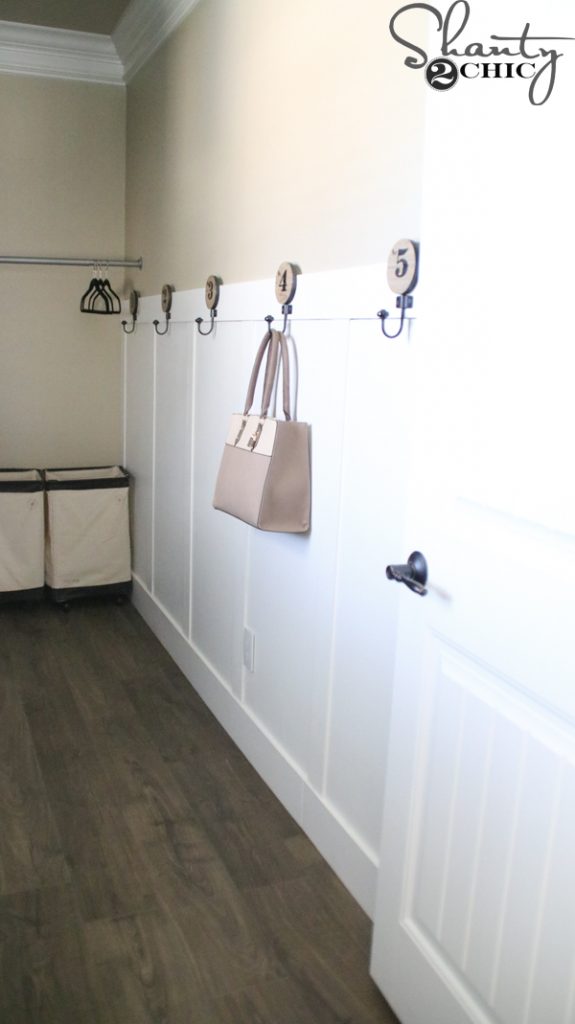
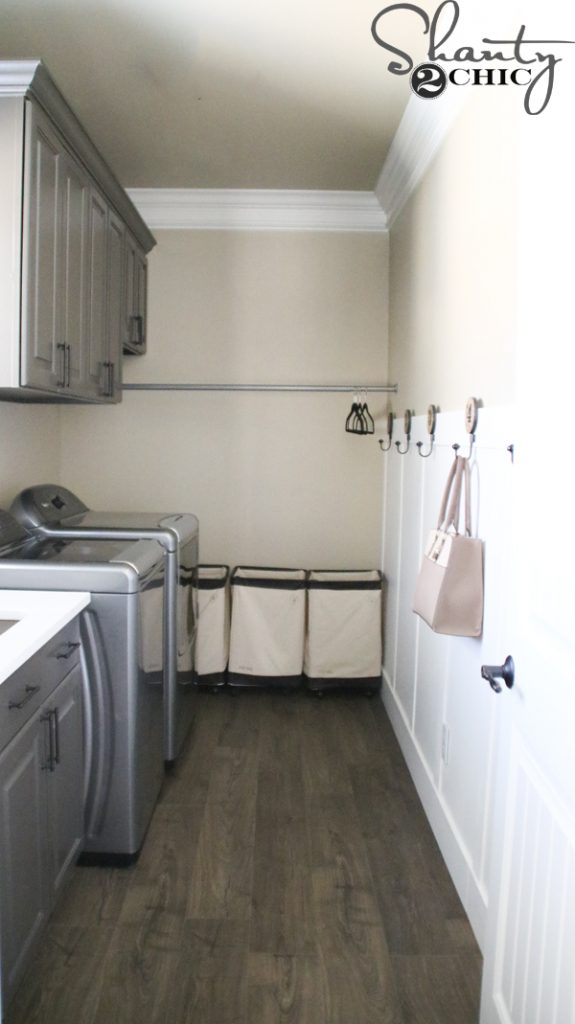
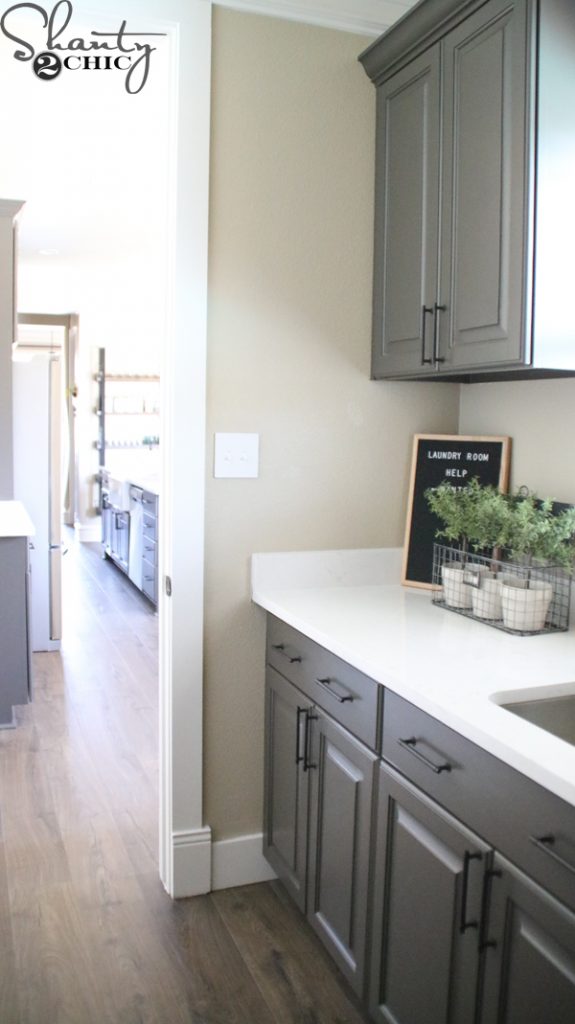
I added 2 coats of paint (matched to my trim color) and some large hooks and called it a day! Being that my laundry room is narrow, this is the perfect treatment for it! It doesn’t stick out, too far, from the wall and it adds a ton of storage!
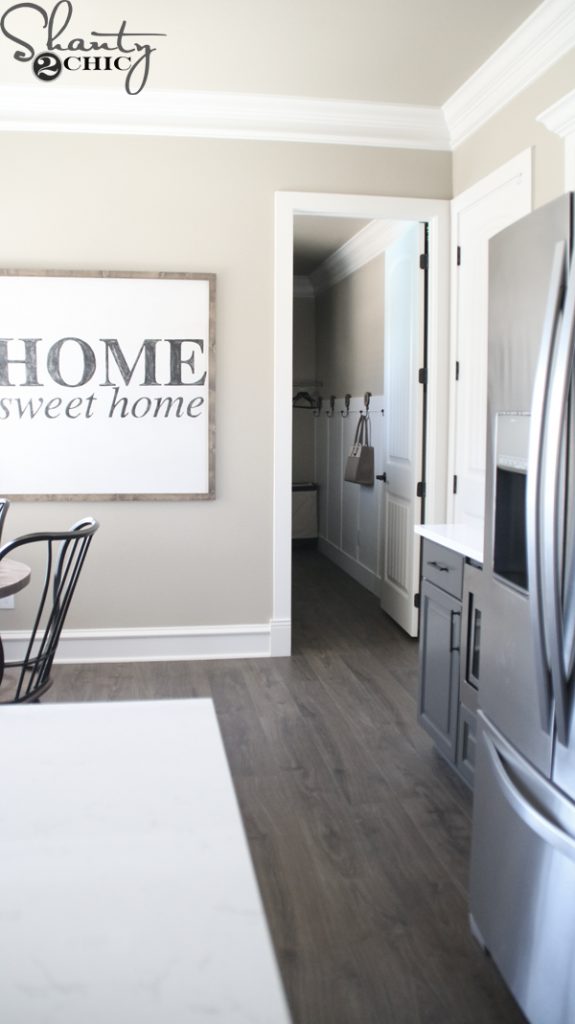
And, I’m loving the way my new Envique™ flooring looks going from my kitchen and into the laundry room! Check out the rest of the space!
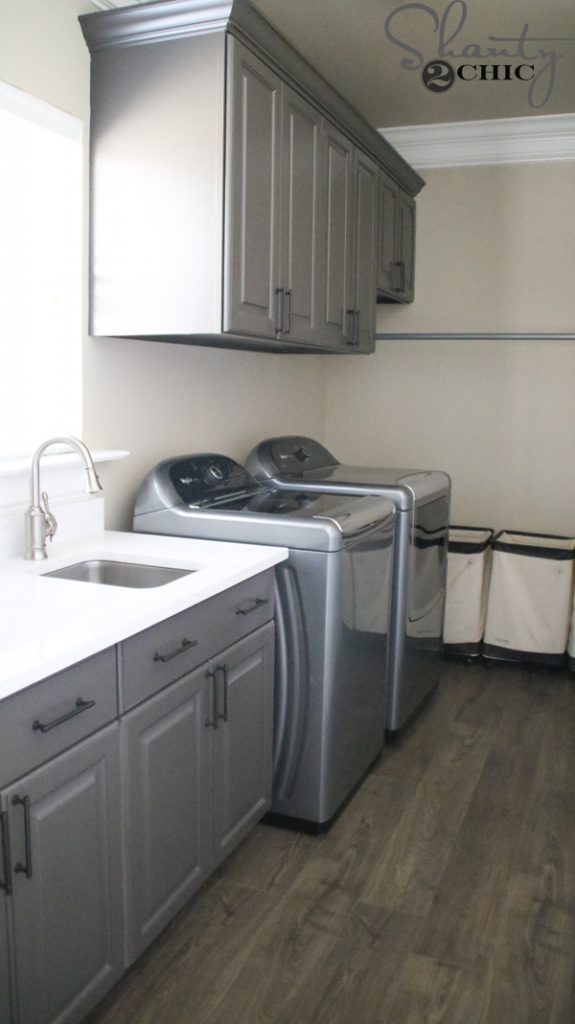
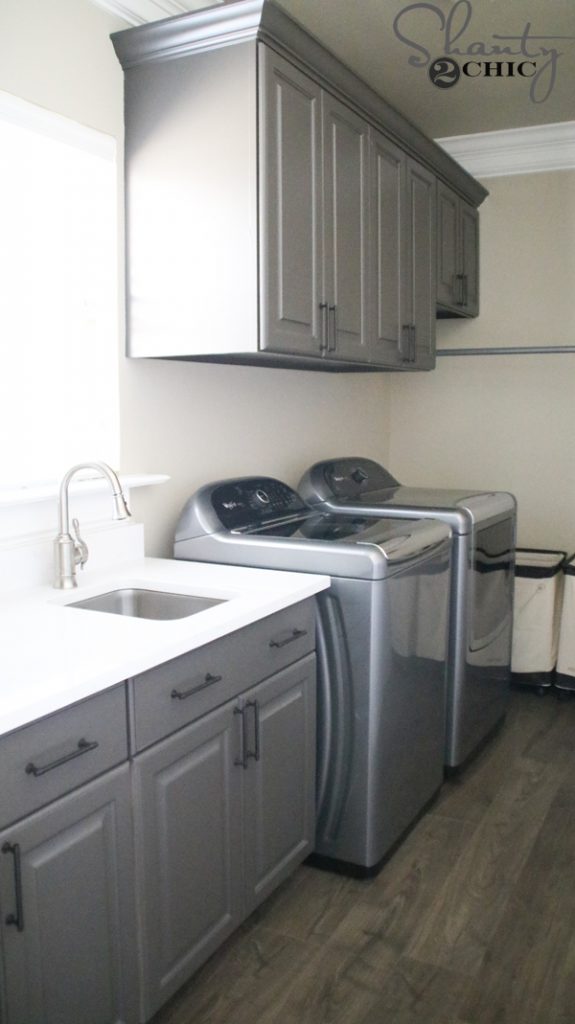
I am beyond pleased with the durability and look of the laminate floors! They look like beautiful hard wood but they are so much easier to care for!
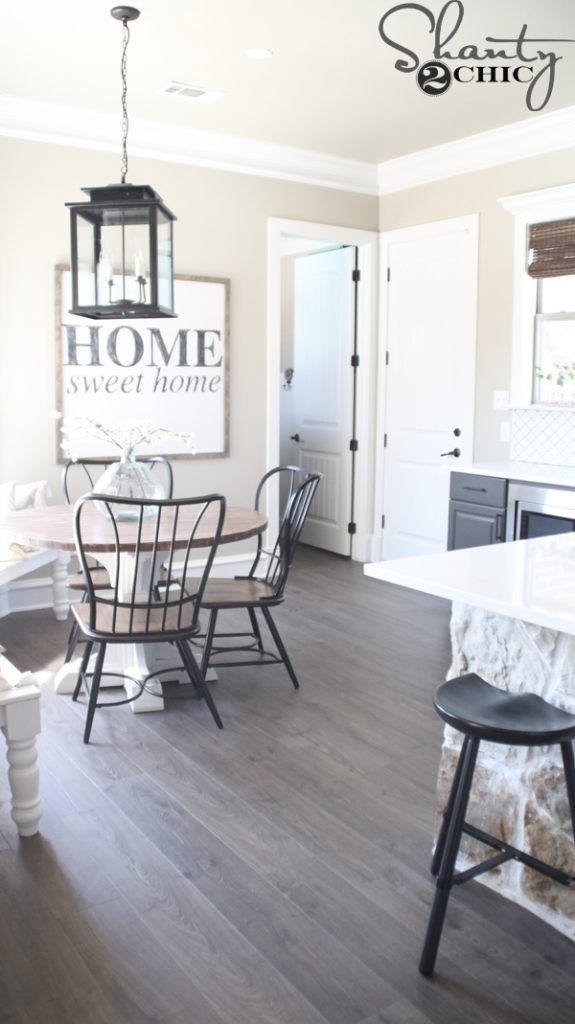
Make sure to check the floors out in the rest of my home!
Dining, Living and Office Reveal
Thanks so much for stopping by!
Ashley


What is the name of the paint color on the laundry room walls?
What else can you use if I can’t find the MDF blender board?
I’m sure this has probably been asked, but where did you find those dining chairs? I’m in love. Also, your laundry room is gorgeous:)
Thank you! Here is a post that I shared a link to the chairs in. Just scroll to the bottom 🙂 https://www.shanty-2-chic.com/2017/01/diy-large-hand-painted-sign-and-how-to-video.html
What color are your cabinets painted? I live the darker color!
Thank you! It’s Urbane Bronze by Sherwin Williams ????
What color paint are the walls in your laundry room? they look so good against that floor
Thank you! The walls are Soft Stones by Valspar and the board and batten is Pure White by Sherwin Williams 🙂
Love the number hooks!!