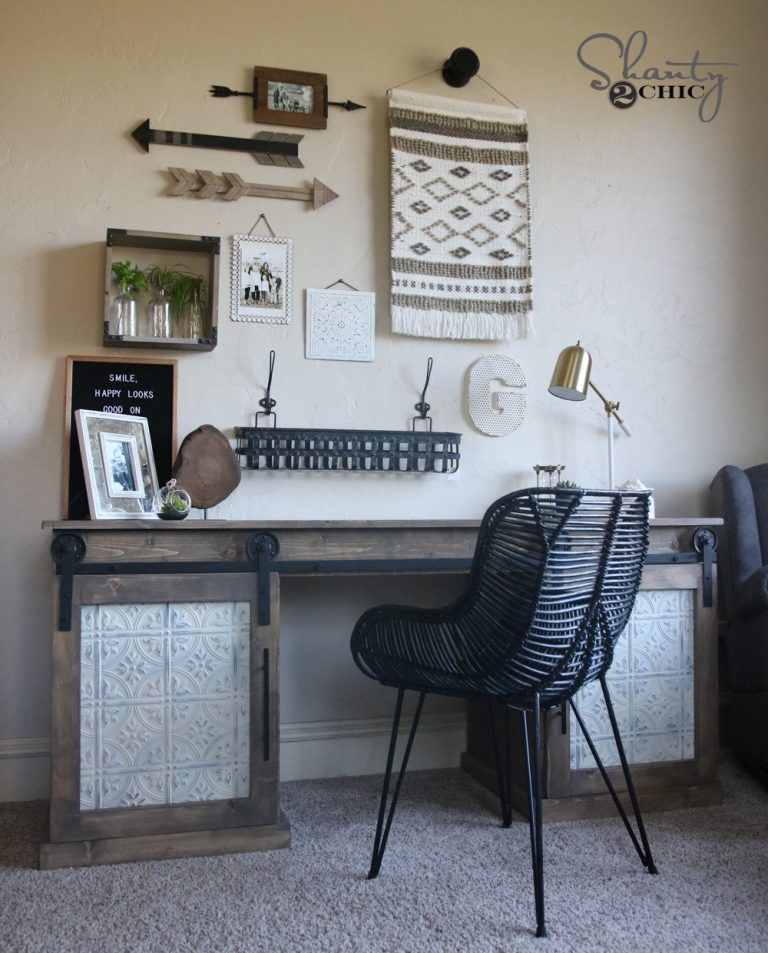
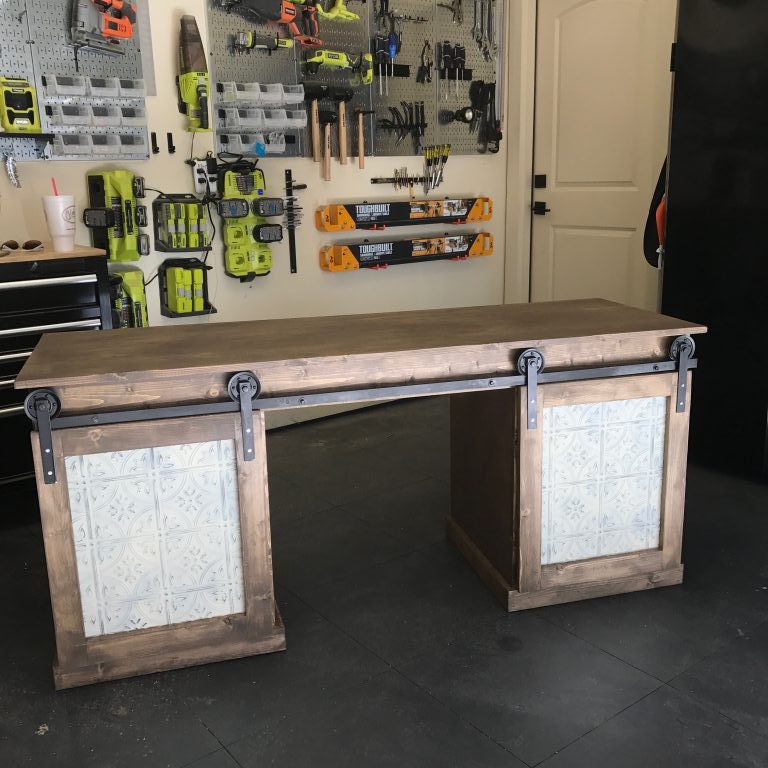
Hey friends! I am so excited with how this DIY Sliding Barn Door Desk turned out! I have always had to use my bedroom as a home office space too, and I wanted a desk that could hide lots of junk and house my printers, so I came up with this! Look how cute it turned out! Here is my DIY Sliding Barn Door Desk…
You can get the FREE PLANS and supply list for this baby HERE!
Now, let me walk you through it!
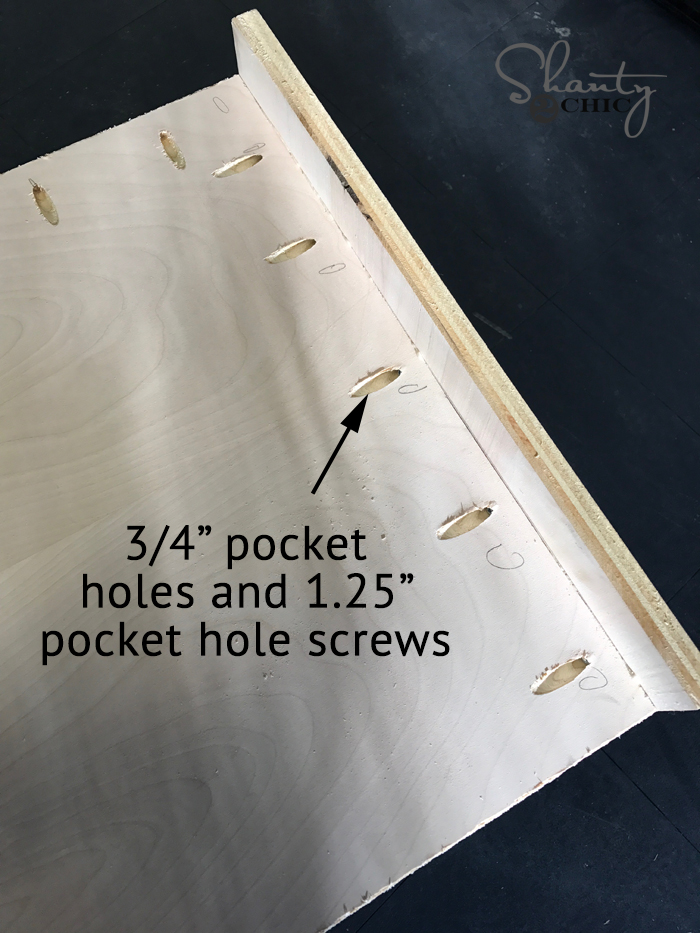
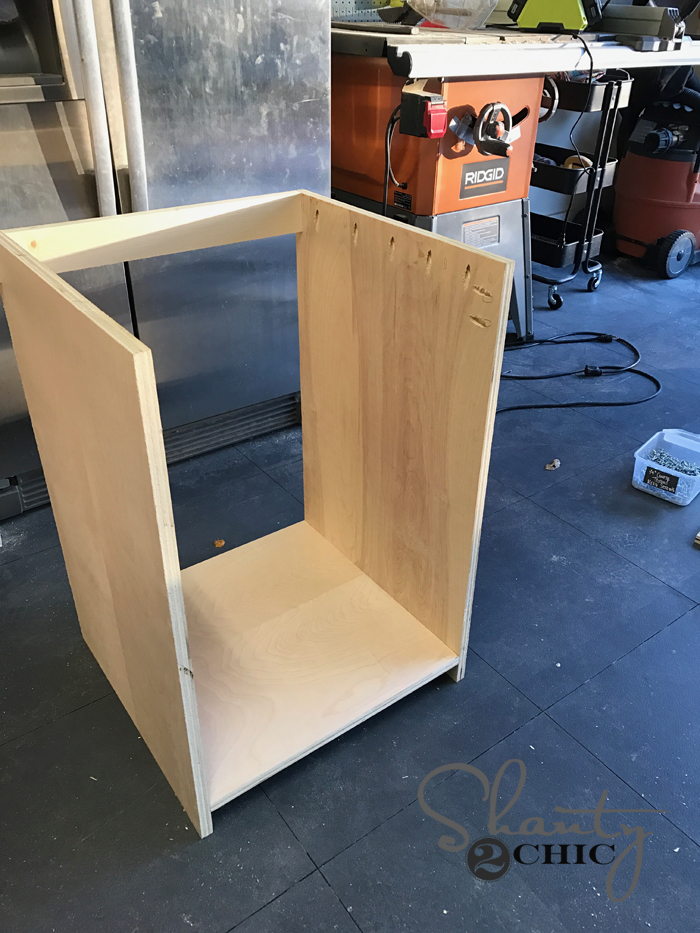
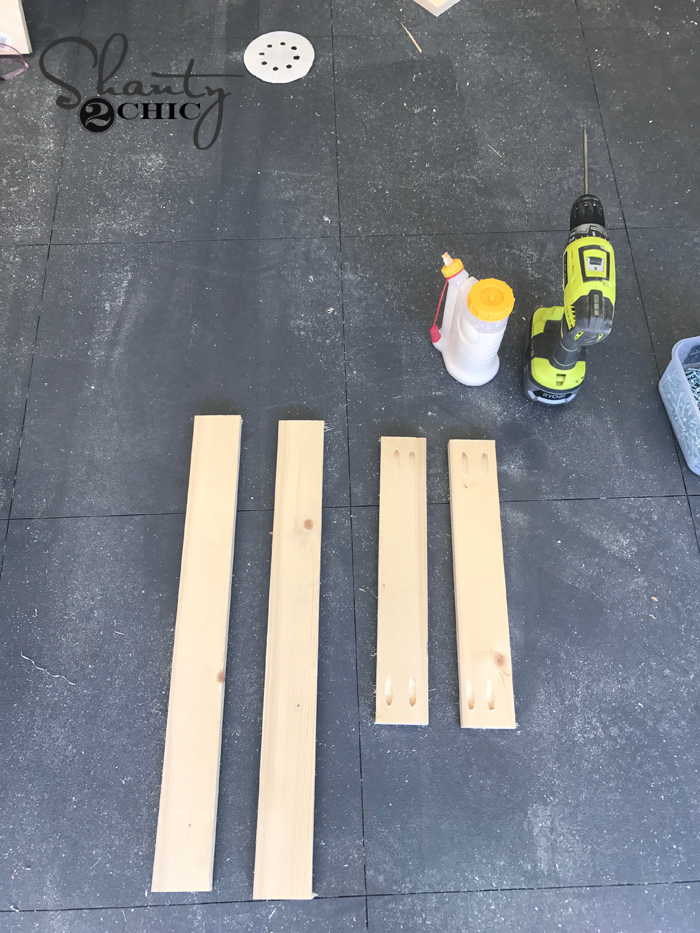
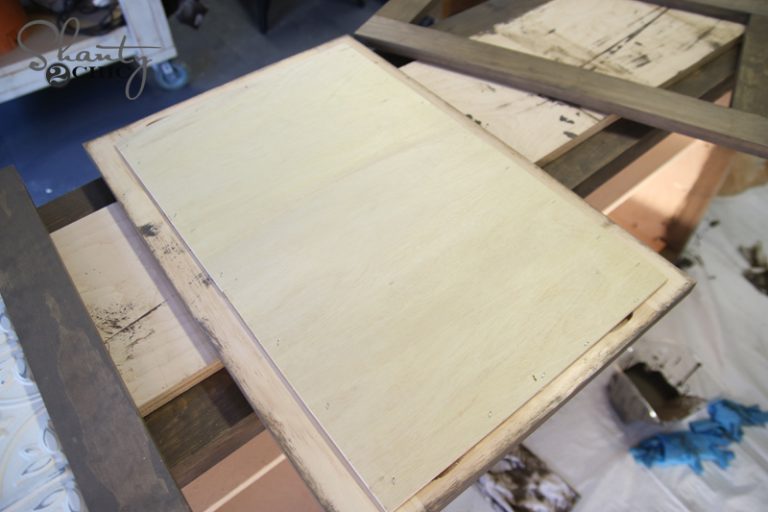
This desk uses hardwood plywood. I chose to use birch for this. You buy it at Home Depot in 4×8 sheets, and I had the guy there rip it down for me so I could get it in the car. I make the cross cuts on my table saw at home. I made the boxes for both sides first. These are 3/4″ pocket holes I made using the Kreg Jig. I started by attaching the bottom of the box to the inside of both side pieces using wood glue and 1.25″ pocket hole screws.
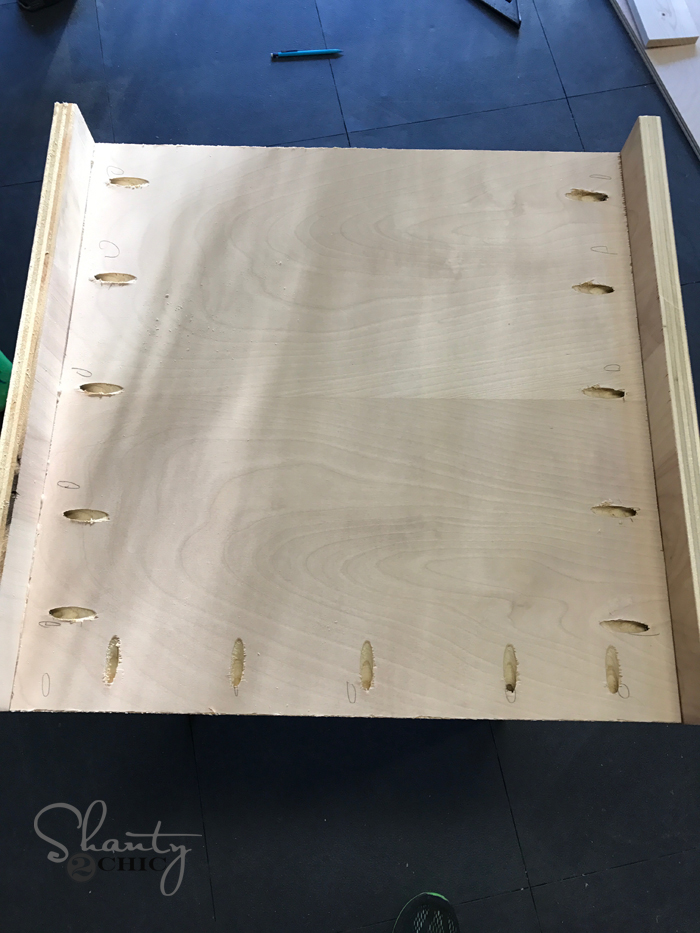
Here is the base of the desk. The shelf is attached 2.5″ from the base of the side.
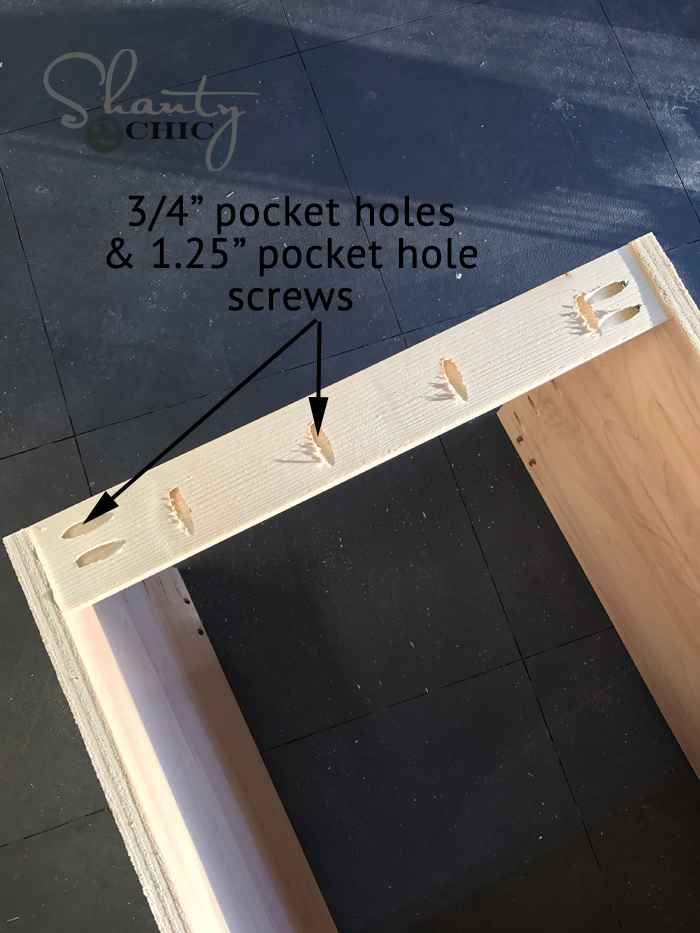
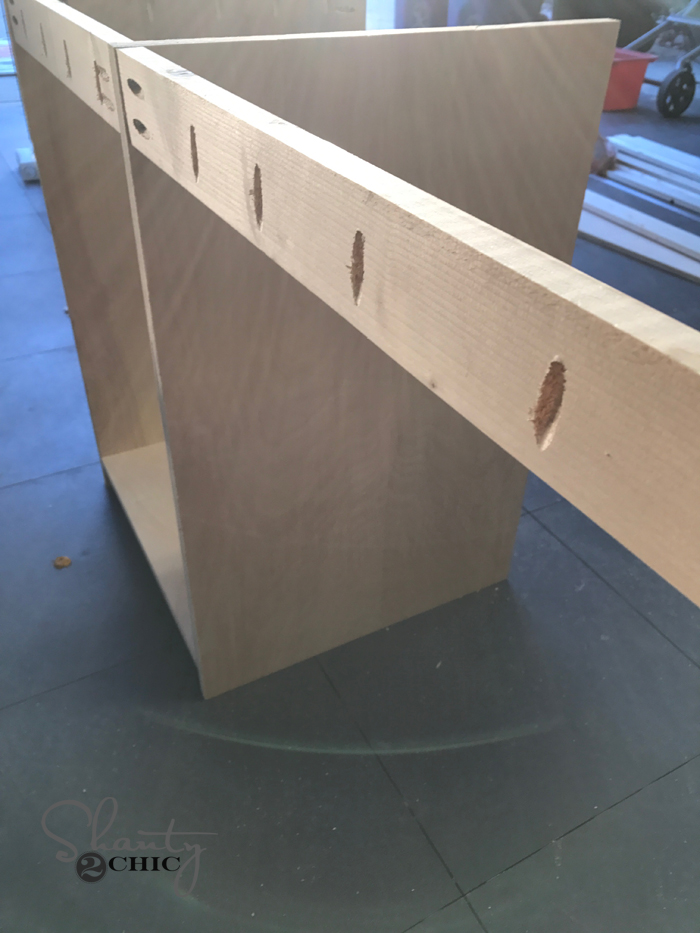
Next, I added the supports that run on the top and back of the desk. These are attached using 1.25″ pocket hole screws through the support boards and into the sides. The pocket holes that run the length of the board need to face up. These will be used to attach the top of the desk later.

You will build both sides just like above. Next, I attached those together using the center support board on the back. I made sure the pocket holes were all facing the back.
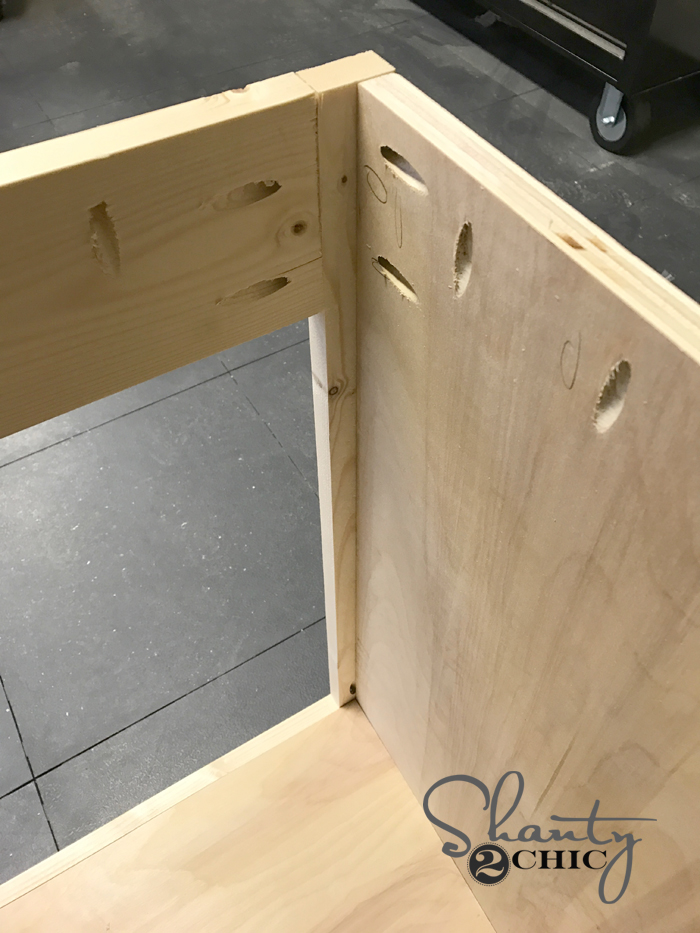
I added the face frame next. This will run along the front of the desk that will hold the barn door hardware.

I attached it by using 1.25″ pocket hole screws through the desk and into the top board.

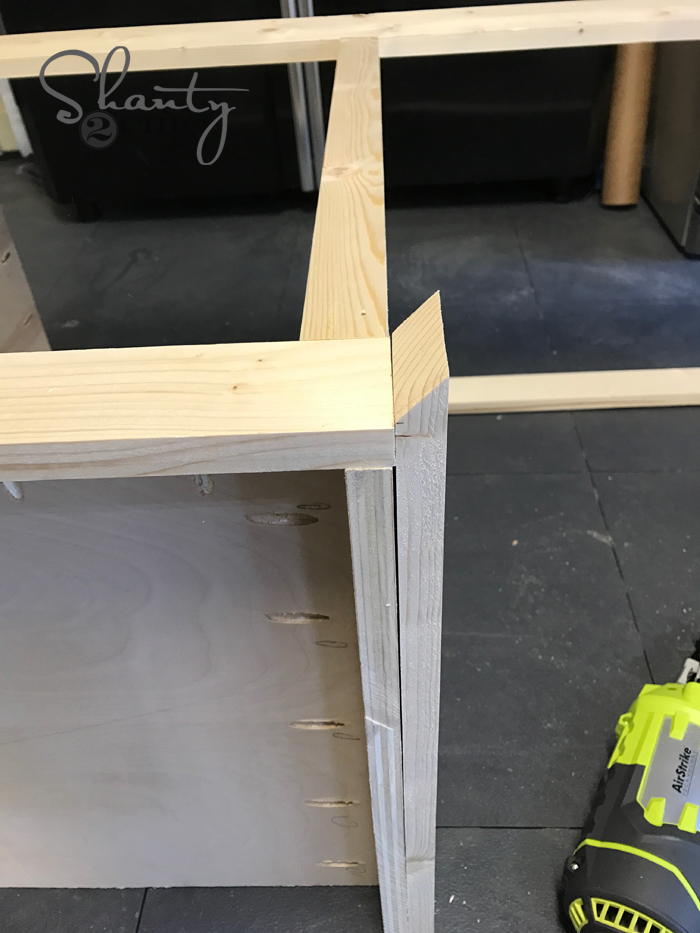
I trimmed out the bases next. You can miter the corners, or keep them straight. I attached all pieces using wood glue, my 18g brad nailer and 1.25″ brad nails.
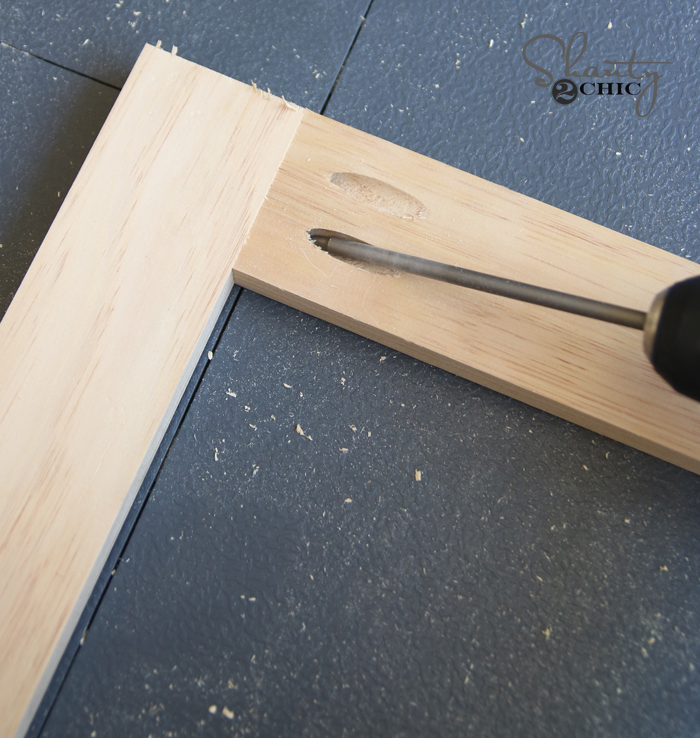
The door frames are next! I built the rectangles for these using 1.25″ pocket hole screws.
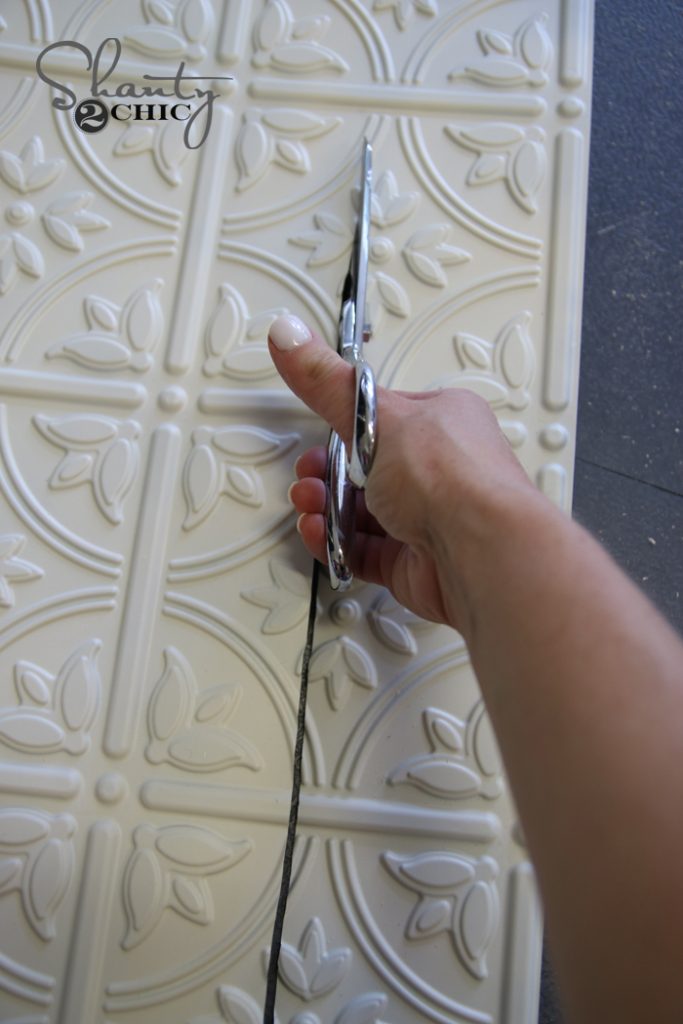
I decided to make the inside of the doors using faux tin. I found it on amazon and you can see it HERE!
At this point, I painted the tin with Rust-Oleum Chalked paint in Linen White.
After it dried I used my corner cat sander to distress it just a bit.

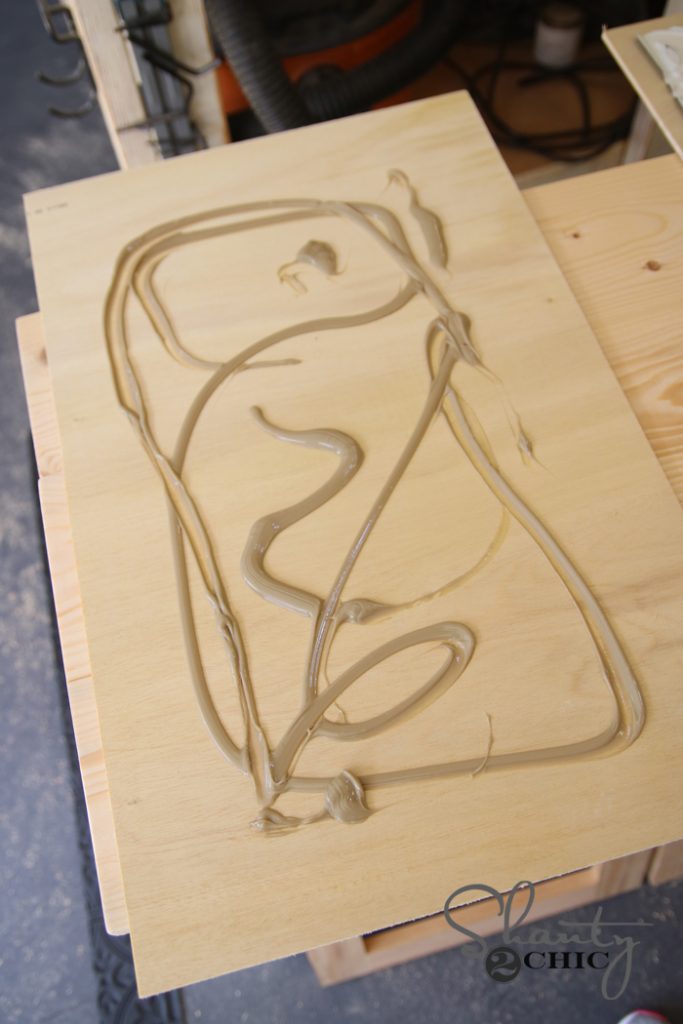
I attached the faux tin panels to 1/4″ wood panels with construction adhesive and then stapled those to the door frame!
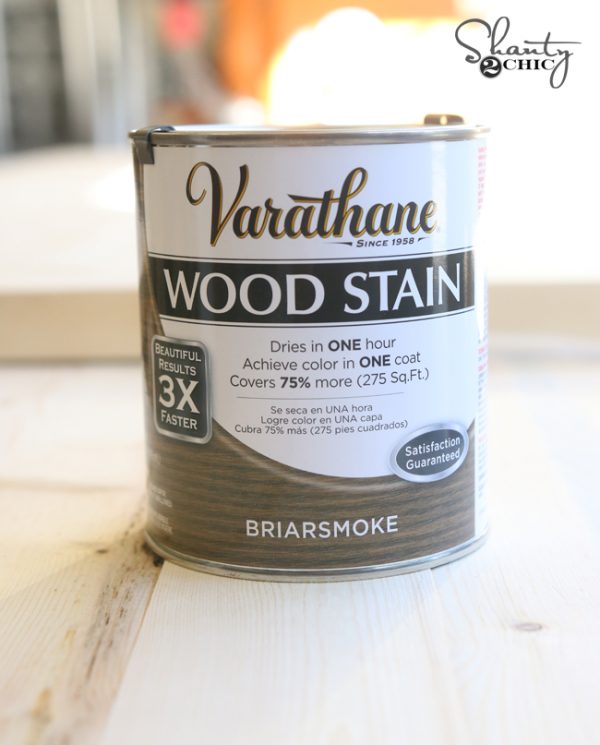
I stained the entire desk with Varathane Briarsmoke stain.
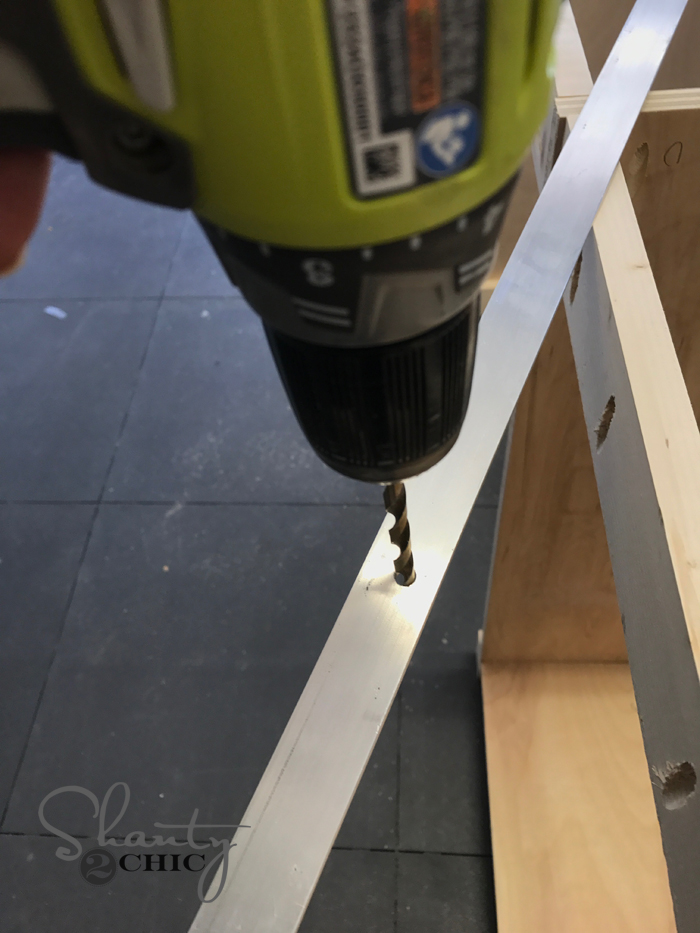
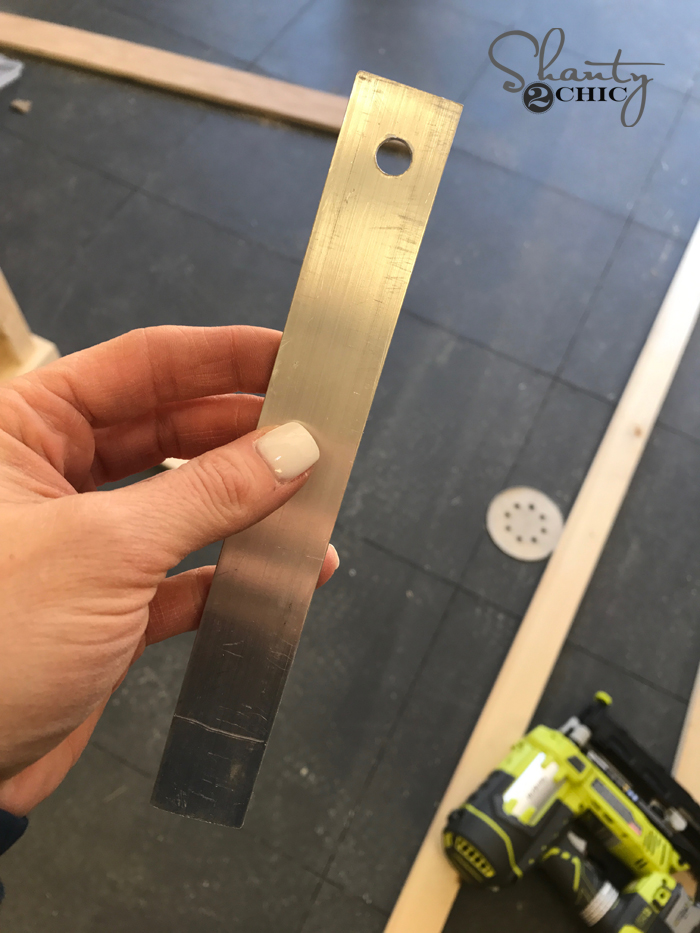
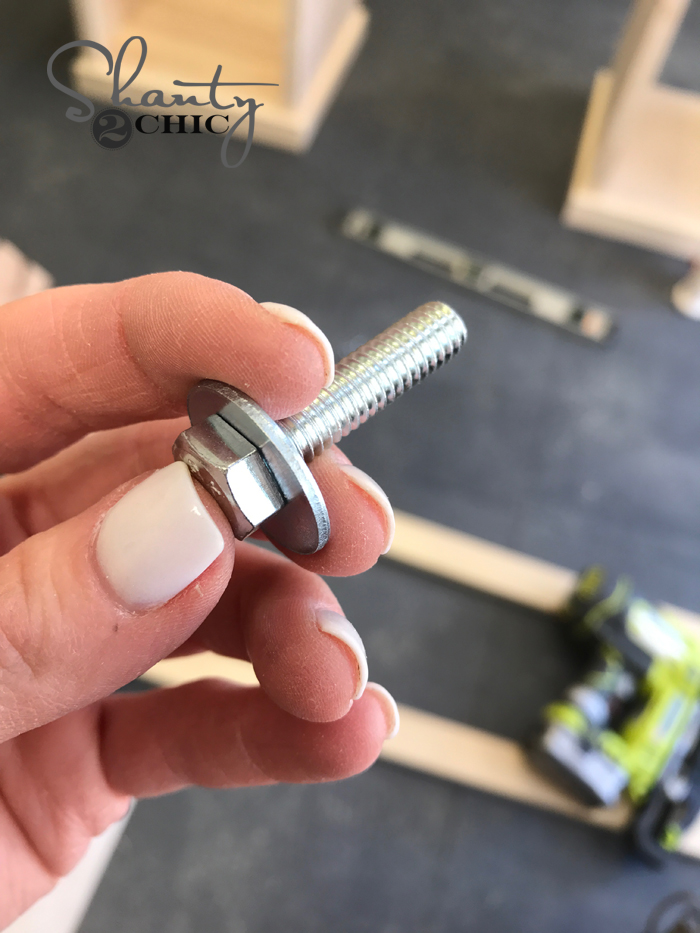
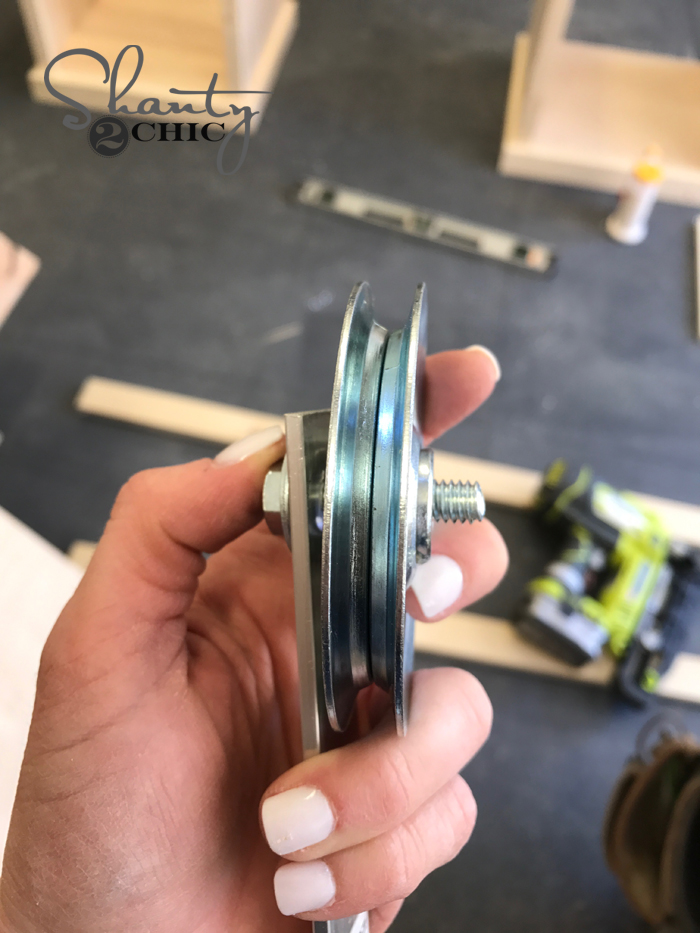
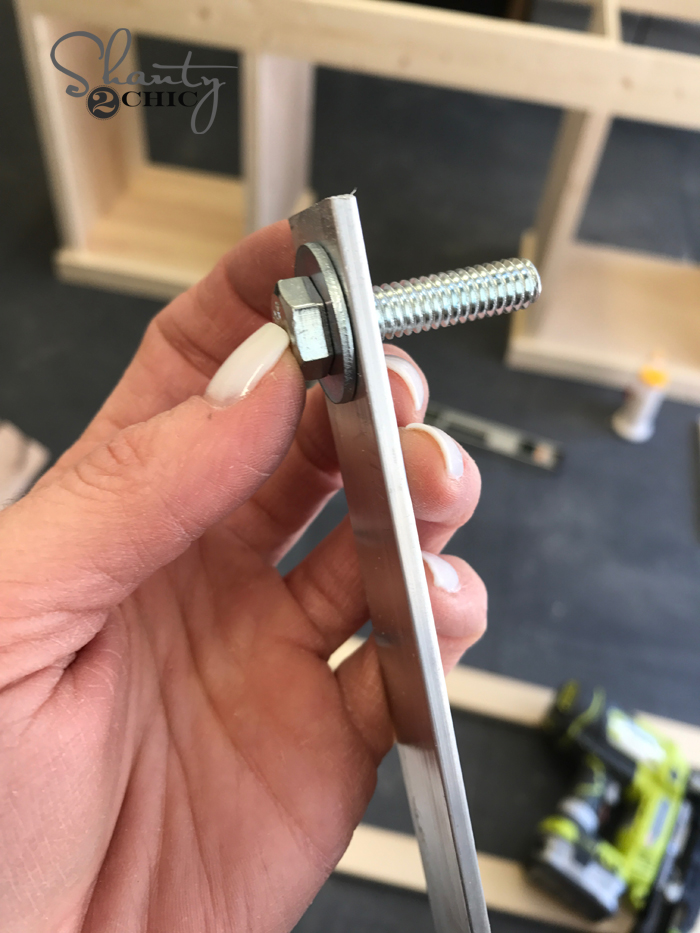
After that dried I started assembling the barn door hardware. You can see our video of how to do this HERE.
The only difference is that I used garage door pulleys instead.
Here is the desk all finished up! I LOVE how it turned out!


We are building this now and I think there may be an error on the plans….anyone else run into an issue? The supply list calls for a 1x8x8, but the cut list doesn’t show this particular piece. Also, we found that the cut list for the 1x2x6 shows 22 1/4 (one of the front frame pieces), but that’s actually too long. All in all, though, we are mixing along nicely. Can’t wait to have this done and in my so so room. These ladies sure know what they are doing!!
I am having the same issues. I thought it was just me. I am so excited to get this desk done!!!
How did you paint the barn door hardware?
We did it. My amazing husband made this desk.
It look beautiful.
Love this desk!!
LOVE! seriously obsessed with this!
Lovely!! What did you use for the top of the desk?
Agreed, it is not mentioned in this article, and not in the supply list of the plans.
Where’d you get the chair from?