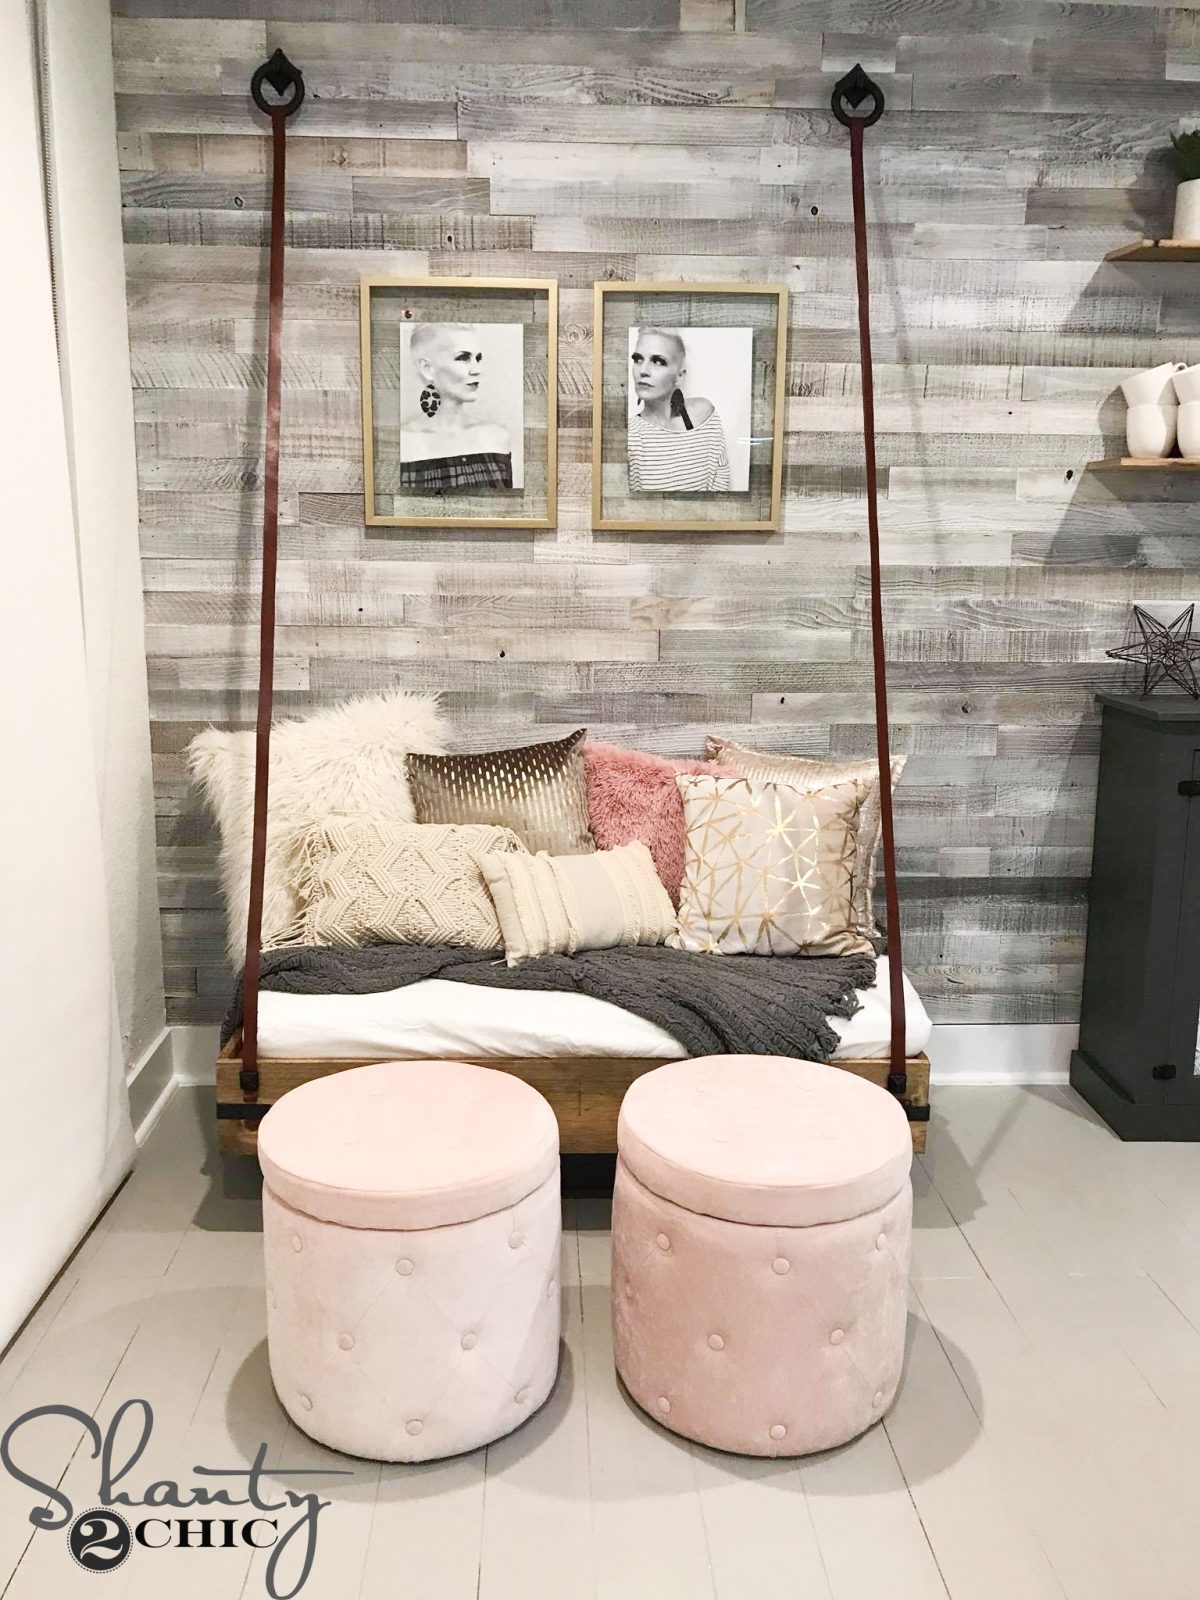
We LOVE this DIY Faux Hanging Bench! It’s unique, functional and so much fun! We built it for a store front that we recently renovated but it could be used in so many other spaces!
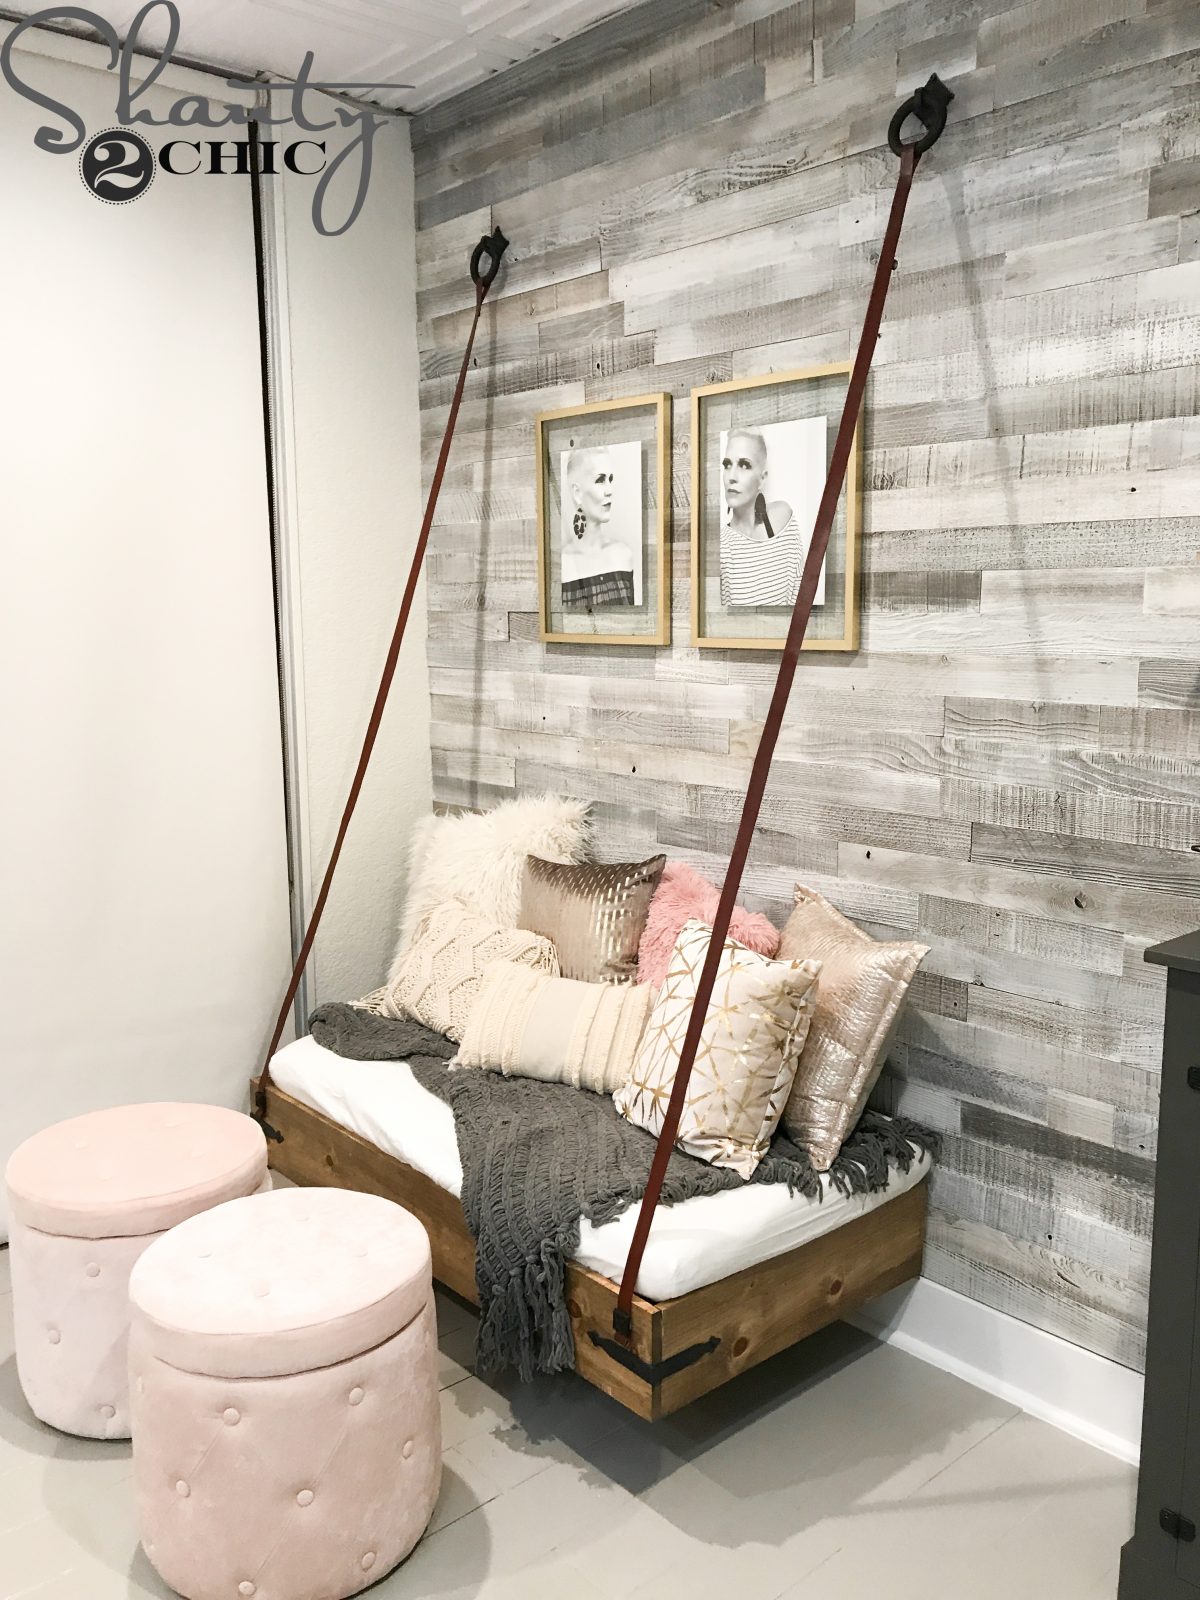
It’s a SUPER EASY build and it only cost us about $100 in lumber!
Come watch us build it in our shop! Just click HERE or the image below to watch!
How fun and easy was that!
DIY Faux Hanging Bench – Free Plans
MAKE SURE TO DOWNLOAD THE FREE PRINTABLE PLANS HERE!
And, you can follow along on the build below!
This DIY Faux Hanging Bench was designed based on the measurement of THIS MATTRESS THAT WE FOUND ON AMAZON!
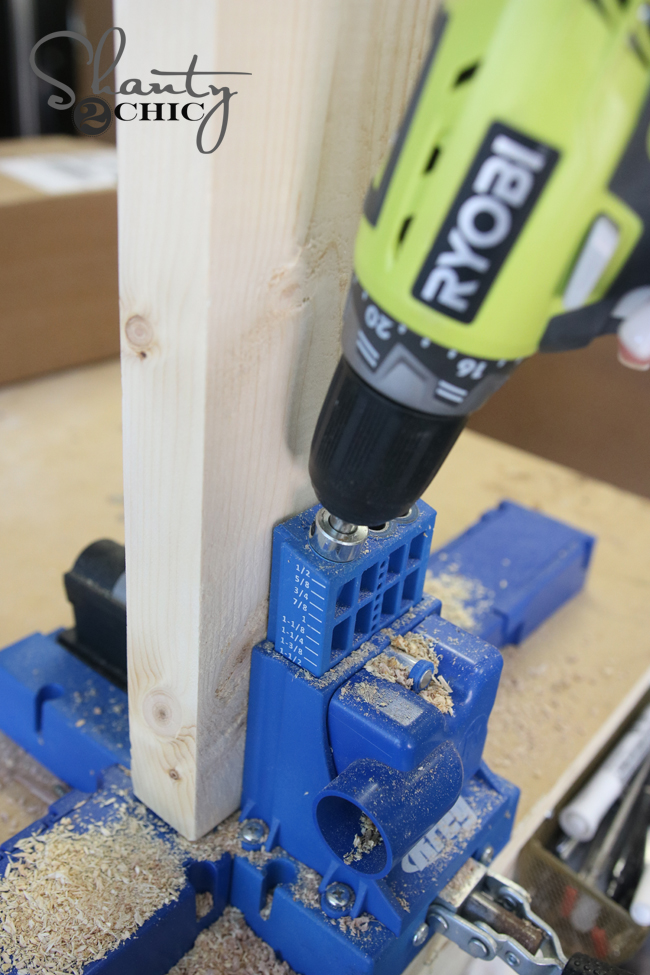
First, we made all of our cuts and used our Kreg Jig to drill 1 1/2″ pocket holes into the assigned pieces (refer to the plans for pocket hole placement). You can find our favorite Kreg Jig model HERE on Amazon!
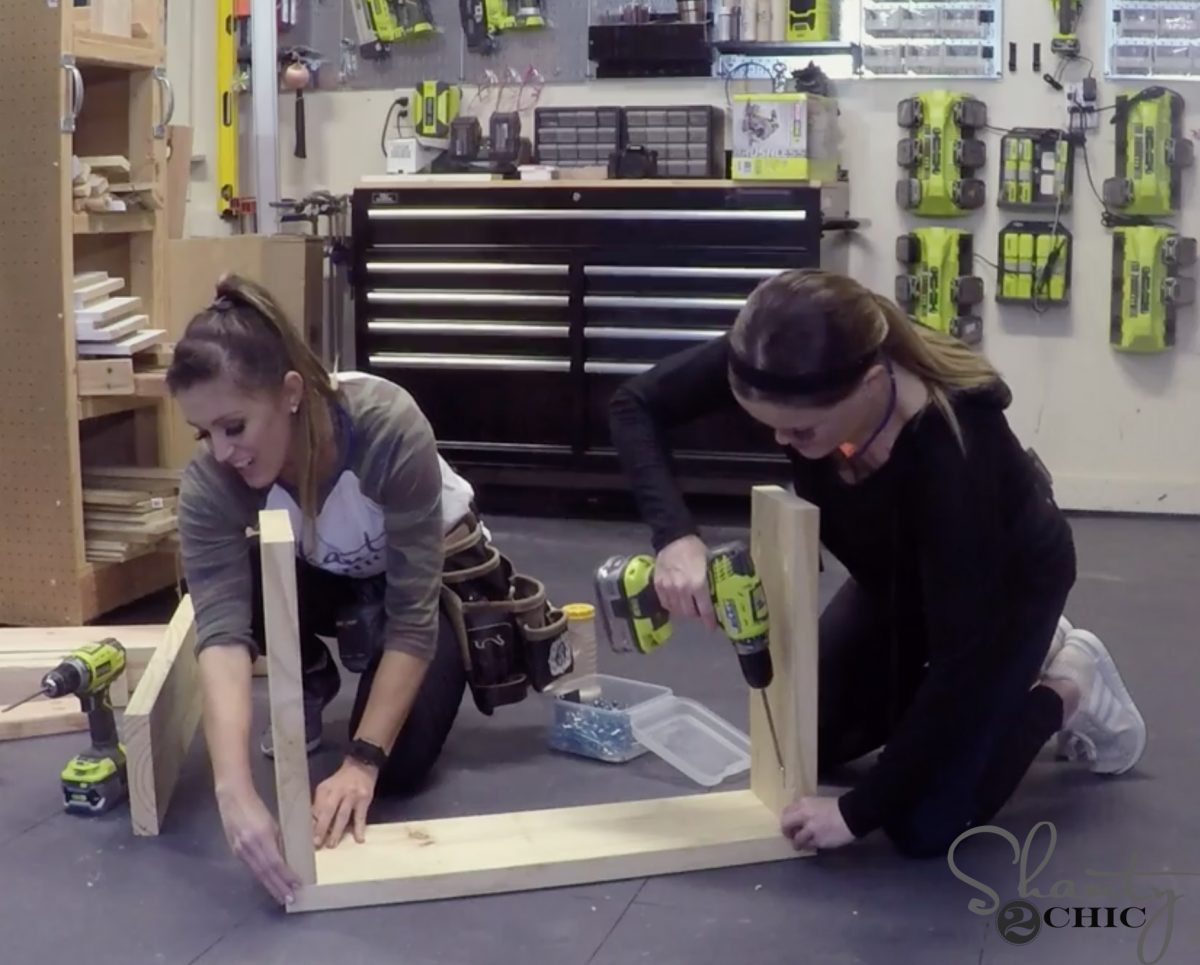
The first step is to assemble the base. It is just a box made with 2×8 boards. We drilled 1 1/2″ pocket holes into the short pieces and attached them to the long pieces with 2 1/2″ pocket hole screws and wood glue.
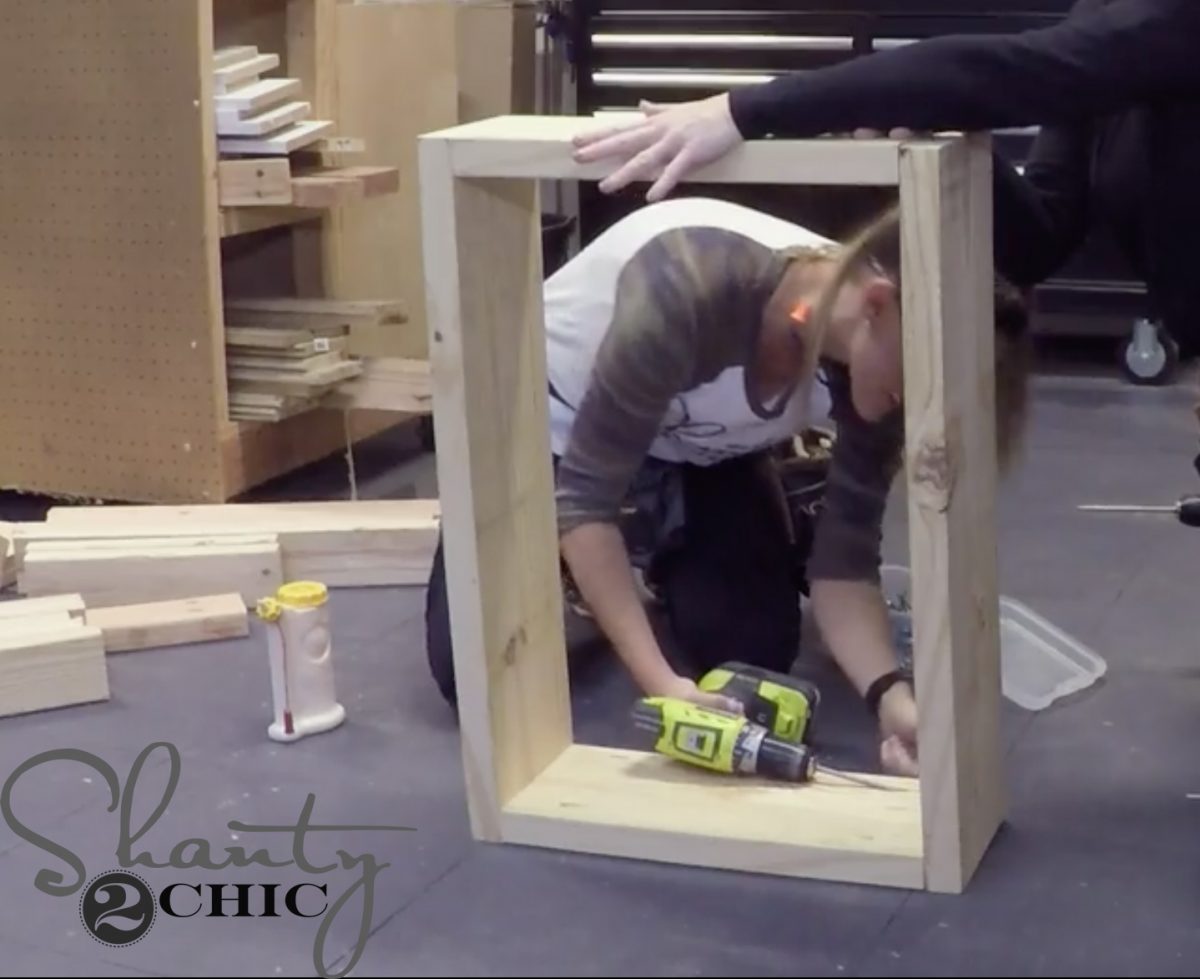 Here is the base assembled.
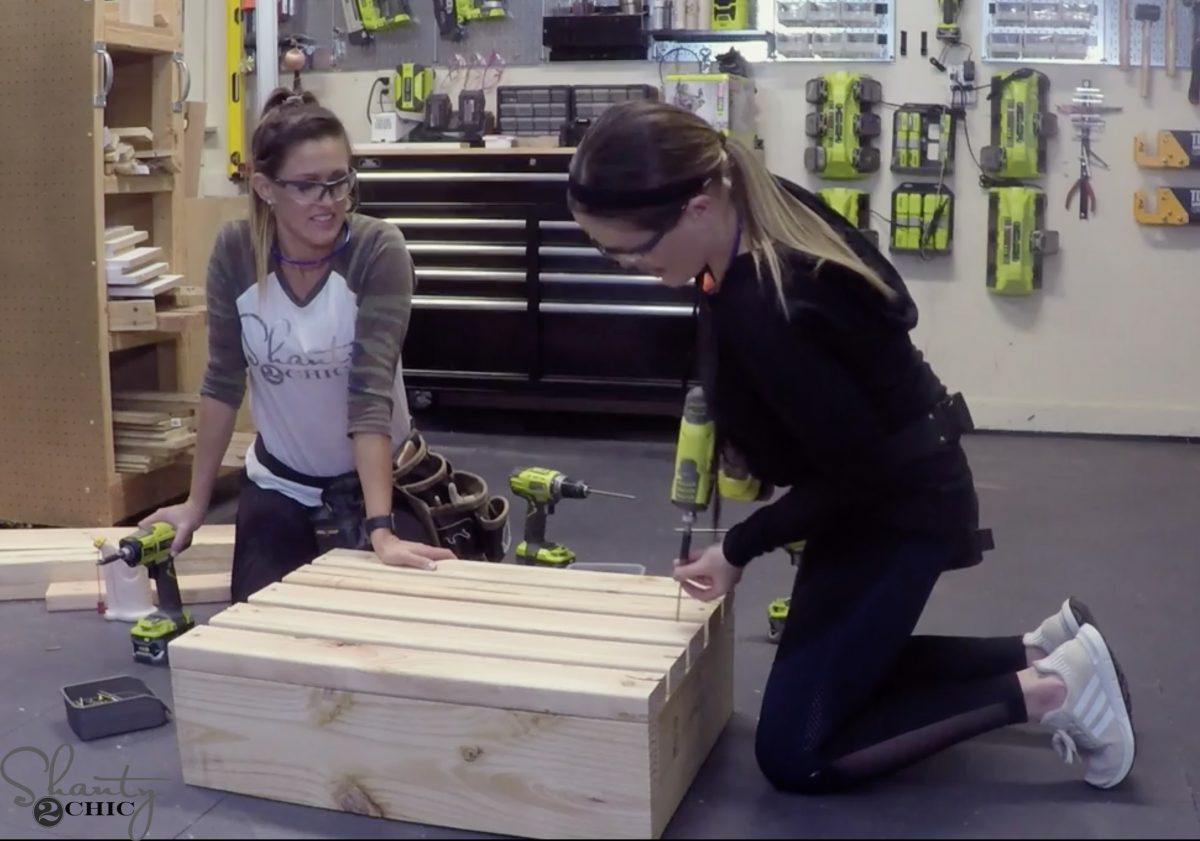
Once the base was assembled, we attached the slats to the top of the base with wood glue and 2 1/2″ wood screws.
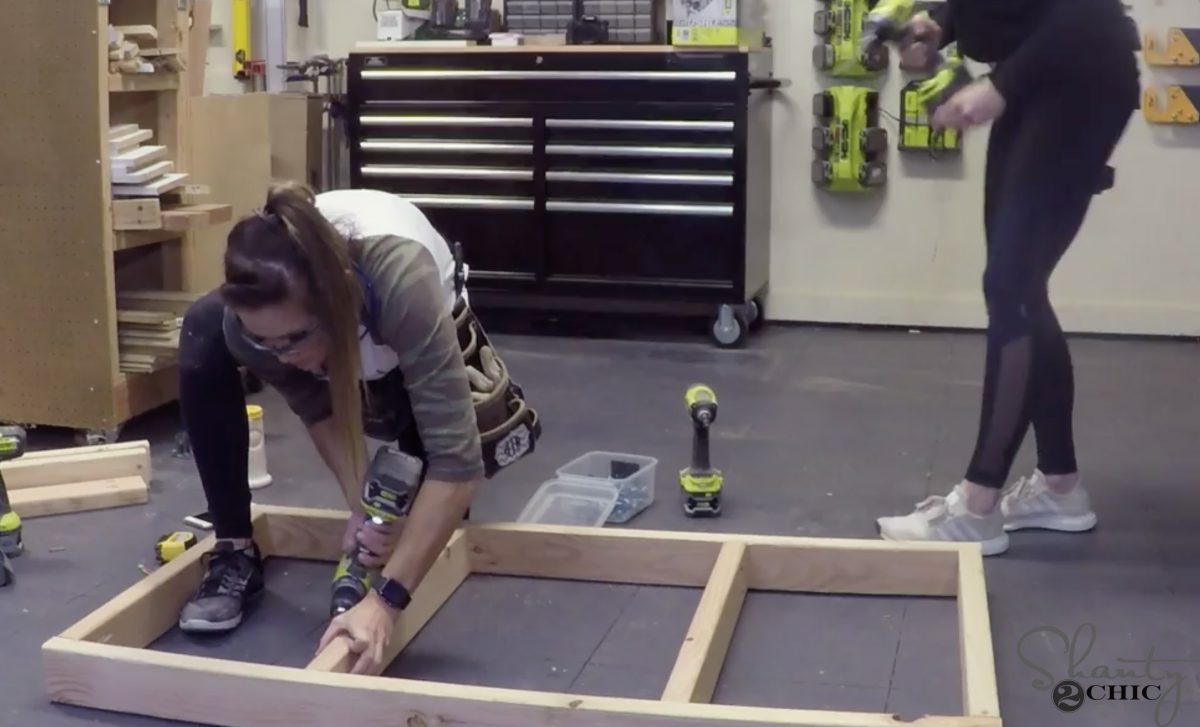
Next, we moved onto the mattress frame. We attached the short pieces to the long pieces with 2 1/2″ pocket hole screws and wood glue.
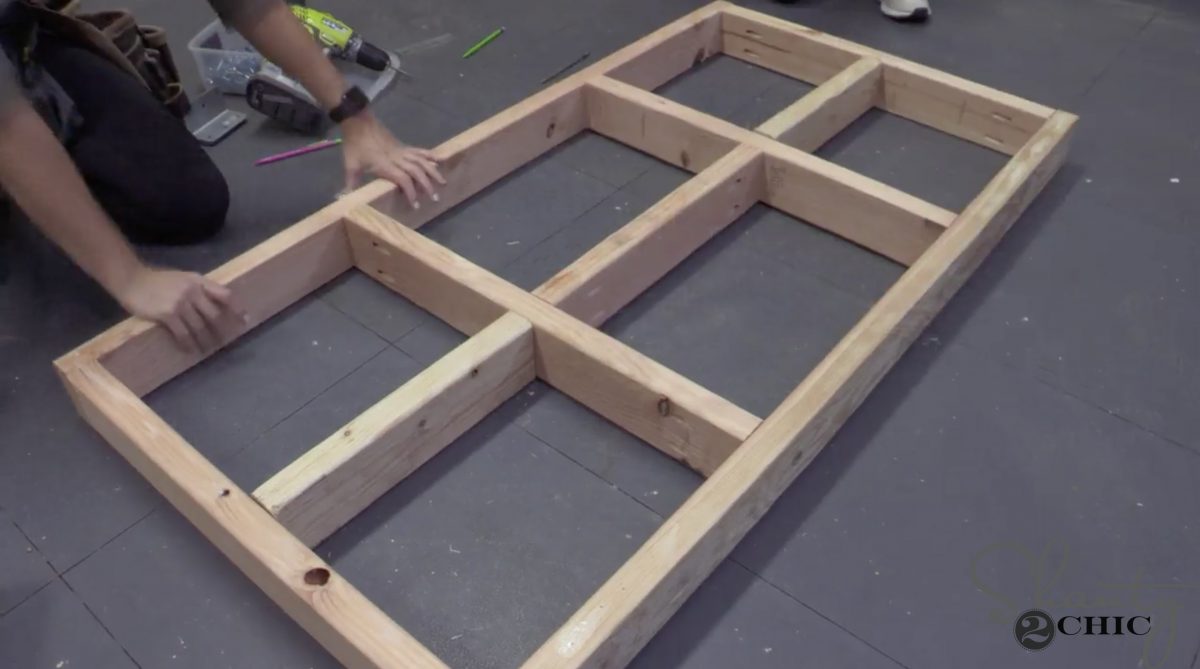
We followed up by attaching the cross supports with 2 1/2″ pocket hole screws and wood glue.
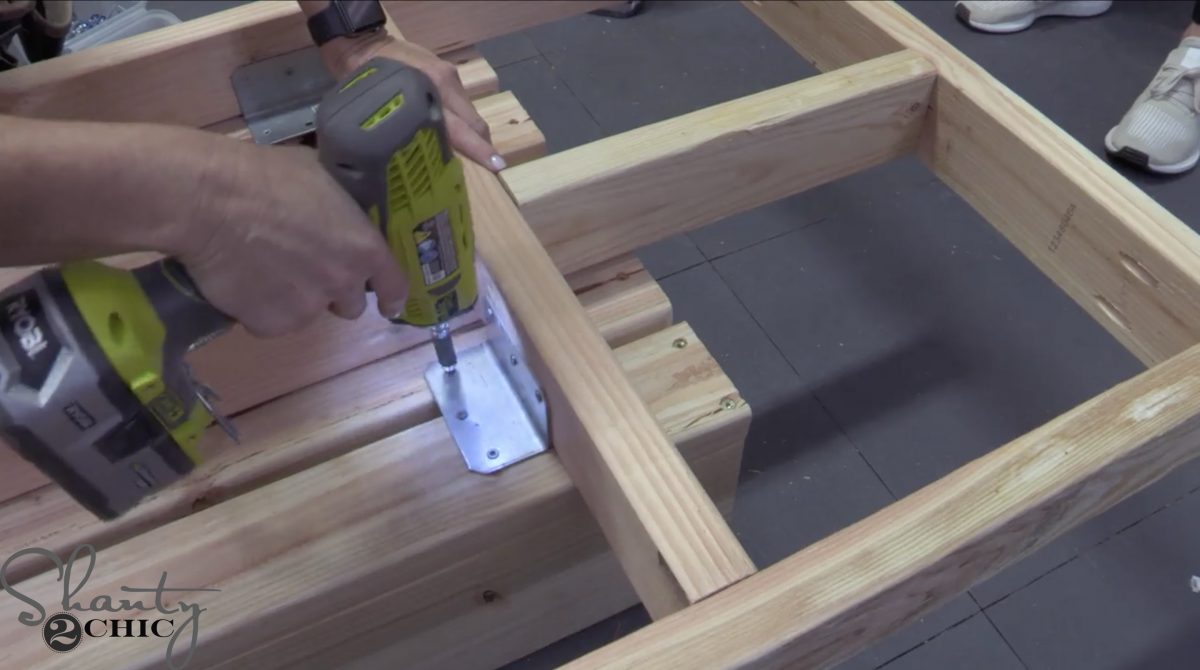
With the base and the frame done, it was time to attach them together. We did this with metal angles and 1 1/4″ wood screws.
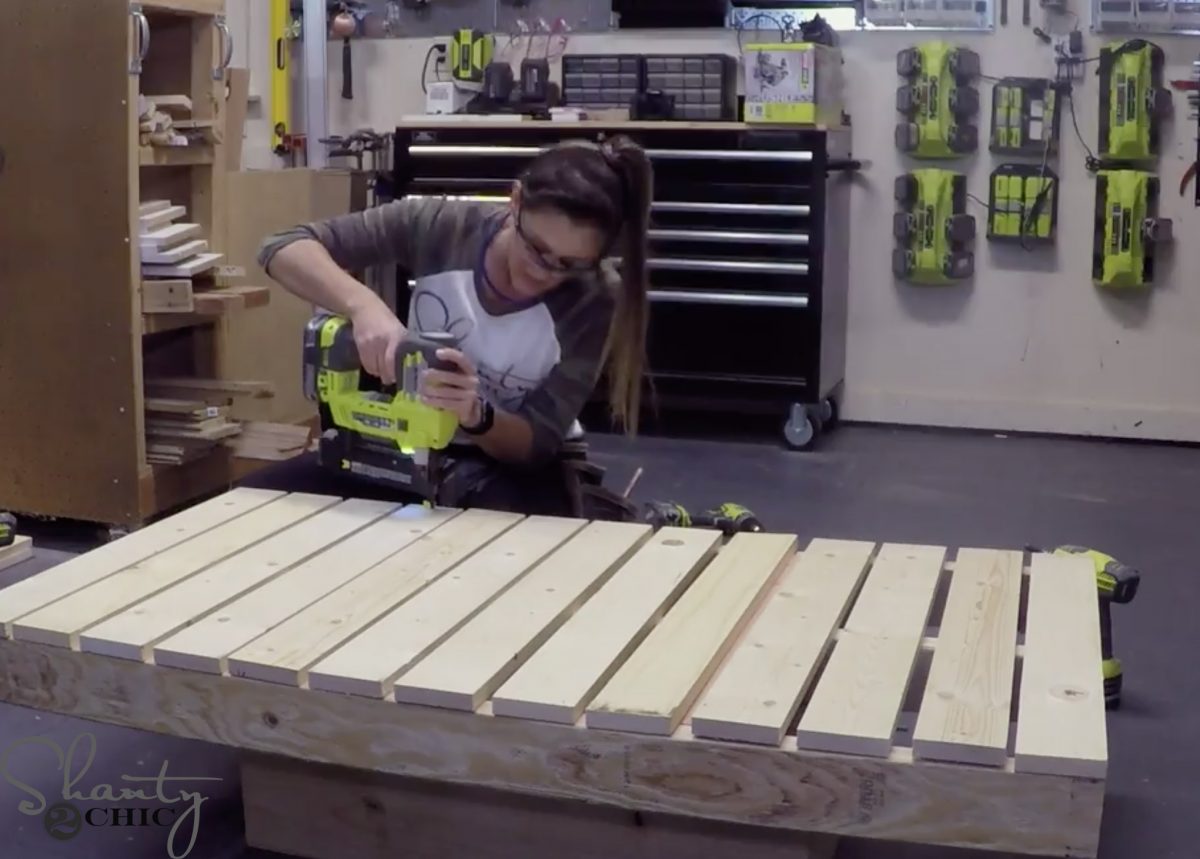
Next, we spread the mattress slats out evenly and attached them to the top of the frame with 1 1/4″ brad nails and wood glue.
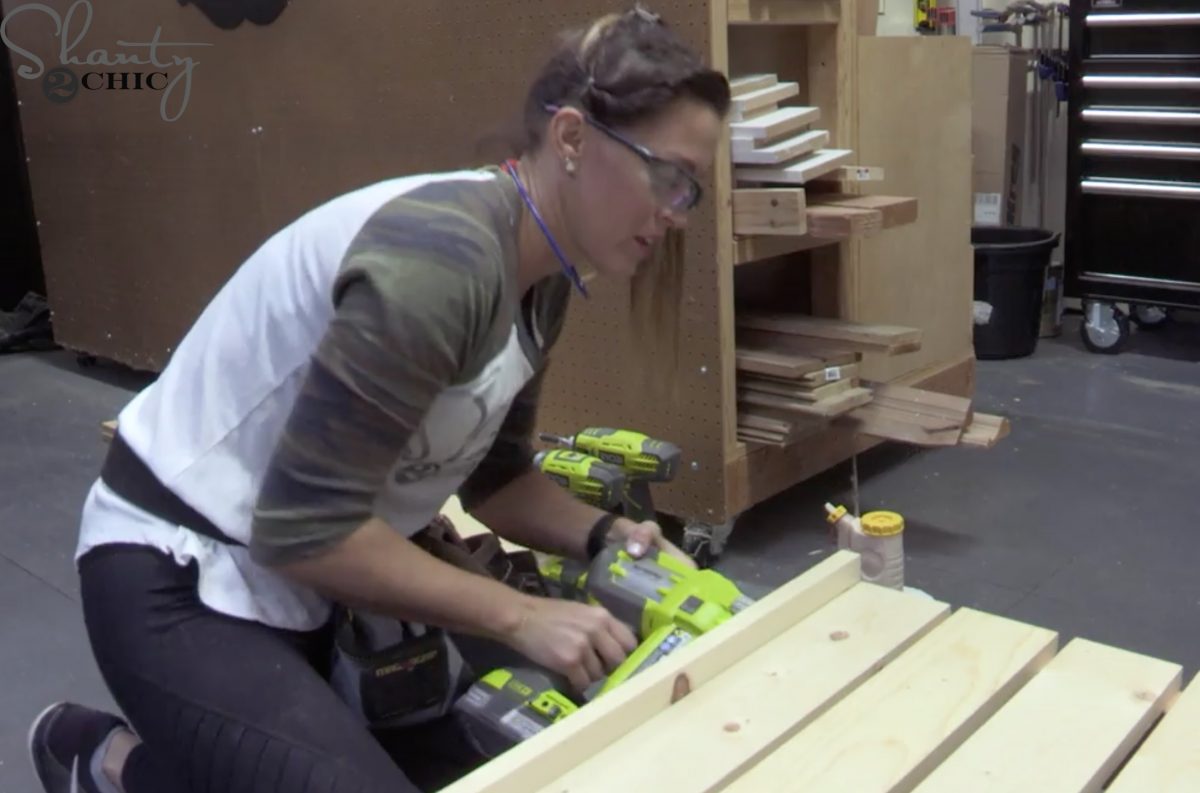
Then, we attached the side trim pieces and followed up with the front trim piece. We used our Ryobi 18V brad nailer with 1 1/4″ brad nails and wood glue.
Before we attached the bench to the wall, we stained it with Honey Maple stain. You can find it HERE on Amazon!
For safety and stability, we attached the back of the bench to the studs behind the wall. We used 3″ wood screws and drilled from the inside of the mattress frame.
The real beauty in this piece is in the hardware!
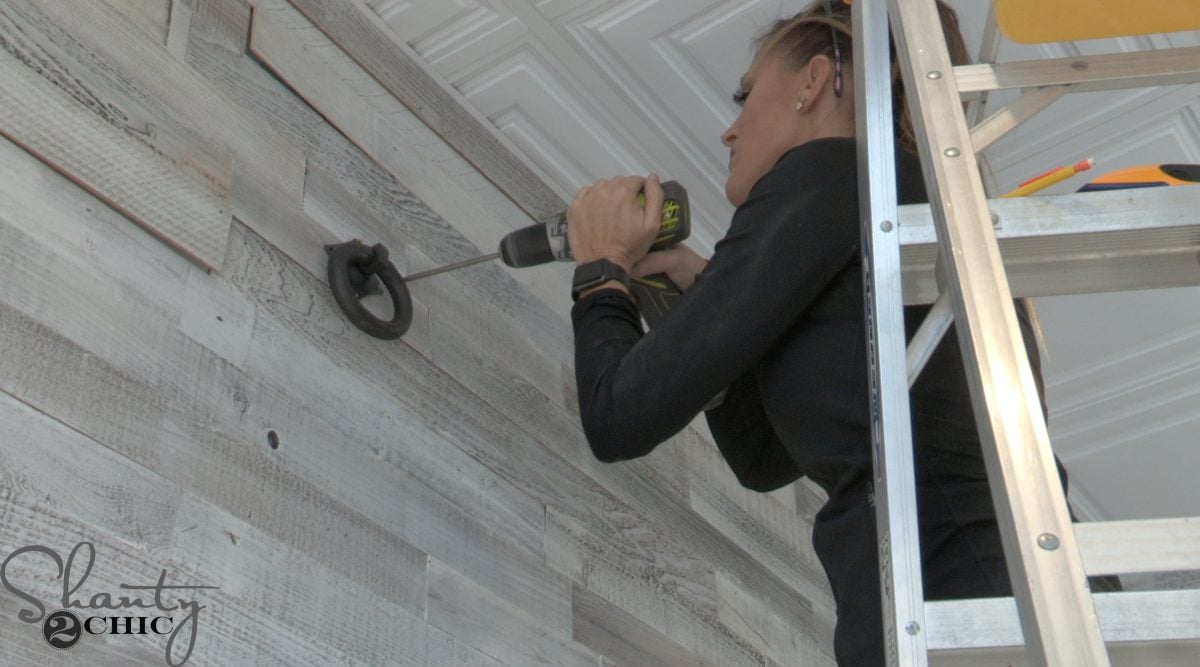
We used these awesome door knockers from Hobby Lobby to make the bench appear to be hanging from them. This gave height to the wall and added a lot of character to the bench!
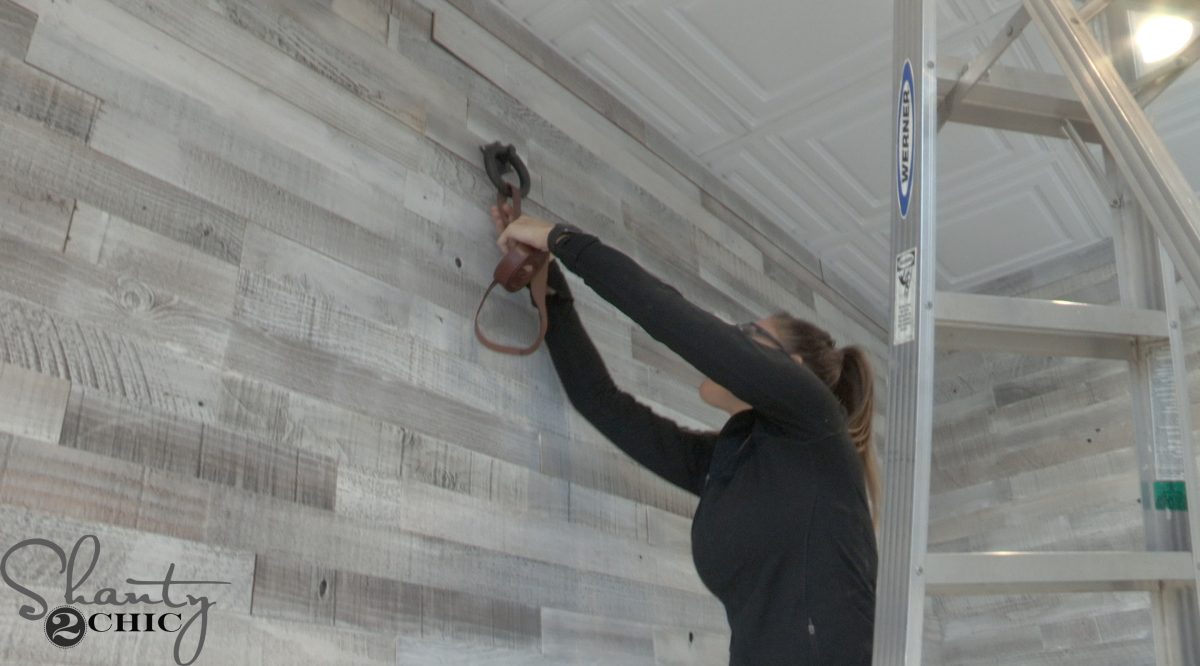
Then we used this roll of leather to hang from the pulls. We wrapped it over, from the front of the pull and attached the end of the leather piece to the back of the leather with hot glue. You can find the roll of leather that we used HERE ON AMAZON!

We used our Ryobi 18Volt glue gun – this guy is the BOMB!
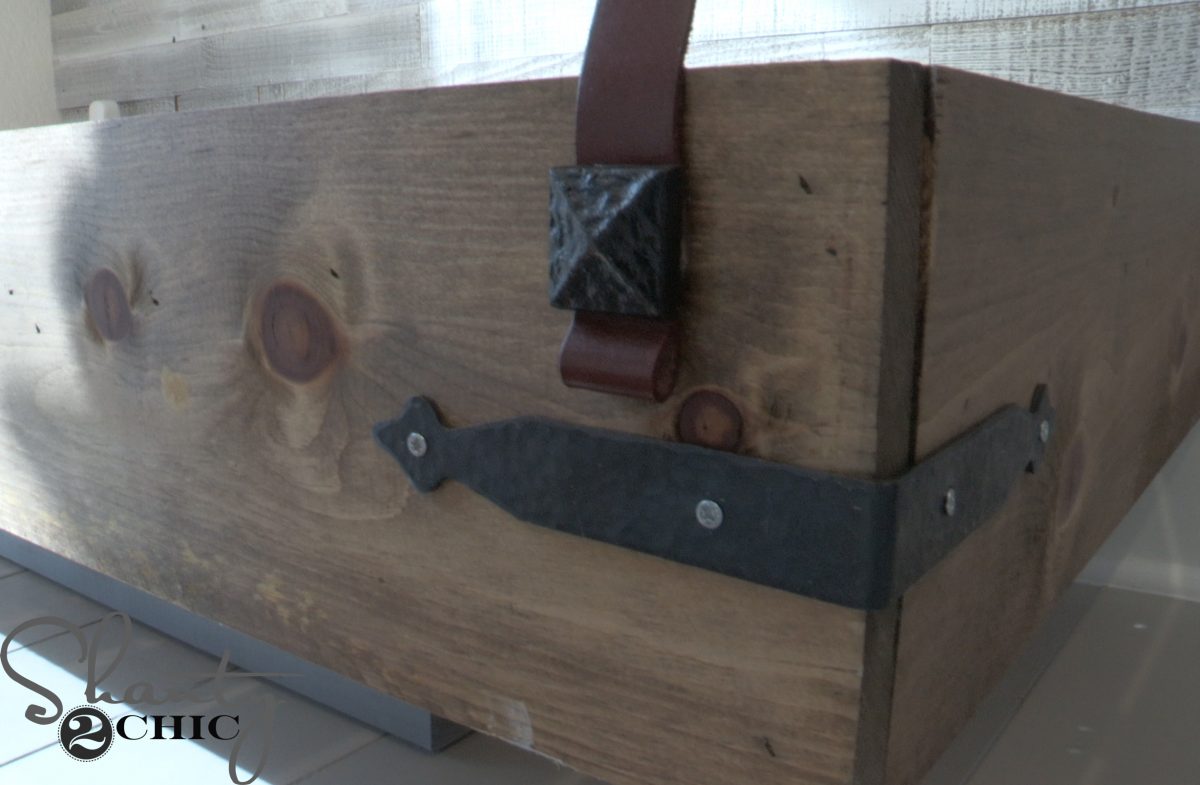
The final step was to fold the other end of the leather over and hot glue it to the back side of the leather strap. Then, we hot glued the back of the leather to the bench. We followed up by hammering this nail head (also found at Hobby Lobby) into the leather and then into the bench. The corner brace was also found at Hobby Lobby!
That was it!!
Want to know where you can find everything else in this space? Just check it out below!
Tufted Storage Ottomans: AtHome
Gray Throw: AtHome
White Cover for Mattress: Amazon
Mattress: Amazon
Pillows: AtHome
Frames: AtHome
You can find the glue bottle that we love HERE on Amazon!
Make sure to check out the other pieces in this renovation! Just click the links below!


Does anyone know what the weight limit of this item is?
are the pieces that cover 1x8x8 or 1x10x8? in the video it says something different than what is on plans
I love this idea! I love how you made it look so easy to build as well. Plus, it looks great for decoration and sturdy enough to sit on! Thank you for sharing this I would love to make something like this.
I love this!!! I am worried about it moving or shifting away from the all though with someone on it! Did you apply any rubber grippy feet or anything to keep this from happening?? We were going to do a day bed in the nook of our room, but this save a little bit of space 🙂
This is wonderful!! I want to try this in my daughter’s room…
It looks awesome. Is it sturdy enough to sit on? Or purely for decoration?