Happy Wednesday guys! We had so much fun crashing the Trend Shop last week. We hope you enjoyed that video! Today we are showing you how we built the DIY Tin Door Cabinet! Check out the video HERE or below!
How cute did that turn out??
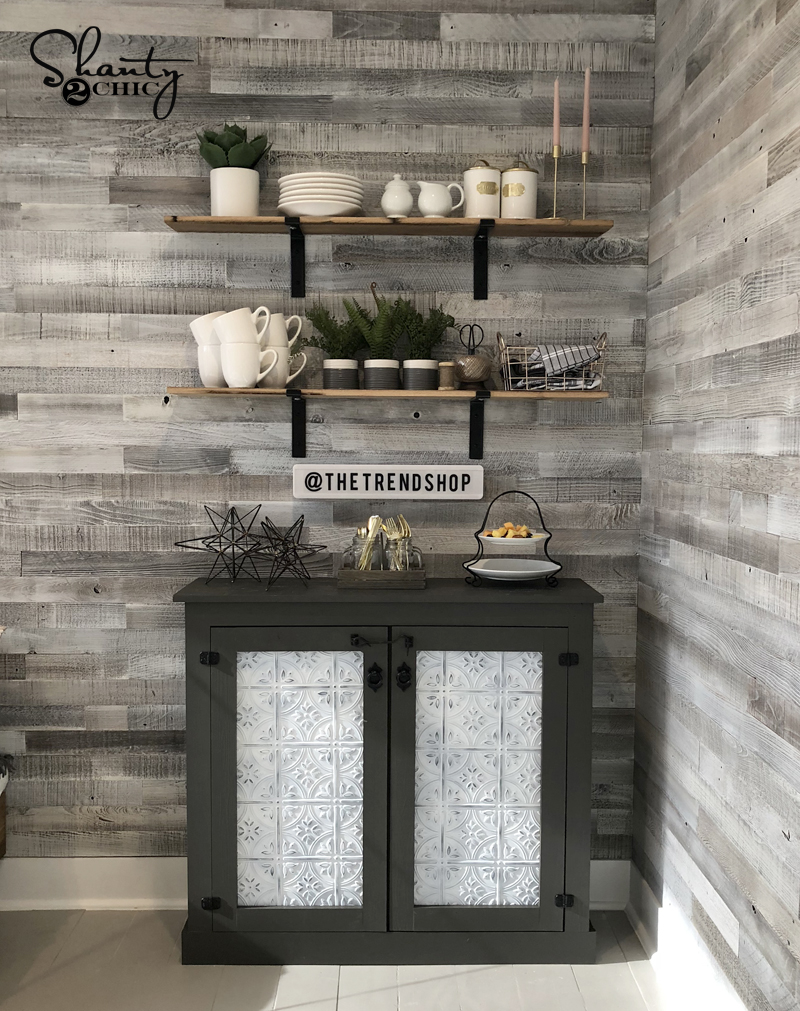
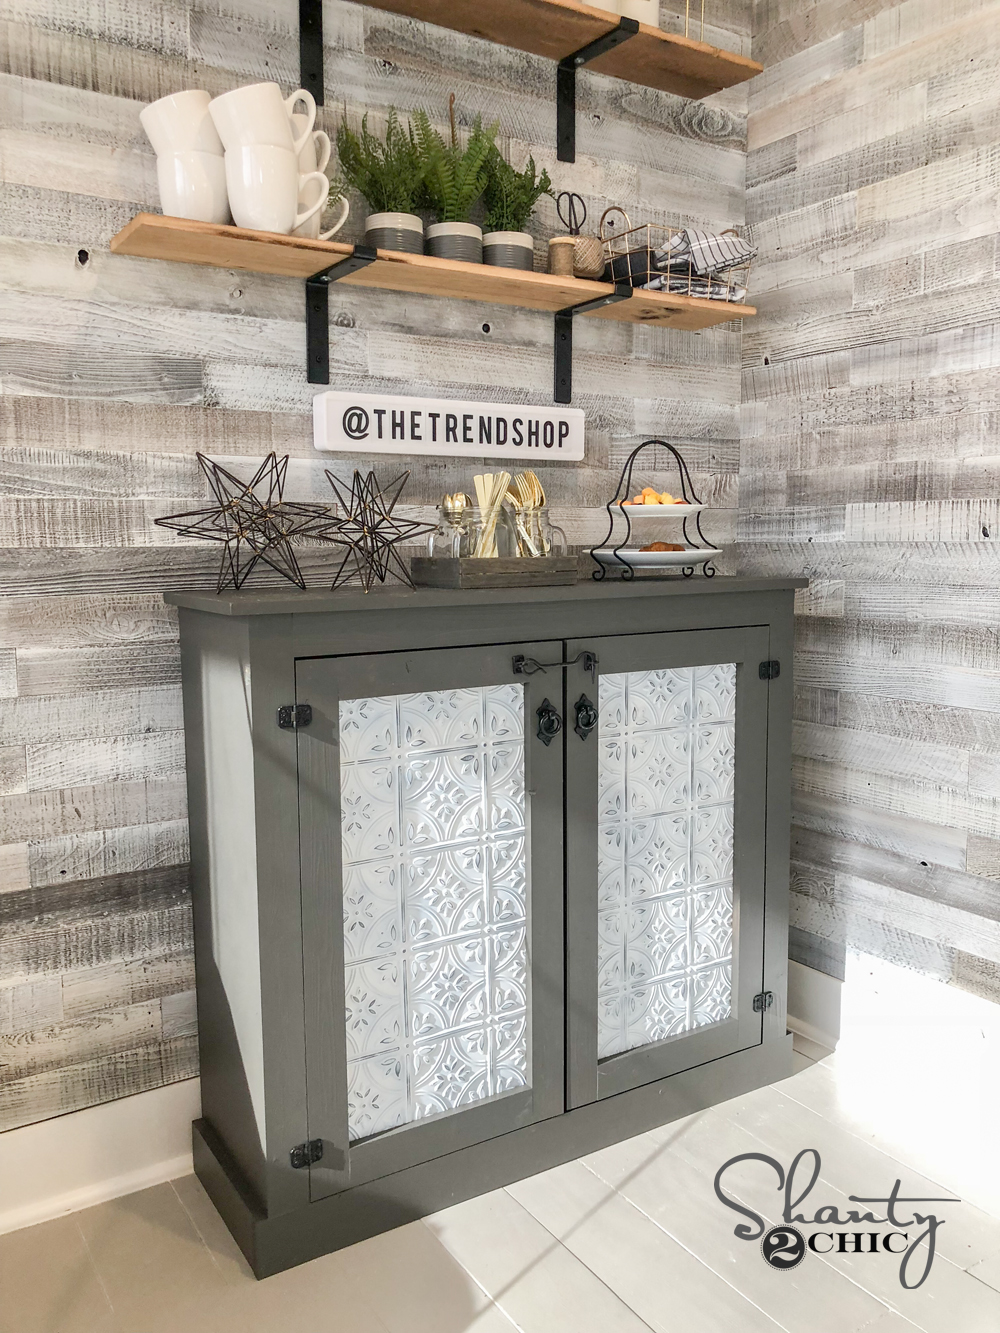
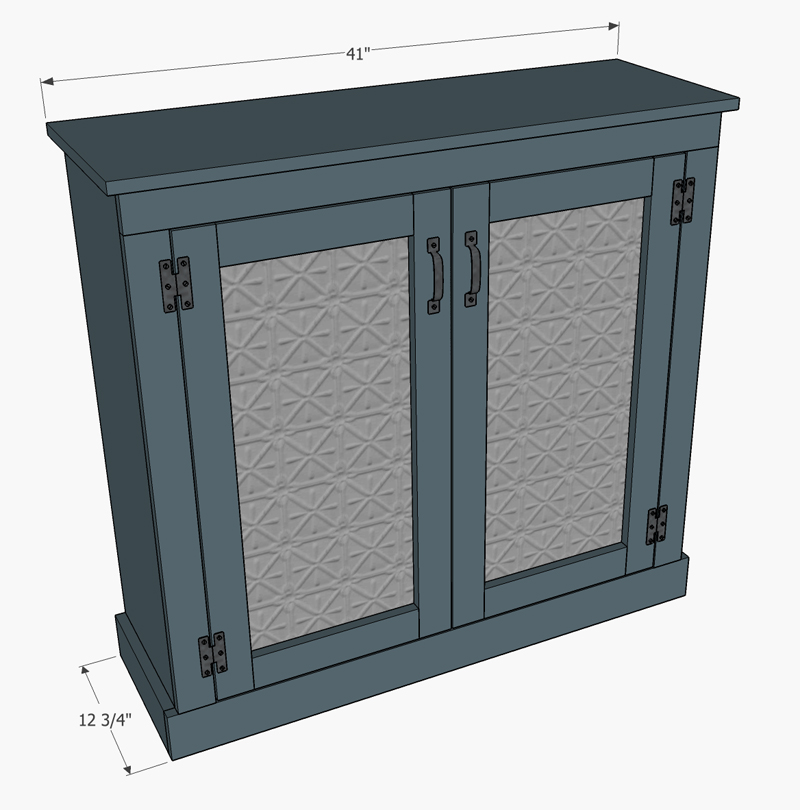
DIY Tin Door Cabinet
Before we get started, be sure to download and print out the FREE PRINTABLE PLANS by clicking HERE!
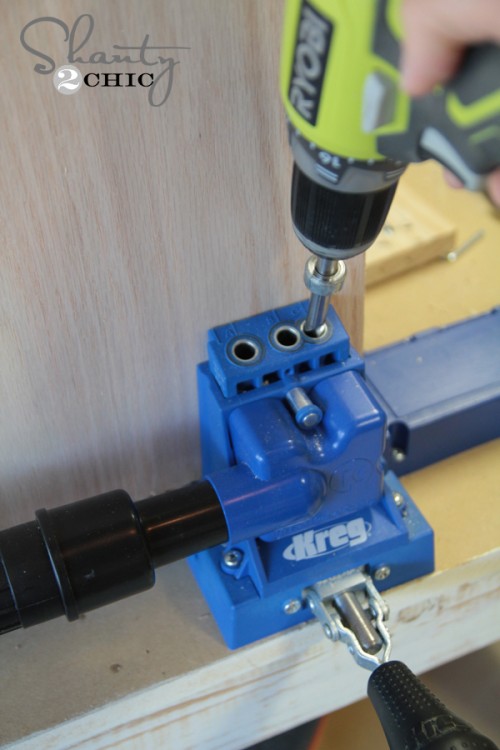
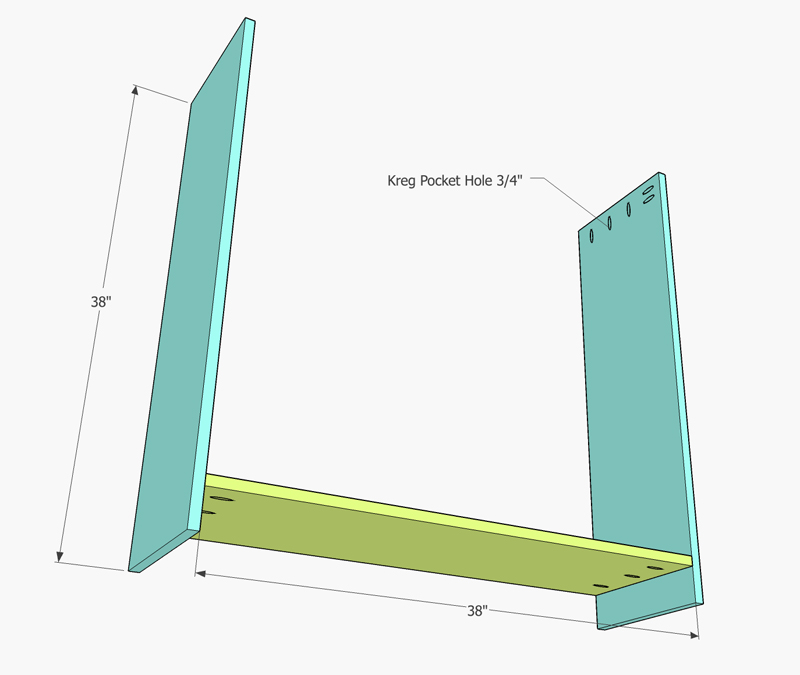
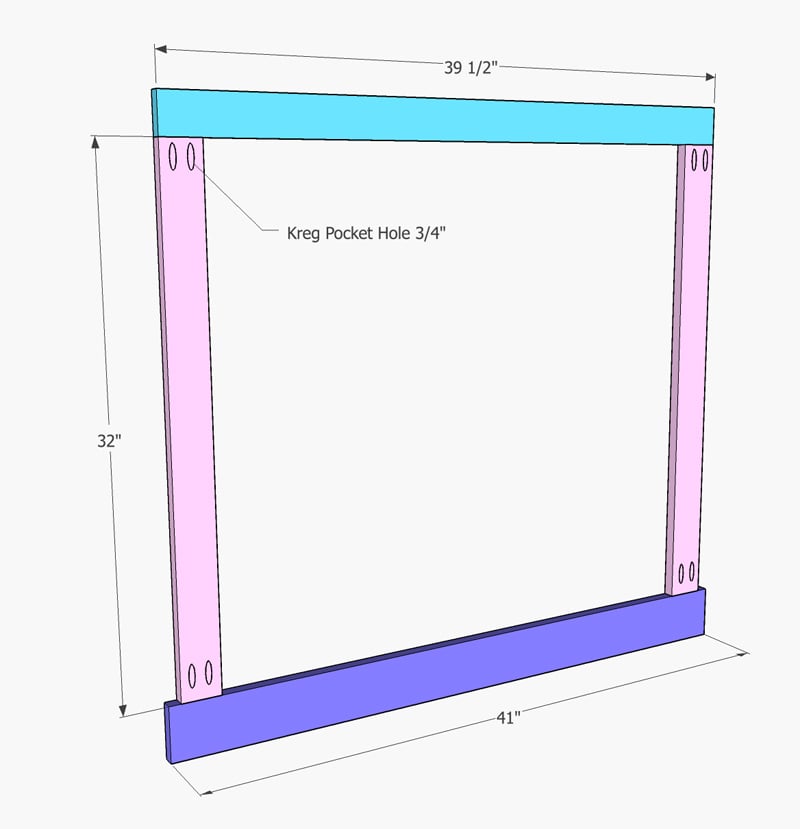
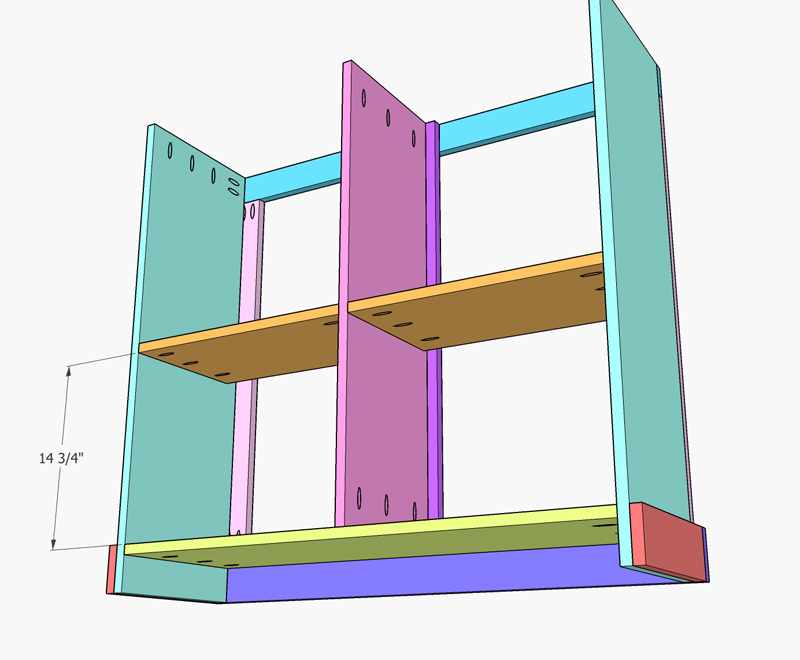
The first step is building the box of the cabinet. This uses 3/4” hardwood plywood. We have the hardware store rip it for us ,and we make the smaller cross cuts at home. Use a Kreg Jig to make 3/4” pocket holes on the base and side pieces. Attach the base piece to the side pieces using 1.25”pocket hole screws and wood glue. Line the board up 2.75” from the bottom of the boards like shown. We used our Kreg Jig K5 for to create our pocket holes. This is our fav Kreg Jig model!
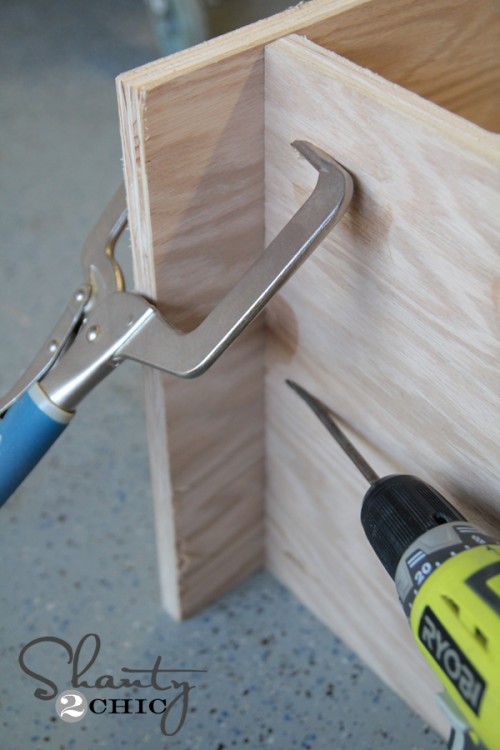
Next, cut and attach the boards for the face frame..Attach the side boards to the bottom base board and top board using wood glue and 1.25” pocket hole screws through the 3/4” pocket holes. Note where these need to line up!
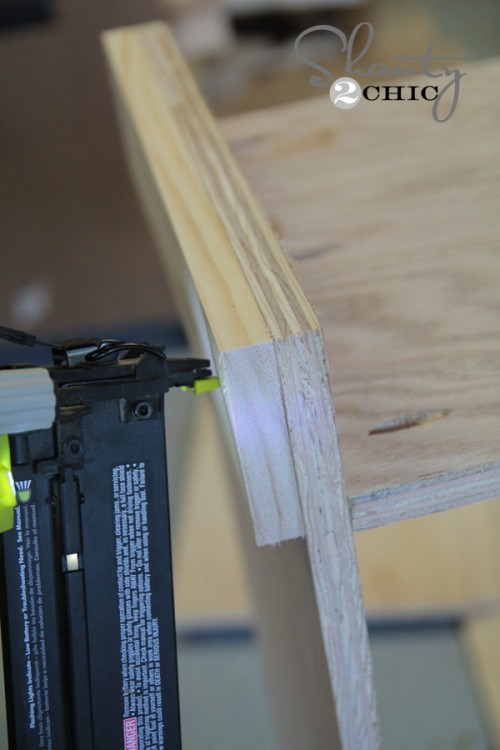
Next attach the face frame to the front of the cabinet using wood glue and 1.25” brad nails. The base board will overhang on each side by 3/4”.
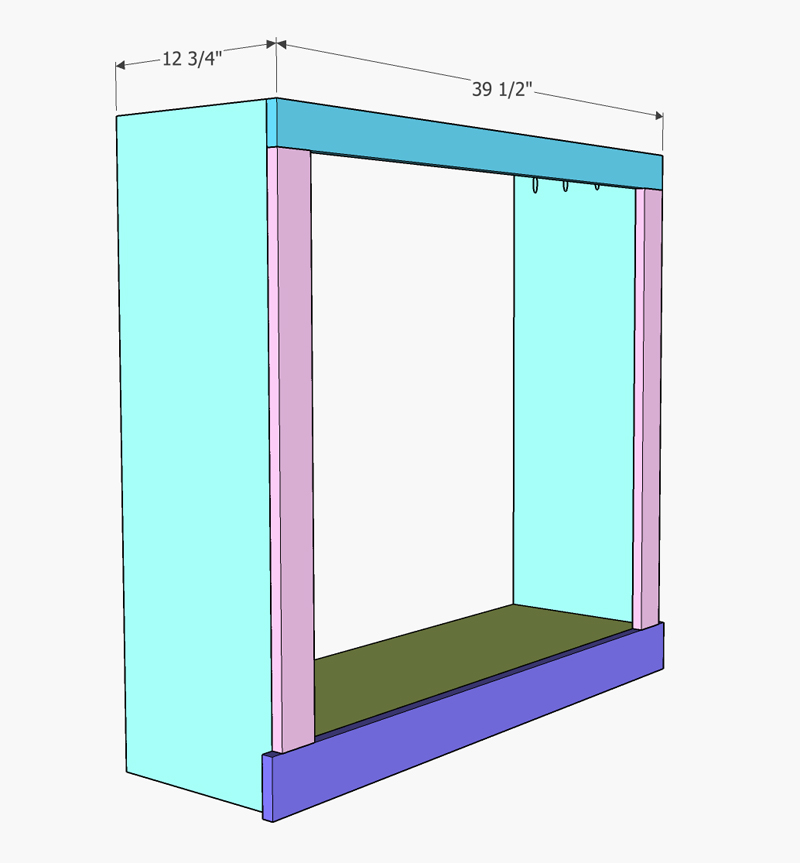
Attach the side base boards with wood glue and 1.25” brad nails.

Attach the divider to the center of the base using wood glue and 1.25” pocket hole screws. Attach the front and top of the center divider to the back of the front face frame using wood glue and 1.25” nails.
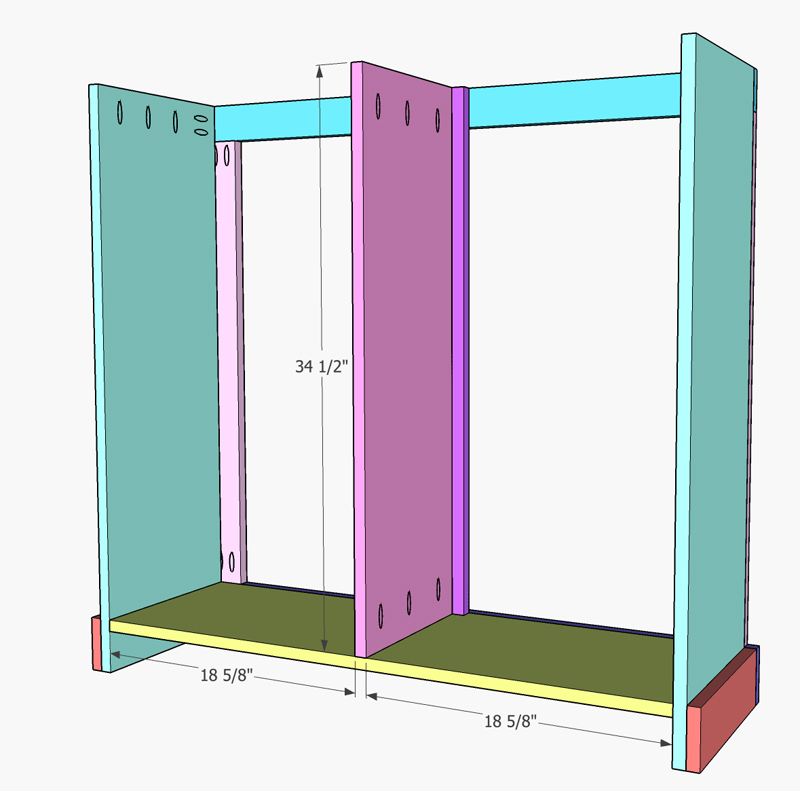
Attach the shelf boards next. These will also have 3/4” pocket holes on the bottom of both sides of each shelf board. Attach them to the cabinet using wood glue and 1.25” pocket hole screws. You can line your shelf boards up at any position that best fits your storage needs!
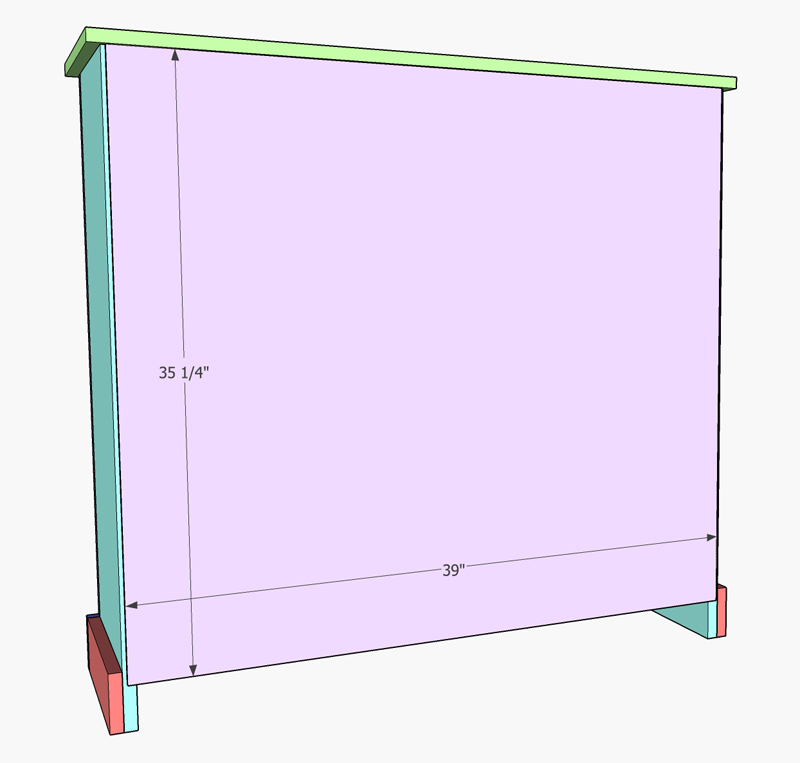
Now for the top! This is a project panel. I purchased one that was large enough and cut it down on my table saw. You will also have enough scrap 3/4” plywood to use for the top if you want to add a trim or edge band to it and save money. Attach the top by placing the cabinet upside down on the panel and use 1.25” pocket hole screws through the pocket holes on the cabinet and into the top.

The final step of the cabinet is attaching the 1/4” hardwood plywood back. We like to attach ours using a stapler, but you can also use a nailer on this part.
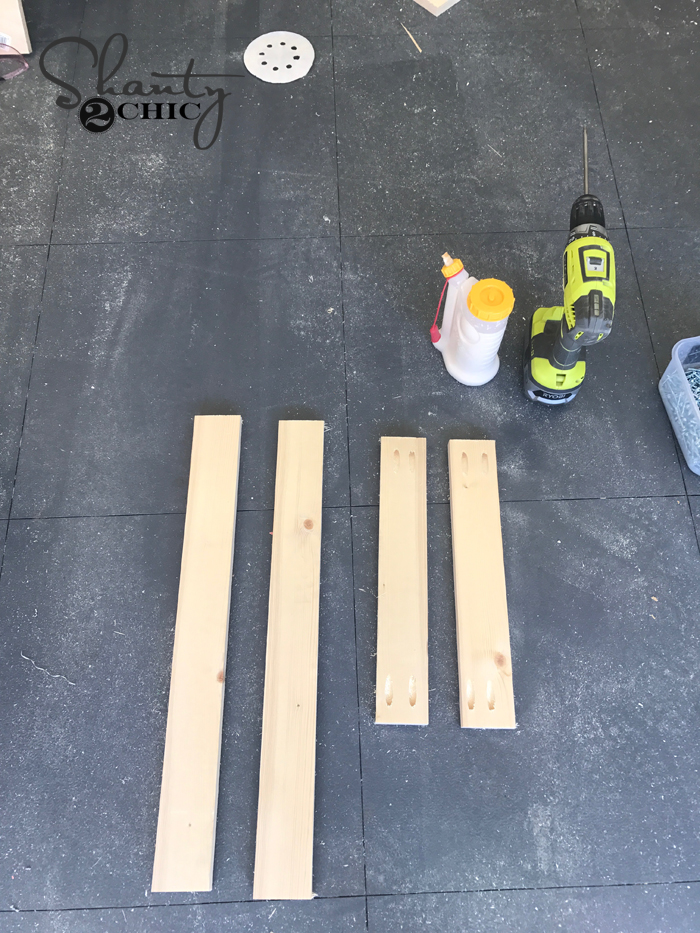
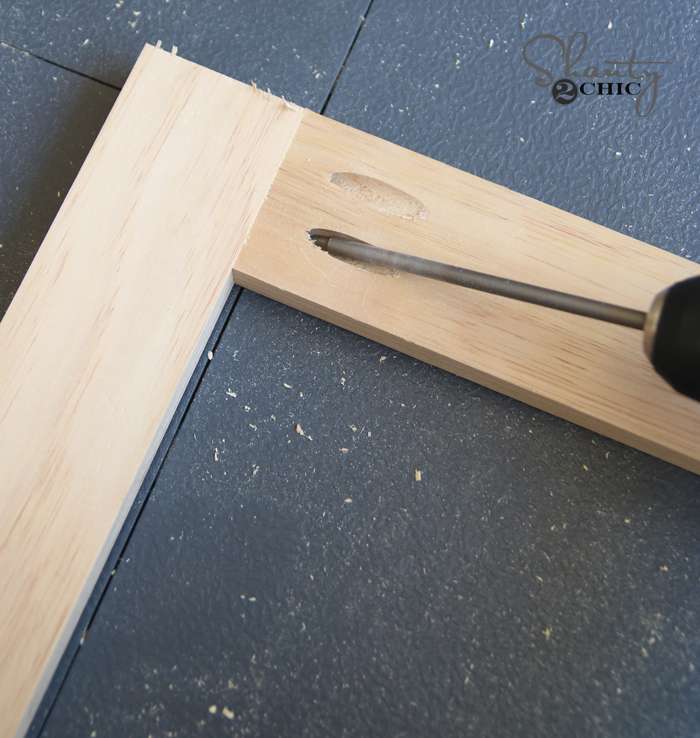
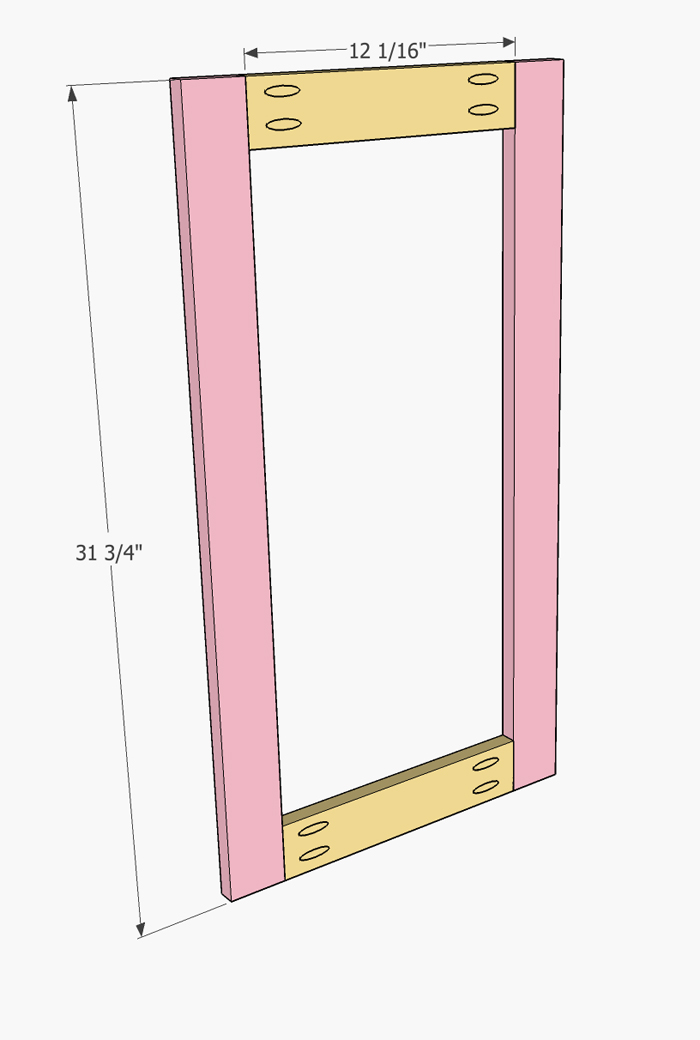
Now to build the doors! Build the frames of the doors first by attaching the smaller 1×3 boards to the longer 1×3 boards using wood glue and 1.25” pocket hole screws through the 3/4” pocket holes. I have given measurements here, but it’s always best to measure your cabinet to get an exact fit!
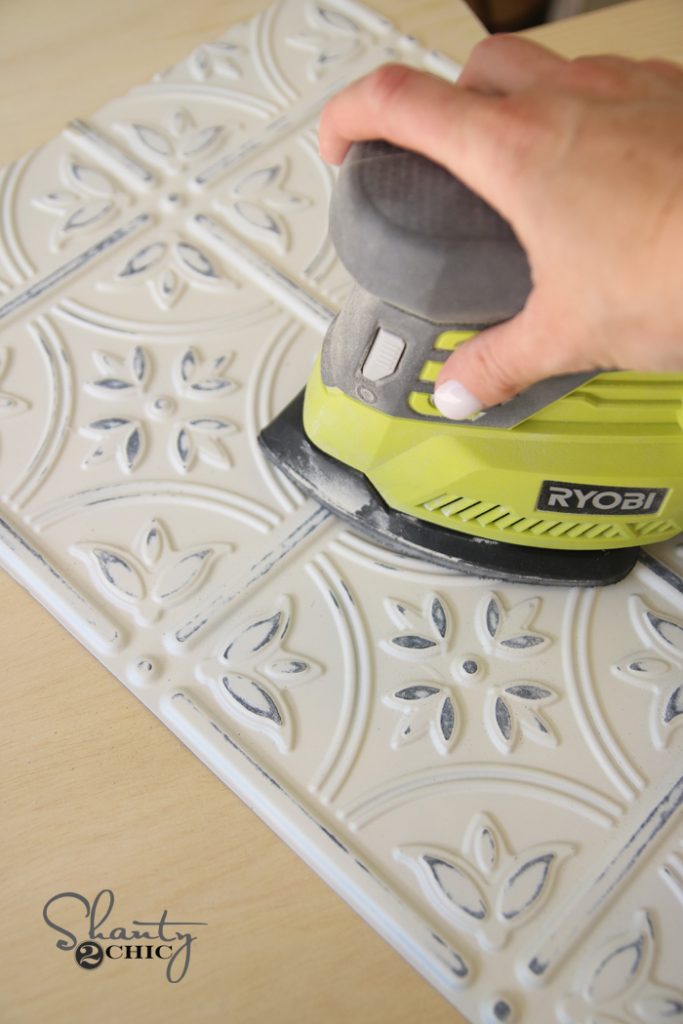
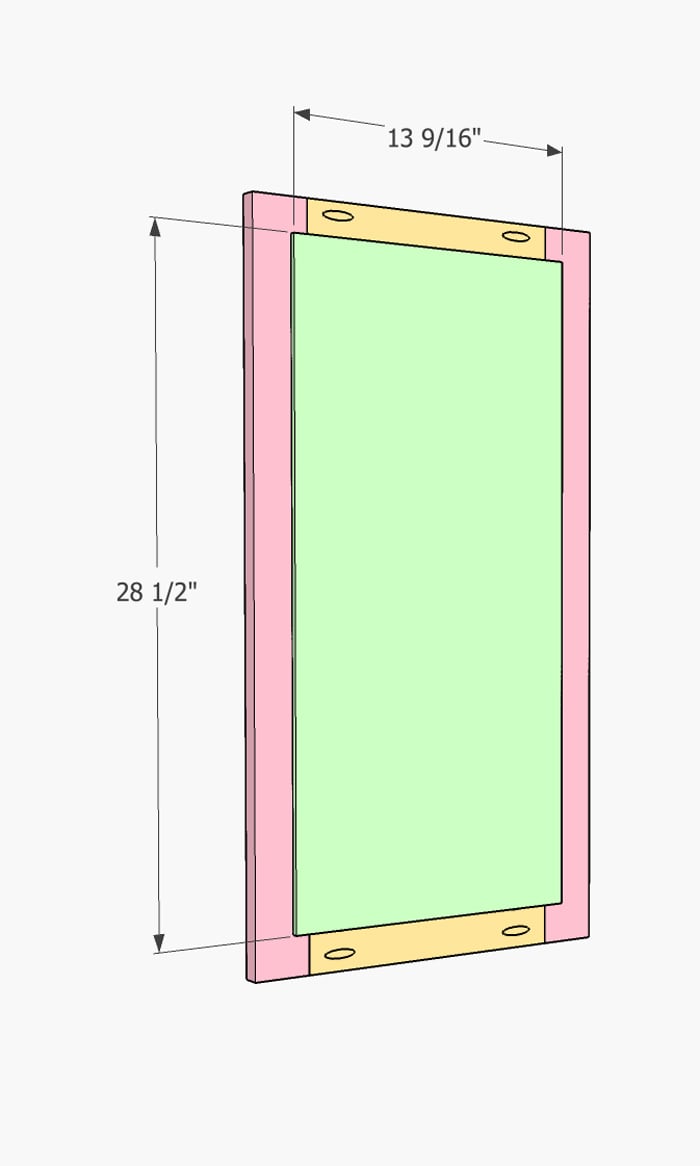
Once you paint the faux tin and it’s dry, and paint or stain your door frame, use a hot glue gun to attach the faux tin panel to the plywood backing. Then, use a stapler or nailer to attach the panel to the back of the door frame. These faux tin panels are the BOMB. You can find them HERE on Amazon!

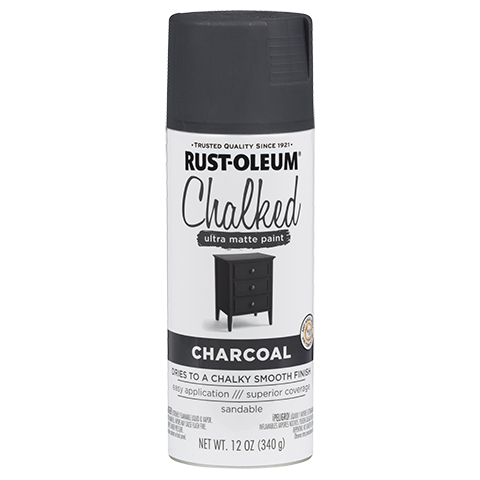
We painted the cabinet in Rust-Oleum Chalked paint in Charcoal.
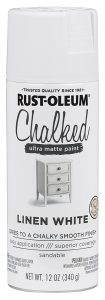
And the tin door panels are painted with Rust-Oleum Chalked Paint in Linen White!
DIY Tin Door Cabinet – Hobby Lobby Hardware!
At this point you can add your hardware! We found all of our hardware for this piece at Hobby Lobby!
Don’t you love how it turned out???
DIY Tin Door Cabinet – Share With Us!
Don’t forget to share your finished projects with us! Just use #shanty2chic when you share them on Instagram!
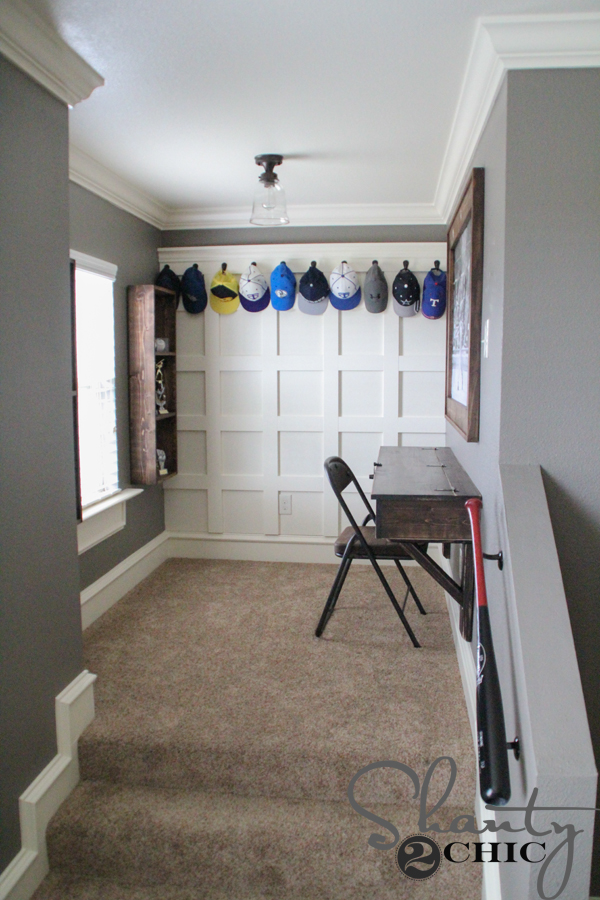
Check out the other DIY Projects in this Space!C

Any idea where the faux tin panels can be found? Amazon no longer has them
What faux tin product did you use and where was it purchased?
????⭐?
⭐?⭐?⭐?⭐?⭐?⭐?
????⭐?
I built my own using the plans at www. WoodworkPlans.info – highly recommended you check those out too. They are detailed and super easy to read and understand unlike several others I found online. The amount of plans there is mind-boggling… there’s like 16,000 plans or something like that for tons of different projects. Definitely enough to keep me busy with projects for many more years to come haha
Head on over to www. WoodworkPlans.info if you want to learn more – click the pink link above for some more plans! Best of luck on your building adventures!
✌✌✌✌✌
⭐?⭐?⭐?⭐?⭐?⭐?⭐?⭐?
Do you find spraying the chalked paint easier than brushing?
How many cans of spray did it take? Did you spray inside too?
Are you putting the faux tin over the entire door panel and then covering it with the frame or are you just cutting it out to fit inside the opening?
I LOVE this! I also love the shelves above this. what did you use for boards and size??
Also What color Stain or Paint did you use on the Cabinet ?
What’s the computer program that you use when making your plans?
Thank you for the plans! Love this and love how mine turned out!
Did you apply the Rustoleum Chalked paint as a spray or did you brush/roll it on?
Really inspirational! Thanks for sharing.
I love this! I’ve been looking for the perfect coffee cabinet to put in an empty corner of my kitchen, and this totally looks like it would fit the bill.
I love this! Great job!
How do you finish your chalk paint up to protect it? Do you put wax over it or something else? Do you make it smooth in any way or should it be a bit rough, as it IS chalk paint?
I made a spice cabinet about the same way, oh, 15-20 years ago. Used honest milk paint. Punched copper for the panels. Yours looks as good as mine.
LOVE! This is very inspiring. I just saved the directions which are always so good and detailed. A project to hit when it warms up a bit. BRRRR…stay warm!