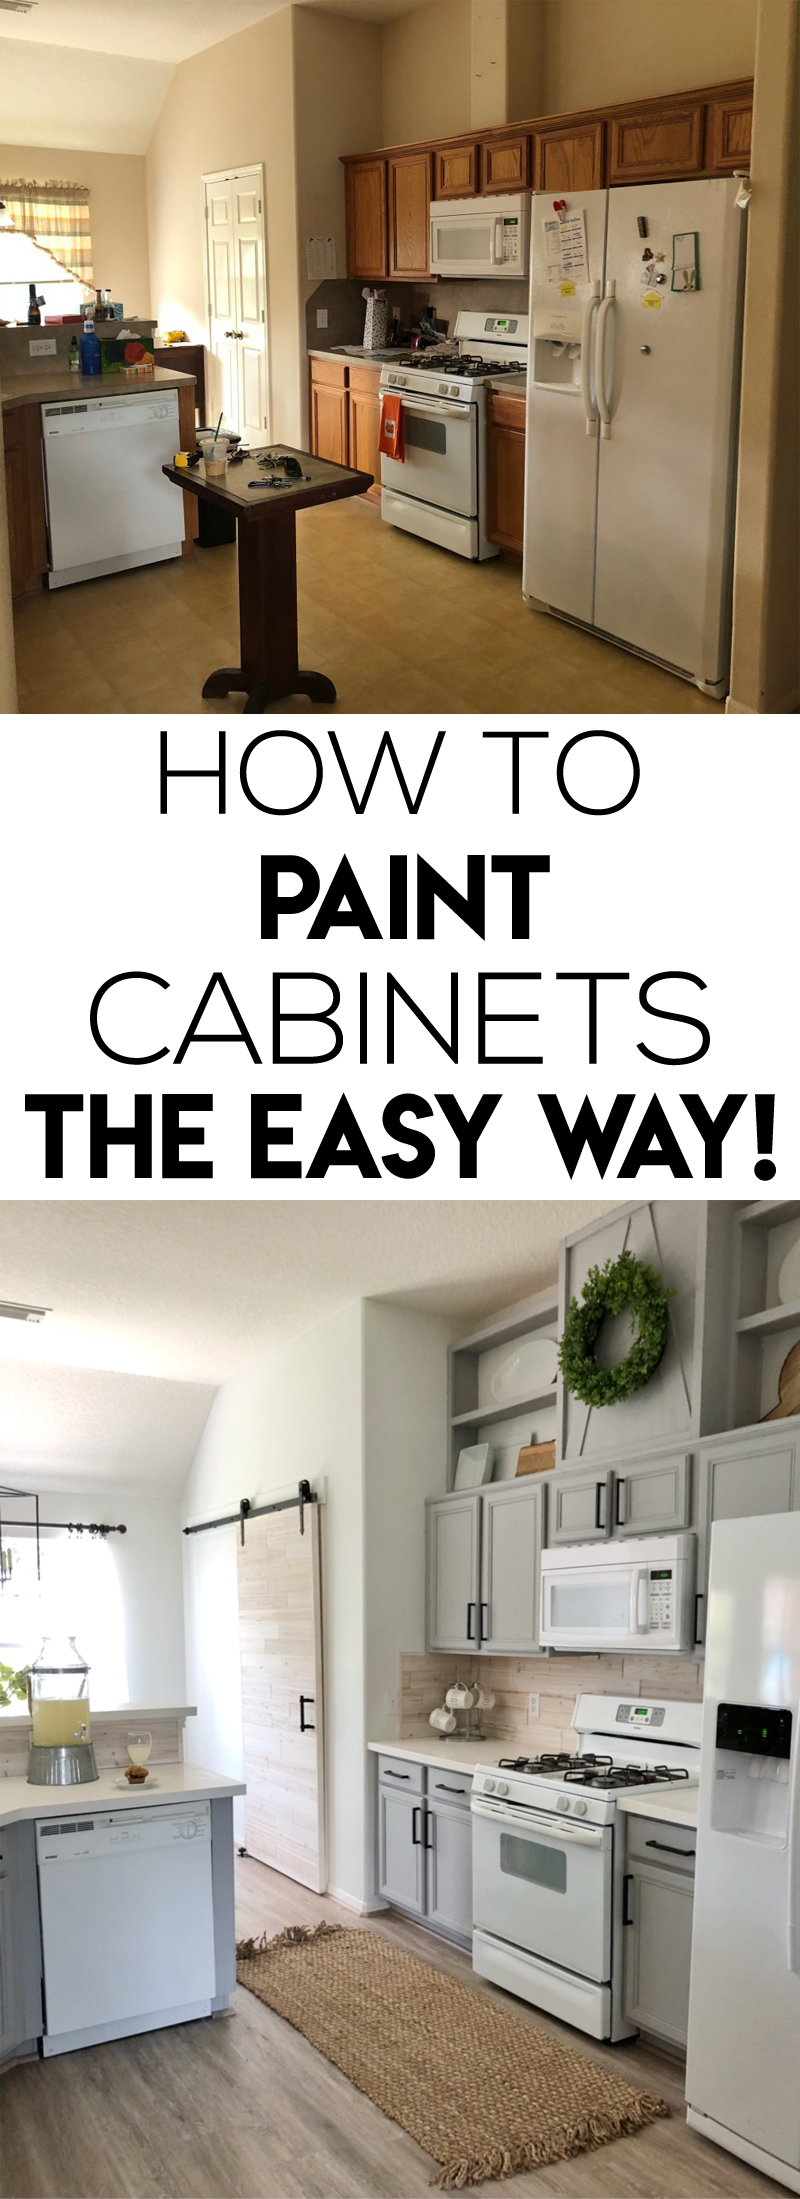
One of our top questions we receive on an almost daily basis is… How do I paint my kitchen cabinets? There are a ton of ways to paint cabinetry, as well as a ton of products. We have recently found lots of success using this method here! Come check out how we gave our sister’s cabinets a whole new life with a few cans of paint! Just click Play in the box below to watch!
Paint Kitchen Cabinet
This really is such a simple process. The first thing we did was remove all of the cabinet doors.
Next, we used a degreaser over the surface of all doors and faces and frames. This is the degreaser we used HERE!
HERE is a link to the paint we used. The color we chose to use for our sister’s cabinets is called Platinum Ring.
HERE is a link to the larger brush we used for the larger surfaces, and HERE is a link to the smaller detail brushes we used in corners and smaller spaces.
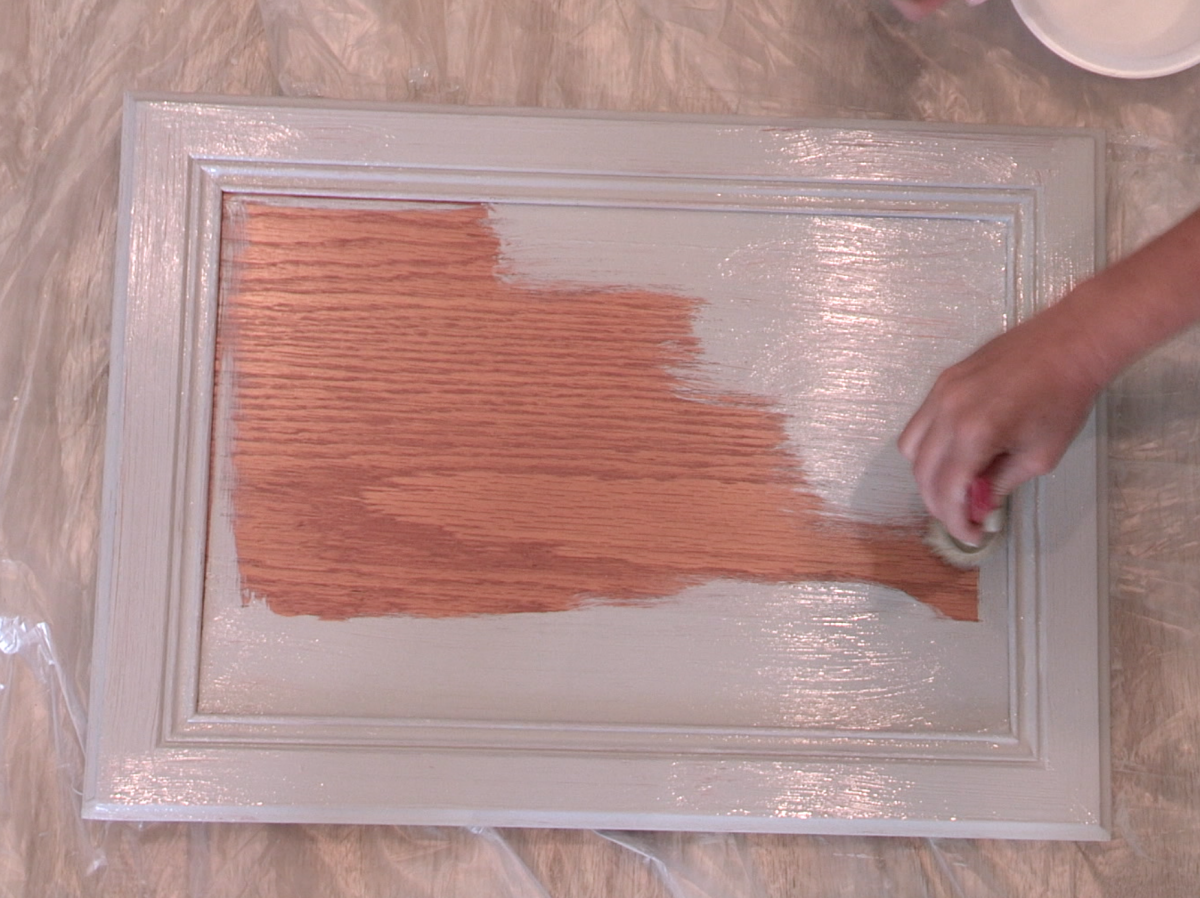
We started with our doors first. NOTE – Make sure to label doors as you remove them. This will keep you from getting them mixed up after you finish up. We painted the outside of each door first. Be sure to watch the video to see our little tip that makes a huge difference when applying the paint!

Then, we worked our way in and painted the insides. Make sure to let the first coat dry before going to the second. This stuff dries quick!

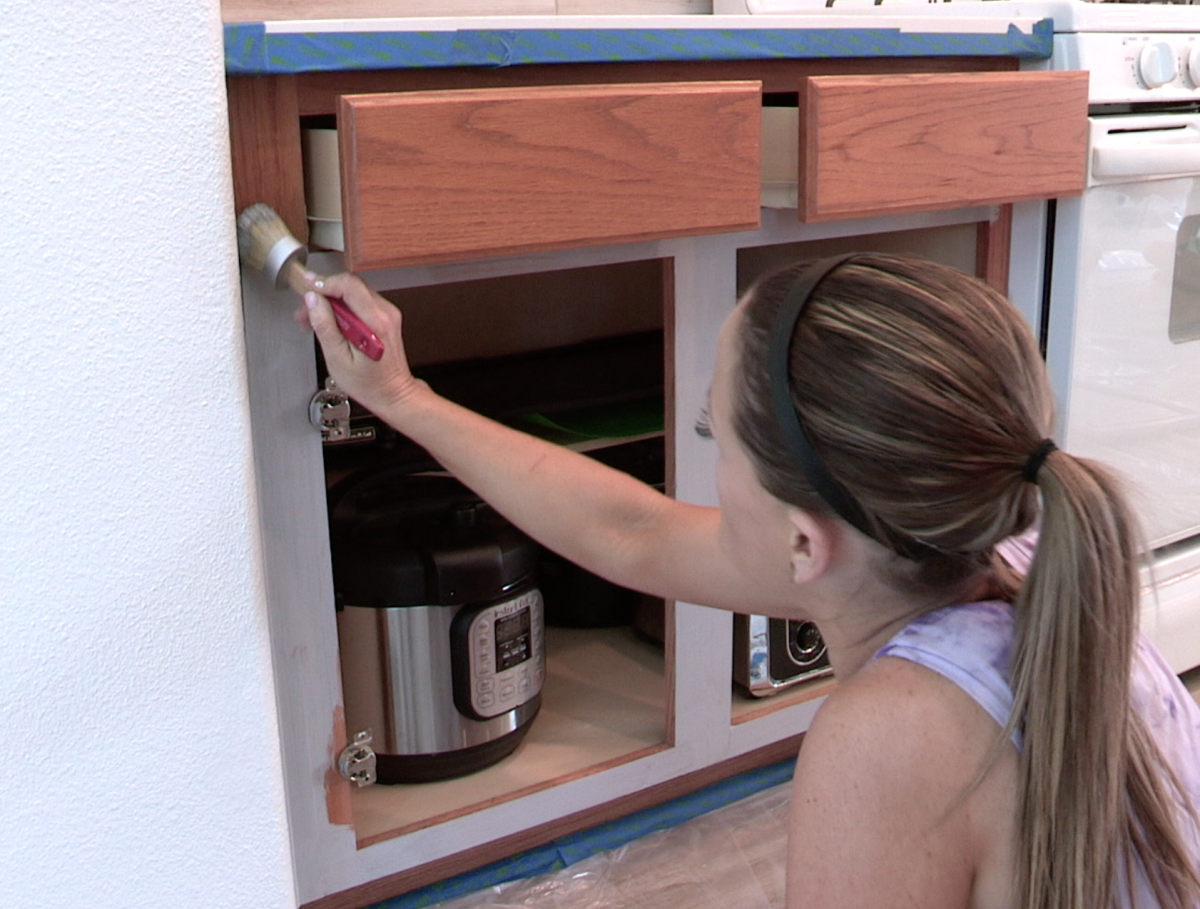
Once all of our doors were dry, we started working on the cabinets themselves. You can remove drawers entirely and set them on their ends to paint, but we just pulled each one a few inches out and painted them in place. We were in a hurry 😉
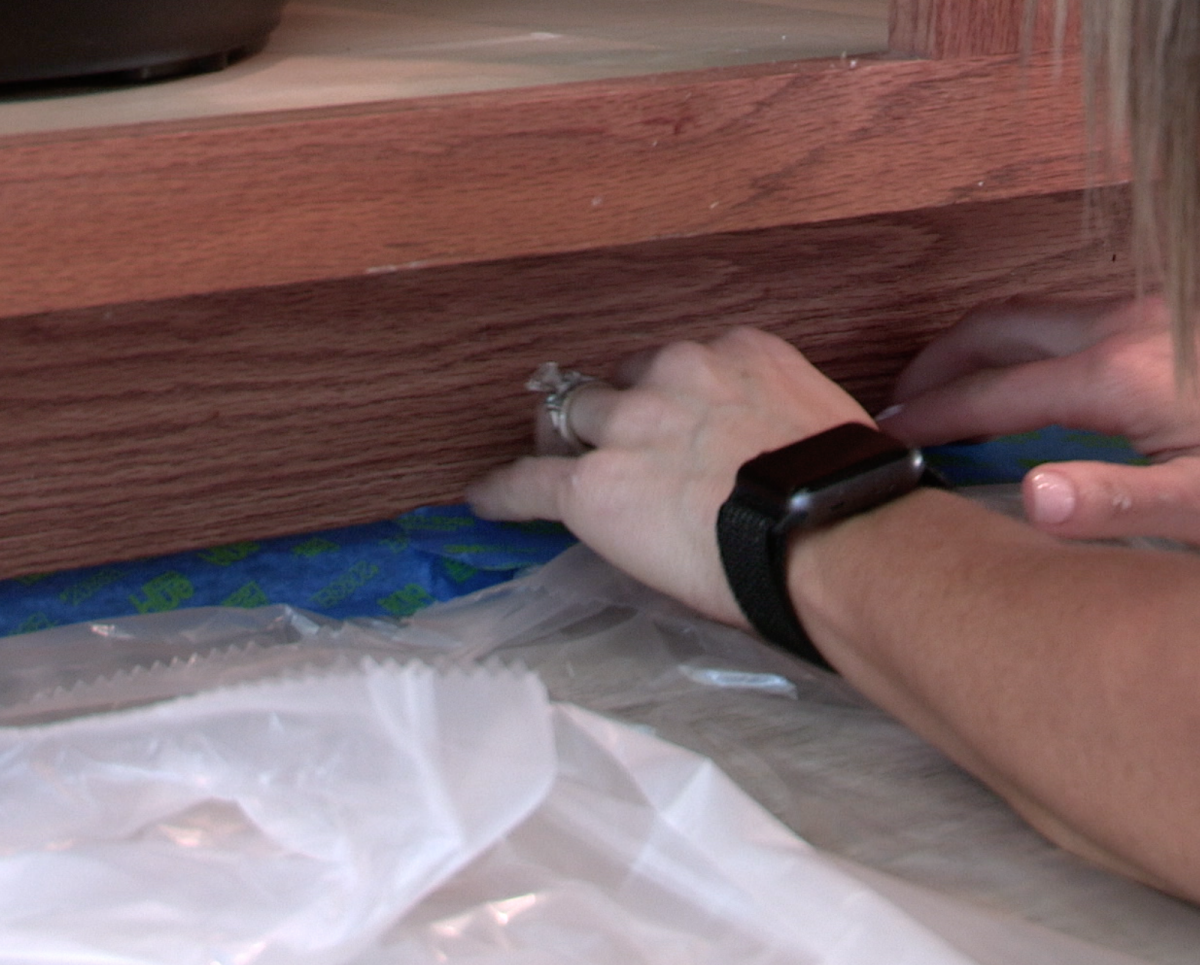
We taped off the floors and countertops first, and then started applying the paint using the same trick where we dip the brush in a tiny bit of water before applying.


Once everything was dry, we applied the next coats. The second coat is basically a repeat of the first one, and the third coat covers any brush strokes or imperfections you may see. It’s a much faster coat.
We let everything dry at that point and then gave it all a coat of Polycrylic. You can see the one we used HERE! THIS IS A MUST! You need to put a finish on chalk paint because it is water soluble, and water happens in a kitchen. Your paint will start removing over time without a good top coat.
So, now let’s take a walk down memory lane! This is always the fun part!
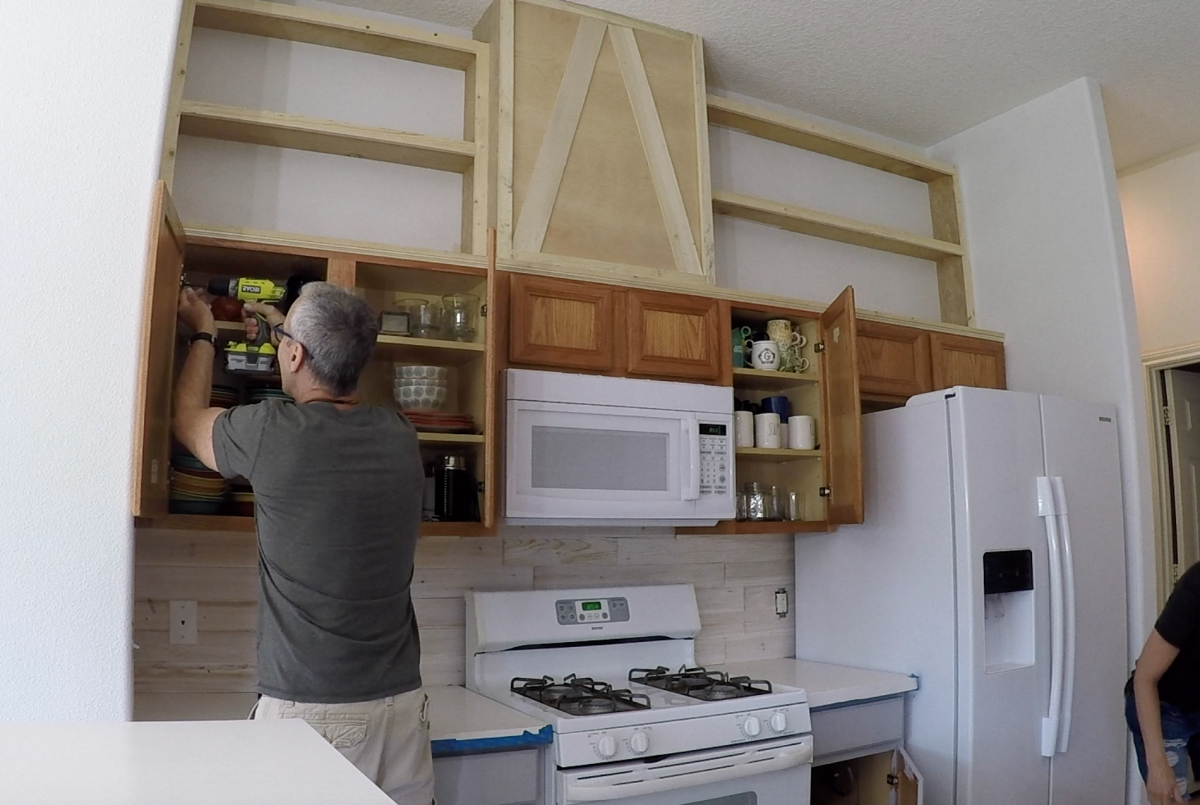
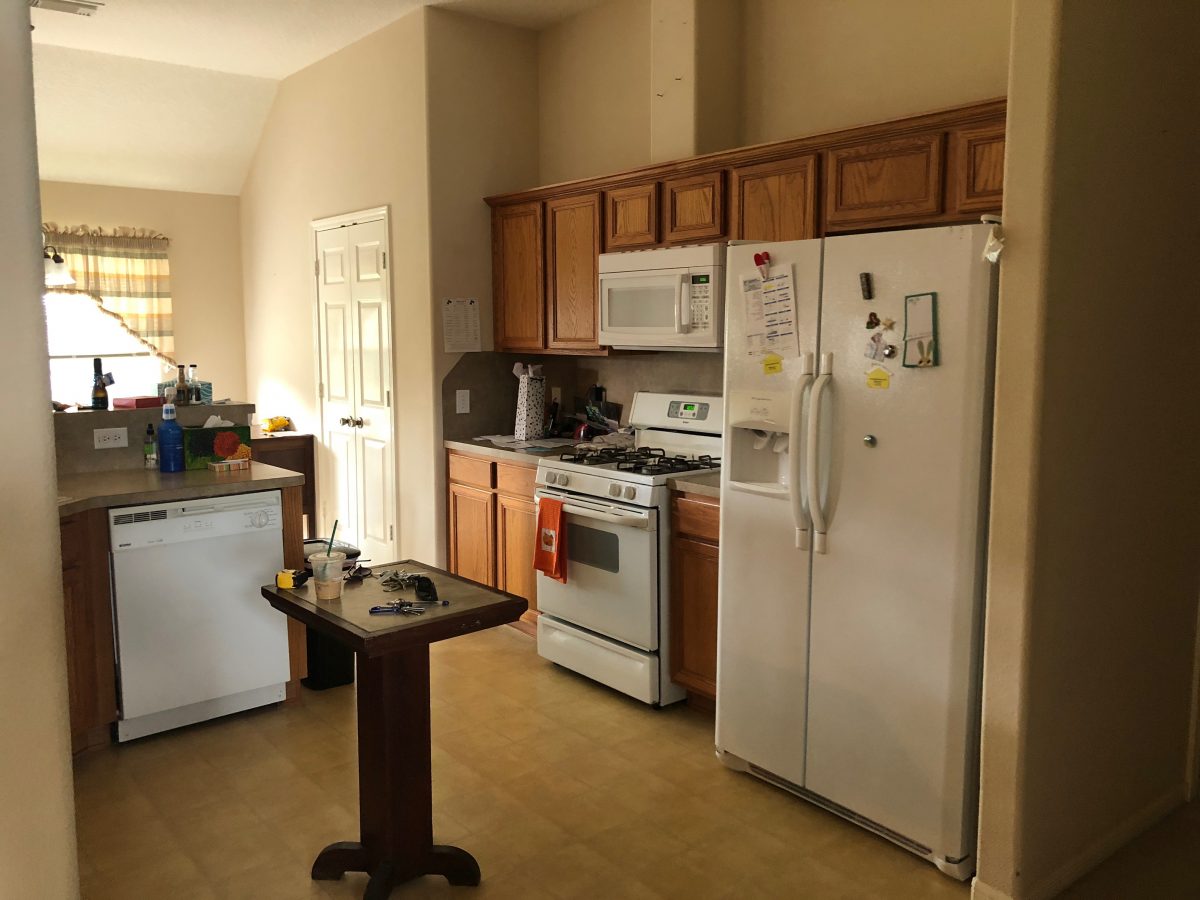
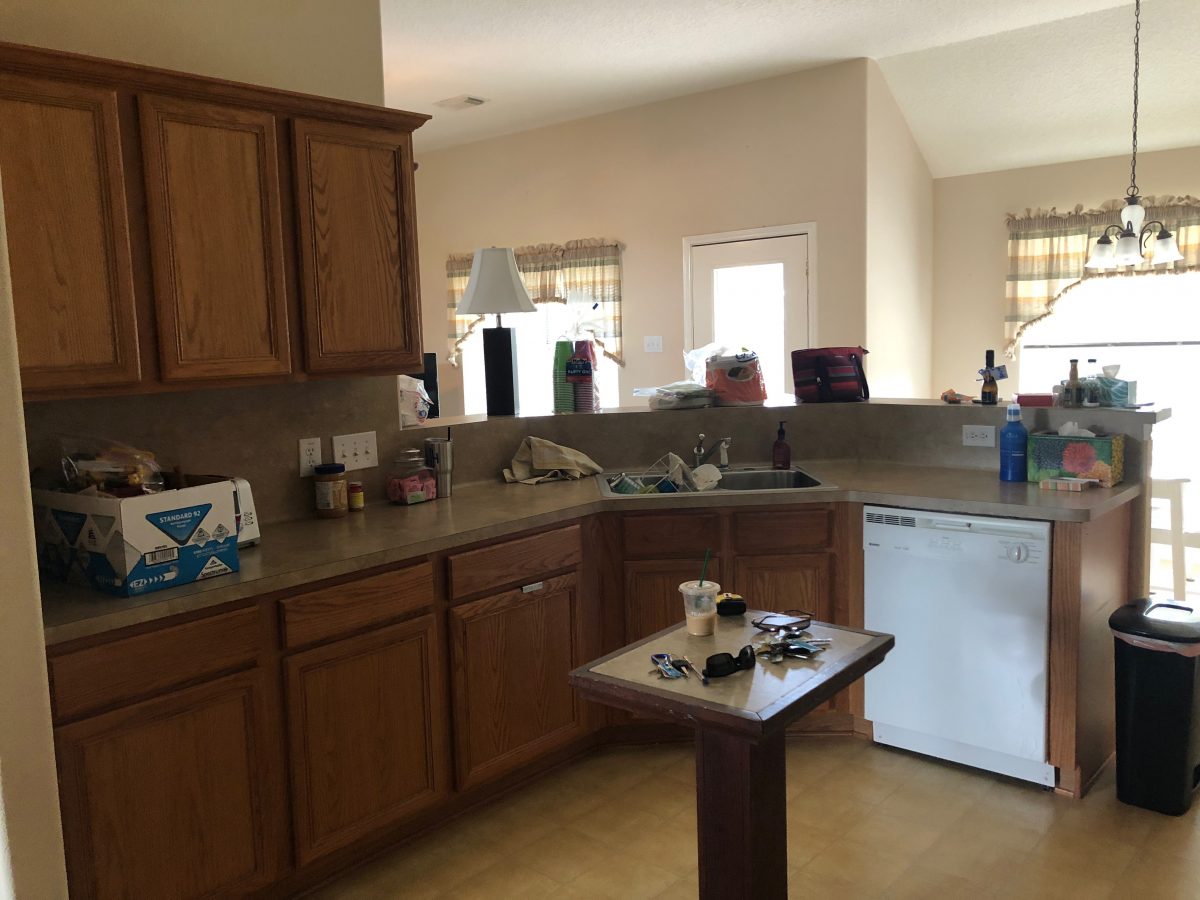
Builder-grade BLAH before…
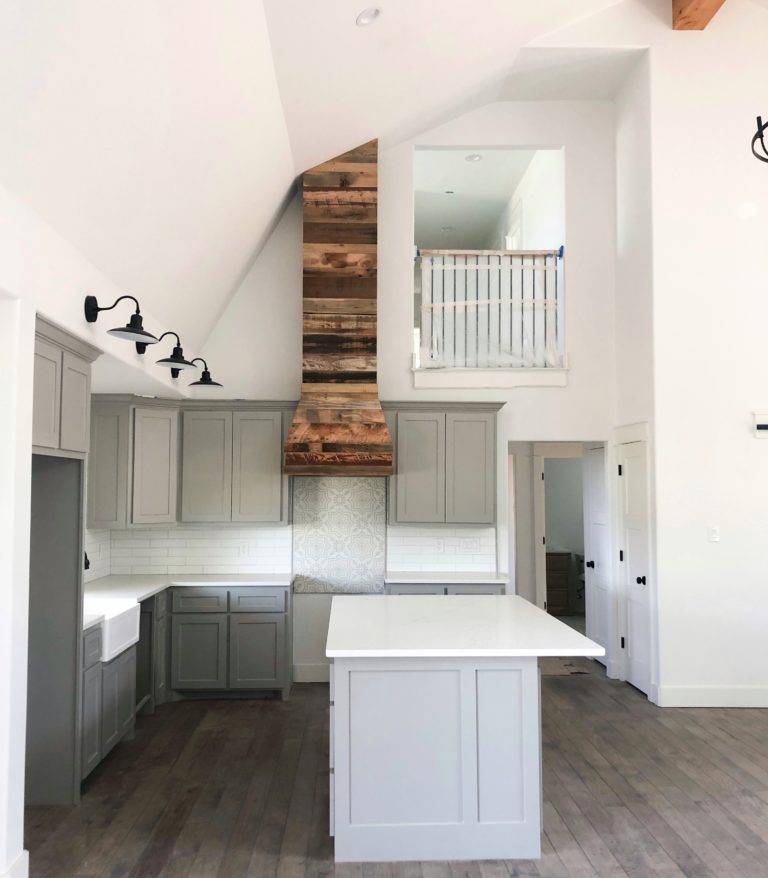
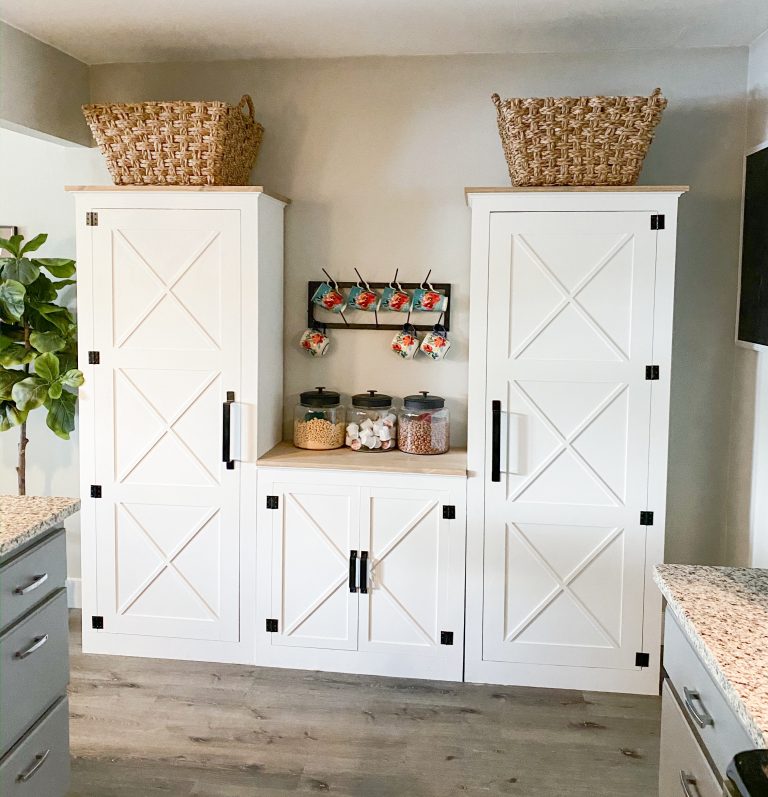
To AMAZING!

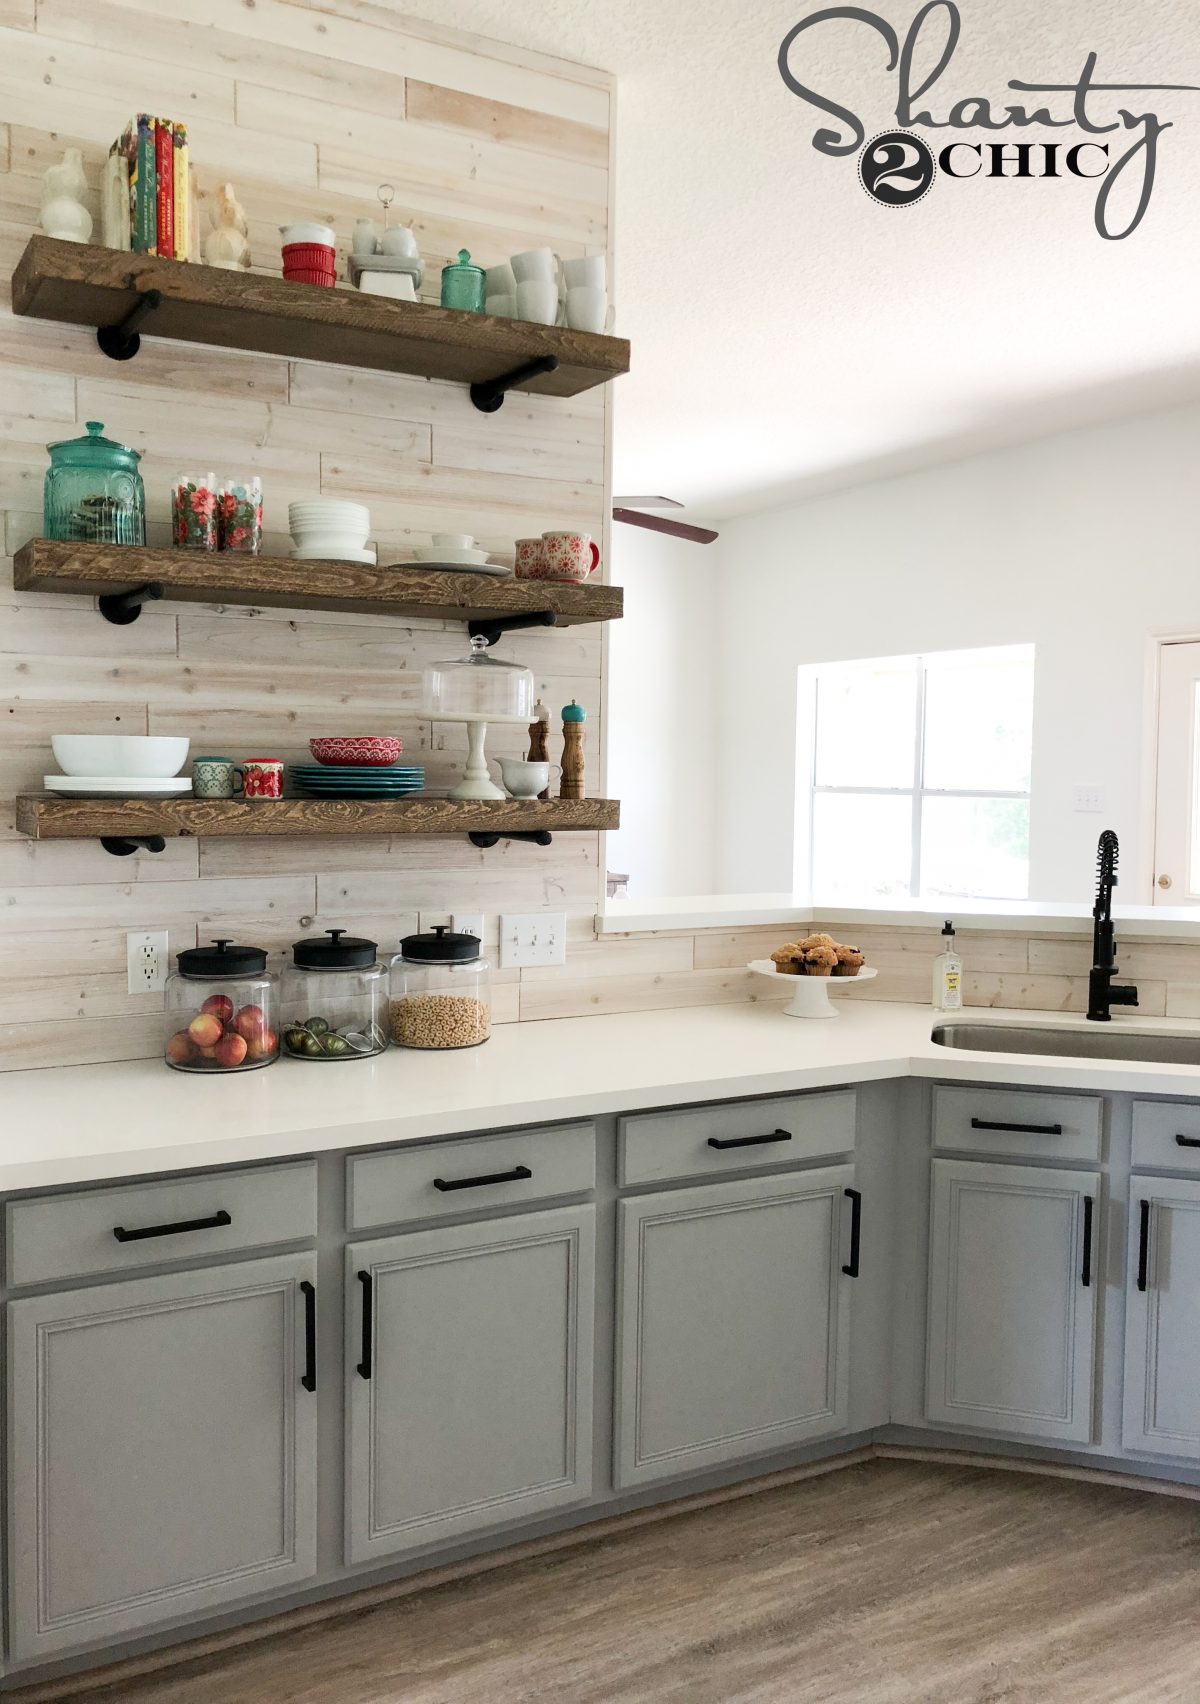
It seriously is crazy how much change you can create in your space with just the paint alone! Here are links to everything else you see!
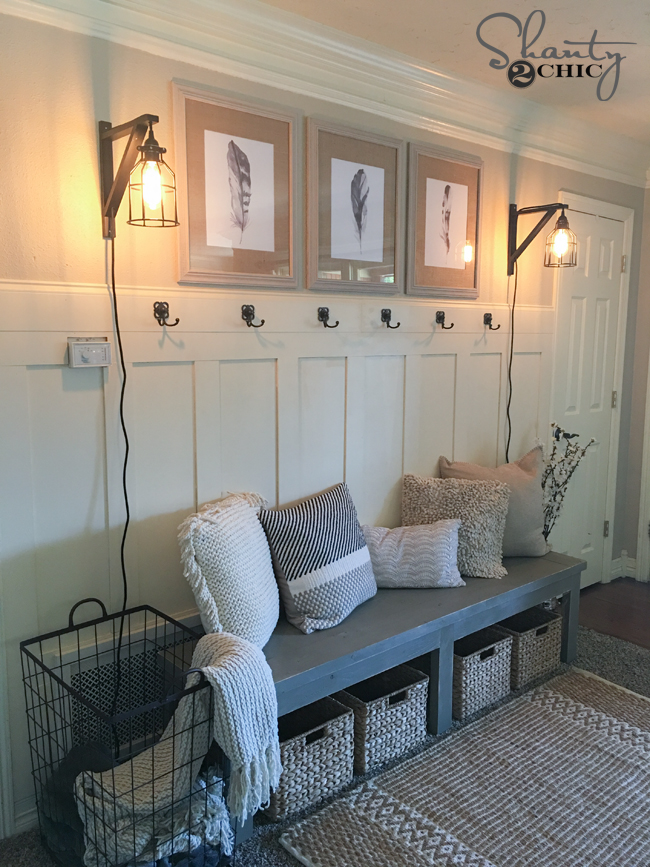
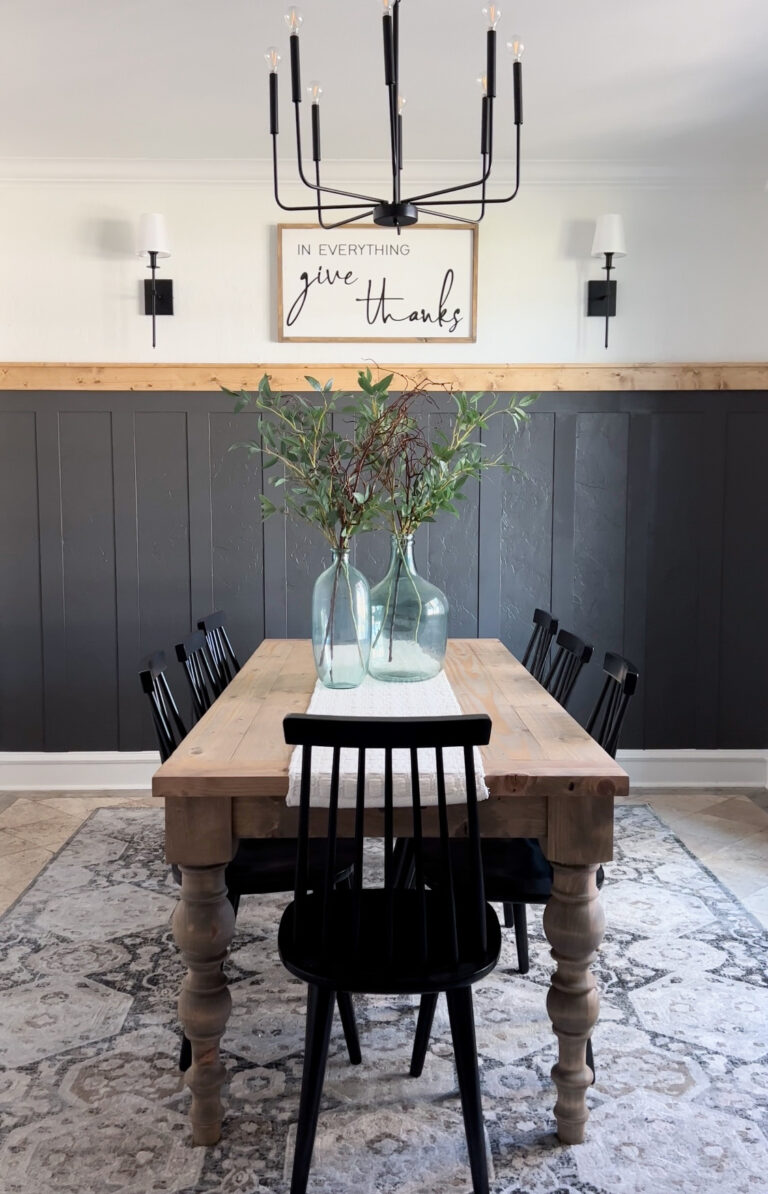
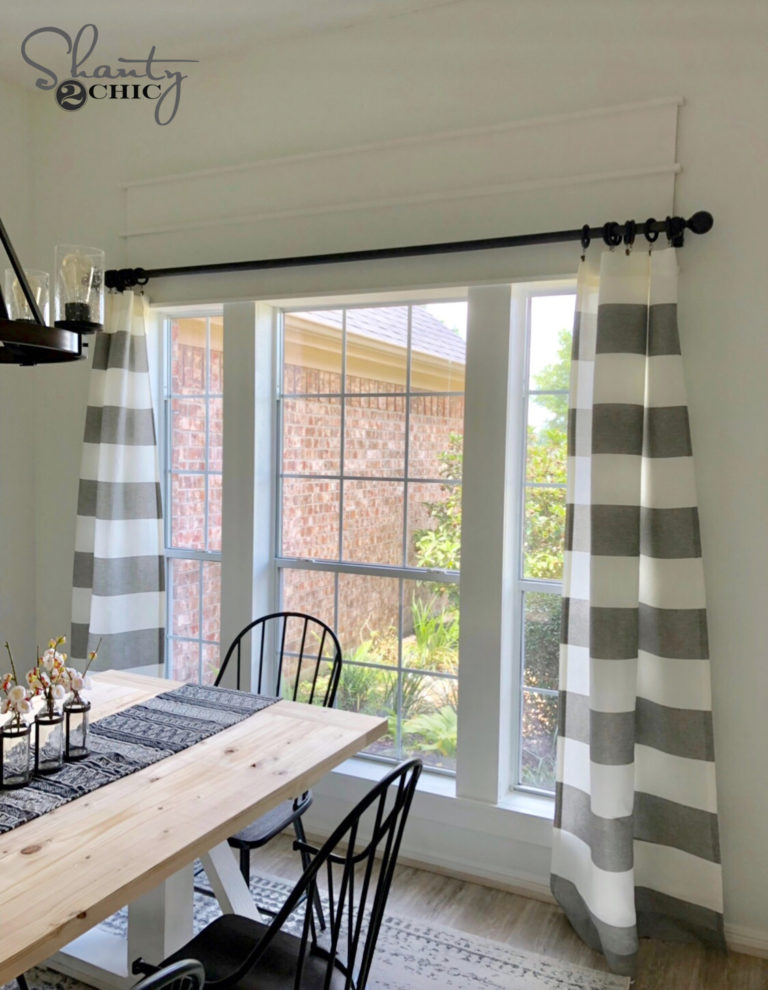
Check out the other projects that we did in this ShantyHouseCrash
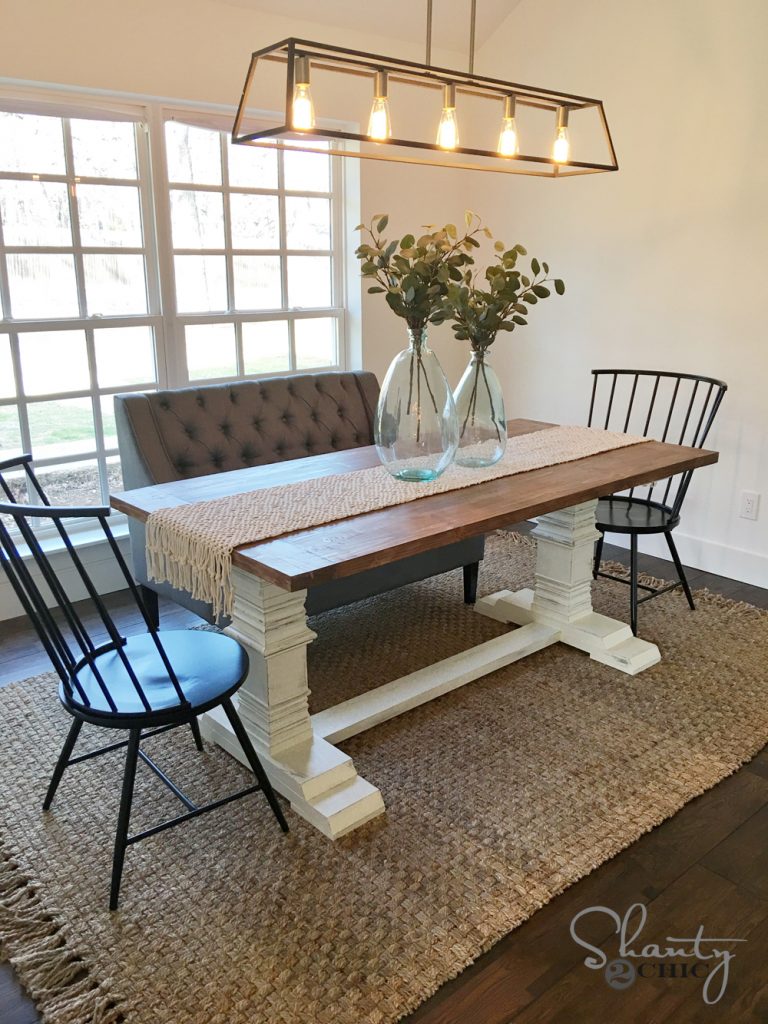
Farmhouse Dining Table – Free plans and how-to video live, now!
DIY Driftwood Backsplash – Free plans and how-to video live, now!
How to Add Height to Kitchen Cabinets – Free Plans and how-to video live, now!
Custom Cabinet Trim Hack – Free Plans and how-to video live, now!
How We Paint Cabinets –Free Plans and how-to video live, now!
How to Frame and Cover a Crescent Window – Free Plans and how-to video live, now!
DIY Round Kitchen Table – Free plans and how-to video live, now!
DIY Pipe Shelves – Free plans and how-to video live, now!

None of these links seem to work. Can you please just name the products?
The links did not work for me either and I would love to try this!
What is the backlash and where can this be purchased? Thank you.
Absolutely love the transformation. What kind of flooring? I need to do this to my kitchen!
I can’t wait for my supplies to arrive to try this!
What color paint is on the surrounding walls in the eating area? It looks great!
I know this isn’t your fault……but I have been to 3 Walmart’s. None of them carry the chalk paint, none of them carry the hardware. It’s ridiculous. I am an instant gratification type of girl and I love your projects because of that. But having to order this stuff and wait for it goes against everything that I am right now. #firstworldproblem #rantover
what a transformation! I love how just a few coats of paint can literally transform a space. Big impact for what the cost is. This is really lovely.
I will caution that I used this polyacrylic on our cabinets and they turned a horrific shade of yellow after a couple of weeks. I don’t know if it was the light color we chose but definitely do a test cabinet first. It is the first time this happened to me using this brand, which we’ve used several times before, but definitely something to be mindful of!
How many coats of Poly did you do?
Hi,
How many cans of paint and poly did you use?
Thanks!
Um perfeito trabalho, sempre com ótimas nividades para os projetos em nossa Empresa de Pintura , Pintura residencial
Thanks so much!
can you re-post the link for the cabinet pulls Link is not working.
How much paint would you say you used with all 3 coats and what would you estimate the amount of time spent on this project??? Any secrets for keeping your brushes good for multiple applications?
I have the same questions! How many coats of poly? How long will it hold up well?
Where are the black hooks for the open shelving from?
Absolutely beautiful !!!
Are these cabinets Oak? Thank you.
You make it look so easy to paint my baby poop brown cabinets! If not using chalk paint, would the technique be pretty much the same except for the brush types (I’m assuming those are specific for chalk paint) and finish coat of Polycrylic? The link to the Krud Kutter says that product is no longer available ): Thanks for the information!
Look on amazon for the Krud Kutter