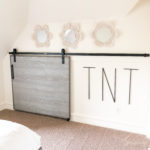
Build this DIY Barn Door with free plans from shanty-2-chic.com. Easiest barn door you will ever build and it can be customized to fit any opening!
My daughter has a small room. When we built our home, we added little storage spaces anywhere we could find. She has this little nook inside her wall that is a great spot to hide all of her toys. I obviously don’t want the toys to be seen, so I designed and built this custom DIY Barn Door to fit this random nook! This is the easiest barn door you will ever build! I was able to build it in about 30 minutes and it is so easy to customize the size to fit any opening in your home! Check out the tutorial below!
CLICK HERE TO JUMP TO THE FREE PRINTABLE PLANSStep 1 – Barn Door Frame
Drilling Pocket Holes
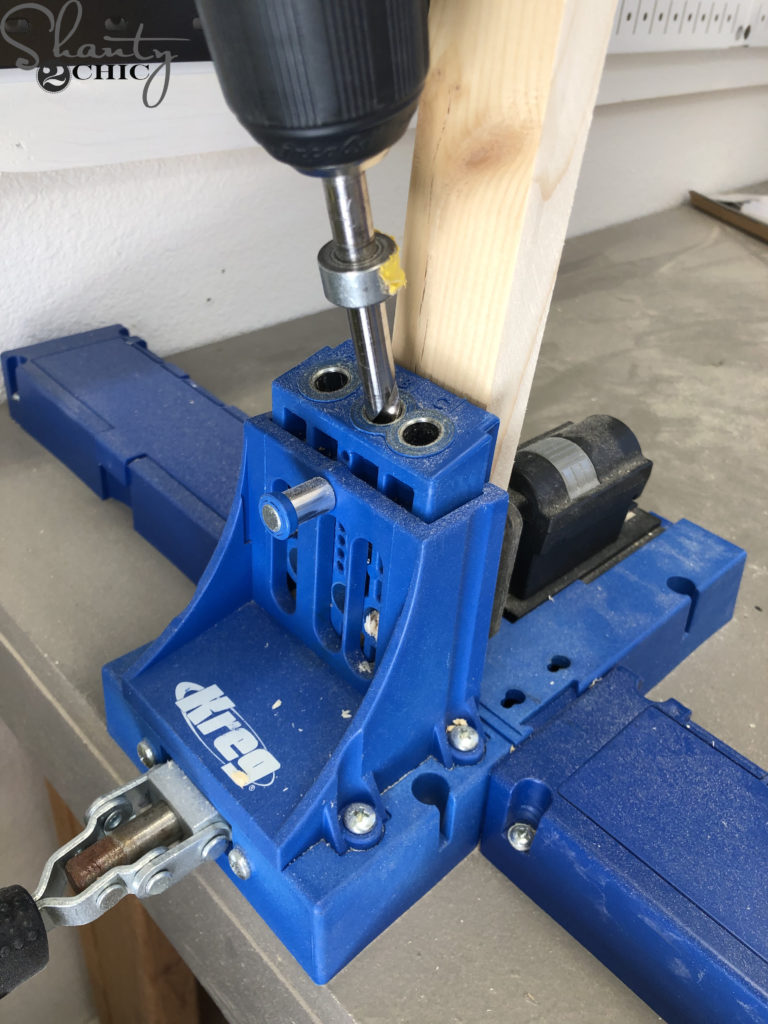
First, I cut the studs and top and bottom frame pieces to size. I used my Kreg Jig to drill 3/4″ pocket holes at the ends of each stud.
Building the Frame
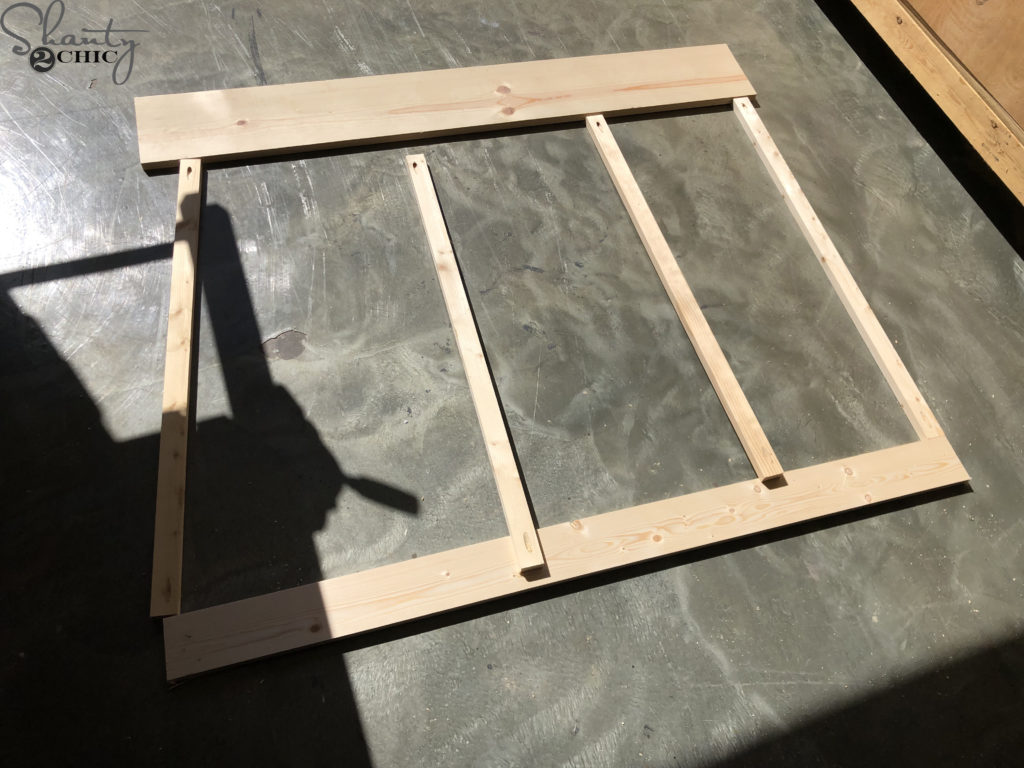
Here are all of the frame pieces cut to size. You can see the pocket holes drilled on each end of the stud pieces.
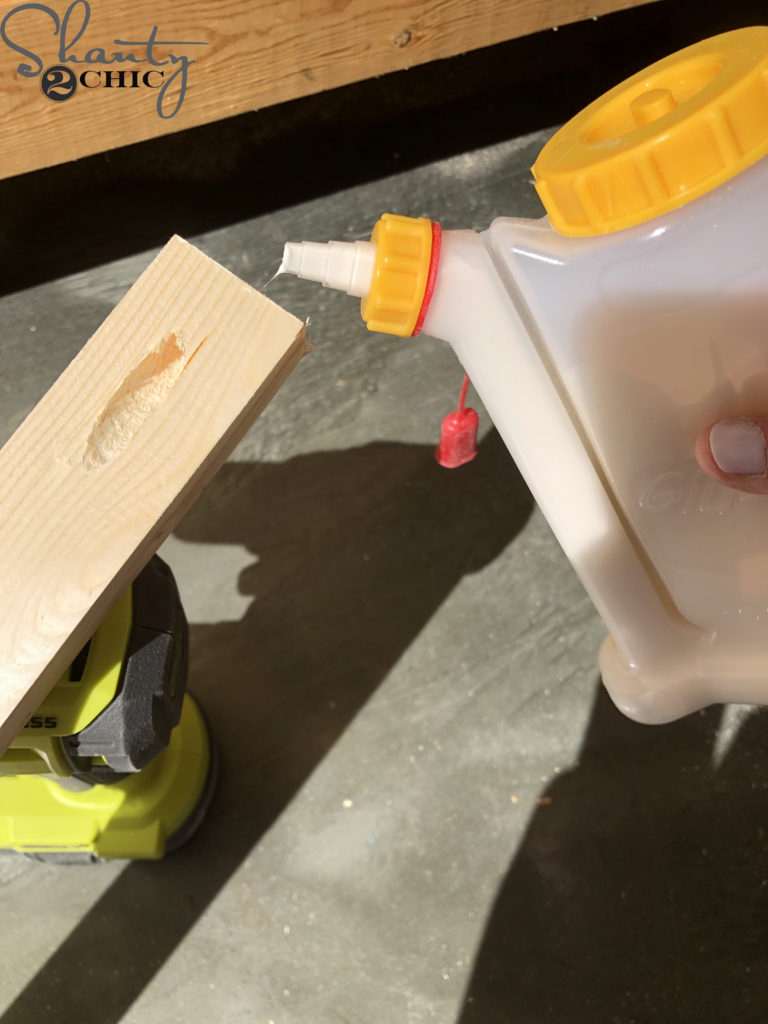
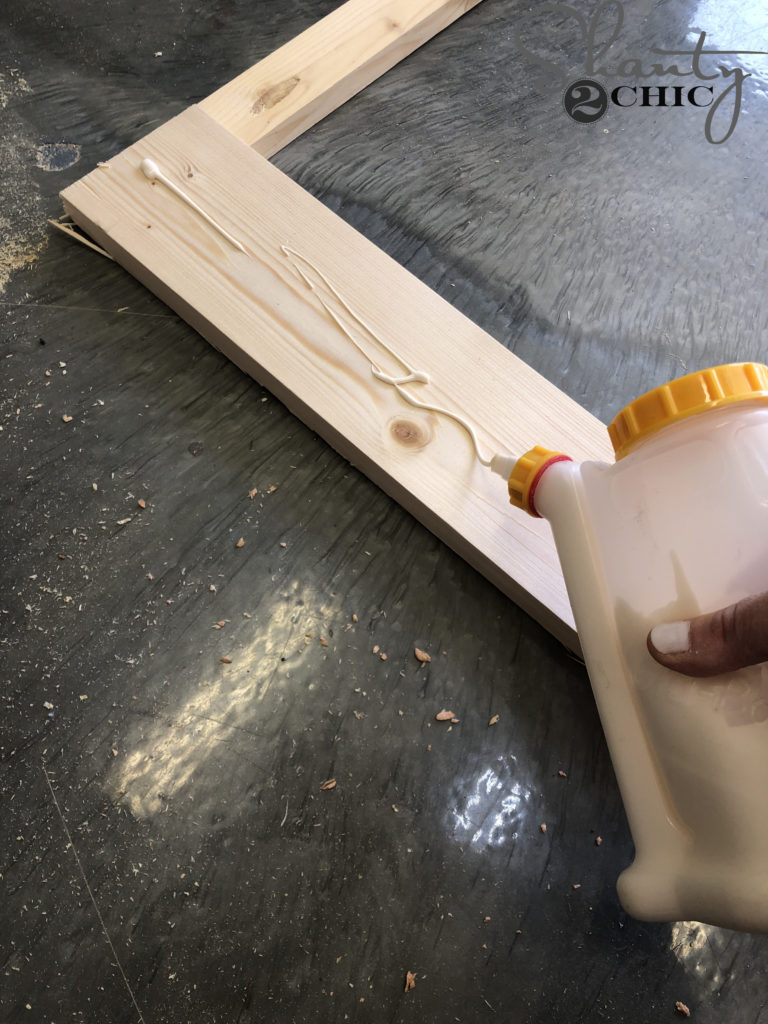
I applied wood glue to the ends of each stud piece.
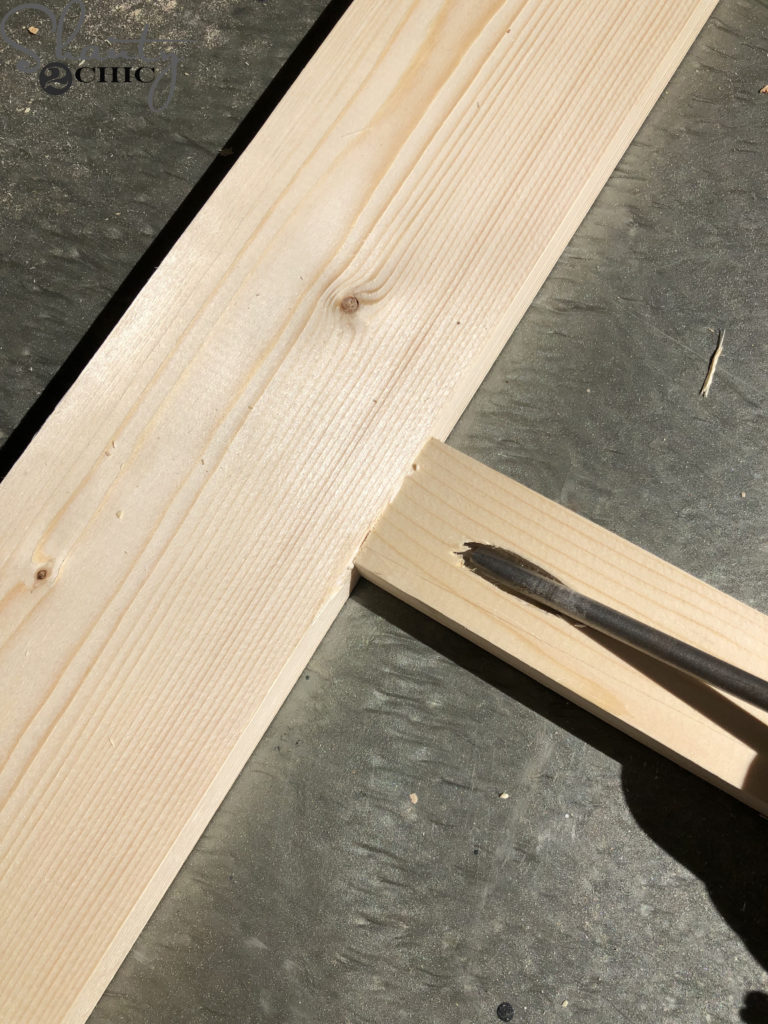
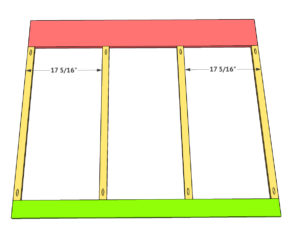
I attached the stud pieces to the top and bottom frame pieces with 1 1/4″ pocket hole screws and wood glue. Refer to the plans for the exact placement.
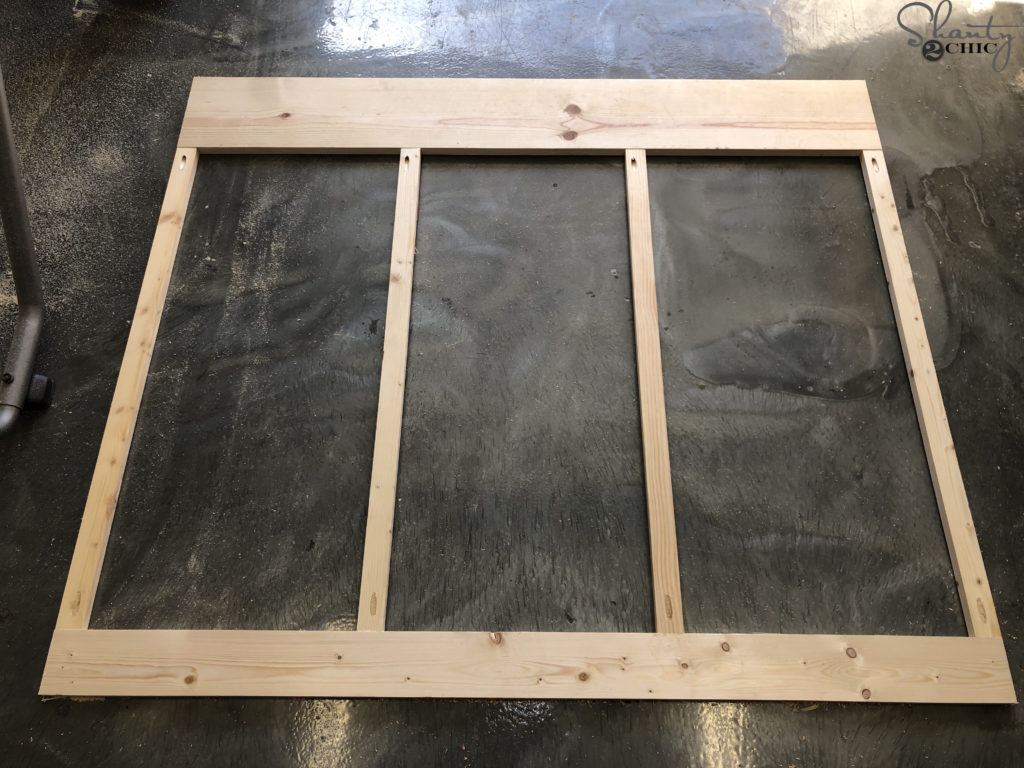
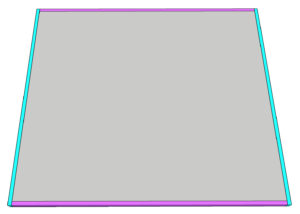
Once all four of the stud piece are attached to the frame pieces, the frame is complete!
Step 2 – Attach the Barn Door Front
Barn Wood Panel

I found this MDF sheet of Barn Wood at the hardware store. It is so realistic looking, easy to install and the price can’t be beat! It saved me a ton of time and gave me a beautiful barn door!
Ripping the Barn Wood Panel
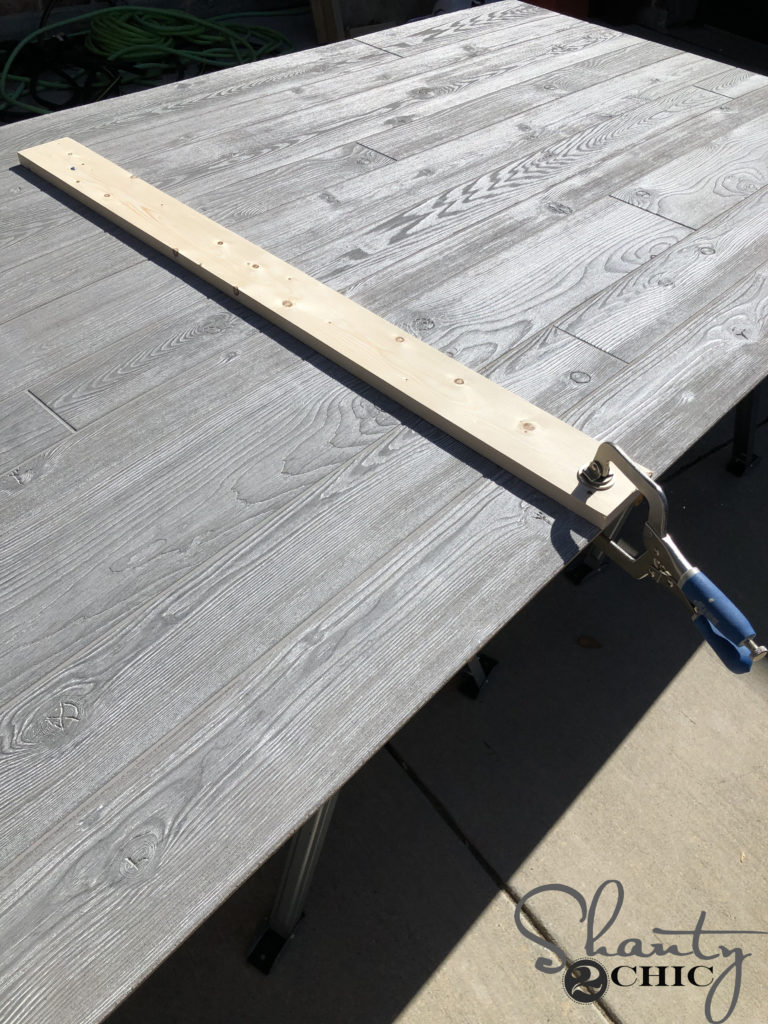
You can have the hardware store rip the Barn Door Panel to size. I took the full sheet home and laid it on top of my saw horses. Then, I used my Kreg Face Clamp to attach a scrap board where I wanted to cut the panel. Then, I used my circular saw to rip the panel to size.
- You can find the saw horses that I use HERE
- You can find the Kreg Face Clamp HERE
- You can find the circular saw that I use HERE
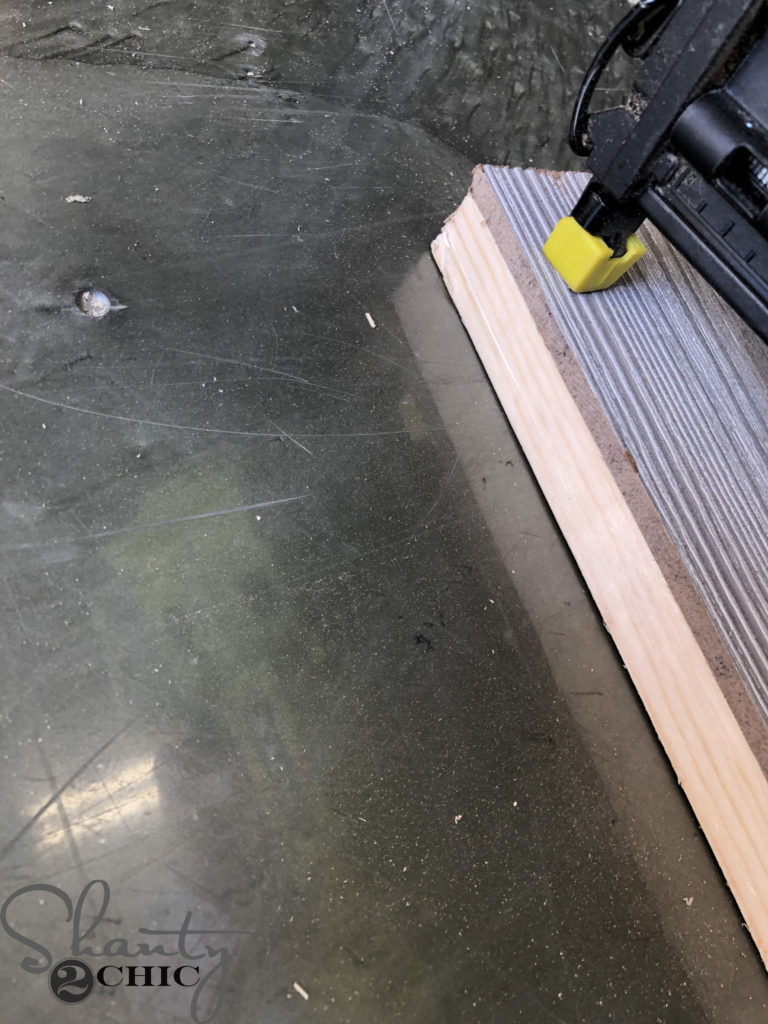
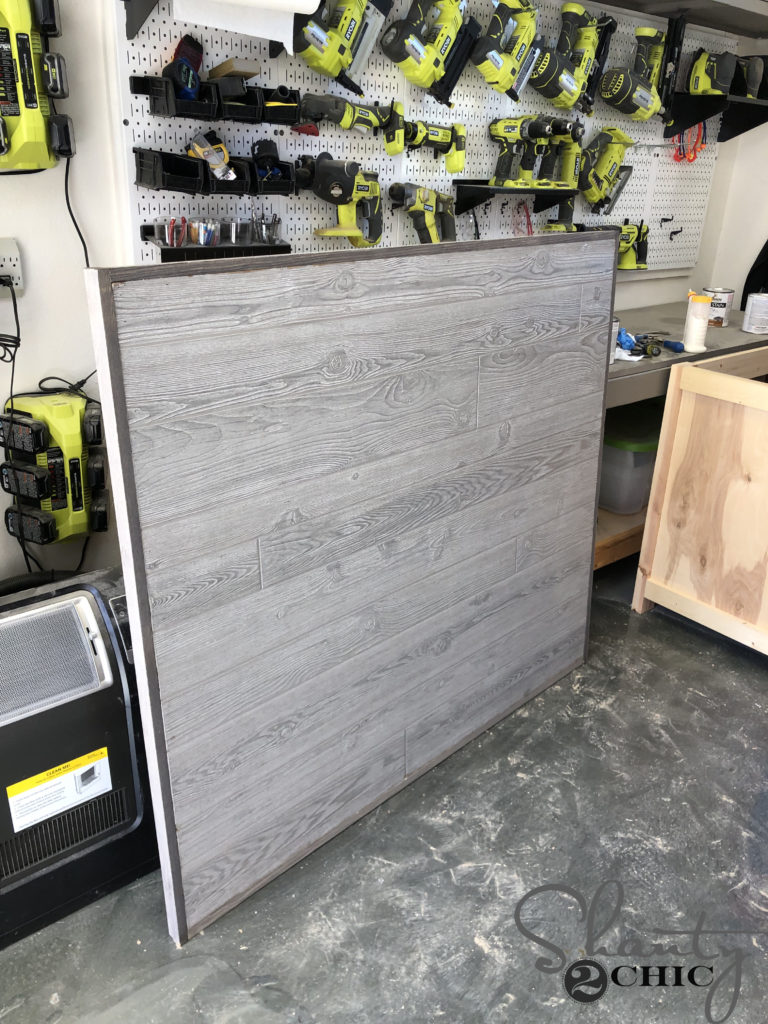
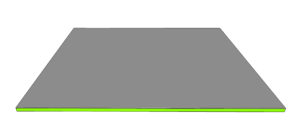
Once the Barn Wood MDF Panel was cut to size, I attached it to the barn door farm with 3/4″ staples and wood glue. I attached the panel with the pocket holes facing up. This doesn’t matter in the build process.
Note: My door was covering a closet, so I did not attach another panel of Barn Wood MDF to the back side of the barn door frame. If the back of your door is visible, you can attach a panel to the back, the same way.
Step 3 – Barn Door Trim
I found barn wood 1×4 boards. I ripped them to 1×2’s with my table saw. They were the perfect match to the Barn Wood MDF Panel, so there was no need for me to add a finish to the trim! So easy!
Note: When I cut the trim pieces to size, the unfinished wood was visible at the ends of the top and bottom trim pieces. I used a little bit of stain on the ends to blend them in with the rest of the barn wood.
- You can find the 1×4 barn wood boards HERE
- You can find the stain that I used on the ends of the top and bottom trim pieces HERE
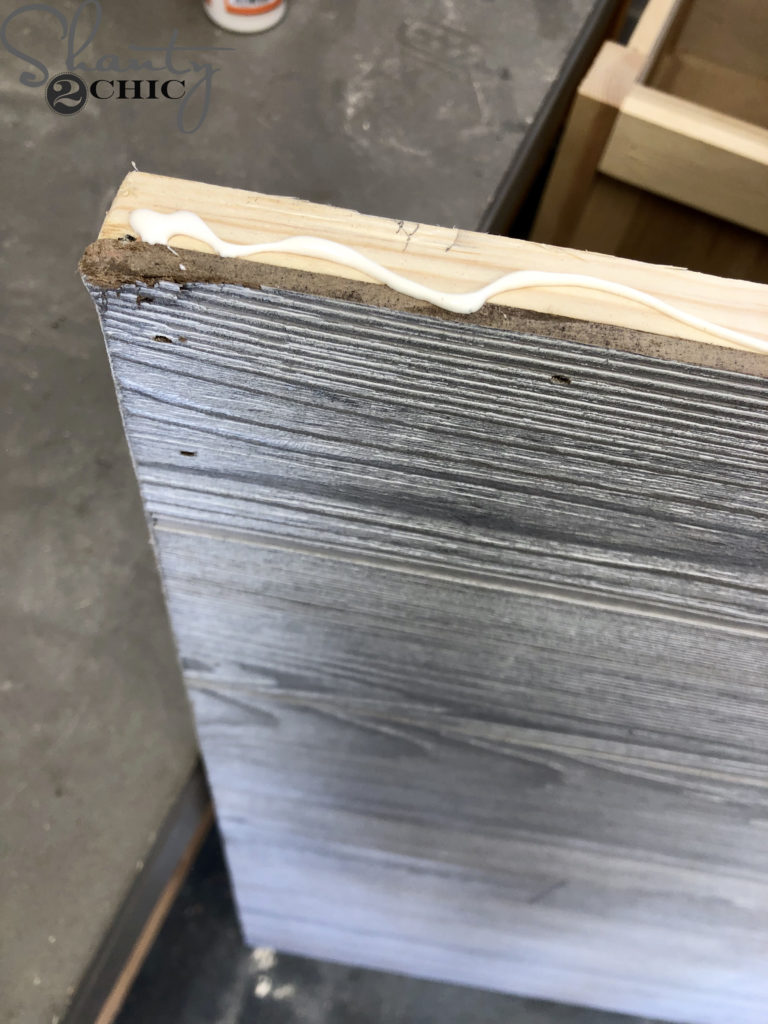
I measure and cut the top and bottom trim pieces to size. Then, I applied wood glue to the edges of the barn door frame.
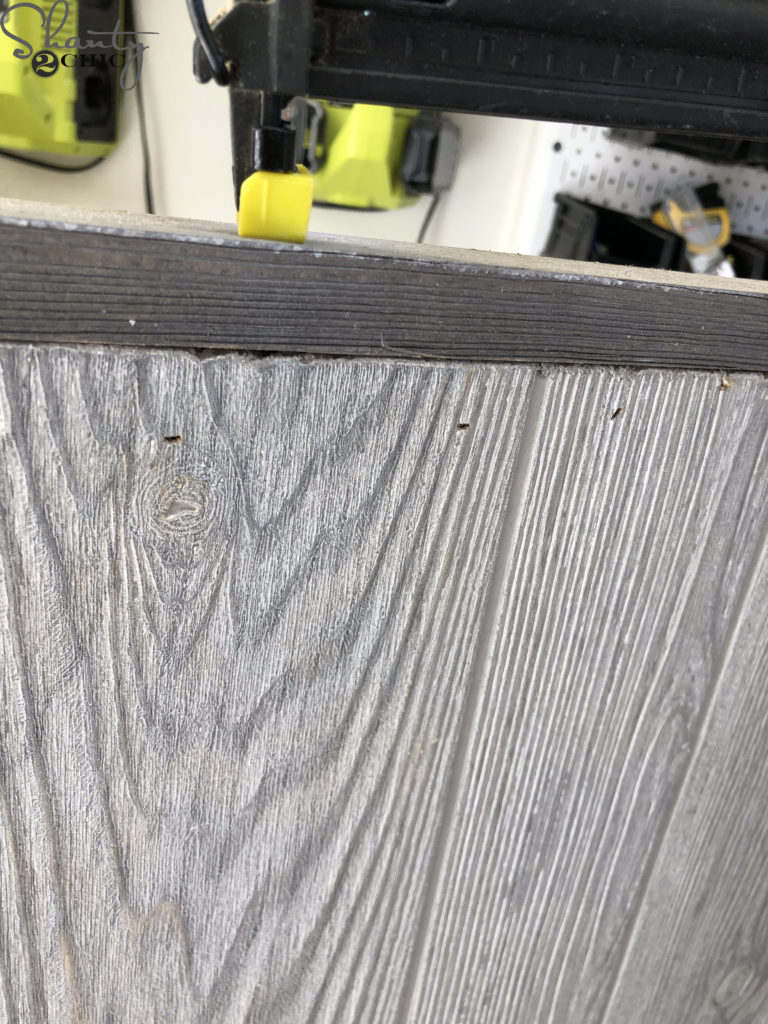
I attached the trim pieces to the barn door frame with 1 1/4″ brad nails.
Note: the front of the trim pieces should be flush with the front of the barn wood.
Finally, I measured and cut the side trim pieces to size. Then, I attached them to the side of the barn door frame with 1 1/4″ brad nails and wood glue.
That was it! This barn door is hands-down the easiest barn door that I have ever built! It is light weight and sturdy! I attached the barn door hardware to the barn door and I attached the barn door slide to the wall. Then, I just hung the door and the wall and called it a day!


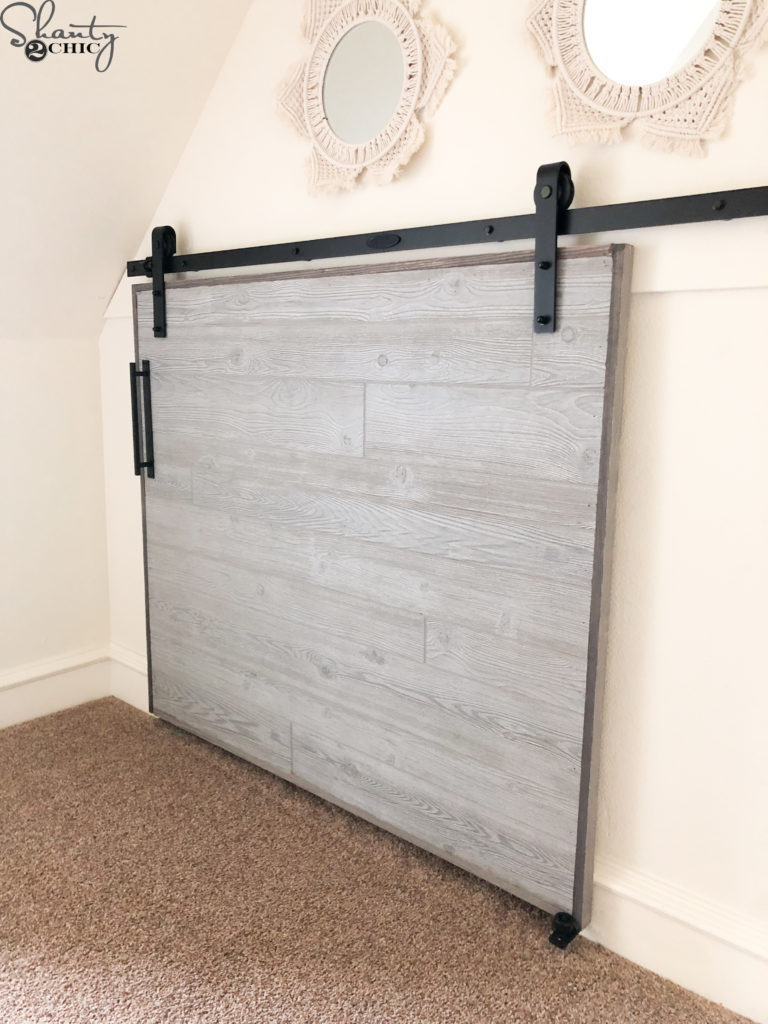
Not bad for 30 minutes of work and less than $100 in materials!
- You can find the barn door hardware HERE
- You can find the bottom guide HERE
- You can find the barn door pull HERE
- You can find the Macrame Mirrors HERE
Thanks so much for stopping by!
Happy Building!
DIY Easy Barn Door
Supply List
- 1 1x6x8 Pine or Common Board
- 1 1x4x8 Pine or Common Board
- 4 1x2x8 Barn Wood, Pine or Common Board
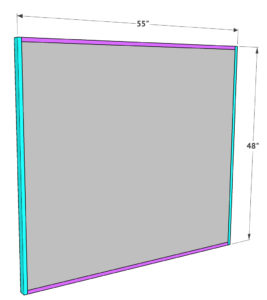
- 1 48″x96″ Barn Wood MDF
- Wood Glue
- Barn Door Hardware
Instructions
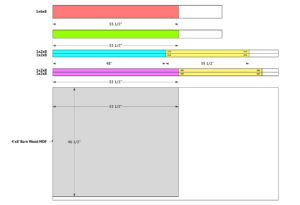
- Cut List

- Cut the studs and top and bottom frame pieces to size. Drill 3/4″ pocket holes at the ends of each stud. Attach the stud pieces to the top and bottom frame pieces with 1 1/4″ pocket hole screws and wood glue.

- Cut the barn wood MDF to size and attach it to the frame with 3/4″ staples and wood glue. If you don’t have a stapler, you can use brad nails. Note: this door is covering a closet so I did not put a sheet of MDF on the back. If your door will be seen on the back side, you can attach a sheet of MDF on the back, the same way.

- Measure and cut the top and bottom trim pieces to size. Attach them to the barn door frame with 1 1/4″ brad nails and wood glue. The front of the trim pieces should be flush with the front of the barn wood.

- Measure and cut the side trim pieces to size. Attach them to the side of the barn door frame with 1 1/4″ brad nails and wood glue.

- Add a finish to the trim and you are ready to attach your new barn door to the wall! you can find the barn door hardware that we used in the post above! Make sure to share your builds with us on social media and use #shanty2chic so we can share them too! Happy Building!


Awesome once again. Where did you find the TNT skinny wood letters???